March 17th ONLY – free shipping on any $65CAD product order! When you place an order that includes $65 worth of product (after any coupons applied / before taxes) you will qualify for FREE shipping – but only if your order is placed TOMORROW, Wednesday, March 17th. Talk about luck!
Place your order at yamstamps.com/shop or message me and I will place your order for you. If you place an order in the YamStamps Online Stampin’ Up! Canada store, you can pay by credit card. If I place the order for you, you also have the option of paying by etransfer.
March 17 2021 ONLY
This is a great time to stock up on the retiring In Colours or to purchase prepaid Paper Pumpkin Subscriptions. If you prepay your subscription, you can save some money depending on which package you purchase, but you normally also have to pay “shipping” fees – but not if you buy it March 17th! You’ll save even more, and you don’t have to redeem your subscription code right away either….
Please let me know if you have any questions – otherwise, happy shopping!
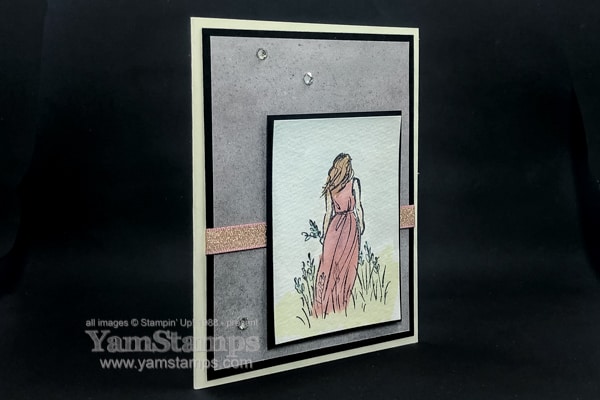
This is a clean and simple card (essentially)…using the Beautiful Moments stamp set. I love the outline images in this set – and you can choose to add colour or not.
Beautiful Moments card
For this quick card (it truly was a quick one, promise), I chose to add colour by using my Water Painters and some ink refills to watercolour the image. Watercolouring can be very forgiving – you don’t have to be perfectly within the lines – so that makes it a quick way to add colour. I stamped in Staz On Jet Black ink onto my Fluid 100 Watercolour Paper, and let it dry for a moment. You’ll want to be sure that your ink pad is well inked to stamp on the watercolour paper to get a good image. I find that my Staz On tends to need more frequent re-inking than some of my other ink pads, so I’d recommend purchasing the re-inker when you get the ink pad so you have it on hand.
One of the ways I like to add a background on my cards is by using patterned paper. For this card, I chose a more muted pattern from the In Good Taste Designer Series Paper. I liked the calm effect that seemed to go with the image. A bit of bling from the Blushing Bride 3/8″ Metallic Ribbon and some Rhinestone Basic Jewels to dress it up a little bit and I was happy with the resulting Beautiful Moments card. I added mattes in Basic Black because it seemed to go with the “arty” feel.
I just realized as well that I used the bottom right corner layout design again – that seems to be my “go to” right now?! I will have to try to mix it up a little bit more for the next card I share. Do you have a favourite card design layout? Leave me a comment – I obviously need some other layout ideas! LOL.
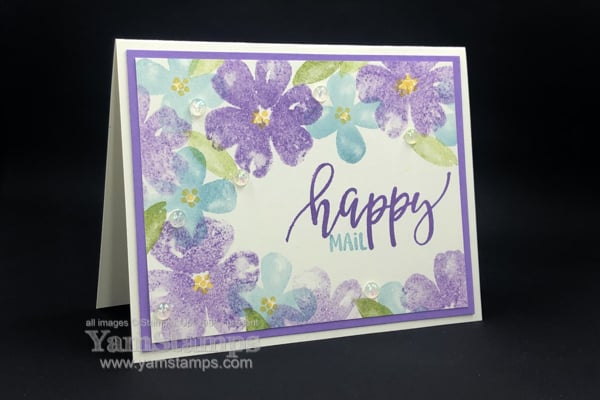
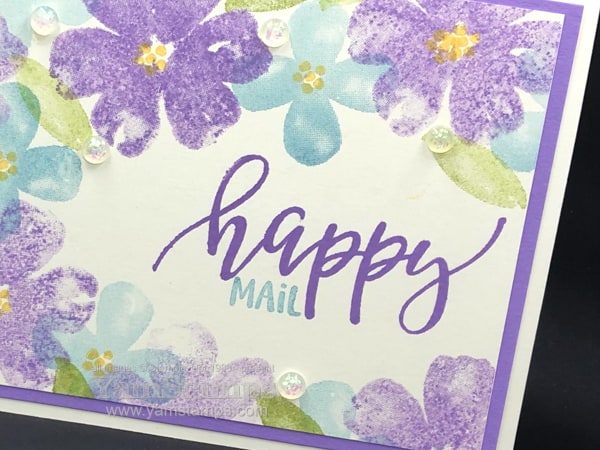
This Happy Mail Floral Card made me…happy! It was fun to create a card that primarily used stamps and ink. Sometimes I’m so focused on designing card for club and class that feature Designer Series Papers or different techniques that are not stamp-centric that I make a point of making a card that relies more on the beauty of the stamped images. (oh and read to the bottom to help me share my wealth of accumulated card samples…)
I love the watercolour effect of the images. By stamping full strength images (first generation) or stamping off onto scrap paper first and then onto the card (second generation images), you can vary the intensity of the tones and provide a bit more interest and dimension to the card. I had just re-inked my Highland Heather ink pad and was a little impatient so there was a lot of ink on the stamp initially so left a bit of a texture when I stamped off on scrap paper….but I personally don’t mind it! I added some Opal Rounds as a subtle accent for this Happy Mail Floral Card – kind of looks like dew drops I think?! If you are making this card, I might leave off the rounds if you’re planning on mailing it – kind of bumpy….
If you are looking to get some happy mail in your email inbox, be sure to be signed up for the YamStamps Newsletters!You’ll receive a video tutorial when you sign up, and then you’ll receive weekly emails featuring ideas and inspiration for your paper crafting. You can find out more details here or go straight to the sign up here.
I’m also looking to share the wealth of card samples that are starting to accumulate in my craft room – so starting with this post, if you leave a comment, I’ll select someone to receive a sample from my stash of cards!
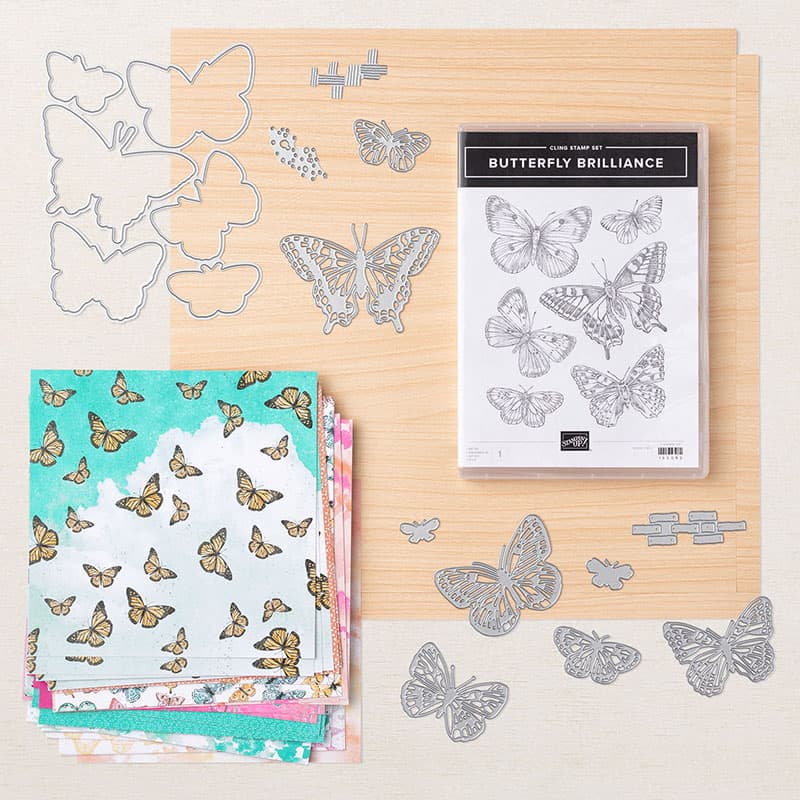
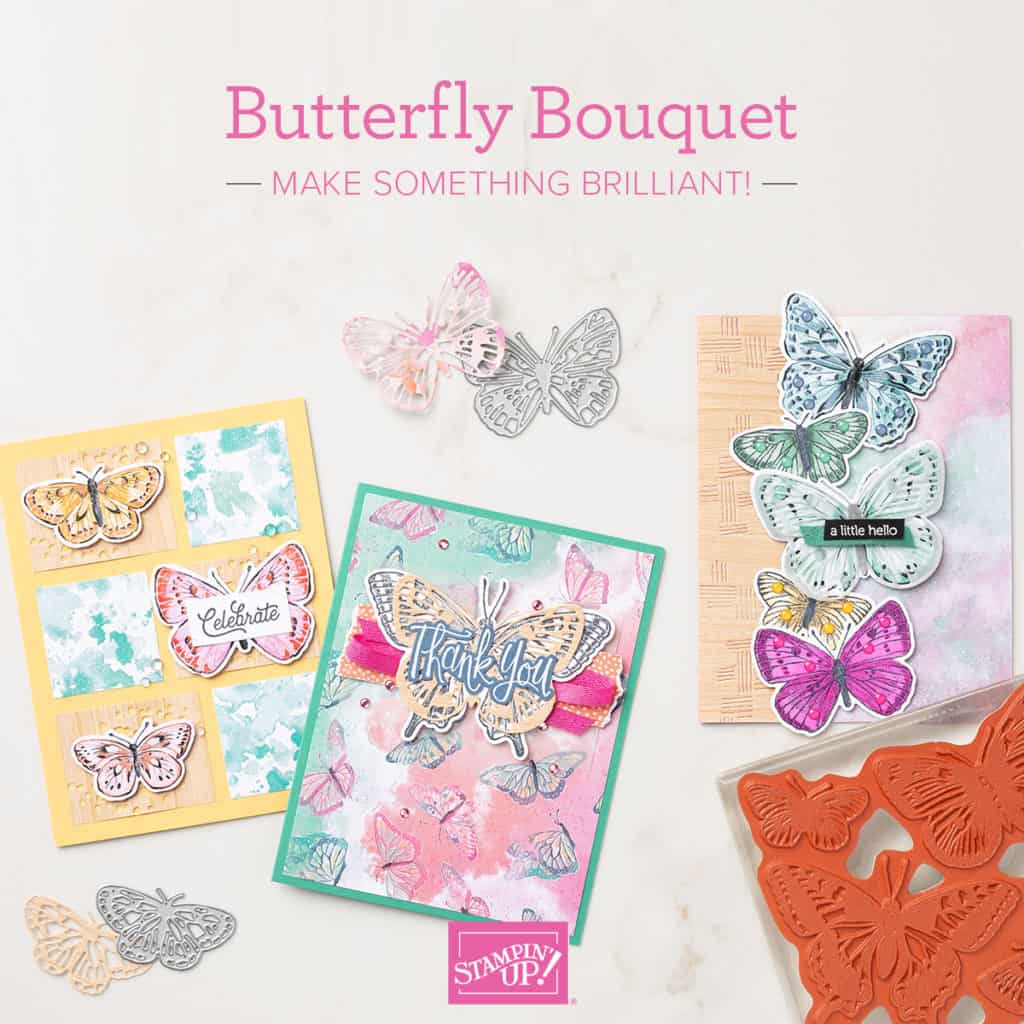
OK I’m pretty sure that’s not the correct term for a group of butterflies, but March 2 brings the Butterfly Bouquet promotion to the Stampin’ Up! world. From now until May 3, you can order the Butterfly Brilliance bundle and some exclusive special papers too.
I’m not sure if you can see in this image – but the butterflies are actually all on one stamp – and the large die is all one piece -so you will be stamping all the images at the same time, plus die cutting at the same time as well (if you choose to do so). One other neat thing that was shared with us is that there is one design in the Butterfly Bijou papers that matches up with the dies as well. Demonstrators have had the chance to order the items in this promotion since February, and what another demonstrator shared is that they actually cut the stamp apart so they have many individual stamps. If you keep the outline rubber (that you punch the stamp out of), you could always use that as a guide if you want to “reassemble” the images into the original shape again. Or you could splurge and treat yourself to a second stamp set and keep one intact and cut up the other one.
Sale-a-Bration is ending on February 28th this year – which is earlier than previous Sale-a-Brations. There will be another Sale-a-Bration occuring in the summer, but this is your last chance to grab the January-February Sale-a-Bration items before they’re gone!
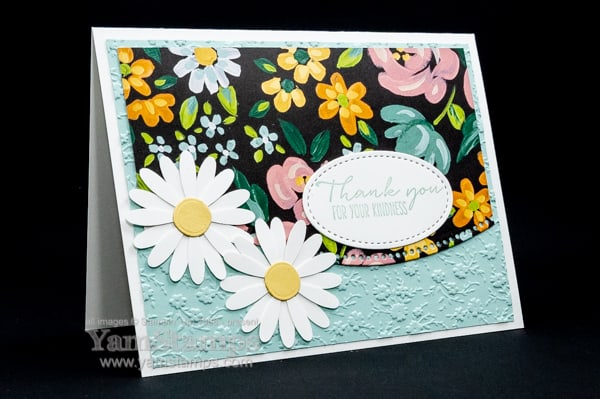
This curvy floral card was inspired by a swap I received from fellow demonstrator Kay Smith. While I do enjoy the design process, one of the things that Stampin’ Up! demonstrators do is share ideas – so then we can add our own twists (or not!). It’s great to see the beautiful work by others and get inspiration.
Curvy Floral Card
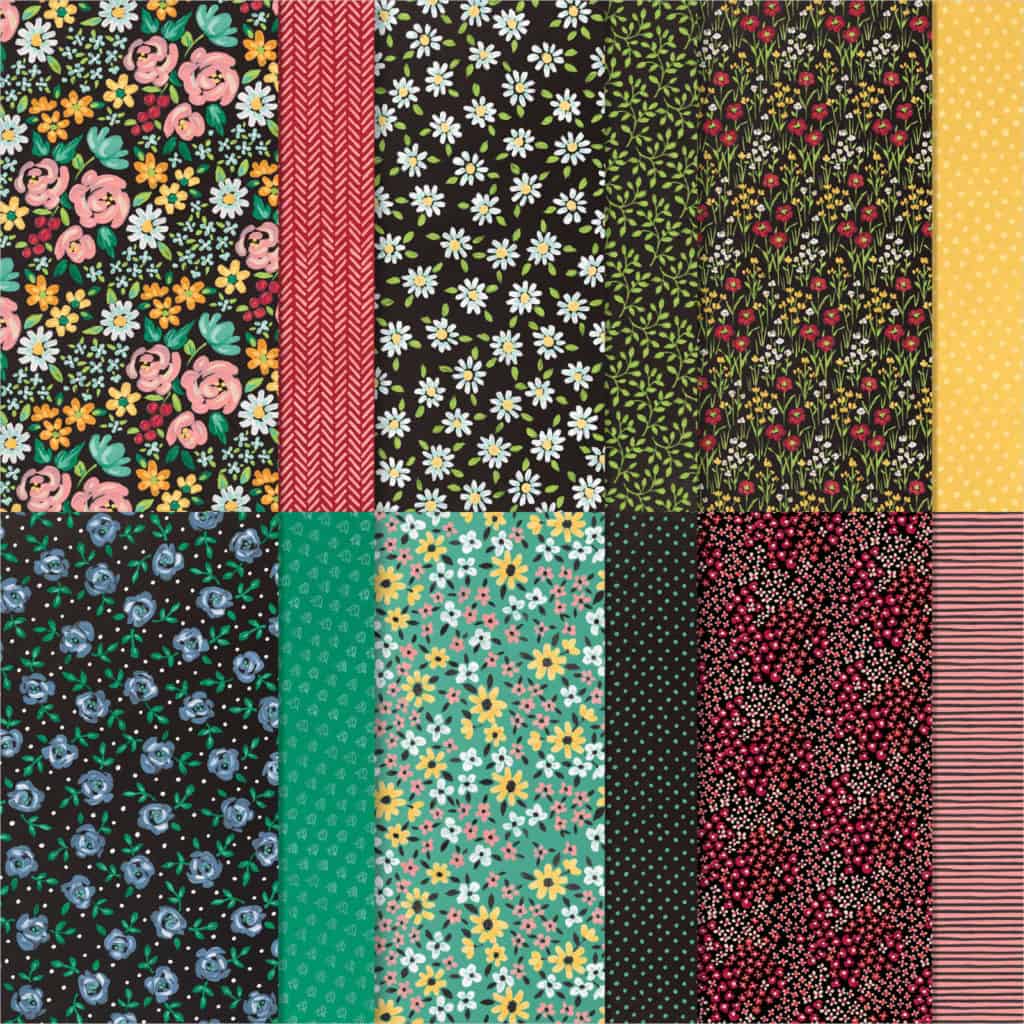
The floral paper is the Flower & Field Designer Series Paper that is a Level 1 Sale-a-Bration option. This means that if you place an order for $60 product, you could select it as your freebie. If you place an order for $120, you could get two packages…or one of the Level 2 Sale-a-Bration options (and so on, and so on…). The paper is cut with the curved edge die from the Curvy Dies. It’s layered on some Pool Party Cardstock that is embossed with the Ornate Floral 3D Embossing Folder. A few layered Daisy Punch outs add some more floral accents. Can you tell what the centres of the daisies are? I actually used the centre of the “O” from the Playful Alphabet dies! Added a sentiment from the Dragonfly Garden stamp set onto a Stitched Shape oval. I love oval die cuts for sentiments. The Layering Ovals Dies are a great option as well. They tend to fit a number of sentiments and I always find that curved lines are more forgiving in terms of lining things up. Plus I figured the curved angle went well on this curvy floral card.
So – February 28th is your last chance to grab the Sale-a-Bration items of your choice with your qualifying product purchase – visit yamstamps.com/shop! Also – Feb 28th marks the last day to register for the March Online Card Class – so don’t miss out. Contact me to register for class or for assistance placing an order!