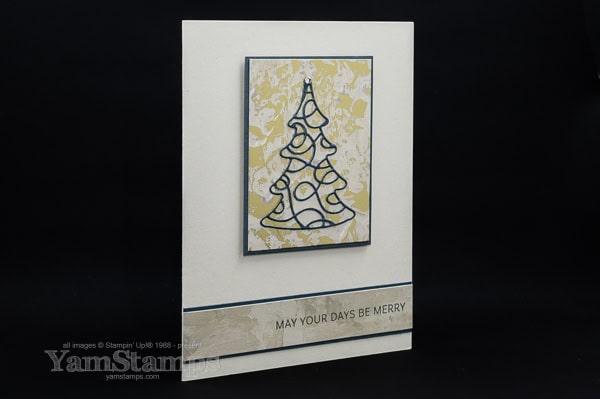
If you follow the YamStamps Facebook Page (first of all, thank you) you’ll know that pretty much every Sunday I share a swap card that I’ve received from another demonstrator – usually from the demonstrator-only swaps that I take part in. Today, I’m sharing MY holiday swap card that I created for the September-December 2024 Mini Catalogue Swap. I post detailed product lists for the swap cards on the YamStamps.com/sunday-swaps page, but I’m going to share my card here as well.
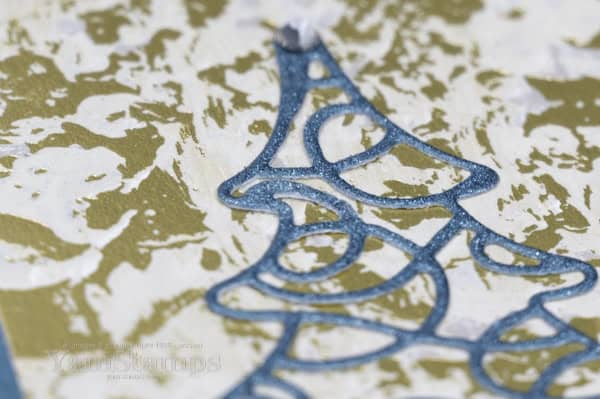
I have a tendency to create clean and simple designs, so this holiday card is a “typical” one for me. I like to think that it highlights some of the great products from the Sept-Dec 24 Mini Catalogue that way…. I used the Decorative Trees Bundle that includes the stamp set and coordinating dies. I loved the swirly tree die cut so used that as my main image. I knew as soon as I saw it, though, that I would have to do some prep ahead of time!! I used the Pretty Peacock Glimmer Paper from the Three Color Glimmer Specialty Paper pack, but I added Adhesive Sheets to the back before die cutting them, to make it easier to add them to my finished project – just peel the liner and stick in place!
The patterned paper is actually both sides of the same sheet from the Season of Elegance Specialty Designer Series Paper. I felt like the gold would be a little too overpowering for the simple font – plus the ink didn’t show up as well on the gold portions of the paper, so I flipped it over and use the opposite side which still has the same base tones in it. You can find a linked list for all the products I used for this holiday card on the YamStamps Sunday Swap Share Page.
If you have any crafting questions, or need assistance placing an order in Canada, I’m happy to help – just reach out! Thanks for stopping in!
Stampin’ Up! is expanding it’s scrapbooking and memory keeping options – with the new Scrapbooking Brochure! It’s an online only publication, designed to be a supplement to the September-December Mini Catalogue. Sales start Wednesday 4 September, but you can look at this one now!
Sales from this brochure start on Wednesday, September 4th. Unlike other Stampin’ Up! releases, demonstrators didn’t get a pre-order period for this publication because SU was working on getting this out as quickly as possible! I’m not a huge scrapbooker, but I have been known to make a spread or two…. I’m most looking forward to the two toned paper! I think that will be a fantastic product for both cardmaking AND scrapbooking! While it’s only available in a few colours right now, more are coming. I do love that Pool Party is one of the first colours they released, though.
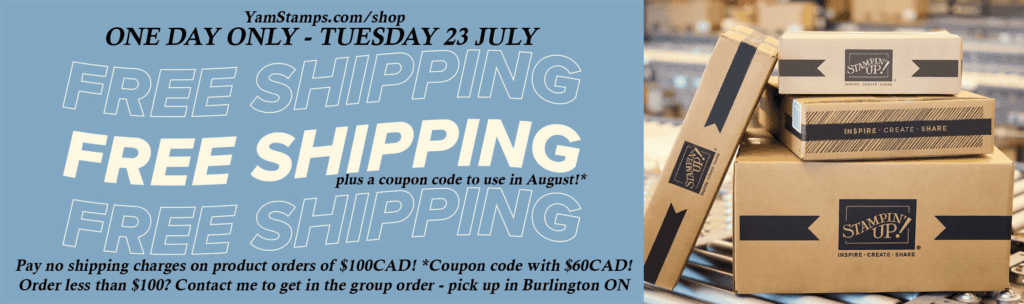
Stampin’ Up! is offering free shipping on Tuesday, 23 July!
Place an order for $100CAD and get FREE shipping this Tuesday – 23 July! PLUS you’ll get a coupon code for $6CAD with each $60CAD of product! You can shop online at YamStamps.com/shop
Q: What if I don’t have a $100CAD product order?
A: First….check again! Don’t forget that there are online exclusive products that are available while supplies last and aren’t listed in any catalogue. (shortcut to see them is YamStamps.com/OLEX ). Second….if you can arrange to pick up your items in Burlington ON, you can get in on the group order I’m placing!
How to get in on the GROUP ORDER
Email me with the items you’d like to order by Tuesday at 8am. I will get back to you with the amount owing, and you can pay by etransfer or we’ll get your CC information securely. I will place group orders once the accumulated total hits $100. Once the order is delivered, I’ll let you know and we can make arrangements for a porch pick up.
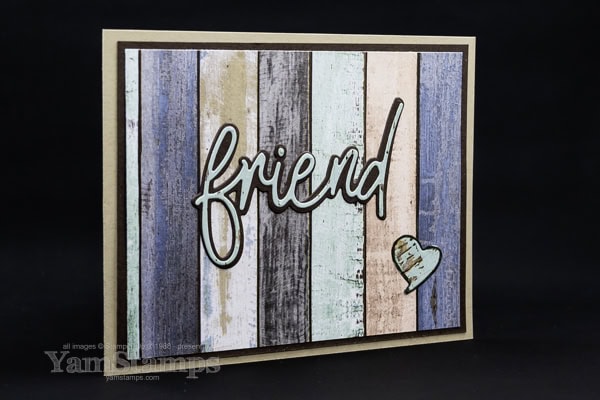
I think Stampin’ Up! Canada’s Friends for Life bundle is one of my favourites right now. I used it along with the Country Woods Designer Series Paper to create this Friends For Life Card – and it’s easy to re-create! I’ll share a couple of tips that might make this card a bit easier as well.
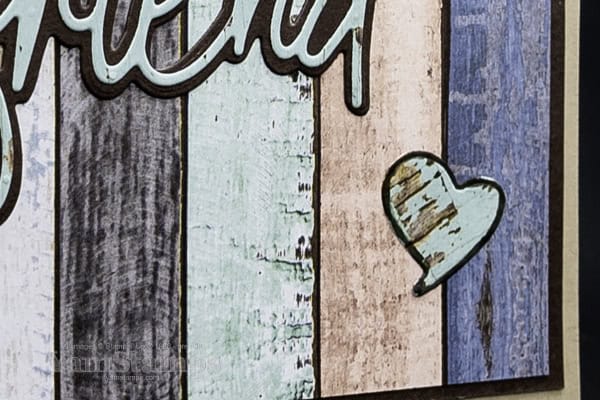
First off, the Country Woods Paper has some gorgeous wood grain / painted wood grain images including this multicoloured/striped one. That makes for an easy background for my Friends For Life Card! I used Early Espresso Cardstock for the backdrop, but before I stuck everything down, I cut the backing die for the word “friend” from the centre of that cardstock. I love that thrifty trick. The hole was then covered by the patterned paper and noone’s the wiser. I chose to die cut the detailed text and the heart from another sheet of the paper that had the lighter blue toned “paint”.
The trickiest part about this Friends for Life card is not losing the dot for the “i” when you pop everything out of the die!! If I am sending out die cut pieces like this to my Card Club Members, I fold some Press ‘n Seal in half around the pieces to encase everything safely. The other thing that the Press ‘n Seal can do is to hold the die cut in the original shape. Sometimes when I pull a thinner die cut word out of the die, it will stretch/spread, so I have to smush it back into the original orientation to fit onto the background. I hold the die horizontally, close to my work surface (covered in a bit of Press n’ Seal), use the brush tip for my Take Your Pick tool, and run it over the die to push out the die cut shape and drop it directly onto the Press ‘n Seal (or with as little handling as possible) to keep it in the original ratio/shape.
One other thing to make it easier with thinner or more detailed die cuts – I often will use an Adhesive Sheet on the backside of the paper – so that I just have to peel off the liner and it’s ready to attach. The other option is to use Multipurpose Liquid Glue – small dots, and it’s good to let it dry just a bit so that it doesn’t “smoosh” out everywhere.
To tie everything together and add a finishing touch to my Friends for Life Card, I took the brush end of my Early Espresso Stampin’ Write Marker (part of the Neutrals Stampin’ Write Markers set) and ran it around the edge of the heart so that it matched the word “friend” and the general design of the card. Put everything onto a Crumb Cake Card and it’s done!
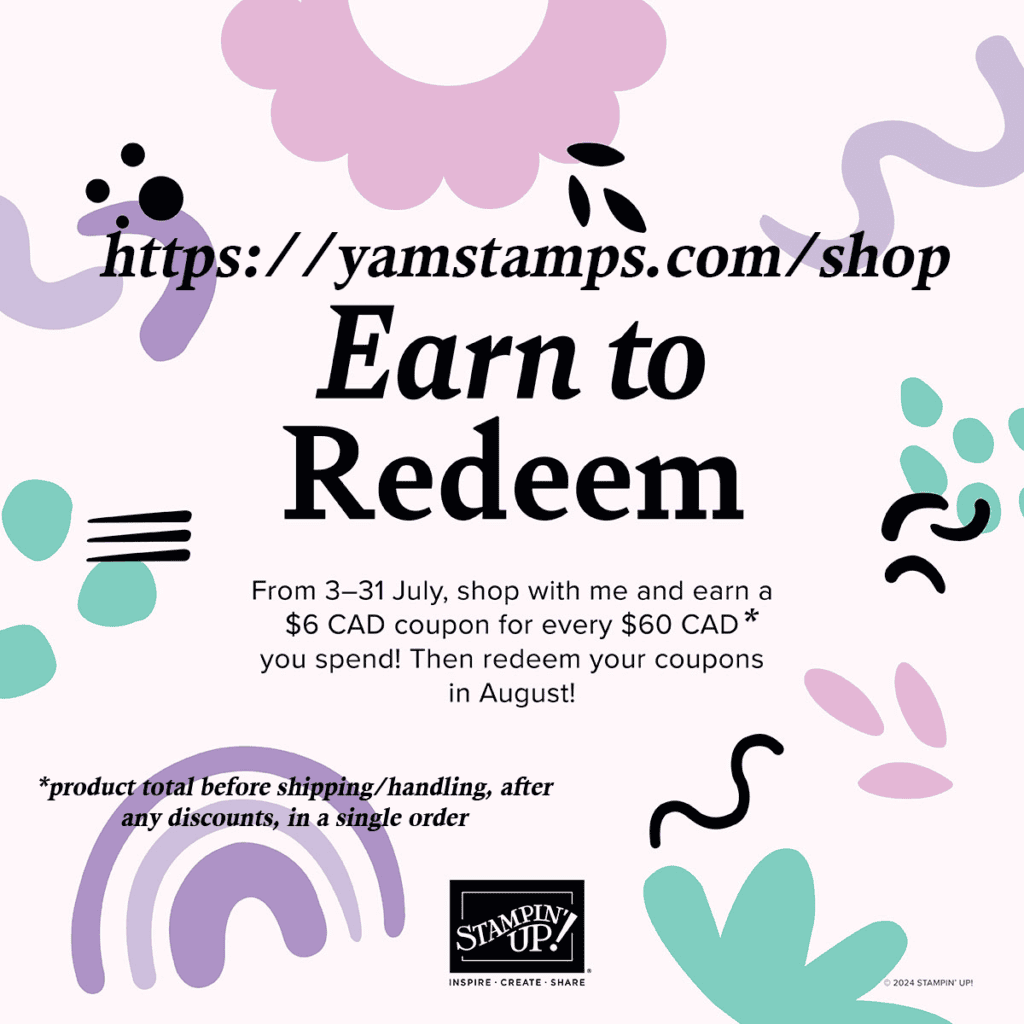
Starting today and running until the end of July, it’s Stampin’ Up!’s BONUS DAYS! For each $60CAD in product that you order, you’ll earn a $6CAD coupon that you can spend in August! Product total must be before shipping/taxes and after any discounts or codes are applied. It’s a great way to get an extra reward for making sure you’ve got crafty supplies on hand! Shortcut to shop in Canada is YamStamps.com/shop or you can message me with your order if you’d like to pay by etransfer or if you need assistance placing your order. Happy Shopping, and Happy Bonus Days!!