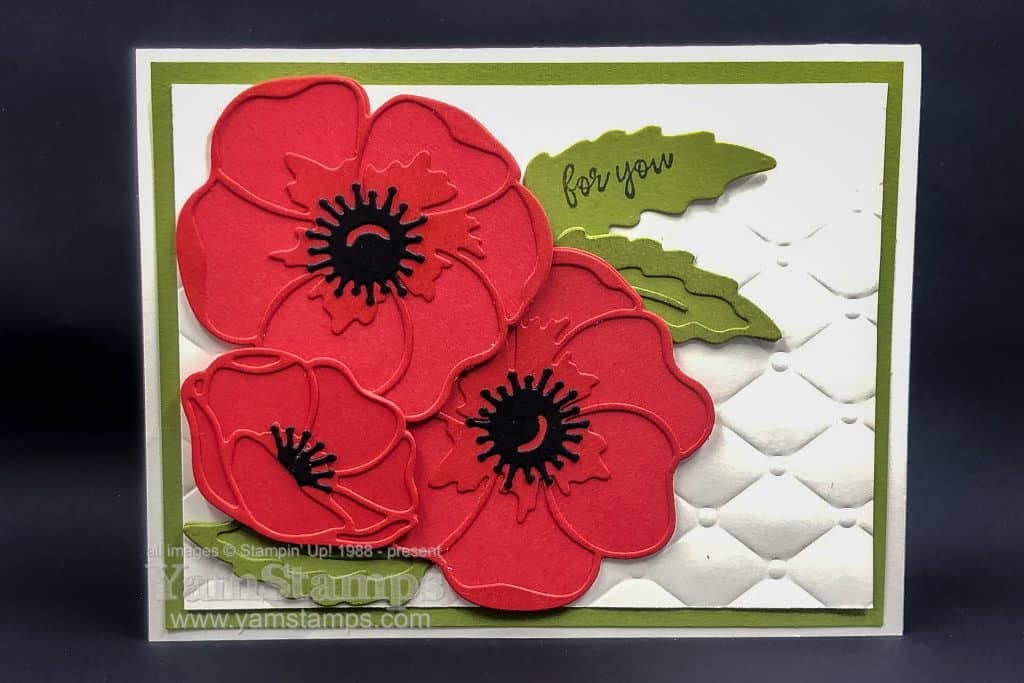
Why is it that “springing forward” means I often will not have a spring in my step for the first few days?! Anyway – here’s a die cut poppy card to brighten your day, and here’s hoping you’re not as discombobulated as me today.
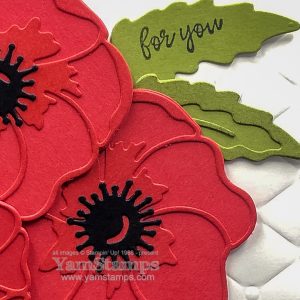
This card was less fussy to produce than you might think….really. The poppy background flower and detail die from the Poppy Moments Dies were both cut from Poppy Parade cardstock (because why think so hard when it’s given to you like that?!). To make the detail die cut stand out just a little bit, I sponged Poppy Parade ink onto it – it’s amazing how it just gives a little bit more depth to the cardstock colour and makes it distinctive but not distracting. I did the same for the leaves in Old Olive. To keep everything cohesive, I stamped the sentiment from So Sentimental onto one of the die cut leaves in Tuxedo Black Memento Ink. The Tufted 3D Embossing Folder adds a bit more interest to the background, again without being too distracting.
To add the detail die cut on top of the background, I typically either use dots of the Multipurpose Liquid Glue in strategic spots (usually where the die cut is larger, because I’m messy…) or pick up some of the glue with a bit of a Stamping Sponge and dab it on the back of the die cut. I also work on top of one of the silicone craft sheets so 1) my die cut doesn’t get stuck down before I even get it onto the piece and 2) I don’t have a super sticky work surface afterward so everything else gets stuck down too.
Time is running out on Sale-a-Bration – it will end on March 31st, but remember that the freebies are also “while supplies last”. Three rewards are already gone forever – Golden Honey Designer Series Paper, Metallic Baker’s Twine & Sequins Combo, and the Kerchief Card Kit (see photos on the YamStamps Facebook Page in this post). Be sure to grab the rewards you want before they’re gone! Contact me if you have any questions or need assistance placing an order. Otherwise, you can shop online in the YamStamps Online Stampin’ Up! Canada store – shortcut yamstamps.com/shop.
I’m off to do work on an online class that I’m hoping to launch in the next few weeks, so stay tuned! I might also need to take a nap as well. What time is it? Enjoy the die cut poppy card in the meantime while I figure out which way is up.
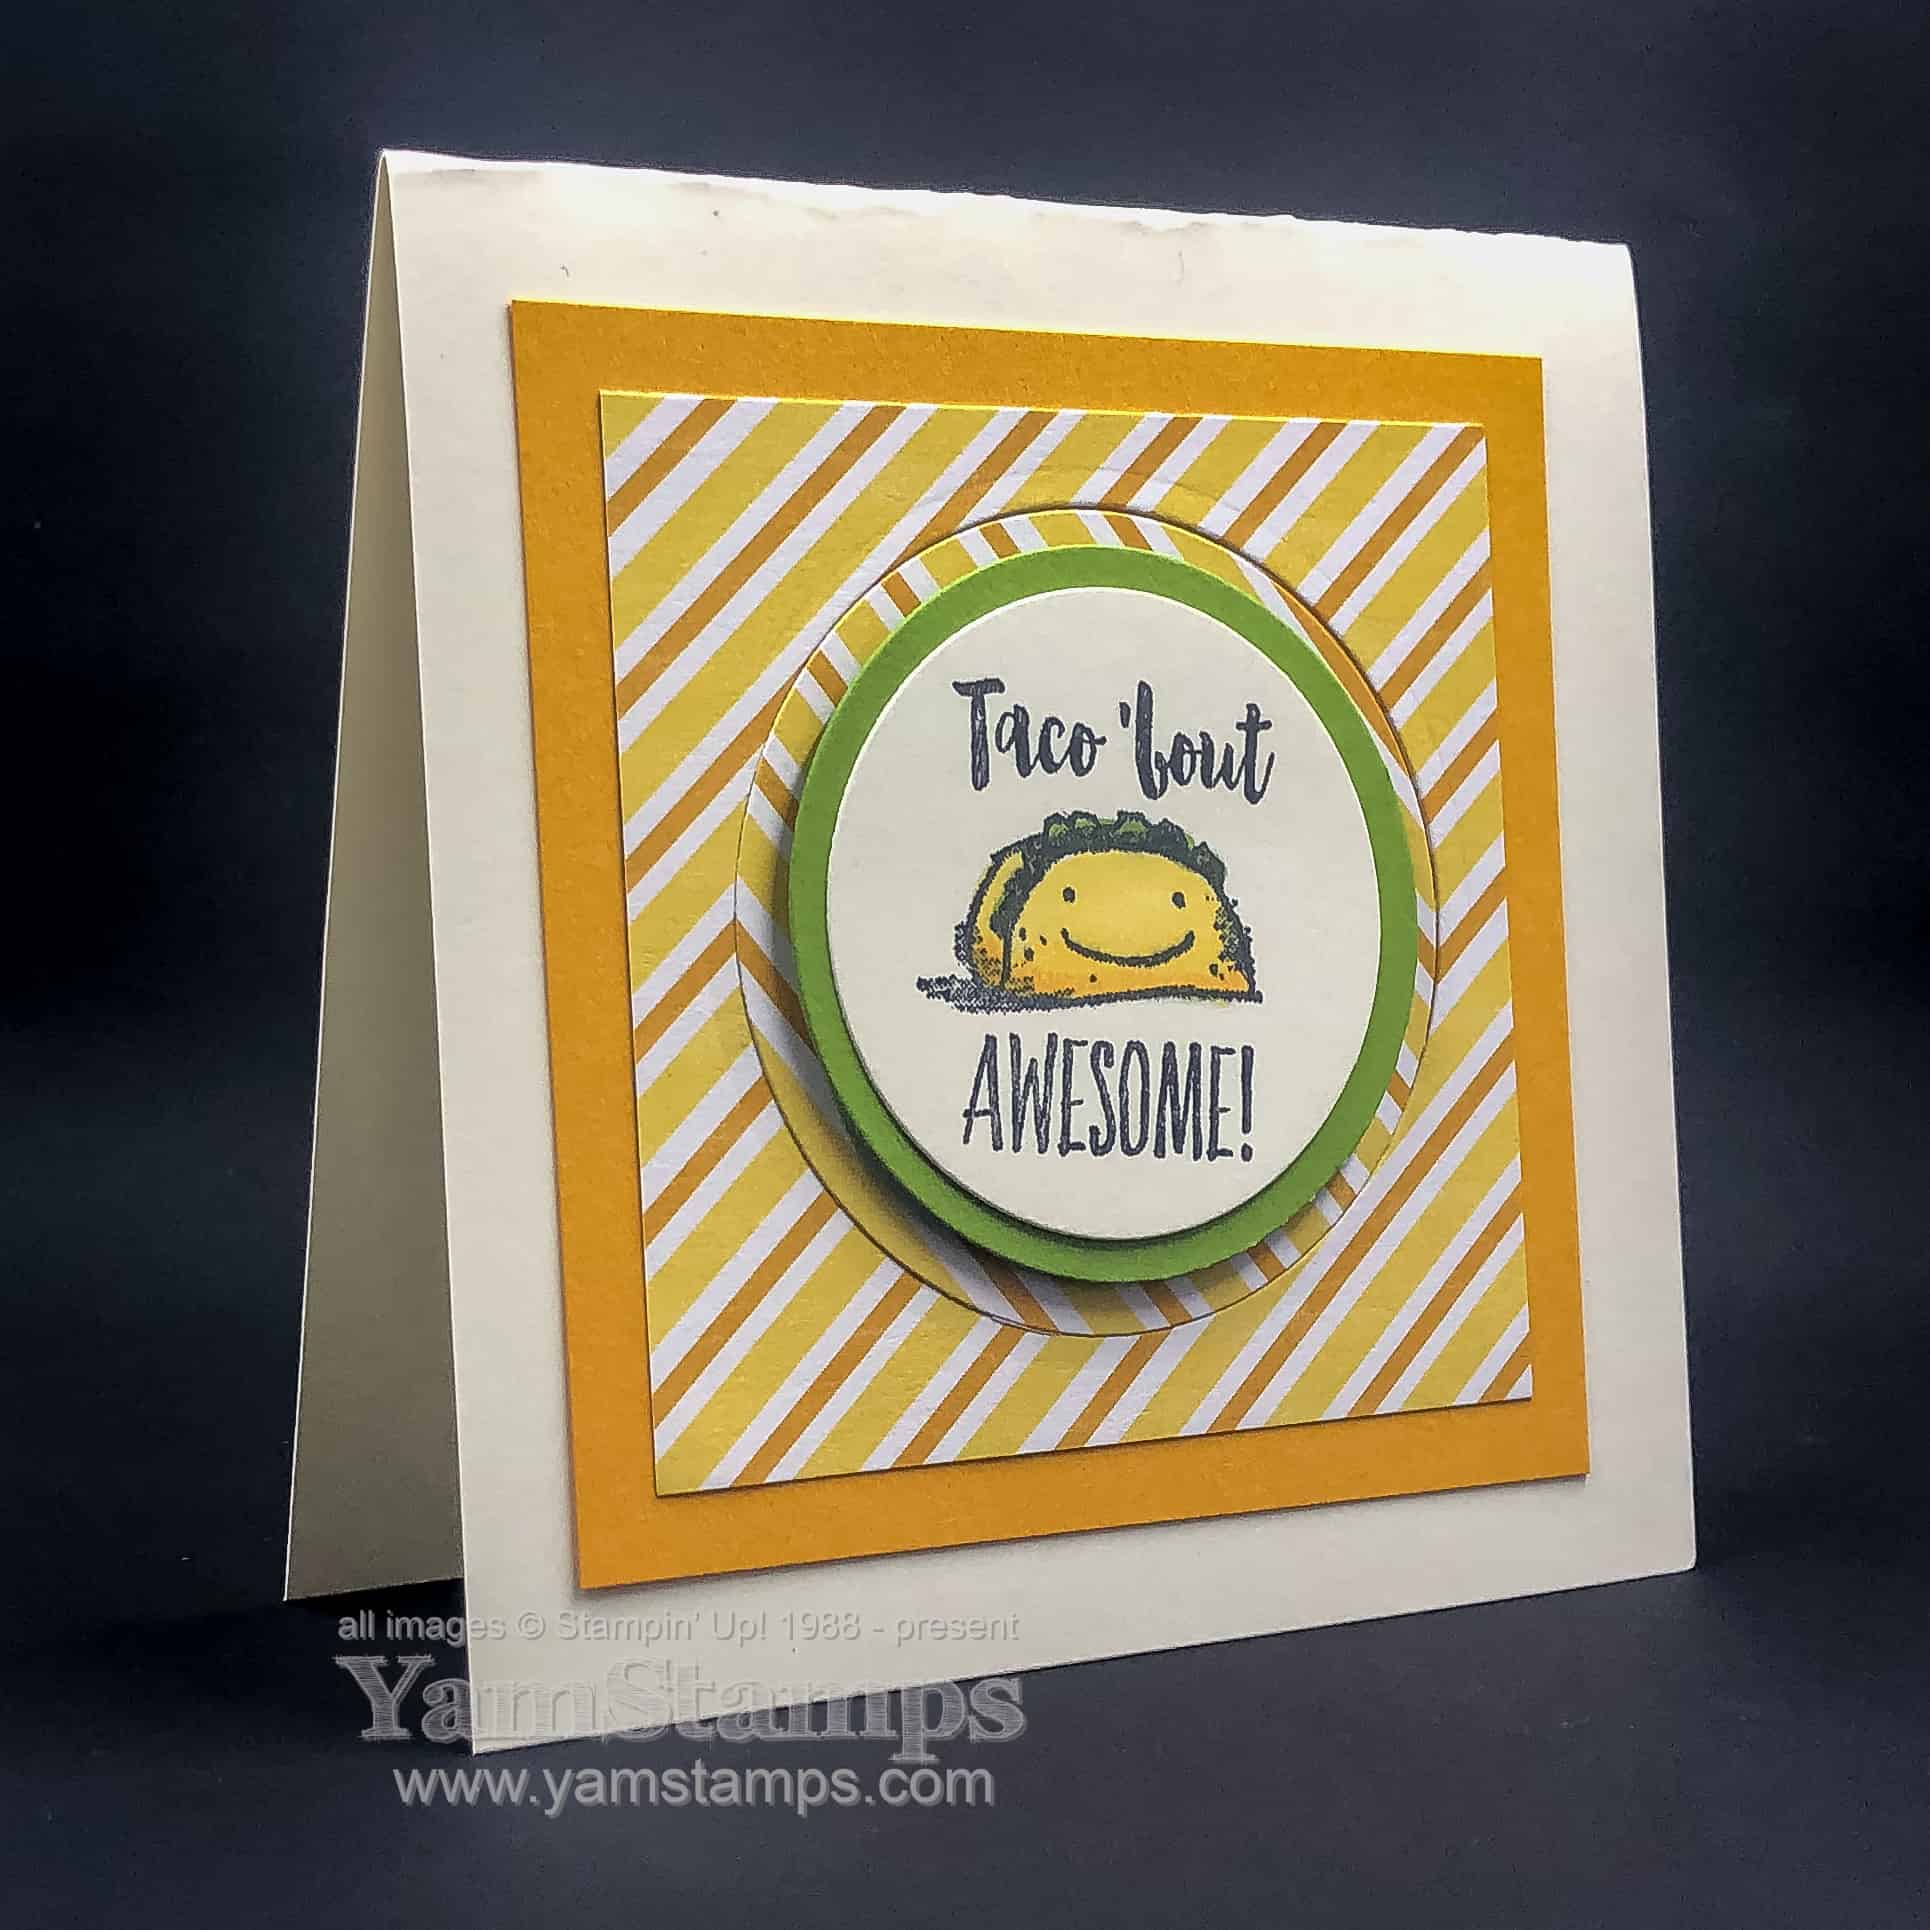
Today I’m sharing this inlaid die cut card…with a twist. Literally. I think I’ve shared other examples of inlaid die cuts – where you die cut a word or shape, and then inlay the same die cut in a contrasting colour. This time, I die cut the Designer Series Paper and gave it a quarter turn (or maybe it was a half turn….) before adhering it into place. I love how it gives a little more interest to the background but doesn’t totally draw your eye away from the cute taco image!
True confession – I didn’t think I actually “needed” the Witty-cisms stamp set from the Jan-June Mini Catalogue that’s featured in this card, but it’s been one of my favourites! I think part of what I like is that the images aren’t super huge, so they’re quick and fun to colour. This image was coloured with Stampin’ Blends and I always feel artistic when I colour with the alcohol markers. I love how there’s no streaks or lines, and the shading blends in so well. I have used other alcohol markers in the past as well (still have a few in my craft room) but what I love about the Stampin’ Blends is the easy coordination. There’s a light and dark version of the same colour, and it’s matched with the Stampin’ Up! colour families. If I recall correctly, it’s light and dark Mango Melody on the taco shell (which coordinates with the backing cardstock) and Light Granny Apple Green for the lettuce portion, which coordinates with the Granny Apple Green Cardstock around the image. The Designer Series Paper is the ever so cute Birthday Bonanza.
So I die cut a Layering Circle out of the Designer Series Paper, and adhered the piece with the hole onto the cardstock. I adhered the die cut circle back into that hole, but turned it so the pattern did not line up. I think this technique works best with a stripe or more plain directional image. Easy Peasy!
Come to a card class or join Stampers Club if you want to pick up other fun crafting tips and techniques just like this Inlaid Die Cut Card! See the upcoming dates on the YamStamps Events Page, and contact me to reserve a spot or to ask questions.
PS I am totally realizing now that I should have saved this card for a Tuesday post. *sigh* (well, maybe I’ll share it to the YamStamps Facebook Page on Tuesday!)
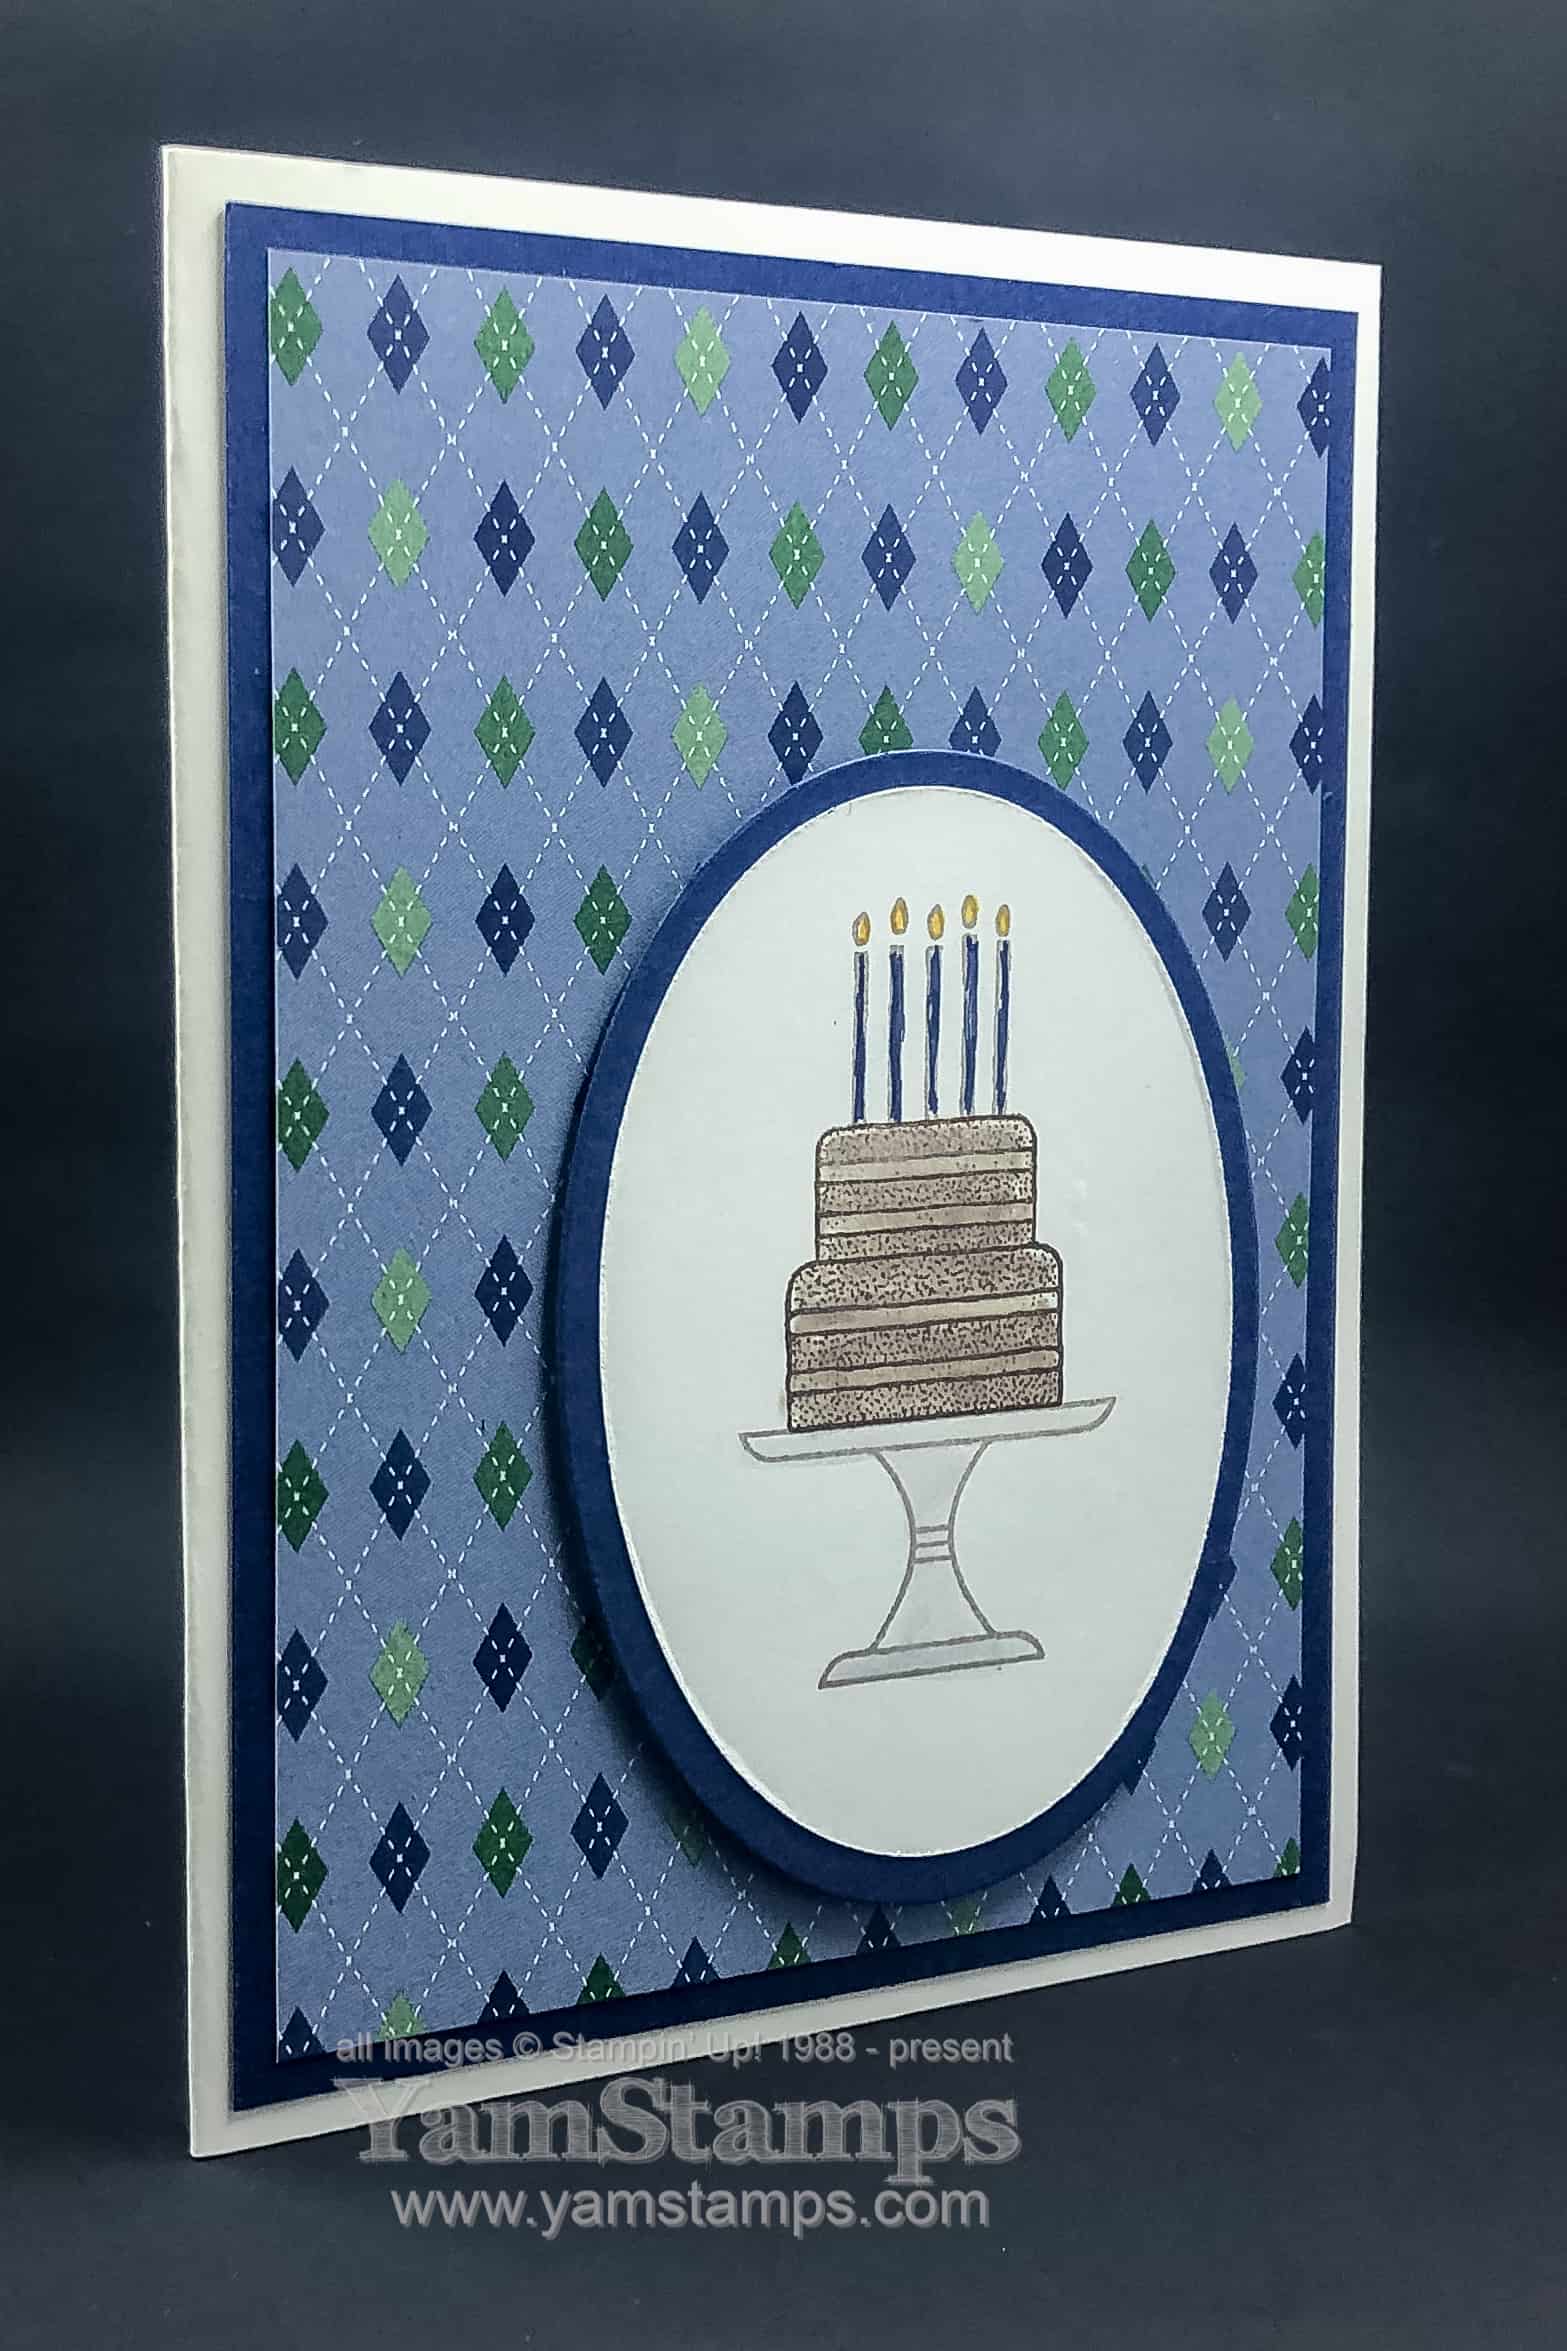
This Birthday Cake Card is today’s clean and simple card. Quick and easy to help someone celebrate!
This card is made even easier by lining everything up with the Stamparatus. If you’ve been following this YamStamps Blog for a while or have attended a class with me, you’ll realize that the larger oval is cut from the centre of the backing Night of Navy Cardstock. I used the Country Club Designer Series Paper for the background – using the argyle side rather than the obvious golf side. The main image on this card is actually three different stamps – the cake stand and outline of candles were stamped in Smoky Slate, and the cake was stamped in Early Espresso. I lined everything up on the Stamparatus so that it was easy to reproduce.
If you’re making multiples – and die cutting the stamped image, the easy technique is to line your stamps up on your Stamparatus. Place your cardstock in the corner of the Stamparatus, and stamp it. Remove the cardstock from the Stamparatus, then die cut with a Layering Oval die. Place the piece of cardstock (the one with the hole in it) back into the corner of the Stamparatus, and use that as your template/guide. For the next images, die cut the oval first, then place it in the hole in the cardstock in the Stamparatus so that your images will be in the right spot. Clear as mud? Check out this video I have on the YamStamps Facebook Page to see this technique in action. Oh – and don’t be like me in the video – place the magnet over a corner of the die cut shape so it doesn’t move…LOL.
Quick and Easy, Clean and Simple – this birthday cake card will be sure to please the recipient, and you’ll be able to whip one up at the last minute and still have time and energy to enjoy the celebration!
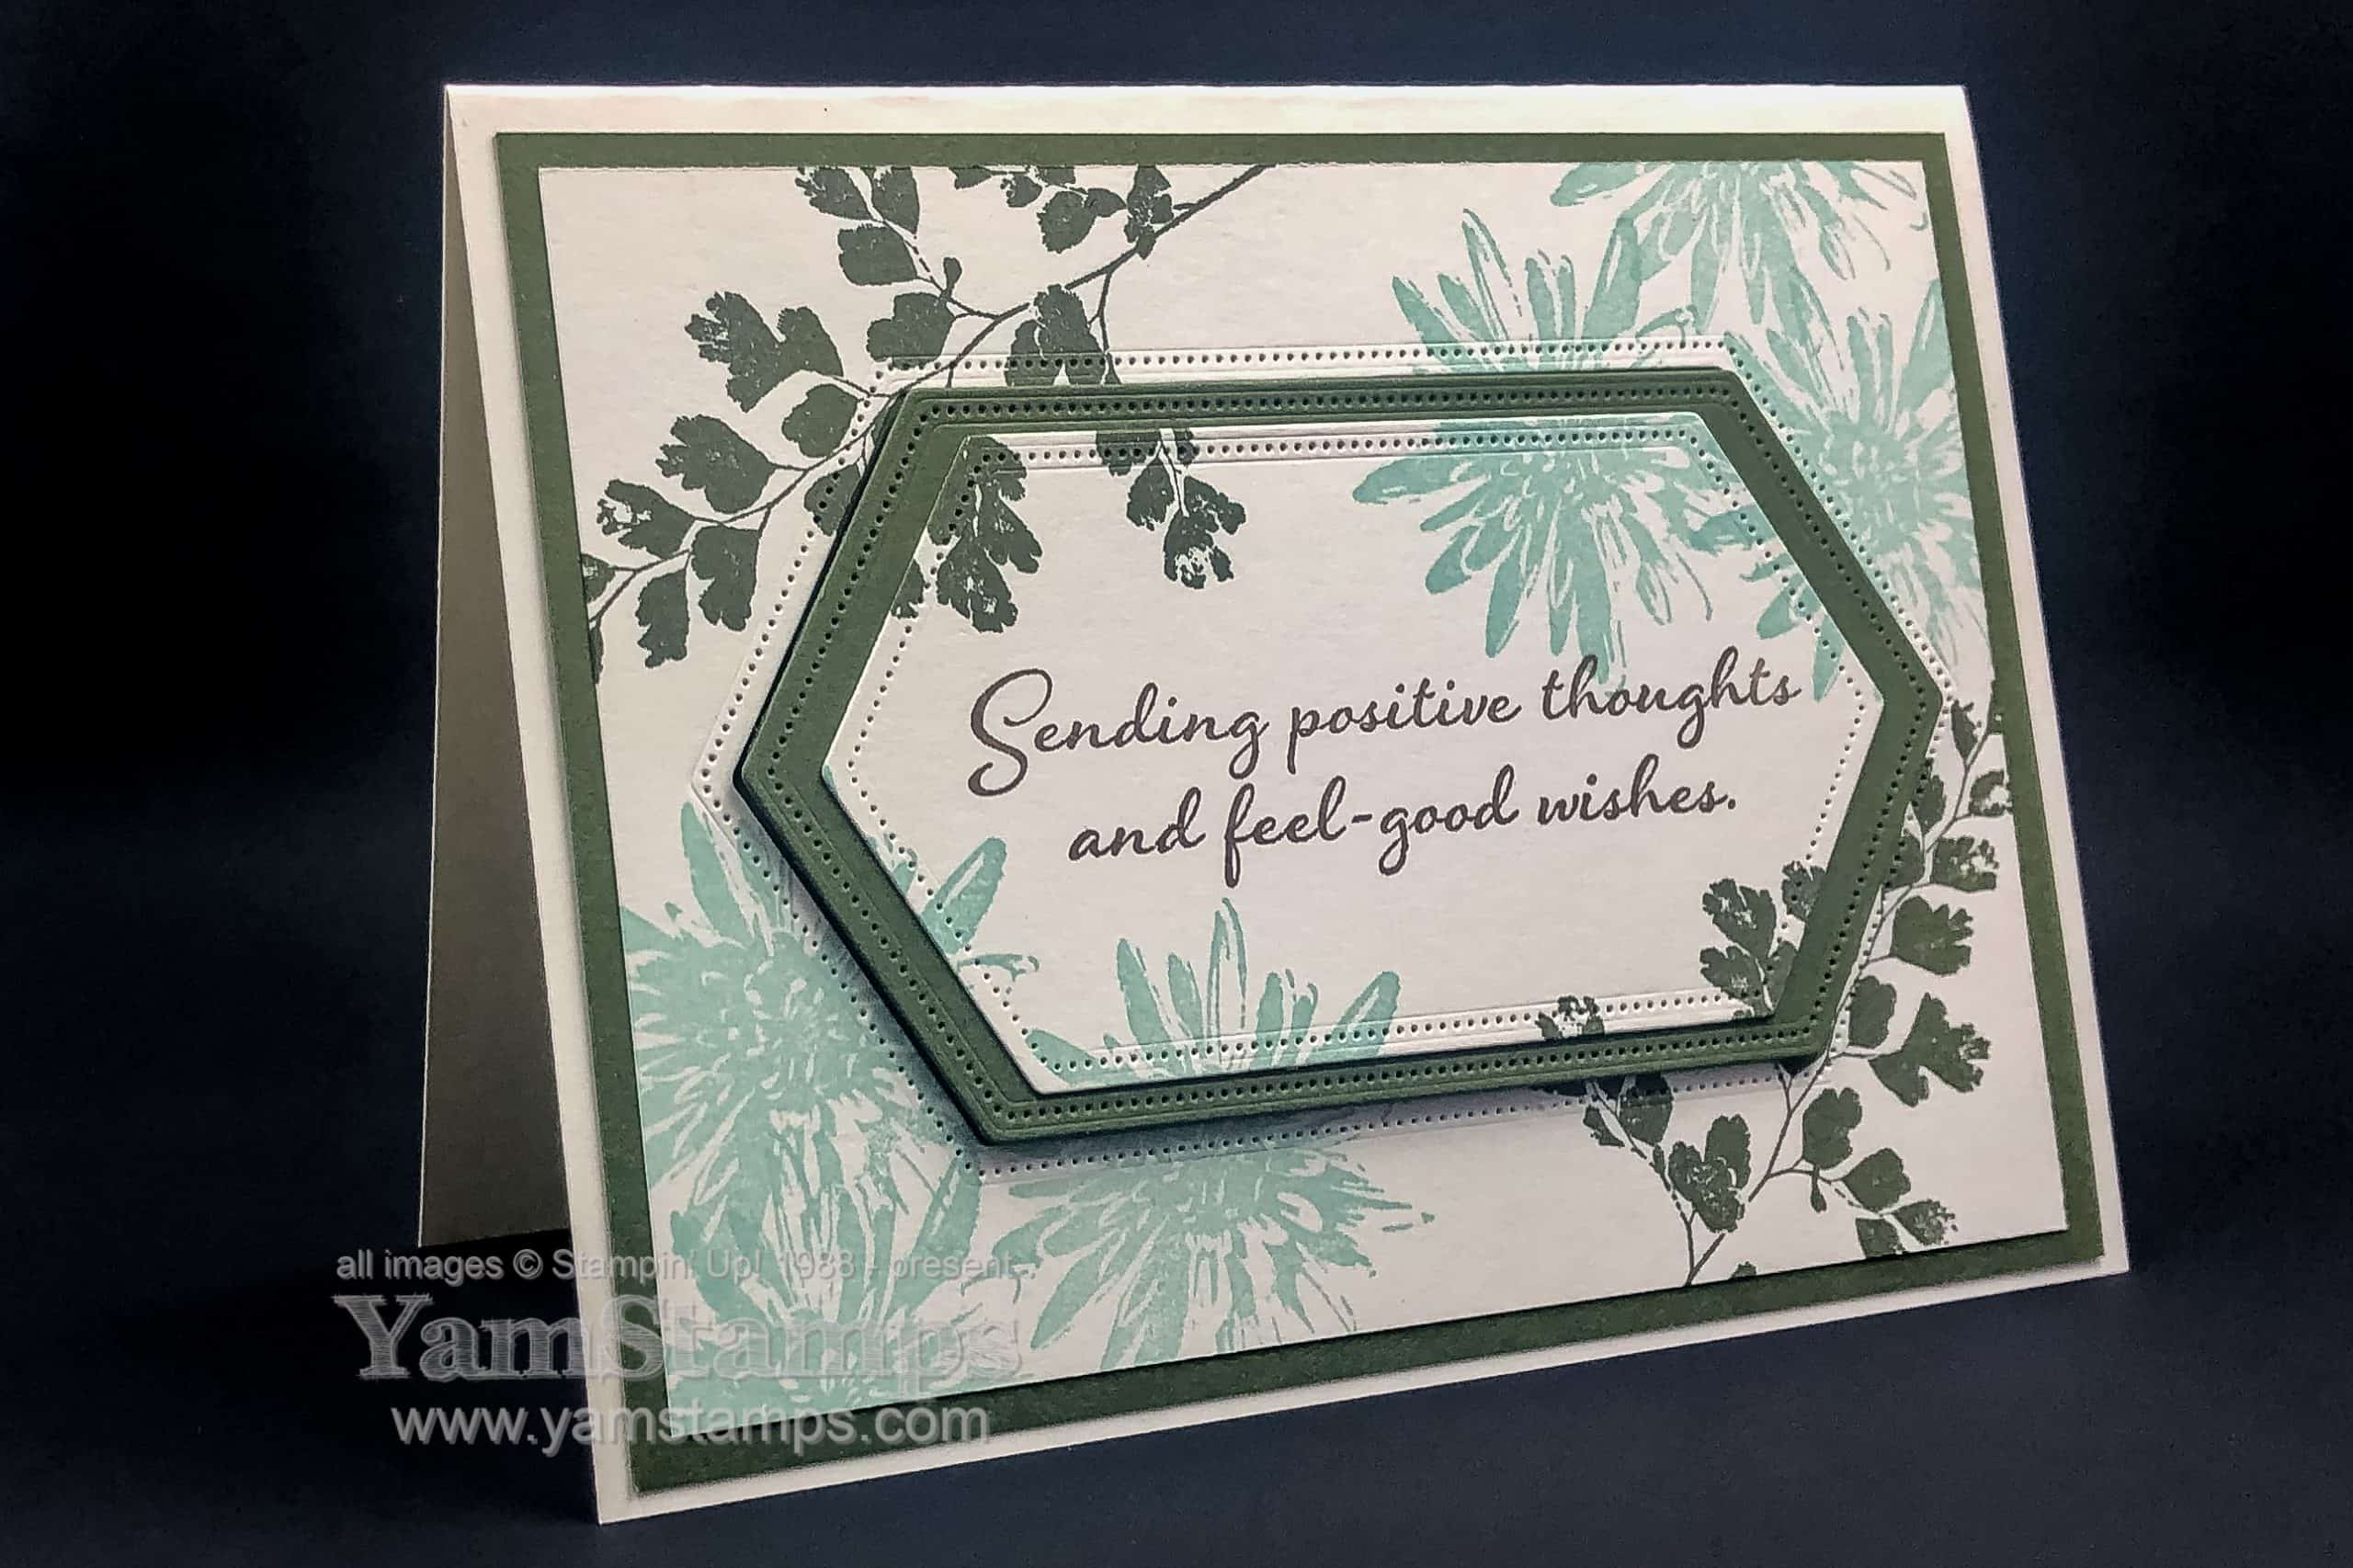
I am calling this a Die Cut Double Time Stamping Card….only because I don’t know how else to describe it. Many years ago I did a triple time card – you can see that old post here which is where you layer pieces of card stock and stamp on them at the same time to make a continuous pattern. (You can see a super old video tutorial I did here).
This is a variation on that technique – and it’s even easier!
This card uses the Positive Thoughts stamp set – I love this sentiment. It’s perfect for so many card-sending occasions (including non-occasions!). On this card it’s combined with the Stitched Nested Labels Dies. The sentiment and images are stamped first, then the centre area cut out with the smaller Stitched Nested Label Die first, then again with the larger nested label. The Mossy Meadow cardstock is cut with the same larger nested label die – this way, when the card is assembled, the additional row of stitching around the edge of the stamped cardstock shows around centre portion.
I’m planning on doing a Facebook Live showing the construction of this card, so be sure to “like” and “follow all notifications” for the YamStamps Facebook Page to be notified when I go live.
I love the effect of this technique, so call it a Die Cut Double Time Stamping Card, or call it what you will, it’s a great way to add interest quickly and easily to your handmade creations!
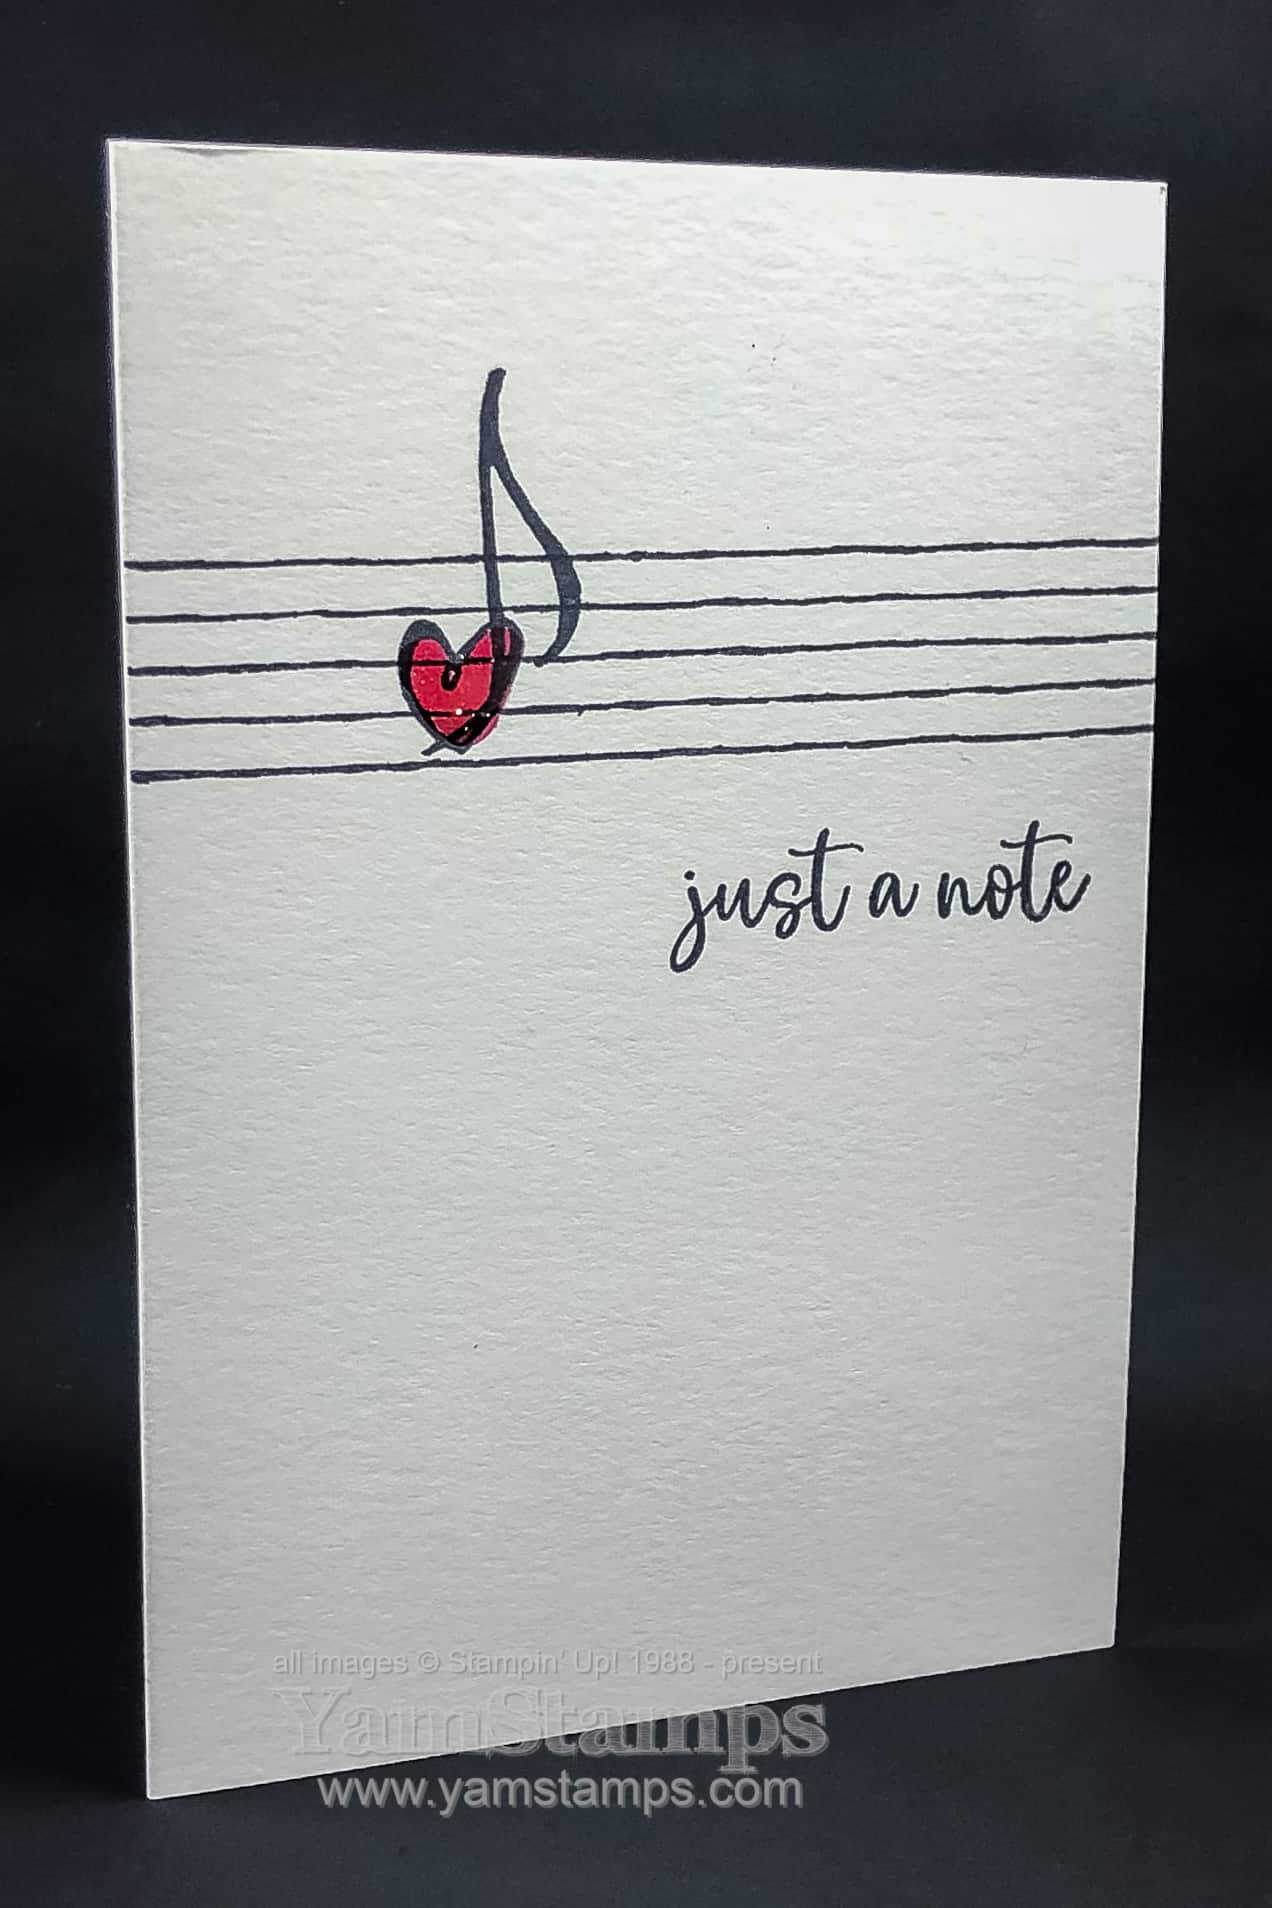
This is another take on a musical note card – like the birthday card I shared here, it has the same black/white/red theme, because why mess with something that works?!
I often think that the amount of thought that goes into creating a clean and simple design can be underrated. I know that as a cardmakers, we often think that “more is better” and that we need to be over the top in order for people to appreciate the hand-made-ness of the effort. Looking at some of the higher priced cards available in the stores, though, I have realized that a lot of them are of the clean and simple type, or featuring one main image, so as cardmakers, we need to be comfortable and confident when we choose not to overload our cardfronts.
Plus, lets be honest, once you’ve got the design, it’s easy to create/re-create a clean and simple card in a pinch! (#lazycrafter rules).
This Musical Note Card is great for any occasion (I’ve used it as a thank you card) but it could also be used for Valentine’s Day! Join us at Stampers Club/Monthly Card Class if you are local to Burlington ON and want to build up your card stash – or watch for my next Online Class Offering (I’m putting the finishing touches on it now) for ideas and inspiration wherever you are.
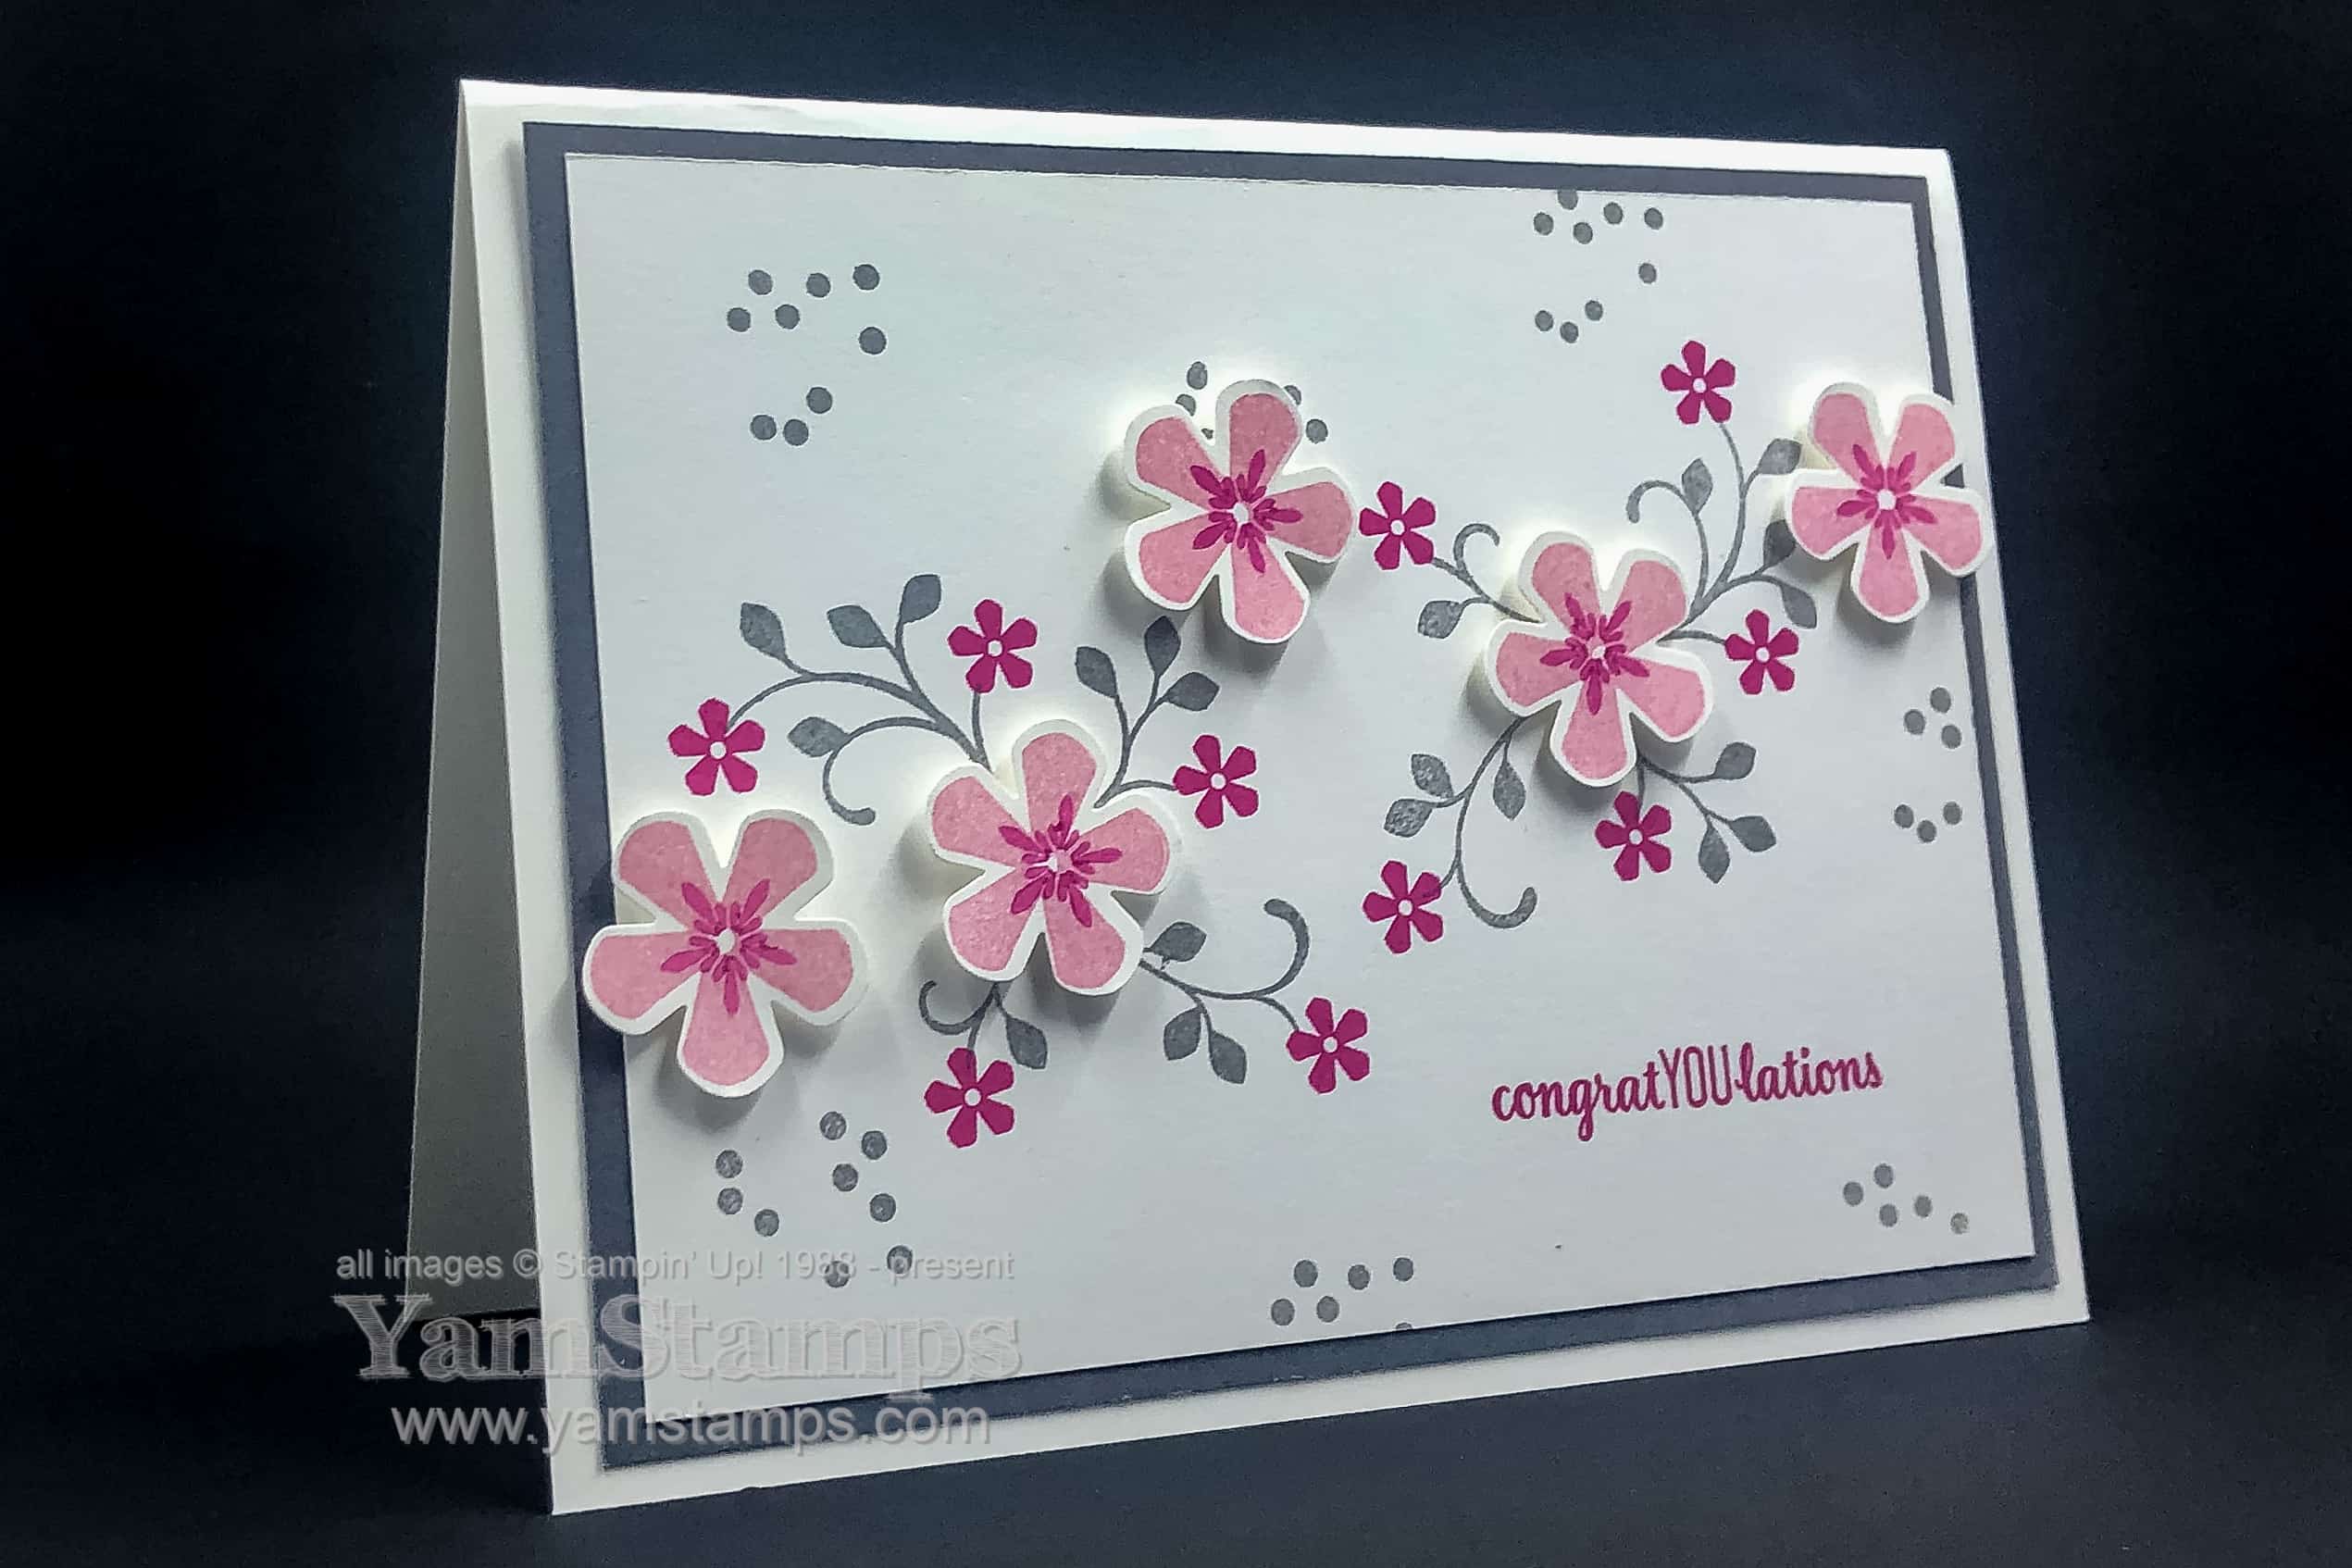
Love this colour combination! This congratYOUlations card features some of the Sale-a-Bration product you can choose for free with qualifying orders!
Love the clean feel of this grey and pink combo – it may pull me out of my “blue” project phase….at least for a while! Basic Gray (using Stampin’ Up! spelling there LOL), Blushing Bride and Melon Mambo are the shades used for this card. It uses one stamp set – Thoughtful Blooms (also available in a French Version, Fleurs Attentionnées)- which you can select for free with a $60 CAD product order, and the coordinating Small Bloom Punch, which you can select for free with a $120 CAD product order. I love the Mini Stampin’ Dimensionals to pop up smaller shapes – like these flowers.
My hint for this card? Stamp the sentiment first. That way, if it’s not “perfect” you can flip the cardstock over. Once the sentiment is in place, it’s also easier to place the rest of the elements! The leaf sprays were stamped next, then the dots, then the little pink flowers. (OK maybe the flowers and dots were in reverse order, I can’t exactly remember now…). Stamp the flowers on a scrap of Whisper White cardstock, punch out with the punch (use it upside down so you can centre the image in the punch) and adhere with the Mini Dimensionals.
Demonstrators are able to preorder product before it’s available to the “general public”. For Sale-a-Bration items, demonstrators can actually purchase the items ahead of time, so to get a “jump” on creating with the products. (it’s the one period that these items can be purchased). It’s one of the fun perks of being a Stampin’ Up! demonstrator (see more here!shameless plug haha). I personally like to pre-order a few items and then get the rest for free once they are available with a qualifying purchase!
I think I’m going to make a few extra of these CongratYOUlations cards to send to some of my demonstrator team to celebrate their accomplishments over the past month, and keep some on hand in my card stash for future celebrations!
*EDIT – this has been a popular pin on the YamStamps Pinterest Board! If you’ve come here from Pinterest – thanks for visiting! Please consider signing up for the YamStamps Newsletter to get paper crafting ideas and information directly to your inbox each week!