Nov 14, 2013 | cards, rubber stamping, Stampin' Up!
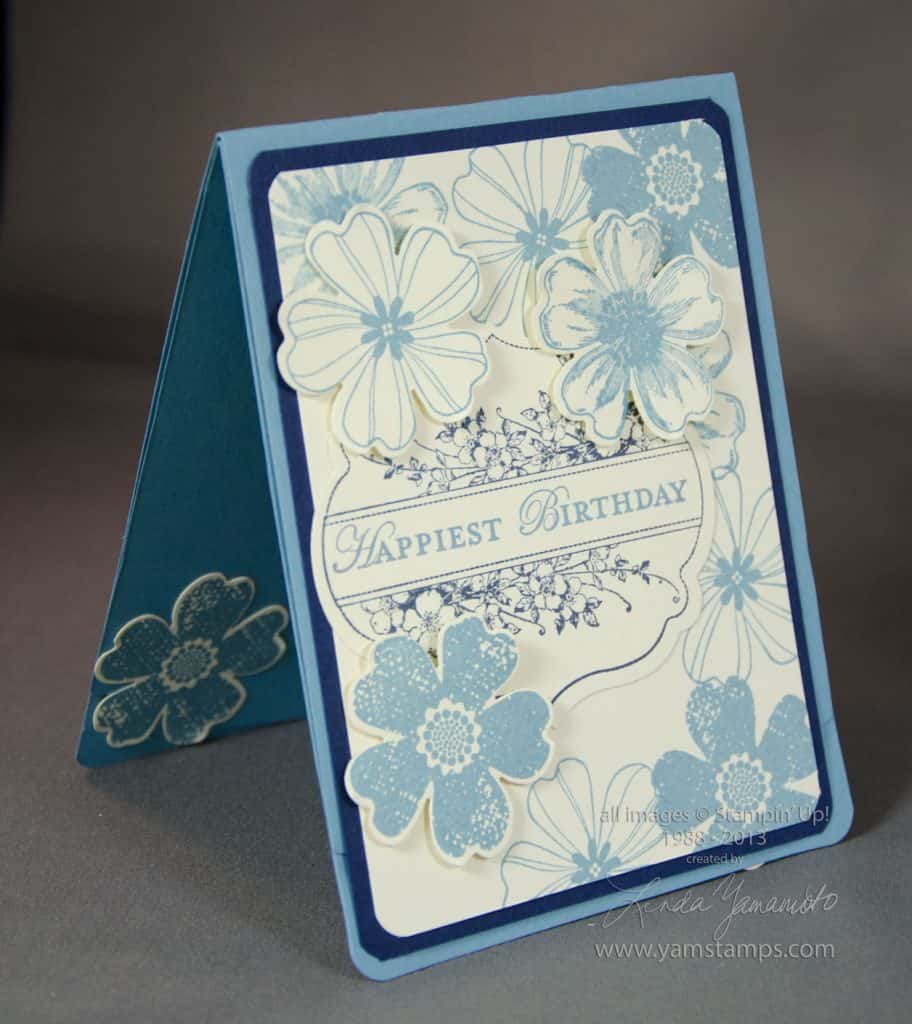
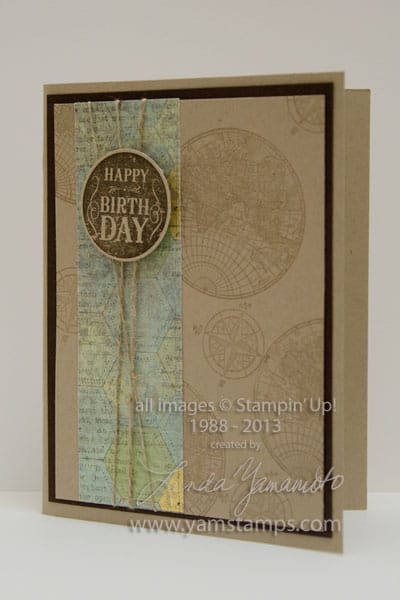 I love Stampin’ Up!’s the Open Sea for a masculine card – and here I paired it with a circular image from Blue Ribbon to create a birthday card. I also used a strip of Designer Series Paper from the Epic Day This and That package, and some linen thread, the cheapest most versatile accessory I think I own! Those neutral accessories always go far – did you see that the Burlap Ribbon is on sale this week? That’s in the same category for me.
Can you believe we’re almost half way through November? Even though I do the 12 Weeks of Christmas mailings and have to keep on top of that schedule during the countdown to Christmas, I always find myself a bit shocked at how the time flies. We only have one more monthly Christmas Card Class left – in December!! However – there is a Stamp a Stack on Saturday, November 30th – so you can make 10 Christmas cards (2 each of 5 different designs) in one of the two sessions. Cards are the same for both sessions…though I guess if you came for both, you’d have 20 cards…LOL. Anyway – if you need to build up your stash of handmade cards, please register for one of the sessions! You can do so on the events page itself, or by contacting me by email.
Sep 27, 2013 | Announcements, rubber stamping, Stampin' Up!
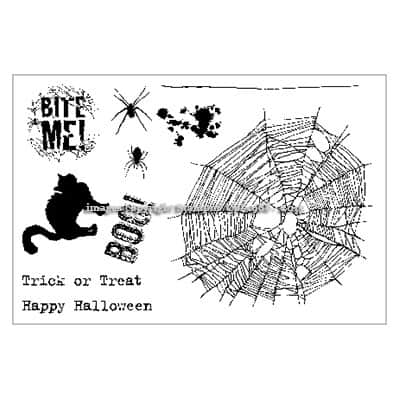 I’m not being rude…that’s the name of the latest photopolymer set from Stampin’ Up! Bite Me, a Hallowe’en themed set is out in time for your spooky crafting needs. Stampin’ Up! is offering a limited amount of photopolymer stamp sets as an option for your stamping collection. These stamps work with clear mount blocks (in this case, block sizes A, G, H and E), so make sure you have the right size blocks so you can get started right away!
I’m looking forward to some spooky crafting myself – the Hallowe’en Banner Class is happening one week today, so I’ll have some seasonal decor for my home. You’ll also want to check out my upcoming email newsletter because there’s a quick and fun home decor idea included inside it’s scheduled to arrive in your inbox on Tuesday, October 1st, just before the 12 Weeks of Christmas mailings start – so lots of fun and inspirational ideas coming to your email soon!
Sep 15, 2013 | 3D samples, cards, rubber stamping, Stampin' Up!
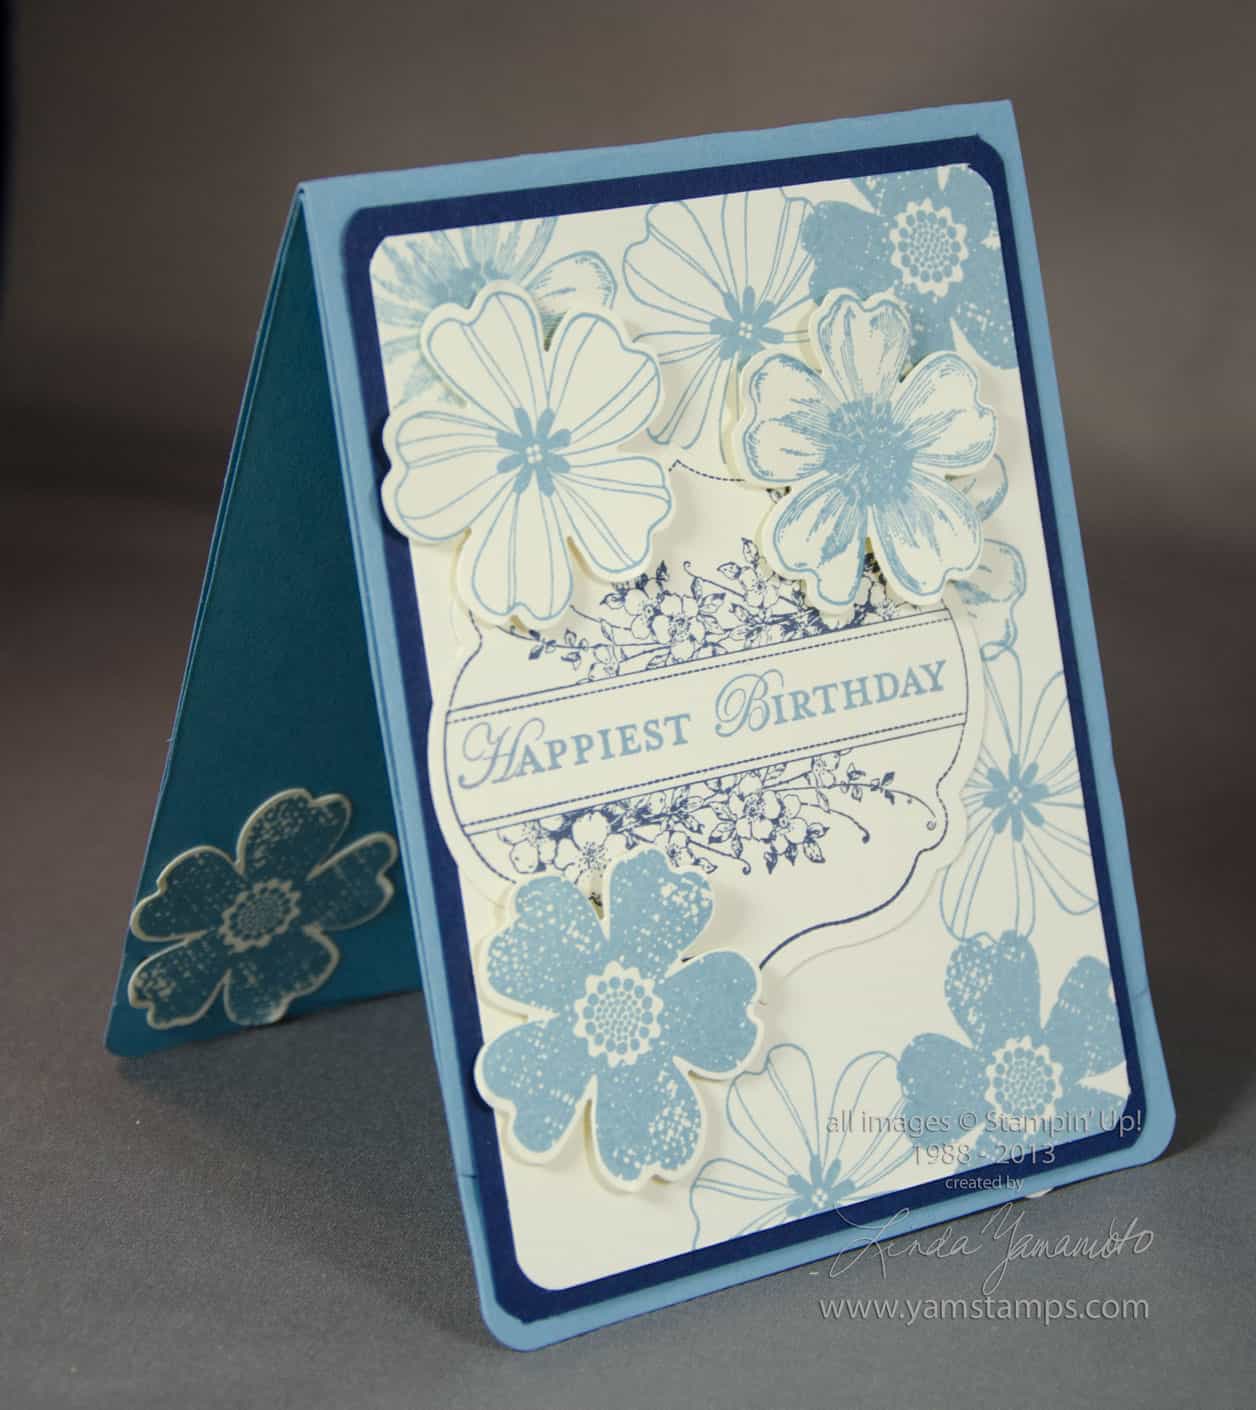
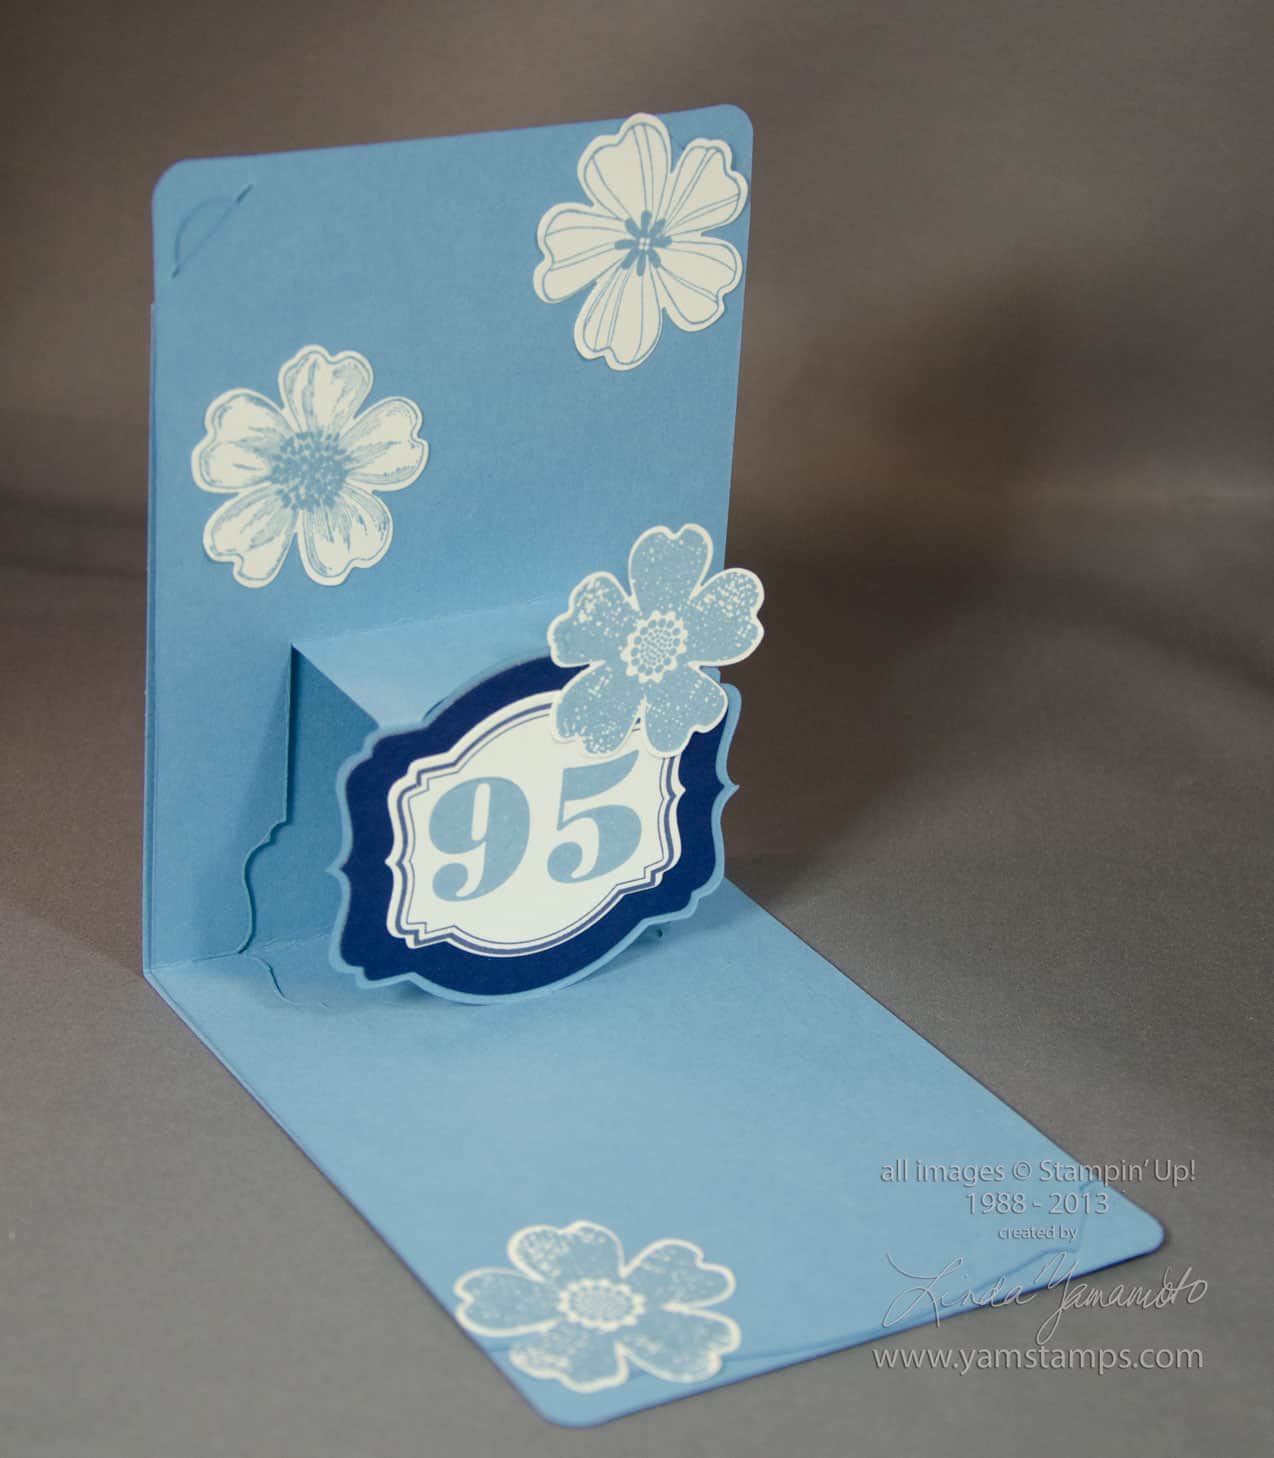
 There are times when you need an extra special card. One of the great things about making cards is that you can customize it for the recipient – this comes in handy especially on special occasions! In this case, my grandmother turned 95…so instead of having to run around to 4-5 different stores to find a card that had “95” on it, I was able to make one myself and save myself some time!
Guess what my grandmother’s favourite colour is….LOL. Anyway, I had fun creating this 3D card and it wasn’t too difficult at all. I used Stampin’ Up!’s Label Pop ‘n Cuts and Card Base Dies in my Big Shot to create the 3D card and just had to choose how to embellish it! I used the Flower Shop set with coordinating Pansy Punch and Apothecary Art to decorate the outside of the card.

I used the Morning Post Numbers set and the Deco Labels framelits to customize the inside of the card.
And it seems only appropriate to finish this post with a picture of my grandmother herself…

We were blessed to be able to celebrate with four generations on her special day and are looking forward to another gathering with extended family in the near future. Happy 95th Birthday, Nan!!
Aug 31, 2013 | Announcements, cards, rubber stamping
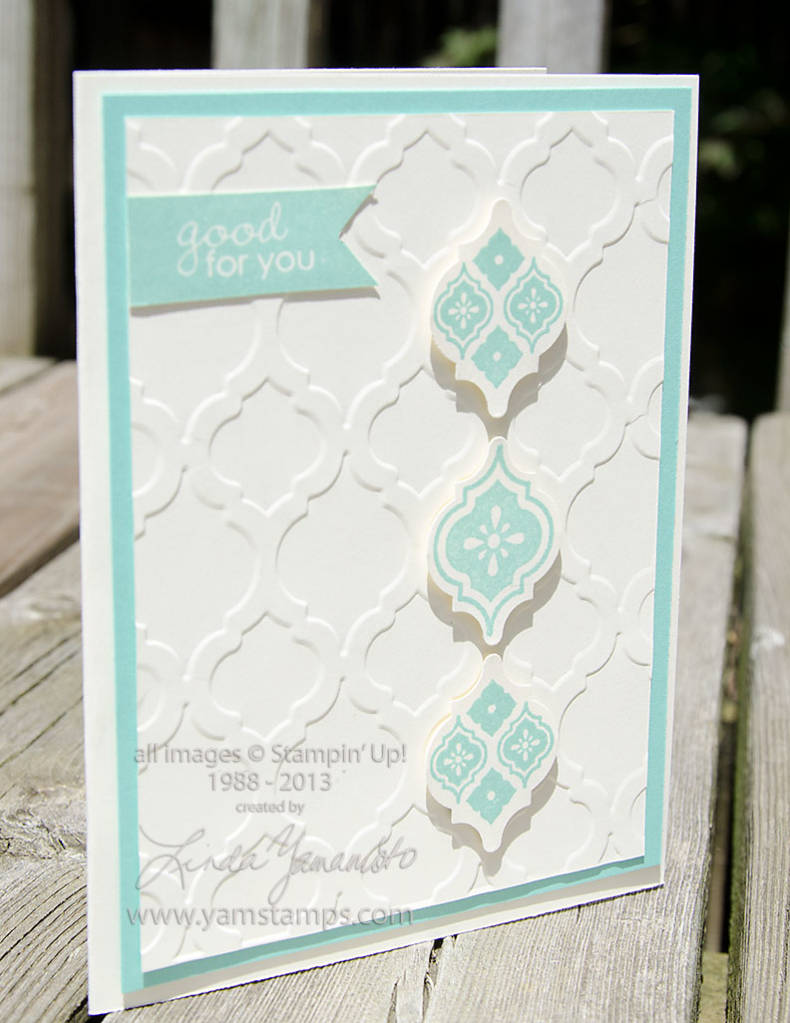
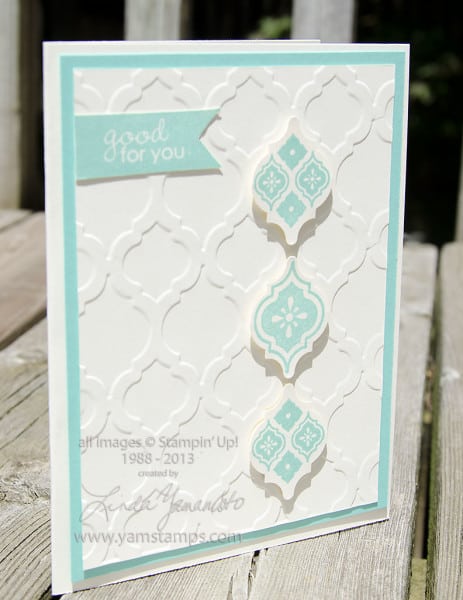
A little eye candy for your weekend….sometimes I take the photos on my back deck, and this was taken on a lovely, sunny day. One of the things I love about Stampin’ Up! product is the coordination – the stamp set that coordinates with the punch that coordinates with the embossing folder. Love not having to think too hard when I craft!!
Hope that you are enjoying the long weekend! A reminder that my September email newsletter will be coming out soon – so if you haven’t yet signed up, there’s still time – use the sign up box on the site or click here to register.
As well, the yamstamps app has been updated, so please be sure to download the update – you can admire the new graphics and the twitter feed will work again 🙂
Hope you are able to catch your breath for a bit before we get back into the swing of things – maybe relaxing on your back deck?!
Aug 28, 2013 | Business Opportunity, cards, rubber stamping, specials, TV/Video/Web/Tech
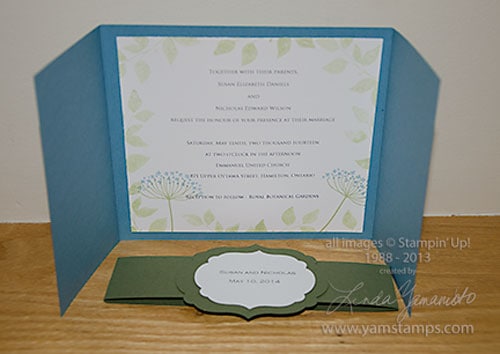 So I thought since it’s still Wednesday here…I would share one of the projects I created for my appearance on the Morning Live TV show. This was a gatefold wedding invitation, with the invitation information printed on Whisper White cardstock and adhered inside the Marina Mist card. On air, we finished the creation of the belly band. This ensemble features the Summer Silhouettes set, one of my new favourites. It takes me back to two step stamping, where two stamps are used to create a single image. The flower stem is one stamp, and the flowers are another. This was what drew me to Stampin’ Up!’s products over 11 years ago – before Stampin’ Up! even came to Canada! (The joys of having American friends, or friends with American addresses!). When the opportunity came to Canada shortly afterwards, you can bet it was a no-brainer for me to become a demonstrator – and I was one of the first ones to do so, and still going strong!
So a couple of reminders, along that line – if you’re interested in becoming a demonstrator, the Pick a Kit promotion is on until August 31st. You only have a few days left! You can get a project kit for free along with the $155 worth of merchandise that you select. See the details here or contact me for more information…or go here to start the online sign up process! My group of demonstrators includes people from all over Ontario and out to British Columbia and we’d love to have you join us.
So…I’ve posted about this almost everywhere else – twitter, facebook…so sharing the joy here as well…after my spot on Morning Live, I ran into Adam van Koeverden, who was on his way in! I am pretty sure I babbled, but managed to get a photo taken with him. It was such a thrill to meet him – after having watched him compete in the Olympics and win medals in kayaking…hoping some of that athletic greatness rubs off on me during my half marathon this weekend!!!
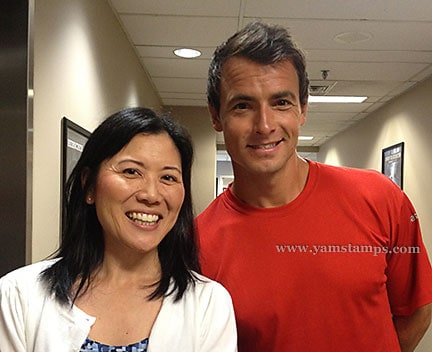 And as I said on my facebook page….kind of glad this happened AFTER my appearance, because I’m pretty sure I wouldn’t have been all too coherent otherwise LOL!
Aug 4, 2013 | rubber stamping
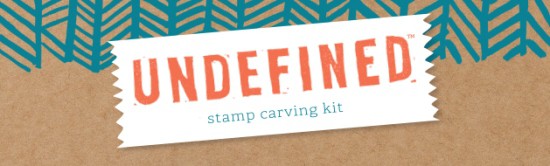 Stampin’ Up! introduced another new line while we were at Convention 2013. This is a stamp carving kit – so that you can create your own custom stamp! I remember doing linoleum block carving in grade school (do I date myself by admitting to that??!!) and this is like a smaller, easier version of that project. We were able to carve our own stamps at convention – I actually did a name stamp (which I was told afterwards was a more advanced project to tackle…might have been good to know that ahead of time!!!). I thought that writing my name was easiest, since I wasn’t feeling very artistic at the time.
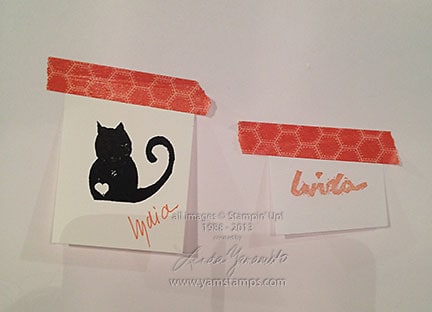 So these are the results – mine is…obviously the one that says “Linda”….my friend Lydia is more artistic so drew a cat (I believe it’s a likeness of her cat named Splotchy…)
Did I mention that I actually won this kit as part of the “Prize Patrol”?! I got the complete kit, as well as some washi tape (looooove it) and some notecards and envelopes – so a complete little package ready for me to create something and send it off! The kit contains wood blocks, the carving tools, a stampin’ write marker, rubber and foam, plus a template (for ideas) and postcards.
I post this next picture as a warning. The suggestion is that you draw out your idea in pencil onto a piece of paper, then you flip the paper over onto the rubber, and transfer the image by rubbing on the back of the paper and then carve. If, however, your image doesn’t transfer well, you may decide just to draw onto the rubber itself….but if you’re doing a word, you need to remember that the image you’re carving out should be in reverse….otherwise you’ll end up with….
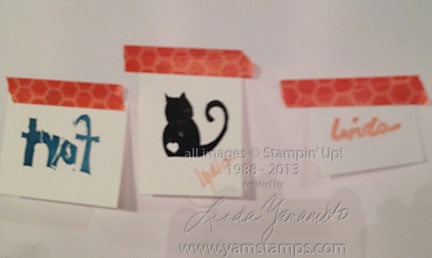 THIS…..
LOL. My friend Dana’s artwork beside Lydia’s. The result is rather appropriate given what she was carving, don’t you think???
If you’re interested in the Undefined kit, check it out in my online Stampin’ Up! store – you can shop from the comfort of your own home, 24/7 and it will ship to your door, no matter where you are in Canada!! If you go to the link, there’s also a video showing more about the kit itself. If you have any questions, please feel free to contact me!!