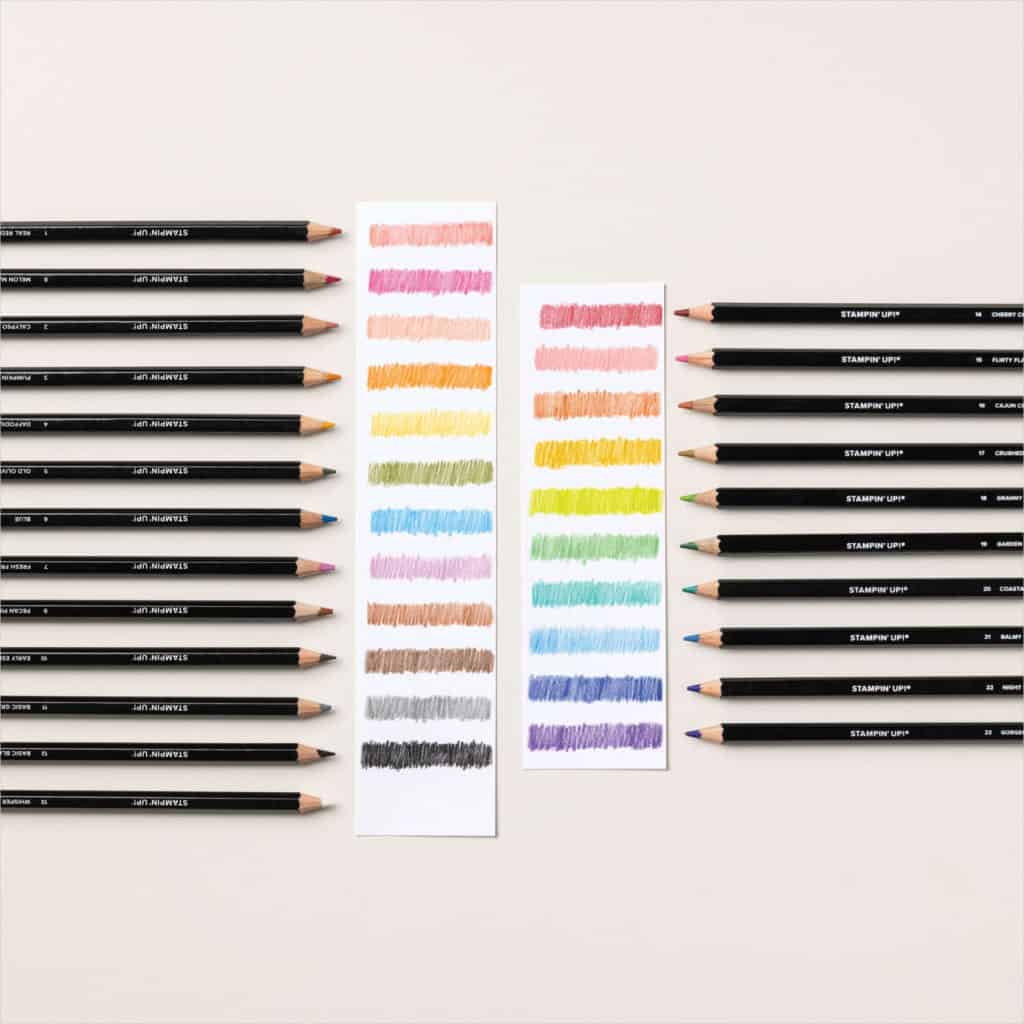
This Product Focus is on Stampin’ Up!’s Watercolo(u)r Pencils!
Stampin’ Up! recently revamped Set 1 of the Watercolour Pencils to update the colours included. Check out this video that goes through the colours and a few ways to use the Pencils to add colour to your projects! If you can’t see the video below, you can watch it on the YamStamps YouTube Channel here. Watch to the end to hear details of the bonus I’m offering if you use the host code NASA9A4V on https://yamstamps.com/shop to purchase either Assortment 1 or Assortment 2 of the Watercolour Pencils by Friday 14 July!
It’s a BIG Day – so much is starting today in the Stampin’ Up! Canada world!
Thursday 6 July is a BIG Day with a number of things kicking off!
BONUS DAYS
Bonus Days have started – from now until 31 July, when you order $60CAD product (before shipping/taxes, after any discounts), you’ll receive a coupon code for $6CAD that you can spend in August! No limit to how many coupons you earn / redeem. Shortcut to shopping is https://yamstamps.com/shop or you can message me for assistance placing your order or to pay by etransfer.
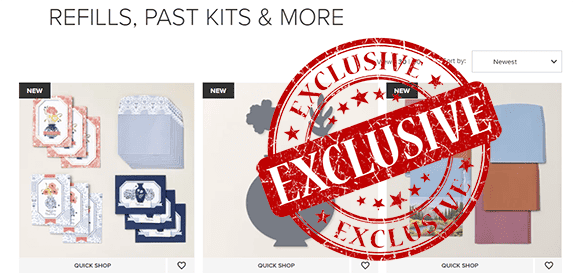
The Clearance Rack is being refreshed – so check it out for savings on retired products from Stampin’ Up! (don’t forget that once your shopping cart hits $60CAD product, you’ll qualify for a coupon code!). Clearance Rack items are available while supplies last.
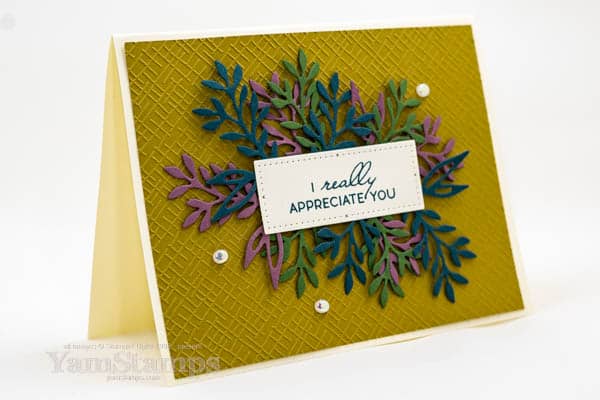
This Layered Leaves Background Card is easier than you might think…
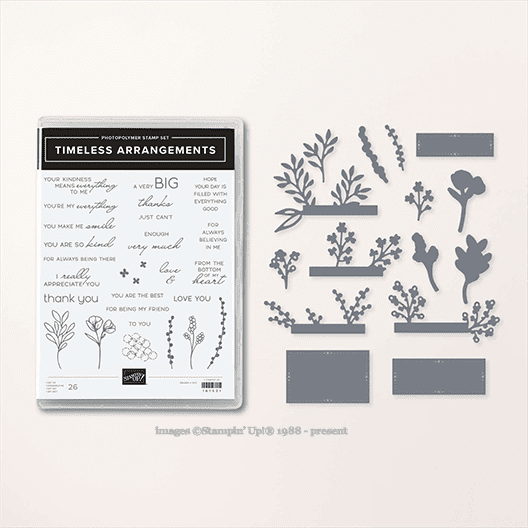
Really! This layered leaves background card uses die cut labels that make it easy to add a lot of delicate details to this card.
I used a number of the newer/returning Stampin’ Up! colours for this layered leaves background card – and I think it might almost look a little autumnal…but I couldn’t wait until then to share it! Using Wild Wheat as the backdrop, with foliage die cut from Pretty Peacock, Moody Mauve and Mossy Meadow. I also used Very Vanilla for the sentiment label and card, as I felt it went better with the tones of the colours I ended up choosing. I tend to automatically reach for Basic White – so every once in a while I have to remind myself that there are other options!! [What about you – are you a Very Vanilla or Basic White kind of crafter??]
The background layer is textured with one of the Basics 3D Embossing Folders. I love these folders that are part of the Online Exclusives. Stampin’ Up! Online Exclusive Products are items that are available for purchase, either through the YamStamps Online Stampin’ Up! Canada store, or by contacting me and having me place the order for you. You just won’t find them in a catalogue. Stampin’ Up! is able to offer different items and will replenish stock as able, and add new offerings every few months – in fact, there’s a new set of products added to the selection as of 6 July!
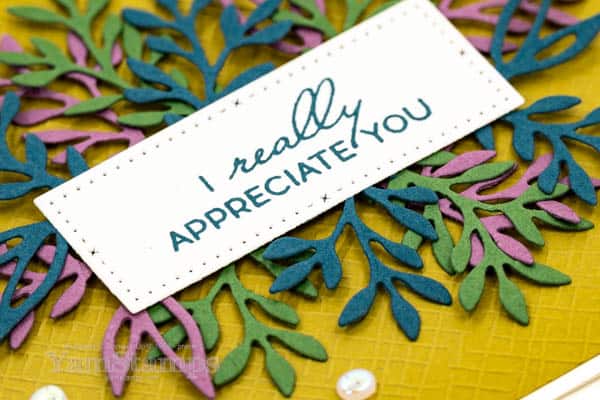
To add these layers, I basically cut one of the leafy frames from the Timeless Arrangements dies twice from each of the cardstocks. I added adhesive to the back of the die cut sentiment, and then arranged the different leaf die cuts – one showing out the top, and one showing out the bottom. I trimmed the rectangular base of the die cut as needed so it didn’t overhang the sentiment. The sentiment is from the Timeless Arrangements stamp set, and I stamped it in Pretty Peacock ink (the rectangular die is also from the Timeless Arrangements dies). You can get the Timeless Arrangements stamp set and dies together in a discounted bundle during the 2023-2024 Annual Catalogue sales period. (They may be available after that if they are not retired, but as individual items only. Stampin’ Up! tends to offer the discounted bundles only for one catalogue sales period).
The small sentiments actually can fit on the little rectangular bar too! To make it simpler for me, I stuck to using just the one die cut with the leafy sprays on it. The finishing touch for this layered leaves background card was a few Flat Adhesive-Backed Pearls because everything is more fun when there’s bling.
You can shop for any of these products 24/7 in Canada at https://yamstamps.com/shop or contact me for assistance placing your order or if you’d like to pay by etransfer.
The next edition of the YamStamps Newsletter goes out on Tuesday (4 July) to my subscribers. Each weekly edition contains some sort of paper crafting inspiration, information and ideas – but the first newsletter of each month is a little more jam packed – I usually have at least 3 different projects there, including one that focuses on a technique. This month, there’s an easy and effective card, a cool technique and a fancy fold card. Click here to subscribe or use the box at the top of the blog page.
If you’re a new subscriber, you’ll get a free video tutorial for a fancy fold card. If you’re an existing subscriber, you’ll have already received the tutorial when you first signed up (but you can always contact me if you can’t remember where to access it).
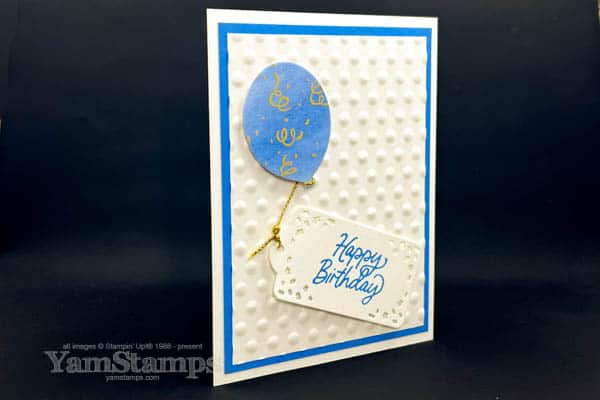
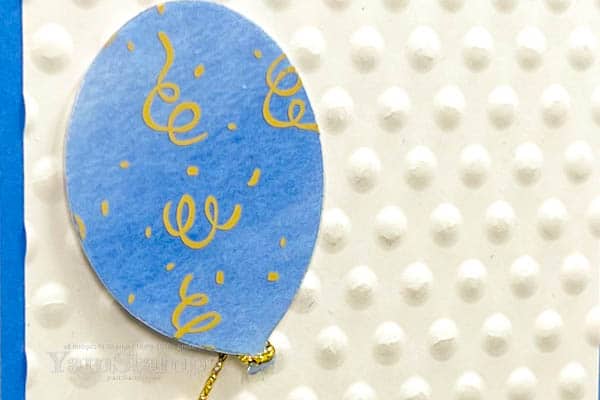
Typically, birthday cards are how a lot of crafters get into card making – because we always need birthday cards to send (at least once a year…). Using the coordinating dies to create a balloon and tying a tag to the balloon makes it more interesting. On this card, the balloon was die cut from the Bright & Beautiful Designer Series Paper (on sale until 30 June 2023…), and then adhered onto a balloon die cut from the Gold Celebrations Specialty Designer Series Paper (which is printed heavy duty window sheets).
A great way to “hide” adhesive when crafting with acetate or window sheets is to use an Adhesive Sheet! I applied the Adhesive Sheet to the back of the Gold Celebrations Specialty DSP before die cutting the balloon. After it was die cut, I peeled off the adhesive liner, then attached it to the Bright & Beautiful DSP die cut balloon before adding it to the front of the Beautiful Balloon Birthday Card with Stampin’ Dimensionals. Since the adhesive is covering the entire surface of the balloon, it’s more difficult to see – as compared to using double sided tape or glue dots – you often can see the borders of the adhesive.
I added texture to the background with the dotted Basics 3D Embossing Folder and used the accent colour of Azure Afternoon (one of my most used new colours…) for the ink and cardstock. I love using embossing folders for the backgrounds – it adds interest and texture without being too distracting.
I know we are looking forward to the upcoming long weekend, but don’t forget that the Designer Series Paper Sale and the Starter Kit+ Promotion both end Friday 30 June! Don’t miss out on the savings! Message me if you have any questions or need assistance completing an order.
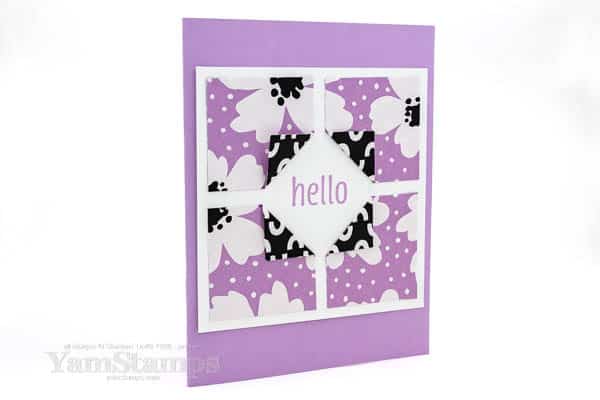
This card features the Delightfully Eclectic Designer Series Paper. This paper offering is a little unique because most 12″ x 12″ paper offered by Stampin’ Up! comes in a package of 12 sheets – 2 each of 6 different double sided papers. The Delightfully Eclectic DSP has four times as many sheets! It has 48 sheets, 4 each of 12 different (and eclectic…) double sided papers – so it’s fantastic for making multiples of the same card, or doing combinations of cards and 3D items or scrapbook pages that all coordinate.
We made this card in a recent Online Club get together. It’s a 3-1/2″ square of DSP, cut into equal squares of 1-3/4″. That way, if you keep the squares in the same arrangement, the pattern flows across all the squares. If you’ve been following the YamStamps blog for a while, you will realize that this is something that I really like to do with my card designs. I feel like the continuous pattern looks more cohesive (and also soothes my need for some order – at least I can have that in my paper crafting projects, since it’s often lacking elsewhere in my life it seems!!).
The next step is to fold back the corner of each square that is closest to the centre of the design. That can be a little fiddly, but it’s do-able. One of the tricks I shared in the Club is to mark the corner first so when you move it to fold the corner, you remember which one it is!! Once you’ve folded the corner, you see how you are able to show off your paper – both sides of it!
The Delightfully Eclectic DSP is part of the current DSP sale, so you can grab this super sized package at 15% off – but only until 30 June – hard to believe, but that’s this Friday!!! Shortcut to shop 24/7 in Canada is https://yamstamps.com/shop with delivery directly to your door. If you need assistance placing an order, or would like to pay by etransfer, you can send me a message and I’ll be in touch to finalize everything for you.