There’s all sorts of “days” to celebrate, aren’t there? So for today, I’m sharing this card in honour of World Cardmaking Day! It’s also got some pink, so I think it also qualifies to celebrate Mean Girls Day (which is also today) (and even though it’s not Wednesday)… So here’s the World Cardmaking Day Fun Fold Card 🙂
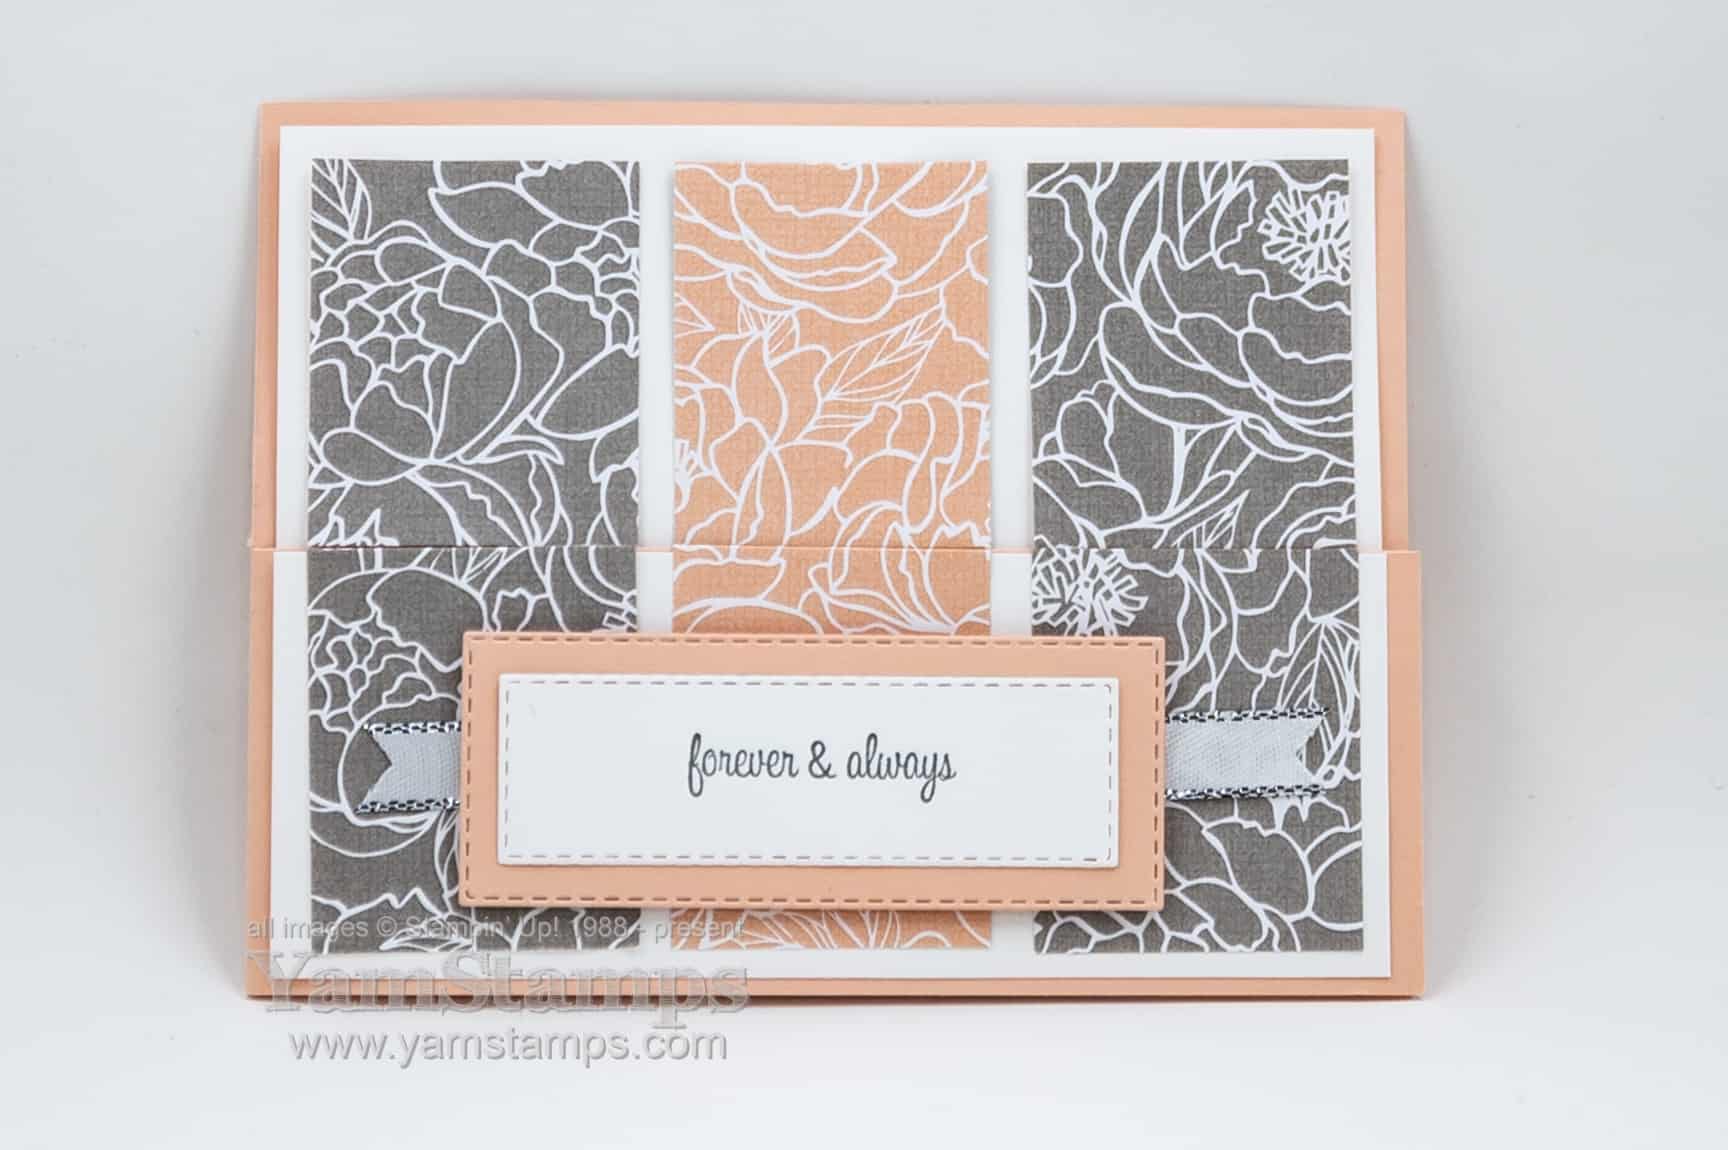
OK so admittedly – this doesn’t look very fun fold-ish on first glance. I think that’s what I like about it! This is a card from the latest Card Class To Go / Stampers Club. Class/Club members get the precut card supplies for the projects – so they just add the finishing touches and assemble! While the sentiment on this sample is from the Itty Bitty Greetings stamp set and is good for a wedding/anniversary card, you can switch out the sentiment and/or the patterned paper to suit the occasion. I used the Peony Garden Designer Series Paper for this card – it’s one of the papers included in this month’s Designer Series Paper Sale for 15% off!
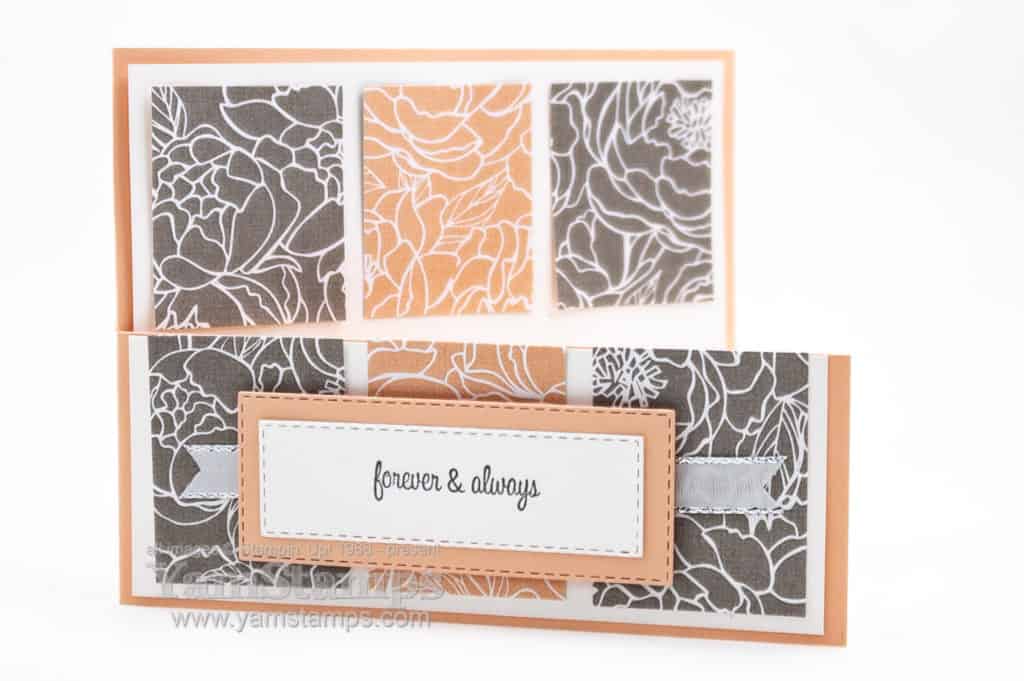
Here’s the fun fold aspect of it – it’s just an extra cut to create this different opening.
Just a little different, and fun, I think! One more little detail that can be fun – I used the two sheets of paper that had the same pattern but different colour backgrounds, and then when I cut the strips, I tried to arrange them so that the pattern continued across all three. If you are trying to be a thrifty crafter, while it might pain you to cut 3 strips from each sheet you’ll be able to get 6 cards with the same pattern because of the 12″ x 12″ size of the patterned paper, but they’ll all be _slightly_ different. Three will have grey-pink-grey and three will have pink-grey-pink, because you use 2 strips from one sheet and one strip from the other for each card.
Oh – and here’s the Mean Girls Reference too..
Hope you enjoyed this World Cardmaking Day Fun Fold Card!Fun fold, regular fold, whatever – hope that you get the chance to create something today – maybe while watching Mean Girls?
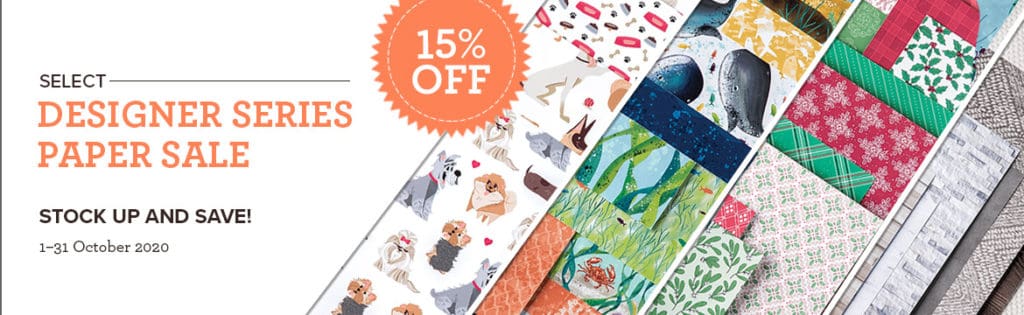
All of October you can save on selected Designer Series Papers from the Stampin’ Up! Canada Annual Catalogue and the August-December Mini Catalogue. You can download the flyer here. The image below that shows all the papers included in this sale (if you click on it, you’ll go to them in the store).
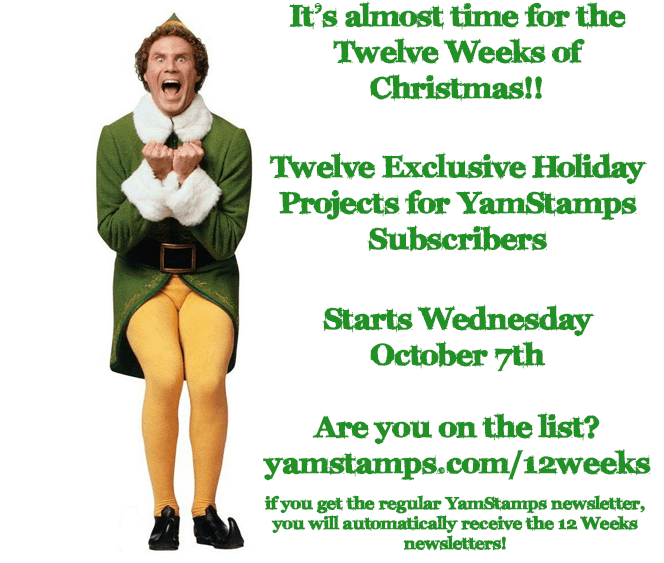
It’s that time of year again….starting next week, it’s the Twelve Weeks of Christmas! As a special feature for subscribers of the YamStamps Mailing List, each year at this time I have a special extra newsletter edition. Each week brings a holiday project tutorial – complete with a picture, supply list, and step by step instructions. This is in addition to the regular YamStamps Projects Newsletters – so there’s lots of ideas and inspiration coming to your inbox – but only if you’re a subscriber! Just like the regular YamStamps newsletter project – these projects won’t be shared elsewhere.
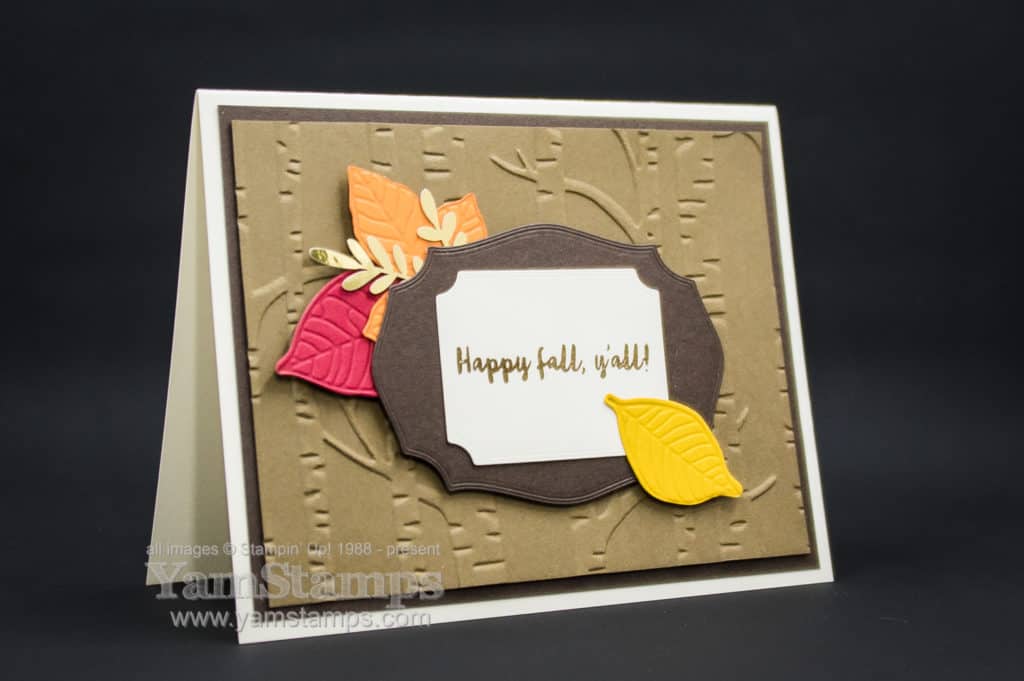
Thought I would share an autumn card with you today! This card was featured in the most recent Card Class to Go and Stampers Club.
This card is all about autumn colours and textures, the background is the Woodland Embossing Folder on Soft Suede Cardstock. The leaves are die cut and embossed with the Nature’s Root Dies, and I added one of the leaves from the Forever Gold Laser-Cut Specialty Paper. I love that the paper features multiples of the same shapes so that I don’t feel the need to hoard them quite so much as I might… I used the Tasteful Labels dies to cut out the shapes for the sentiment from one of my current favourite all purpose sets, Banner Year.
One of my favourite thrifty tricks is to use to die cut or punch shapes out of the backing mat piece – and I used that trick here on my Autumn card. Noone will see the gap in the cardstock when it’s layered up like this!
There’s a couple of days left for the Get & Go Starter Kit Special! Until September 30th, you will receive 2 additional free stamp sets (Queen Anne’s Lace and So Much Love) plus 16 card kits and some bling with your starter kit order – which, as usual, will include $165 worth of product of your choice – plus all the basic business supplies you’ll need to get started! You can find out more information here about joining my group of demonstrators. There’s also some exciting things coming up in October…selected Designer Series Papers will be on sale…so be sure to come back to YamStamps.com for more details! I will share some more autumn cards…but you know that winter and holiday cards are going to be featured in the next few weeks!!
The 24 hour sale is in progress – save 15% on selected stamp sets until 1159 pm Mountain Time September 23rd. (If you’re on Eastern time like me, that’s actually 159am September 24th for you night owls to shop…).
Here’s a fun project to get you into the spirit, using one of the stamp sets that is on sale – Itty Bitty Christmas. You can click on the image or this link and see all the items used to create this project in the YamStamps Online Stampin’ Up! Canada store. (let me know what you think about this feature!)
While we’re in the spirit….a reminder that the Twelve Weeks of Christmas projects newsletter will be starting soon (yes, it’s true – hard to believe, I know!!). It’s an exclusive feature for subscribers to the YamStamps Newsletter – as a bonus thank you for being part of my business! If you’re not yet subscribed to the YamStamps Newsletters – you can sign up here!
In the meantime – happy shopping! Please feel free to contact me if you need assistance placing a order or have any questions.
For 24 hours, selected stamp sets will be on sale! Starting September 23 at 12 AM Mountain Time (which is 2AM Eastern if that helps with your time conversion…) and running until September 23 at 1159 PM Mountain Time (which is 159AM September 24 Eastern) you can save 15%.