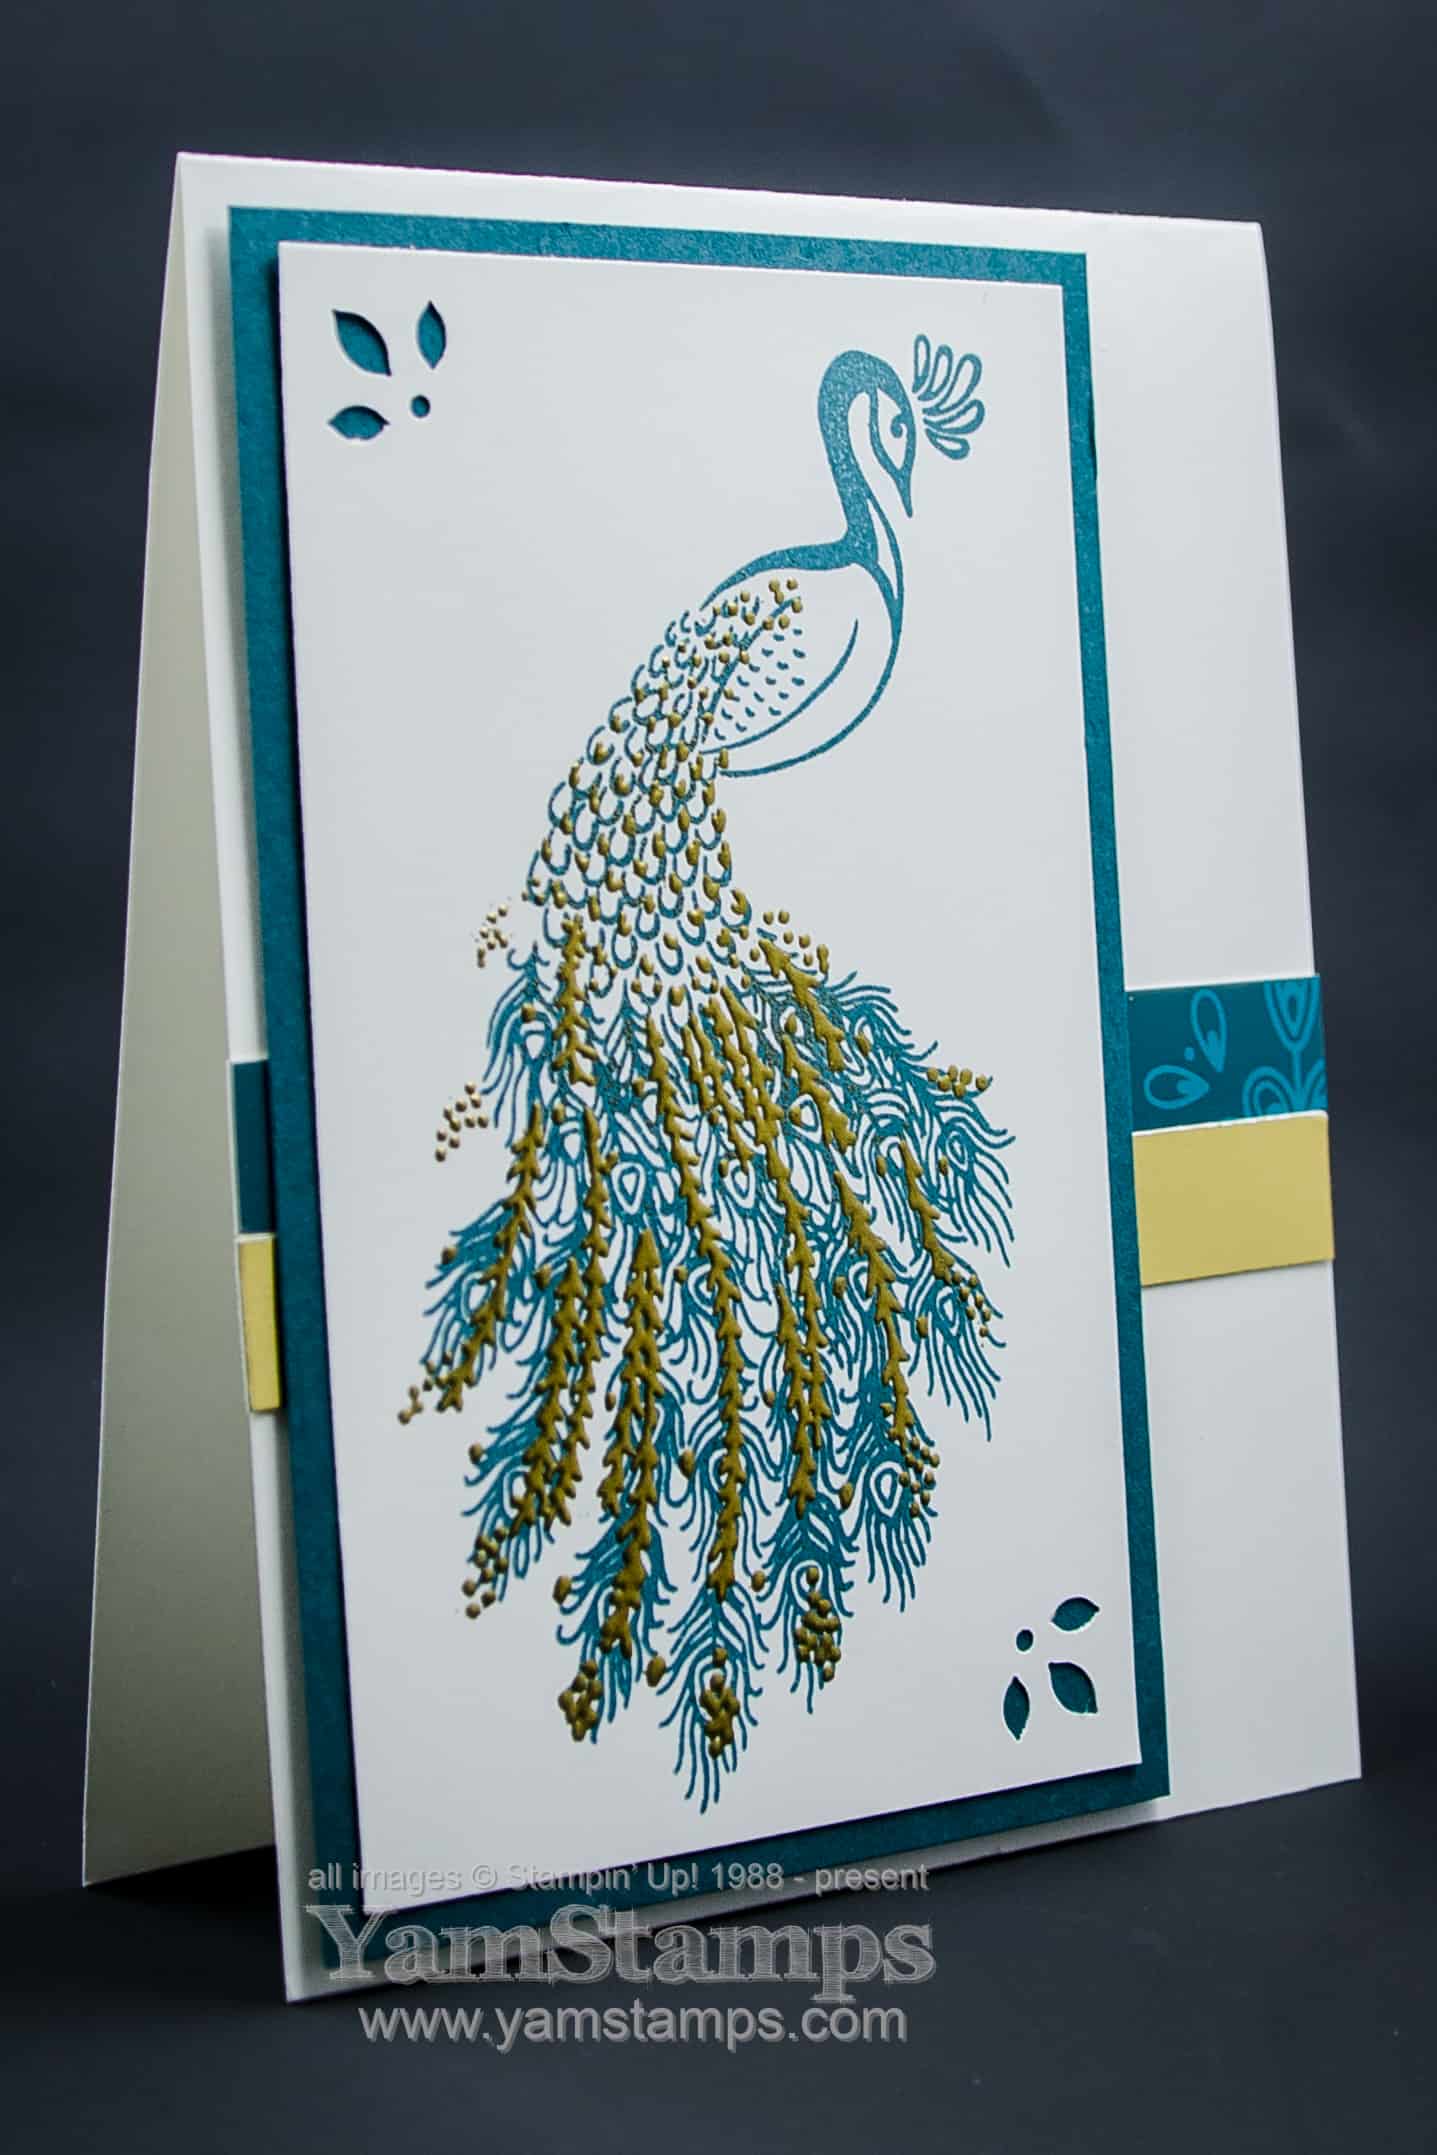
I love the new Stampin’ Up! In Colour Pretty Peacock! I am fascinated by these birds too – but their call is something else…. Anyway – August’s classes will feature this card using the Royal Peacock set. (Well, except for the Christmas Card Class…)
I had the chance to see a peacock up close when I visited the Het Loo Palace in the Netherlands – they’re so beautiful but soooooo noisy. The biggest revelation for me was that they actually do fly – we saw a few up in the trees on the palace grounds! Here’s one of my favourite shots from that day – definitely a pretty peacock.
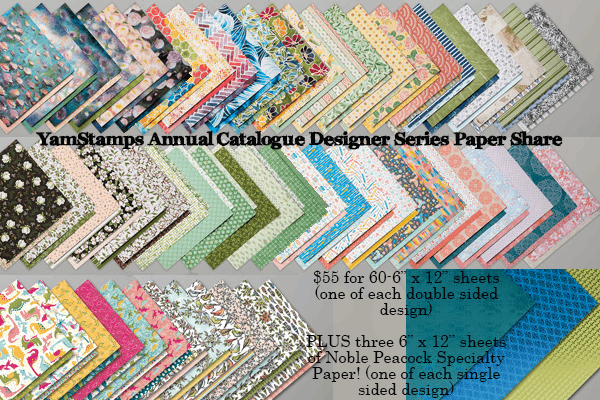
The foil accent on the Noble Peacock Specialty Designer Series Paper seems to come closest to the colour on this peacock’s body, don’t you think? Using strips of the paper as accents also helps to make your paper last a little longer. If you’d like to get a sampling of (almost all of) the Designer Series Papers in the Annual Catalogue, I have a few spots left in the Paper Share. For $55 (plus postage if required), you’ll get a 6″ x 12″ piece of each of the Designer Papers in the image below.
If you’d like to take part, you can contact me for more information and payment details! In the meantime, I’m off to prep for the upcoming Christmas Card Class – the first one is Monday, August 26th at 1pm or 7pm – ho ho hope to see you in class soon. (sorry, couldn’t resist!)
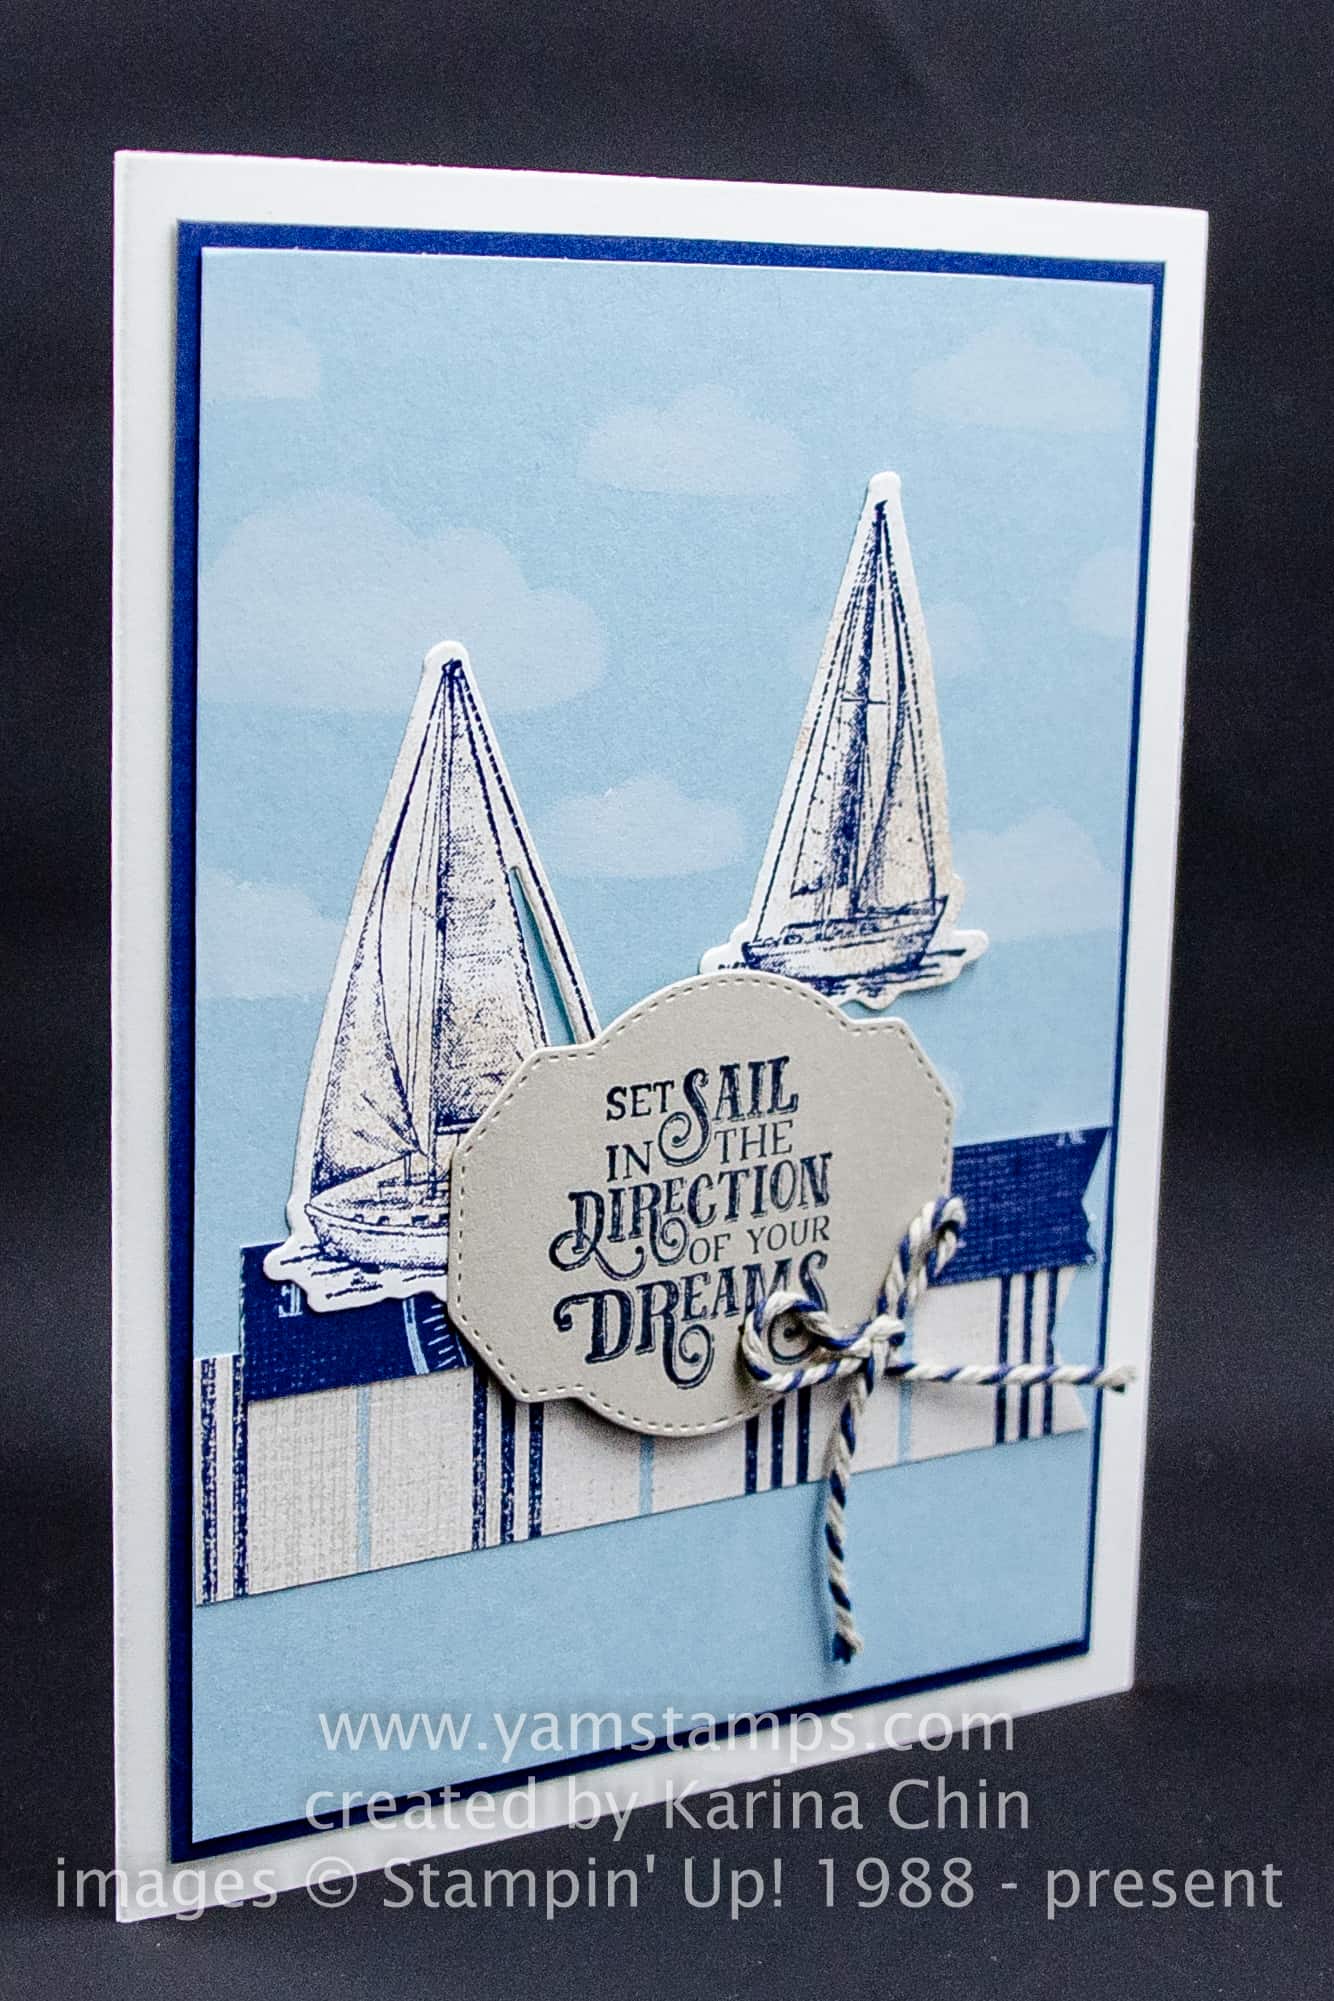
It’s time to set sail for the Sunday Swap Share! Today’s swap card features the nautical Sailing Home Bundle – and it’s perfect for a summer Sunday.
Sailing Home Bundle Card by Karina Chin
Sailboats are perfect for a summer card, I think! This set is great for masculine cards and for grad cards as well. The discounted bundle includes the Sailing Home red rubber cling stamp set and the Smooth Sailing Dies. On this card there are strips of the Come Sail Away Designer Series Paper and a bow from the Night of Navy/Sahara Sand Baker’s Twine. I love that stitched label – it’s only available in the Smooth Sailing Dies! If you’re keen to set sail right away, don’t forget there’s the option to get the whole suite of coordinating products in theCome Sail Away Suite Bundle. (click on the link to see everything included in it!)
SET SAIL TO SAVE!
Don’t miss out! If you purchase this bundle in the next few days (by July 31), you’ll also receive a $6 coupon code for use in August as part of the Bonus Days Promotion!
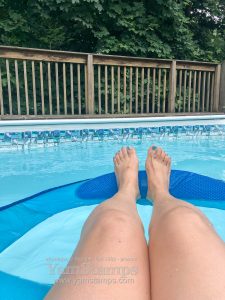
In the meantime, I hope you are beating the heat! I took a bit of time off yesterday to enjoy the pool….
from YamStamps Instagram Stories
Please notice how my pedicure coordinates with the pool liner!
I’m not totally slacking, though – preparing for the upcoming Monthly Card Class – Wednesday, August 7th at 1pm or 7pm in Burlington – please message me if you would like to join us! This is the fun kind of summer school! Check out the YamStamps Events Page for other upcoming classes – including the Christmas in August class! Hope to see you in class soon!
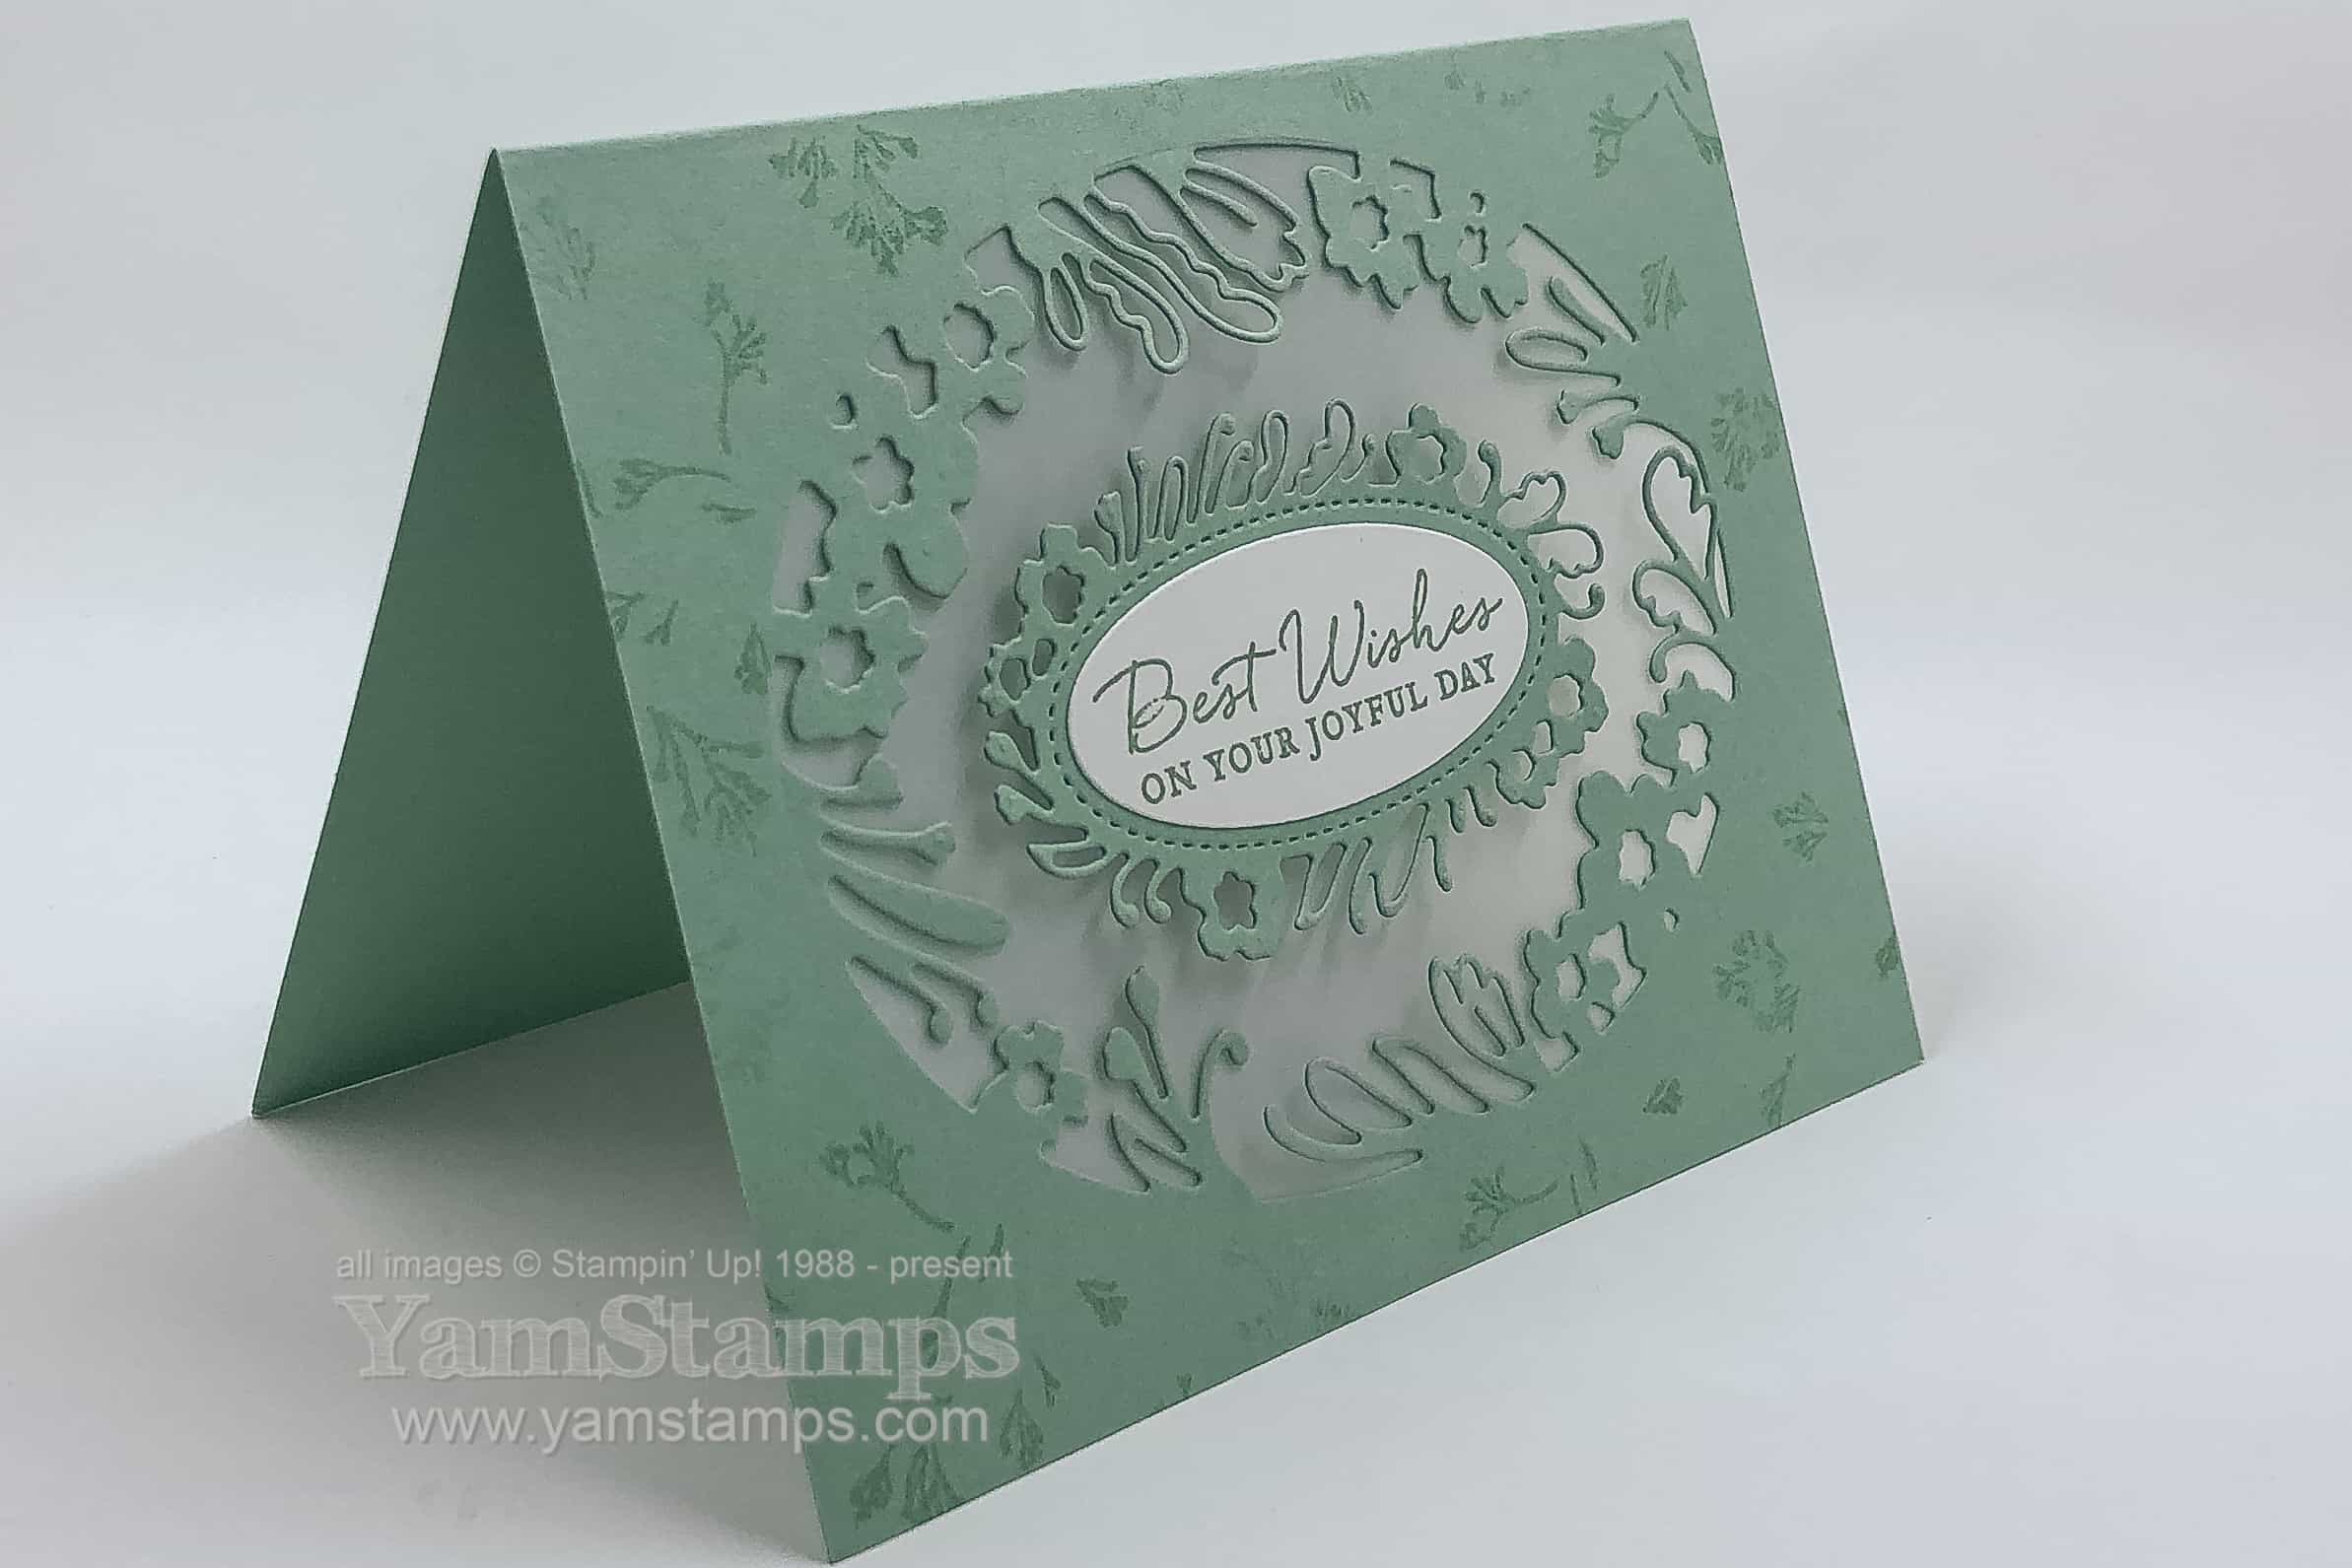
Hi! Remember me? Thought I’d pop in here to share this die cut floral frame cardwith you while I come up for air. I’m in the midst of whining about the heat and humidity (I know, a few months and I’ll be whining about the cold and snow), and trying to get my stamping area into some semblance of semi-organization so that I can function more efficiently. I would do before and after pics of the overhaul, but the before pics would be too frightening, but maybe a few after pics might make it through at some point. Maybe.
In the meantime, I was able to locate enough supplies amidst the chaos to create this card and share it with class attendees this month!
Path of Petals Bundle Card
This die cut floral frame card features the Path of Petals Bundle – which includes the Path of Petals photopolymer (clear) stamp set and the Petal Labels Dies. If you wanted to go all out, you could get the Pressed Petals Suite Bundle which includes all the coordinating accessories and Designer Series Paper as well! (click the link to see everything that’s included).
The Mint Macaron cardstock was die cut, and then a piece of Vellum Cardstock was adhered behind the cardfront. The smaller floral frame was then adhered in place on the vellum. If you wish, you could also put a piece of Whisper White cardstock inside the card. Oh and a Thrifty Thursday tip– the smaller frame was die cut from remnant that was removed after the large frame was cut from the cardfront.
You can easily change the sentiment on this die cut floral frame card to suit whatever card sending occasion you have, and it truly is quite easy to create. The die does all the intricate cutting for you!
If you’re looking for an easy way to spend some creative time, consider joining in at one of my Monthly Card Classes or becoming a member of the Stampers Club! I precut and prep four projects that you create in class – you just show up and follow the instructions! (Or modify them as you wish…LOL). You can always check out the upcoming classes on the YamStamps Events Page – or register for my email newsletters to get exclusive project tutorials and reminders of specials and upcoming events!
In the meantime, I’m back to trying to get organized. One of these days I’ll get the job finished – if I stop getting distracted by all the shiny objects I find!
OK I’m a little tired, so that’s my excuse for the corny title, but it’s true – Lovely as a Tree is Retiring! This stamp set has been part of the Stampin’ Up! Catalogue for slightly longer than I’ve been a demonstrator – but it’s retiring June 3rd. (Don’t worry, I’m NOT retiring though!).
For Swap Sunday I thought I’d pull out this card that I made for a card swap from a few years ago featuring this classic stamp set.
I stamped this onto Shimmery White cardstock and then used my Aquapainter to add a wash to the sky to create a winter sunset sky. Still one of my favourite techniques because it’s so easy and still impressive.
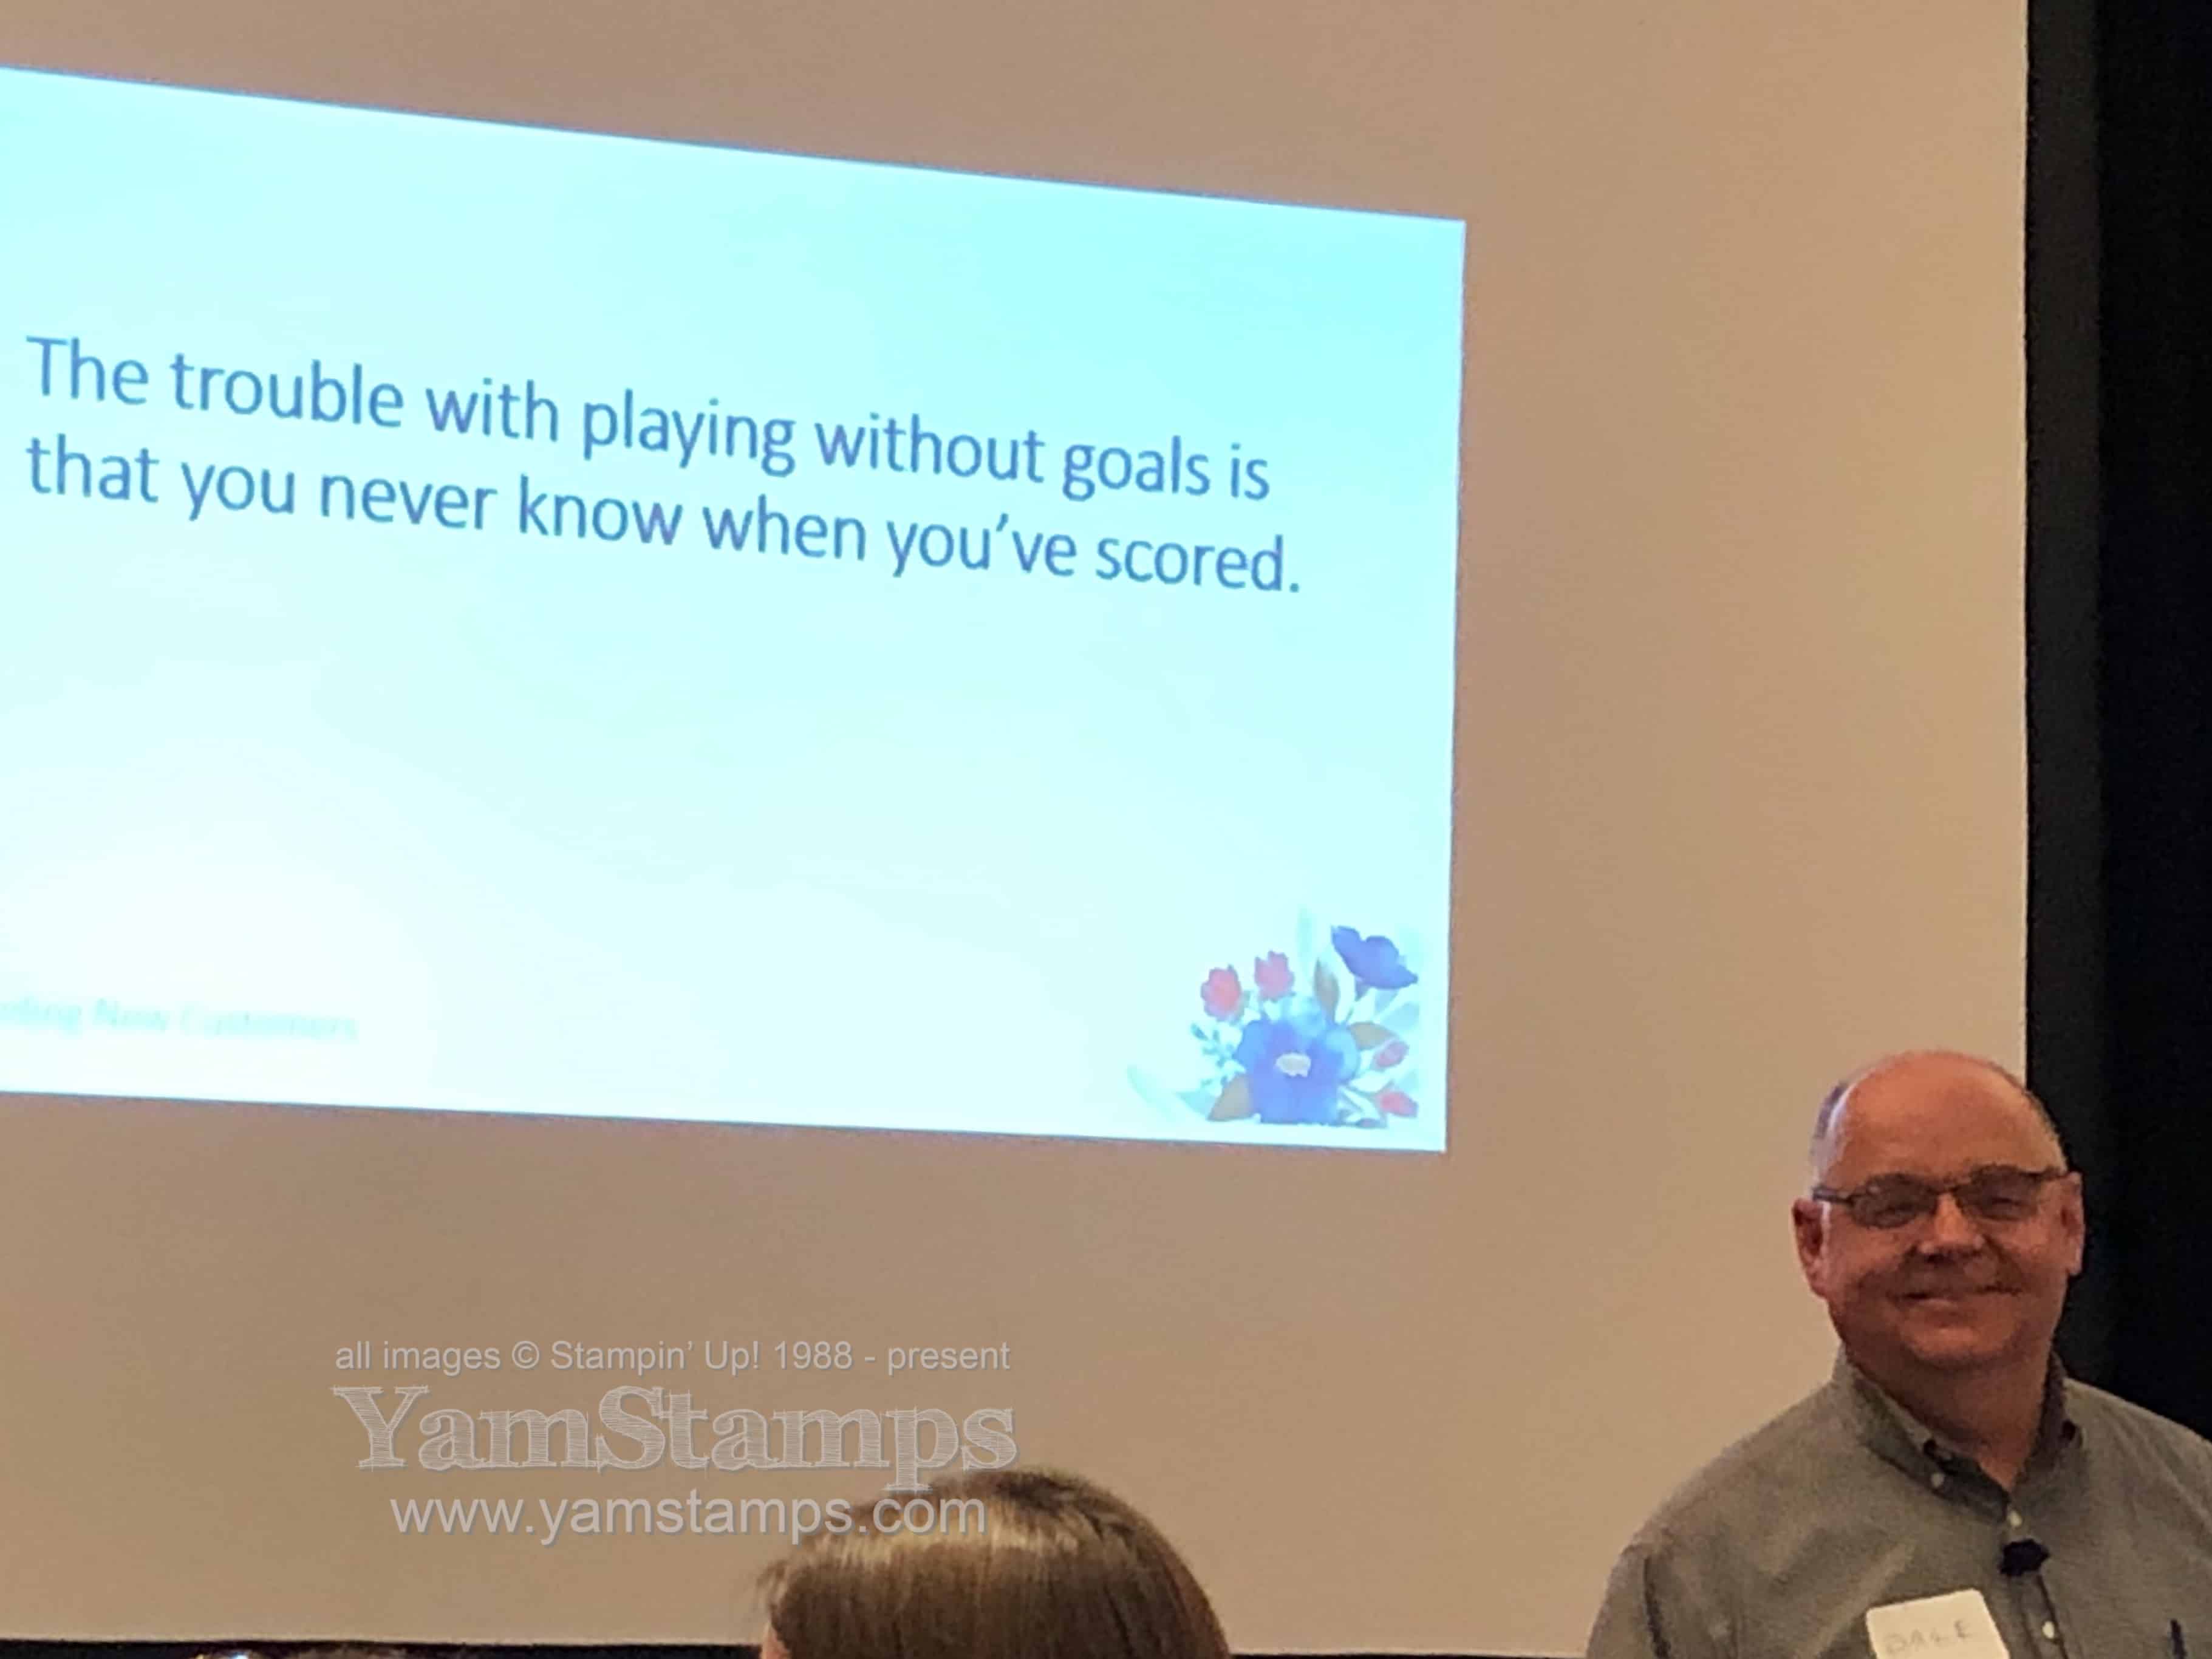
The other reason I pulled out this card to share is that I originally made it when I was going to attend a Business Conference that was run by Stampin’ Up! Canada (and a group of leading demonstrators that were helping organize it). This past weekend I attended another training session put on by Stampin’ Up! Canada (and a group of different leading demonstrators that were helping organize it!). It was a great chance to get together with other demonstrators and get some great business ideas and inspiration. A few members of my demonstrator group were also able to attend so it was great being able to catch up with them at lunch beforehand. Oh, and technically at dinner afterward as well LOL.
(love this quote that Dale Hampshire, Stampin’ Up! Canada Demonstrator Development Manager, shared with us at the event).
I recently celebrated 16 years as a Stampin’ Up! demonstrator and looking forward to many more years of running my creative business! Part of my business is helping others start and run their own businesses. If you’d like to find out more about becoming part of my group of demonstrators and having your own business, you can check out the FAQs here, or contact me for more information. I also have scheduled Information Evenings, so you can attend in person and find out more – the next one is actually booked for this Wednesday, May 8th. Please RSVP if you’d like to join us (and for directions).
Otherwise – happy May! Hope it’s looking more spring-like where you are these days – it was gorgeous in Burlington today for a change!
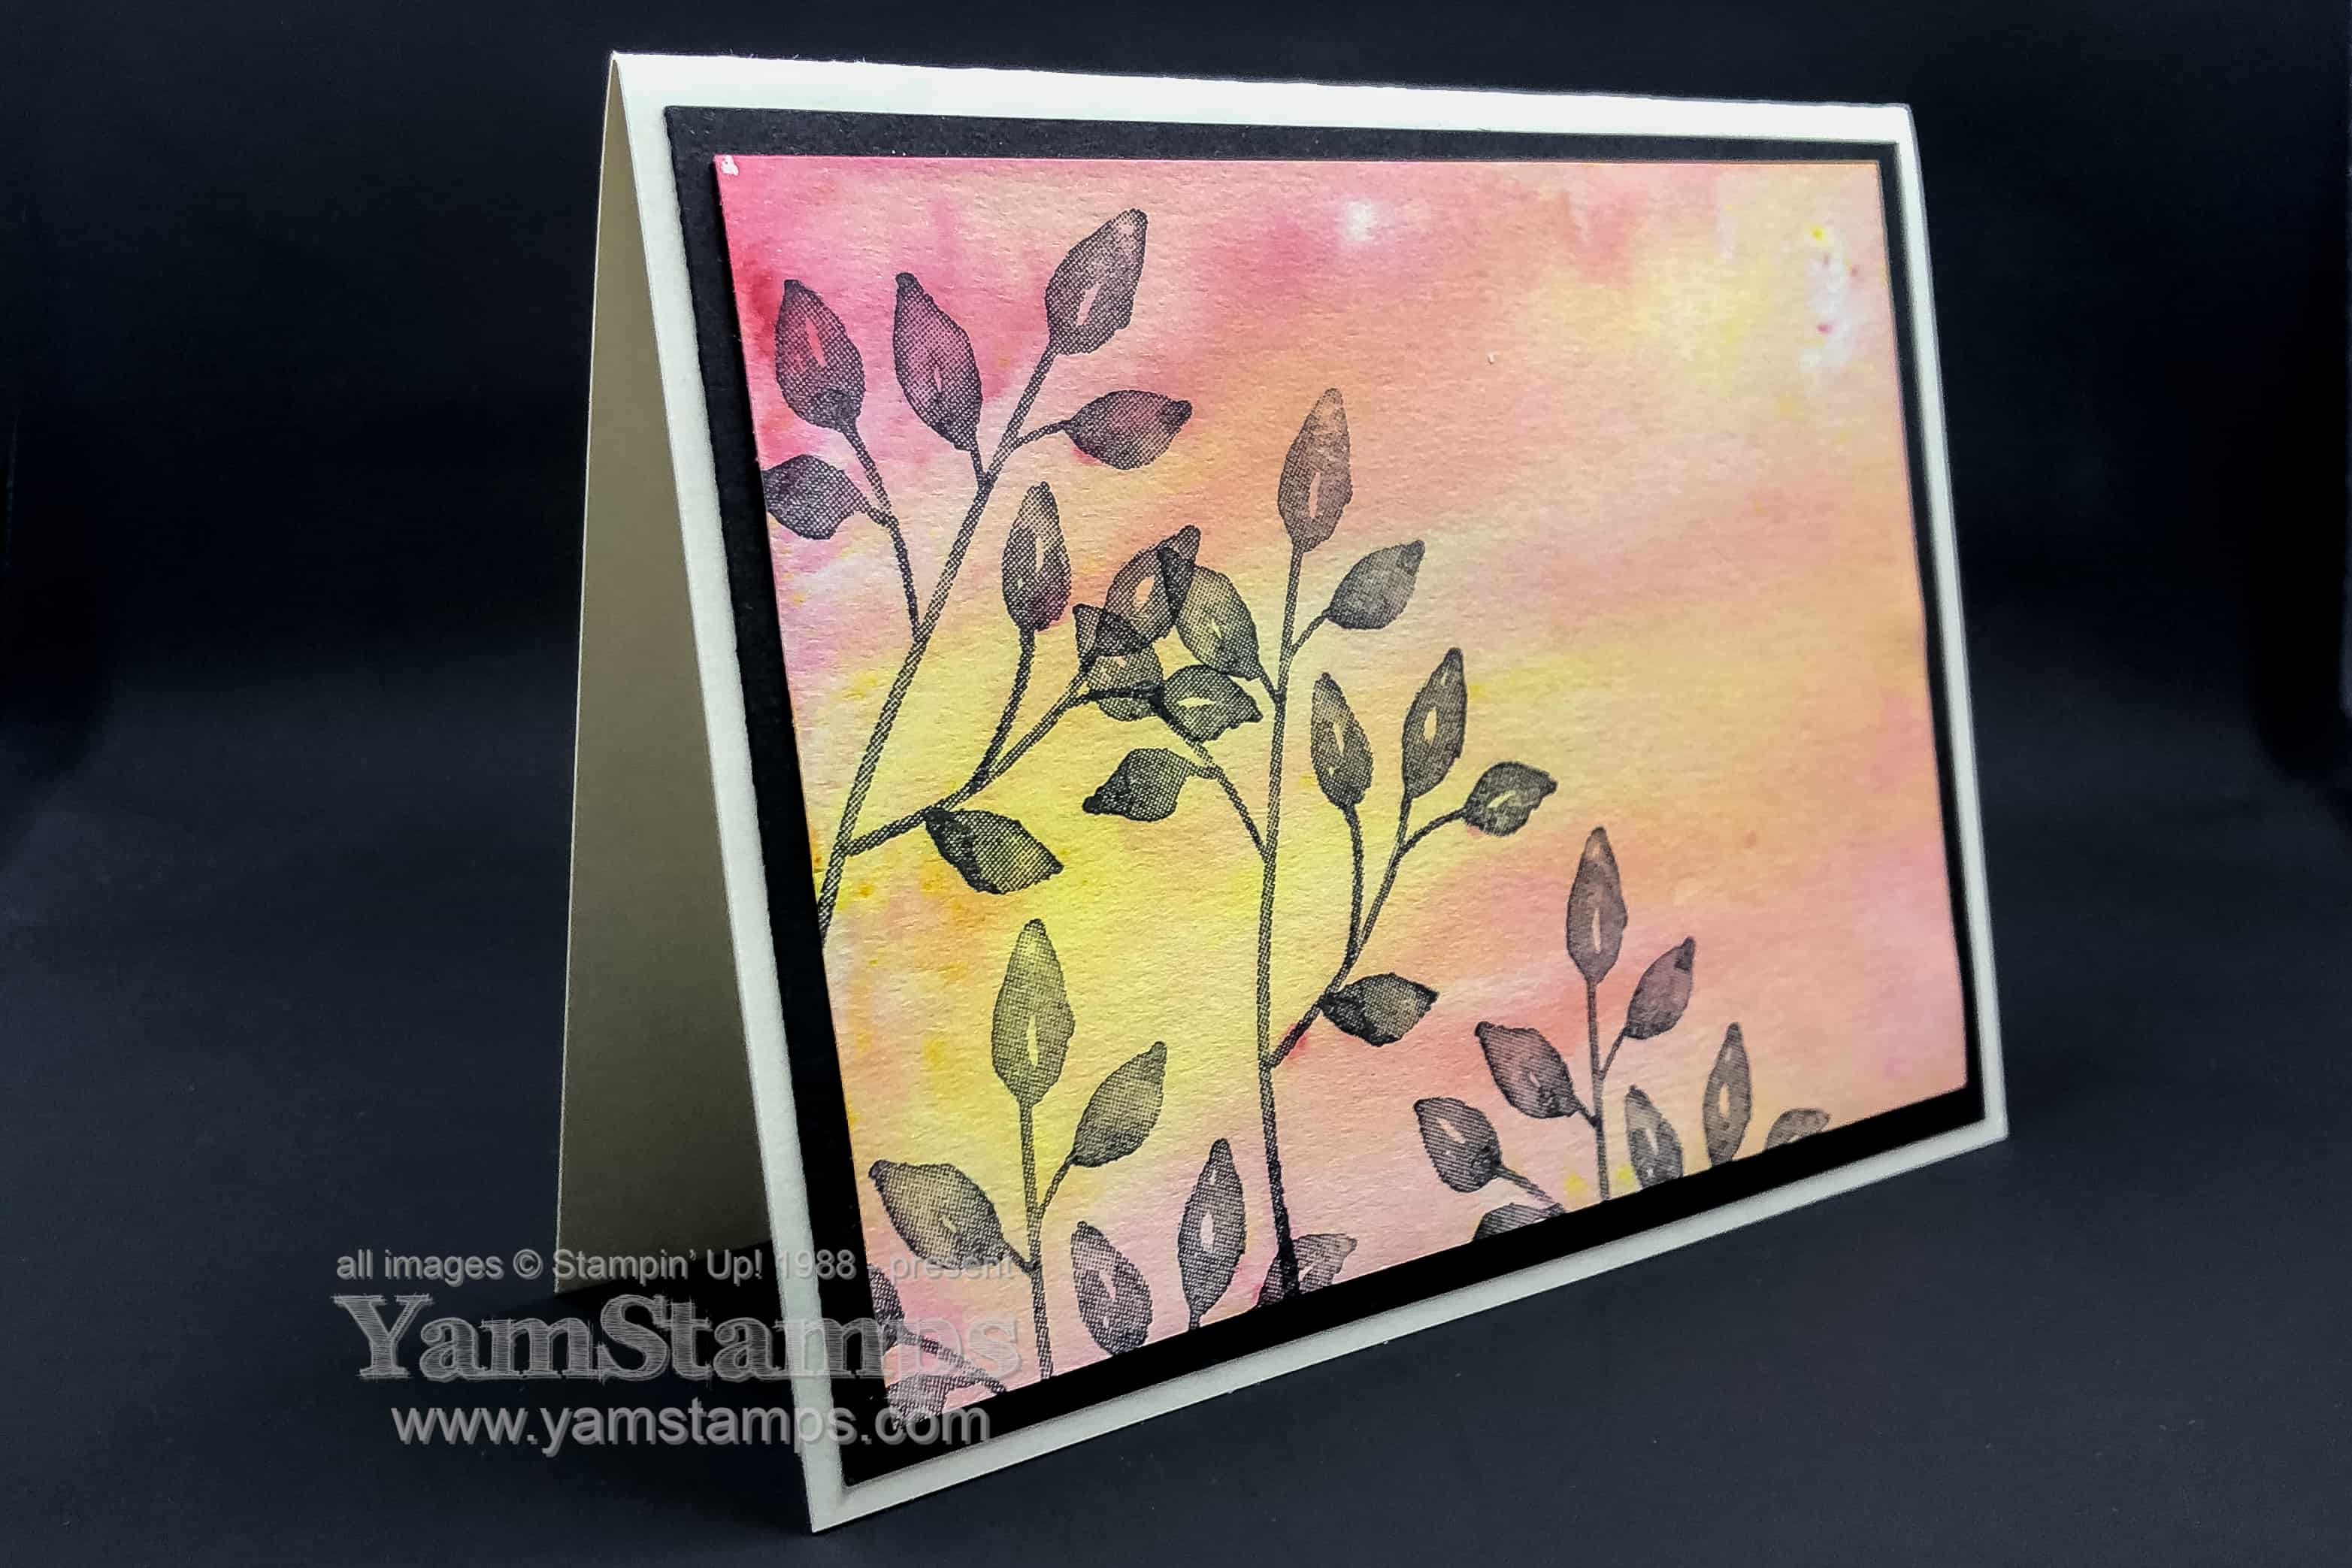
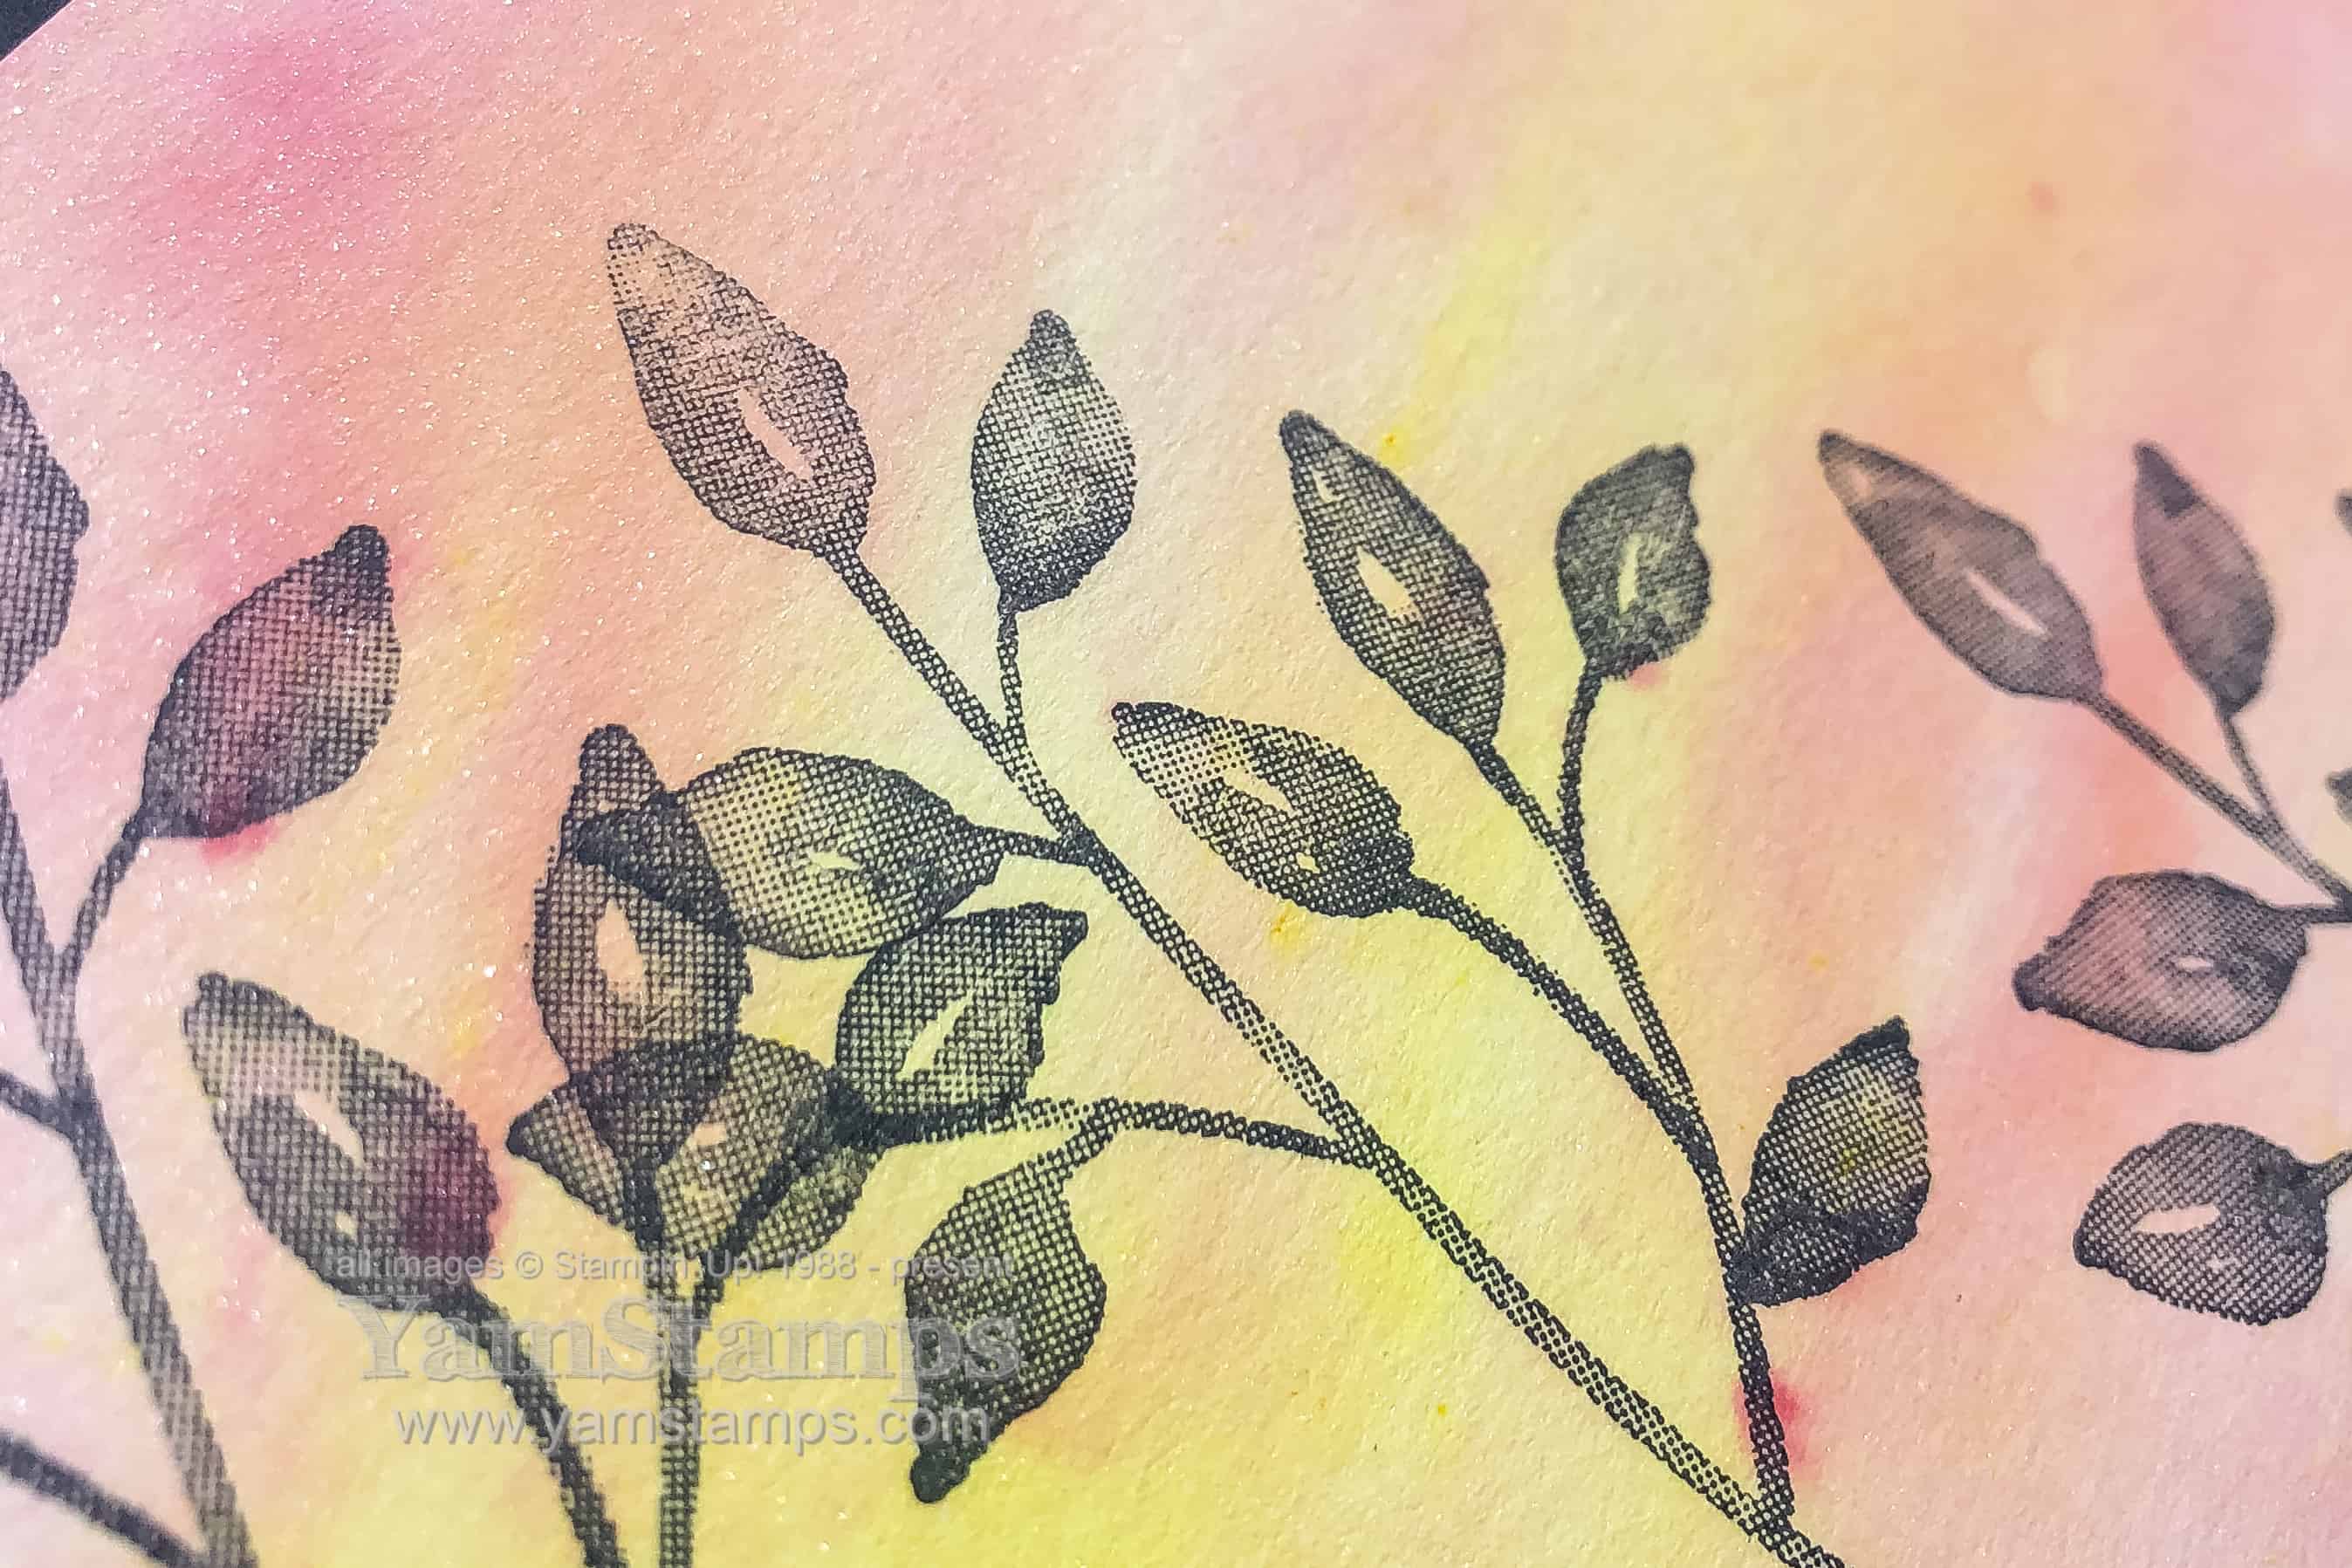
This sparkly sunset card wasn’t intended to look like a sunset…but it ended up that way and I’m okay with it!
The beautiful sunset effect was created using Brusho Crystal Colour and water. I admit I’ve been a bit hesitant to play a lot with these because I thought they were a bit on the messy side and required a bit of commitment! However – now that I’ve played with them, I think I’ll pull them out a bit more!
The image is from Petal Palette – one of my favourite stamps in that set – I think I’ve used that more than any of the others. It’s currently available in red rubber wood mount and red rubber clear mount. Don’t forget if you really want some of these wood mount stamp sets, you’ll want to order them in the next month or two – because as of June 2019 all Stampin’ Up! stamps will either be red rubber clear mount or photopolymer.
You can “kind of” see the sparkle here I think? It’s subtle, but it’s there. Shimmery White Cardstock is great and will stand up to getting a soaker.
I was a little enthusiastic with soaking my cardstock so I actually was able to tip it and get the wet colour to run towards the side, which resulted in the streak effect. Definitely a bit of a happy accident.
A couple of things to know with Brusho – a little goes a LONG way, and some of the darker colours are quite strong and can overwhelm your piece. I worked on a few layers of older grid paper (“reuse recycle!”), and used my heat tool to speed up the process because I’m a little impatient. You don’t need to open up the Brusho containers – just pierce the lid with a pushpin, and then you can leave the pushpin in place to seal the hole when not in use.
I’ll try to do a Facebook Live over on the YamStamps Facebook Page showing this sparkly sunset card construction in the next few days so you can see the Brushos in action. Please like and follow the page, you should get notification when I’m going live! If you miss it live, there’s always the replay which will remain available indefinitely.
In the meantime, I’m trying to get ready to go to the Kitchener Scrapfest! I’m happy to have a vendor booth there once again this year. Friday April 12 and Saturday April 13 – please stop by to say hi, do a bit of shopping and do a free make and take…and fill out a door prize draw form! Hope to see you there!
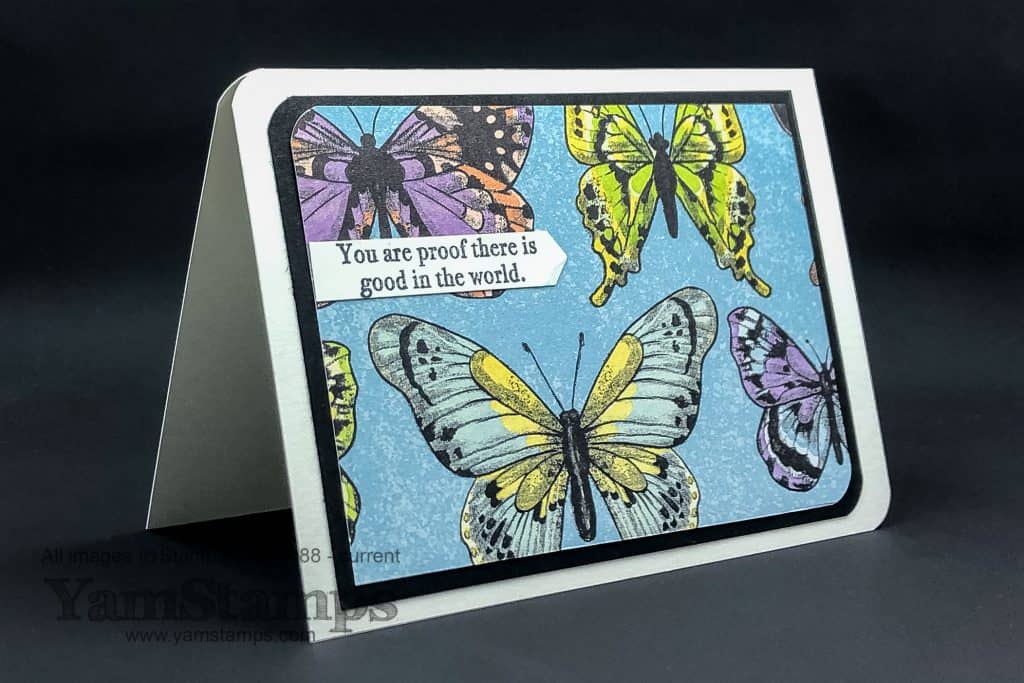
Inspired by this Sunday Swap share, I took elements of the design and created this quick and simple positivity card. I’m not sure there’s actually a category called simple positivity cards, but there should be….so I’m starting it!
Remember to grab your Sale-a-Bration rewards soon! Sale-a-Bration ends on March 31, but supplies are not guaranteed (we’ve already seen a number of items sell out) – so don’t hesitate! You can always contact me if you need assistance placing an order.
I am getting prepared for the upcoming Kitchener Scrapfest – April 12 & 13. I’m going to have a vendor booth there, so I hope that you will be able to stop by and say hello! I’ll have a free make and take, displays and some product for sale – retired Stampin’ Up! product plus some brand new in package adhesive supplies. One thing that I really like about Stampin’ Up! is that as a demonstrator, I place orders for customers rather than having to carry full stock of all the products (can you imagine the cost!). This can be a bit of a drawback when I have a vendor booth, but I usually have enough retired product and adhesive products that I can sell, and of course, I can take orders as well.
You are going to want to check back in to the YamStamps blog next week, as I’ll be sharing a fun project that I had to delay posting about….because I want the recipient to be surprised! Plus it’s my birthday week, so I will want to celebrate….and you may benefit as well (hint hint LOL).
In the meantime, I hope that you will come up with a simple positivity card, like this one, and send it out to someone! If you do – please share it with us! You can post it in the Paper Crafting with YamStamps Facebook Group! I slacked off on the creative challenge in the group this month…but I will be posting a new creative challenge for April for sure. I’ve had the YamStamps Facebook Page for a while, but just started a group as well, so that hopefully there can be more conversation and sharing. Please click on the group link and request to join us – see you there!