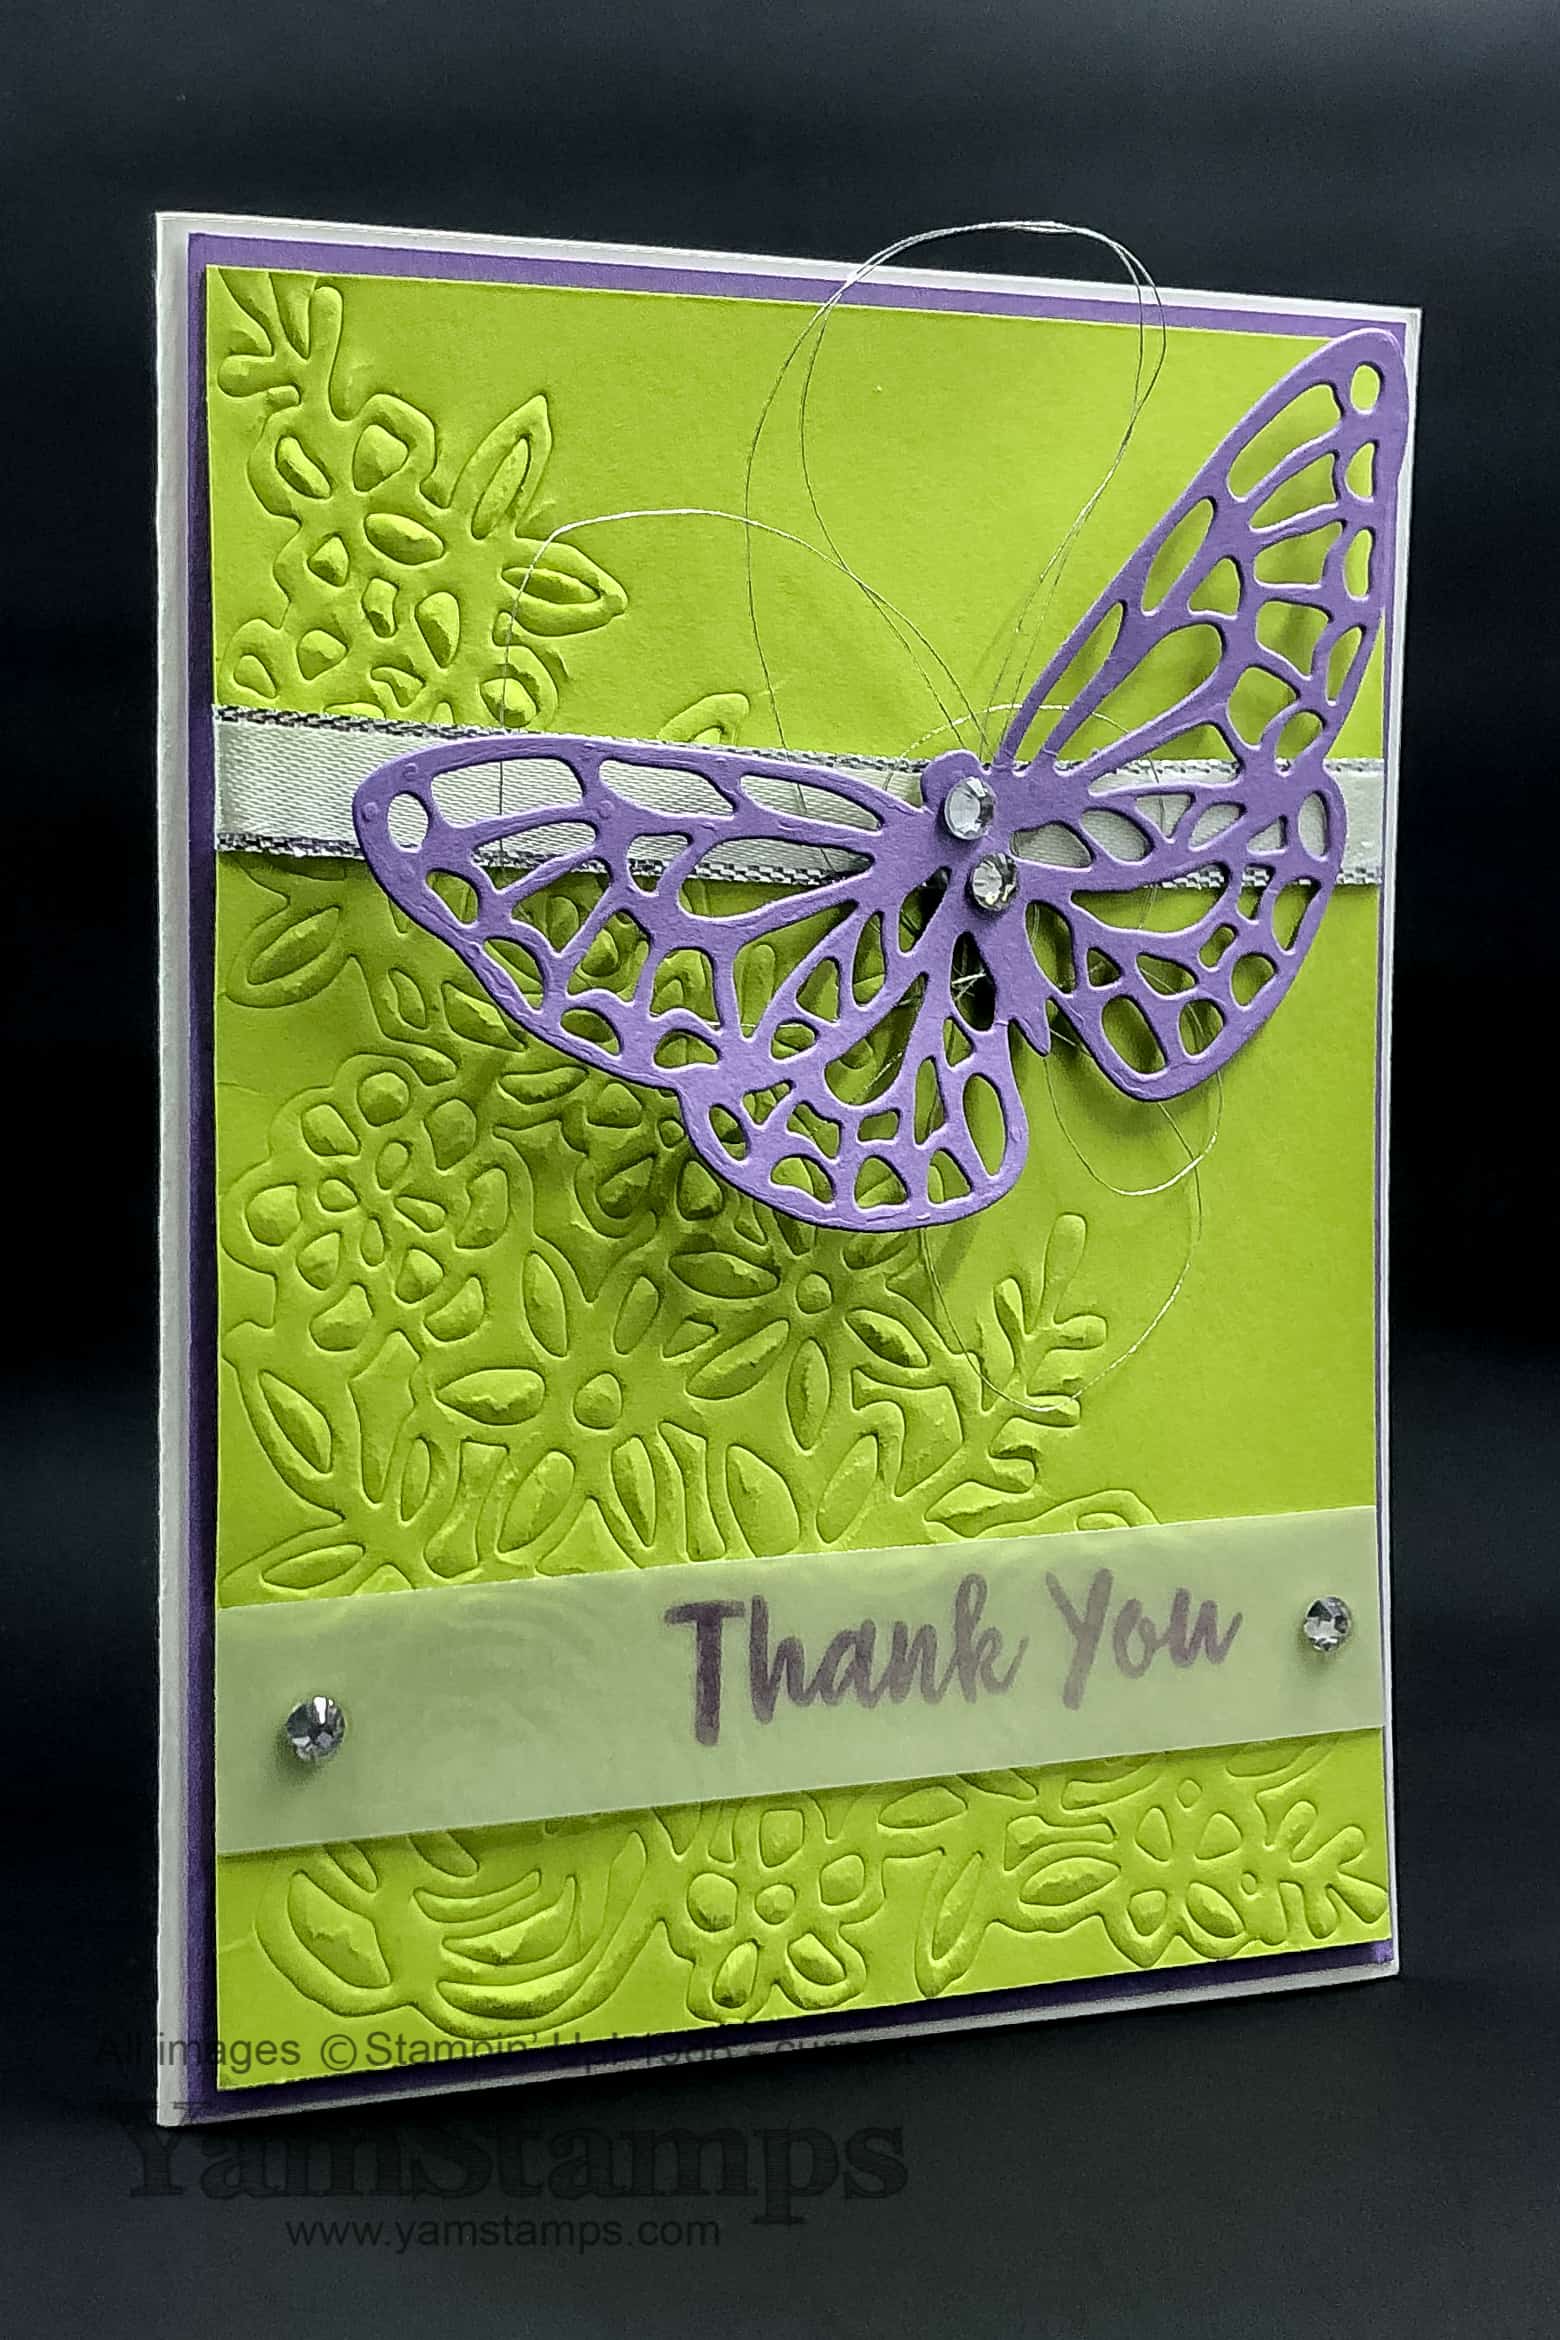
Spring has sprung! Thank goodness – and fingers crossed that the weather stays spring-like. This is a card we did this month in class – a spring thank you card!
This card features the Abstract Impressions discounted bundle – which includes the Abstract Impressions Photopolymer Stamp Set (the clear stamps) and the Springtime Impressions Thinlits Dies. While we wait to see what will be carried over into the next Stampin’ Up! Annual Catalogue (coming out in June 2019), one thing that usually happens is that current bundles are discontinued. The individual products may appear in the next catalogue, but the discounted bundle option is no longer available. So – if you like these products, you may want to consider grabbing this bundle soon!
For this card, we played with the Big Shot Embossing Mat – which allows you to emboss with the metal dies, rather than cut. This means you can use these tools in more ways and get more value! (Maybe I should have saved this card for a Frugal Friday feature?!). For this card, the corner flower die was used to emboss the Lemon Lime Twist Cardstock. I love the texture it gives without drawing too much attention away from the die cut butterfly. These colours and images were just perfect for a spring thank you card, in my opinion!
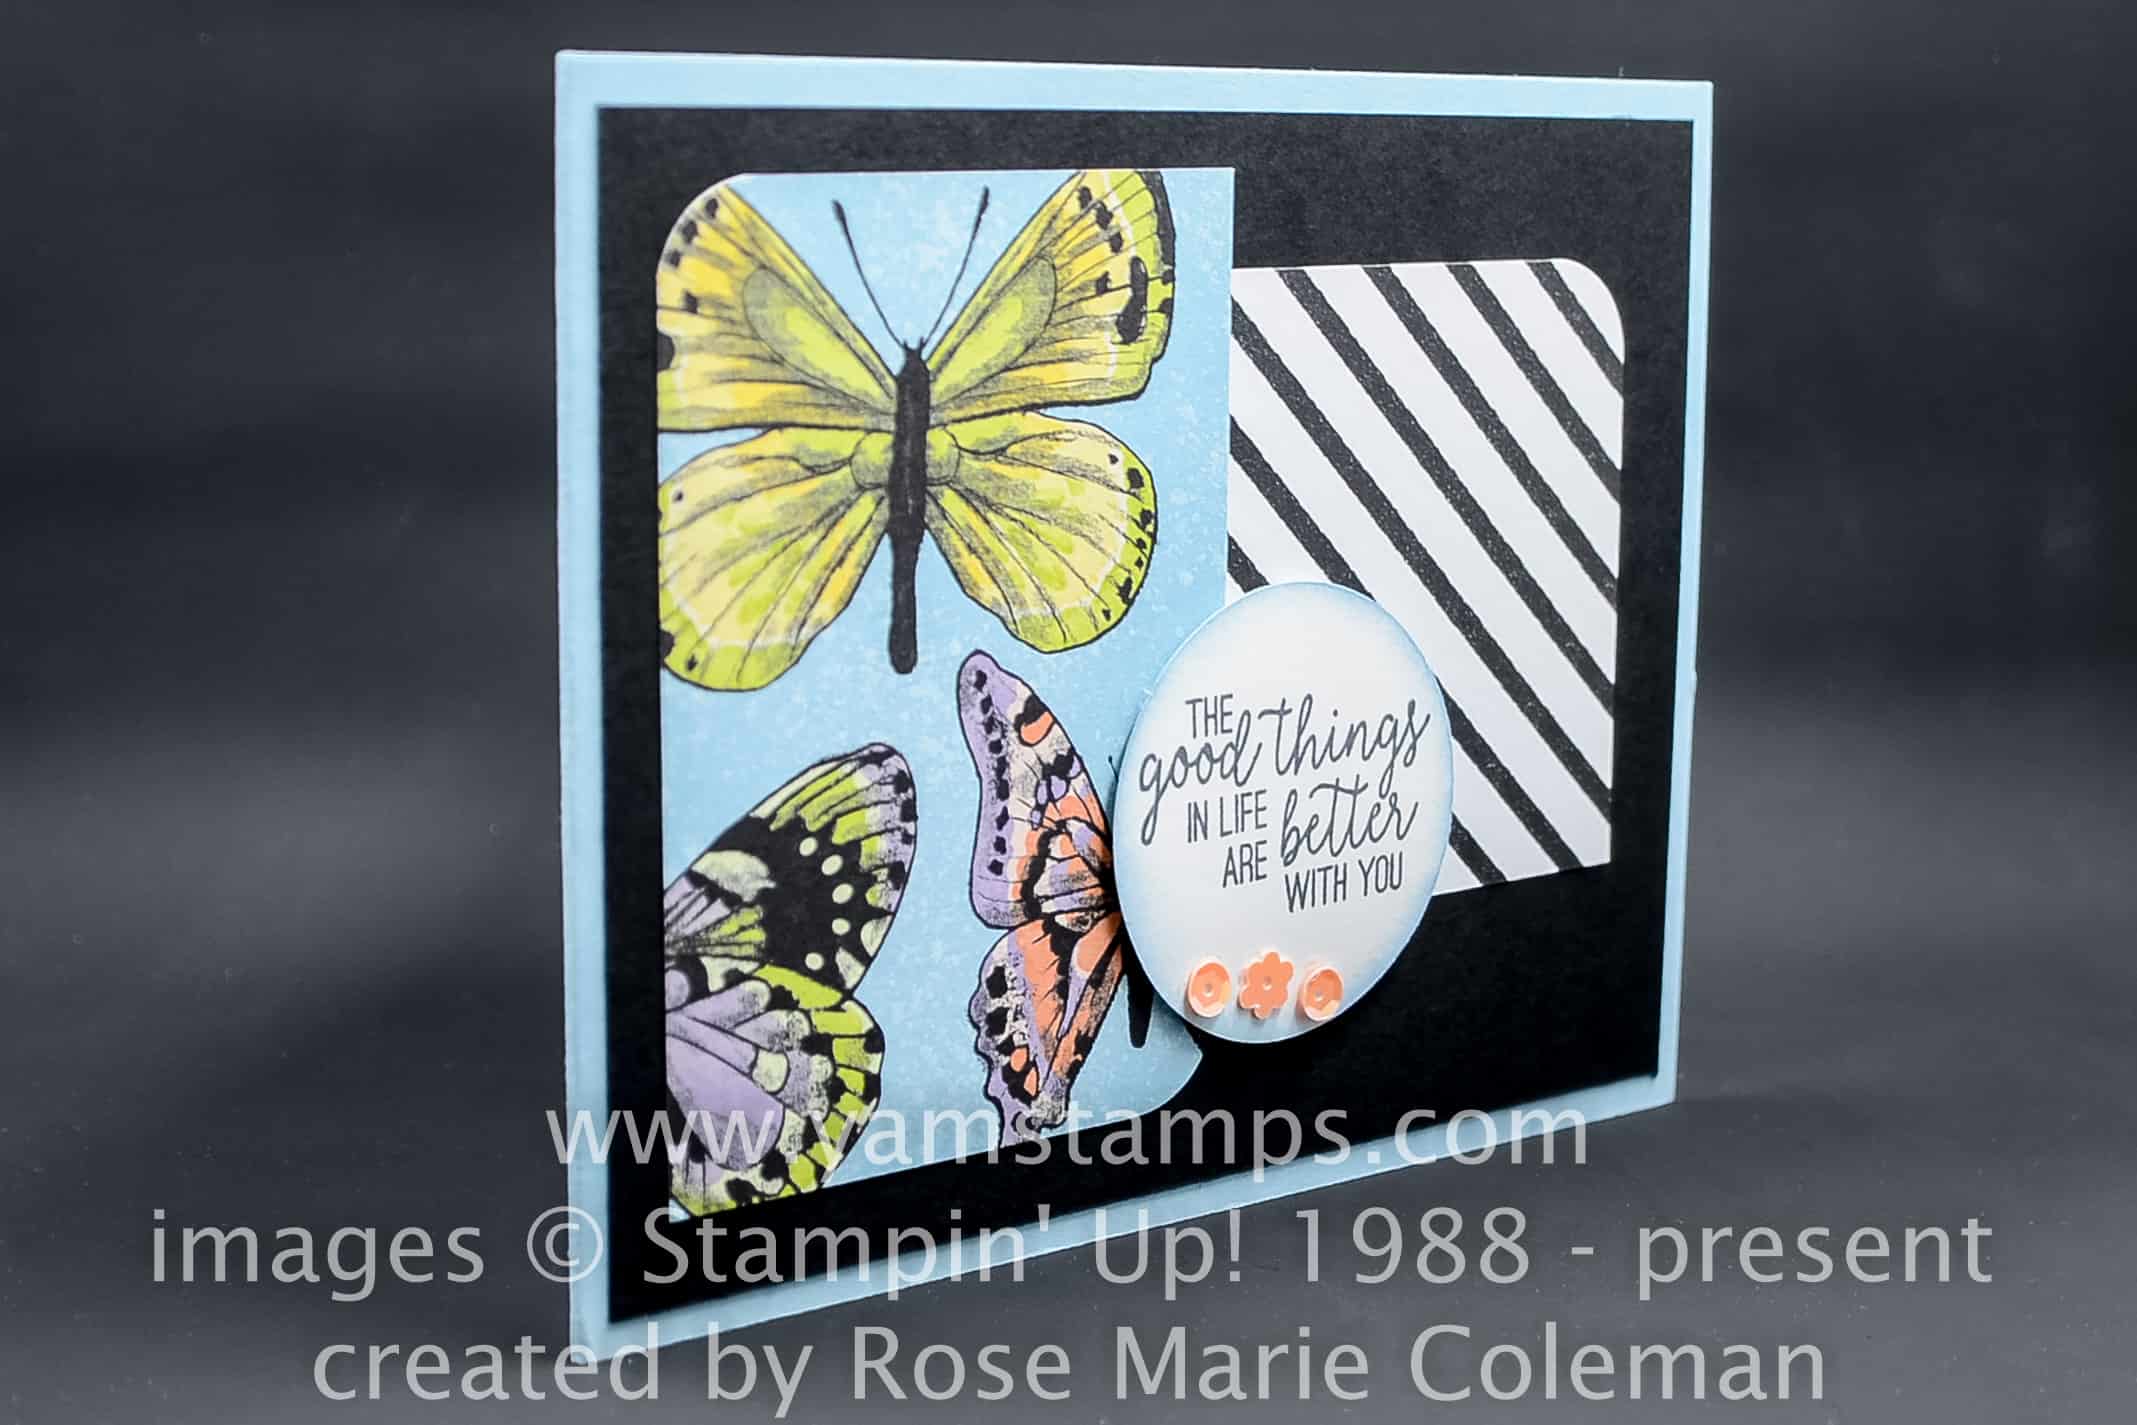
Stampin’ Up!’s Designer Series Papers are great for scrapbooking – but they’re also great for cards! Check out this easy patterned paper card design – by Rose Marie Coleman, today’s Sunday Swap Share.
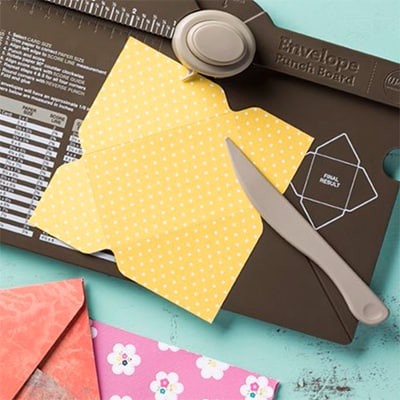
This card uses the Botanical Butterfly Designer Series Paper (Level 1 Sale-a-Bration reward – free with $60CAD product order) for the main visual elements. I love how rounding only a couple of the corners of the paper give it a different effect. There’s a corner rounder on the Detailed Trio Punch, or you can use Stampin’ Up!’s Envelope Punch Board to round corners – it’s built in to the board!
Corner Rounder Punch portion is at the top of the board, above the “button”
The card sentiment is from the Butterfly Gala Stamp Set, which is available for purchase. The Butterfly Duet punch unfortunately is still unorderable at this time (which also means that the Butterfly Gala Bundle is also unorderable), so we will continue to wait patiently until they let us know it’s available again! You’ll notice that you won’t need it for this card anyway!
The accents on this card are the Gingham Gala Adhesive Back Sequins, which are getting low in inventory, so I’d suggest if you need to get them, you order them soon!!
This easy patterned paper card design is clean and simple, and you could easily change out the Desginer Series Paper and sentiment and have a whole different look! These are the kinds of cards that make my crafting so much easier, especially when I need an impressive card in a hurry!
If you need to build up your stash of patterned paper, I’ve put out a LAST CALL for my Occasions Catalogue Designer Series Paper Share. If you’d like to purchase a share, which includes a 6″ x 12″ of each of the sheets from each 12″ x 12″ package, and full 6″ x 6″ sheets from the two 6″ x 6″ packages in the catalogue (NOT including the Specialty Papers), please contact me by March 10th, or click below to order and pay via PayPal. The shares also include the Botanical Butterfly Designer Series Paper as well!!
As always, if you have any questions, please feel free to send me a message or – leave me a comment below – BECAUSE COMMENTS ARE WORKING AGAIN! YAY!!!
I love coordinating crafting products, and Stampin’ Up! has a whole bunch of them. I used some to create this die cut edge card which is made easier by using a Stamparatus!
I actually found it a bit tricky to take a photo of this card as I had to have it lying flat so that you could see the alignment of the image and the edge! Hope you get the idea.
I love how the flower framelit coordinates with the flower stamp, but the accent stamp is left to peek out.
I am planning on doing a Facebook Live to show how I created this die cut edge card, but essentially I used the Stamparatus and the Stamparatus grid sheets. I figured out where the image would end up on the inside edge of the card by marking where the edge of my cardstock was on a grid sheet, and then stamping onto the GRID sheet rather than the cardstock to create a reference guide. I left this grid sheet in the Stamparatus so I knew where to place the cardstock (especially because I chose not to place the cardstock in the corner of the Stamparatus). I stamped a second grid sheet the same way, marking the edge of the cardstock, but then I also placed the framelit over the stamped image in the correct alignment and marked the edges of the framelit. The framelit extends JUST beyond where the side edges of the cardstock are.
Once I stamped the back inside edge of the card, I then prepped to die cut the front edge of the card. You’ll want the Magnetic Platform for the Big Shot to make it even easier. Once the Cutting Plate was on the Platform, I placed the second grid sheet on it, then aligned the front edge of the cardstock with the marks on it. I then placed the framelit onto the cardstock, lining up the edges of the framelit with the marks on the grid sheet. You can use a bit of washi tape or adhesive tape to hold the framelit in place securely, then remove the grid sheet so you can use it again (otherwise it would be cut and all your reference marks would be gone!). Place the top Plastic Cutting Plate in place, and die cut.
Seriously. Just be sure to “like” and “follow” the YamStamps Facebook Page so you’ll be notified of the Live video for this die cut edge card, because I’m starting to confuse myself. LOL.
In any case, I promise, once it was set up it was pretty straight forward…LOL.
If all goes according to plan, I’ll share the die cut edge card “how to” on Thursday. If you aren’t able to make it to the “live”, the recording will be available after the fact on the YamStamps Facebook page. If you have any questions in the meantime, feel free to contact me! Stampers Club Members made this card in February – why not join us starting in March and see what we get up to next month?! Check out the YamStamps Events Page for other upcoming dates!
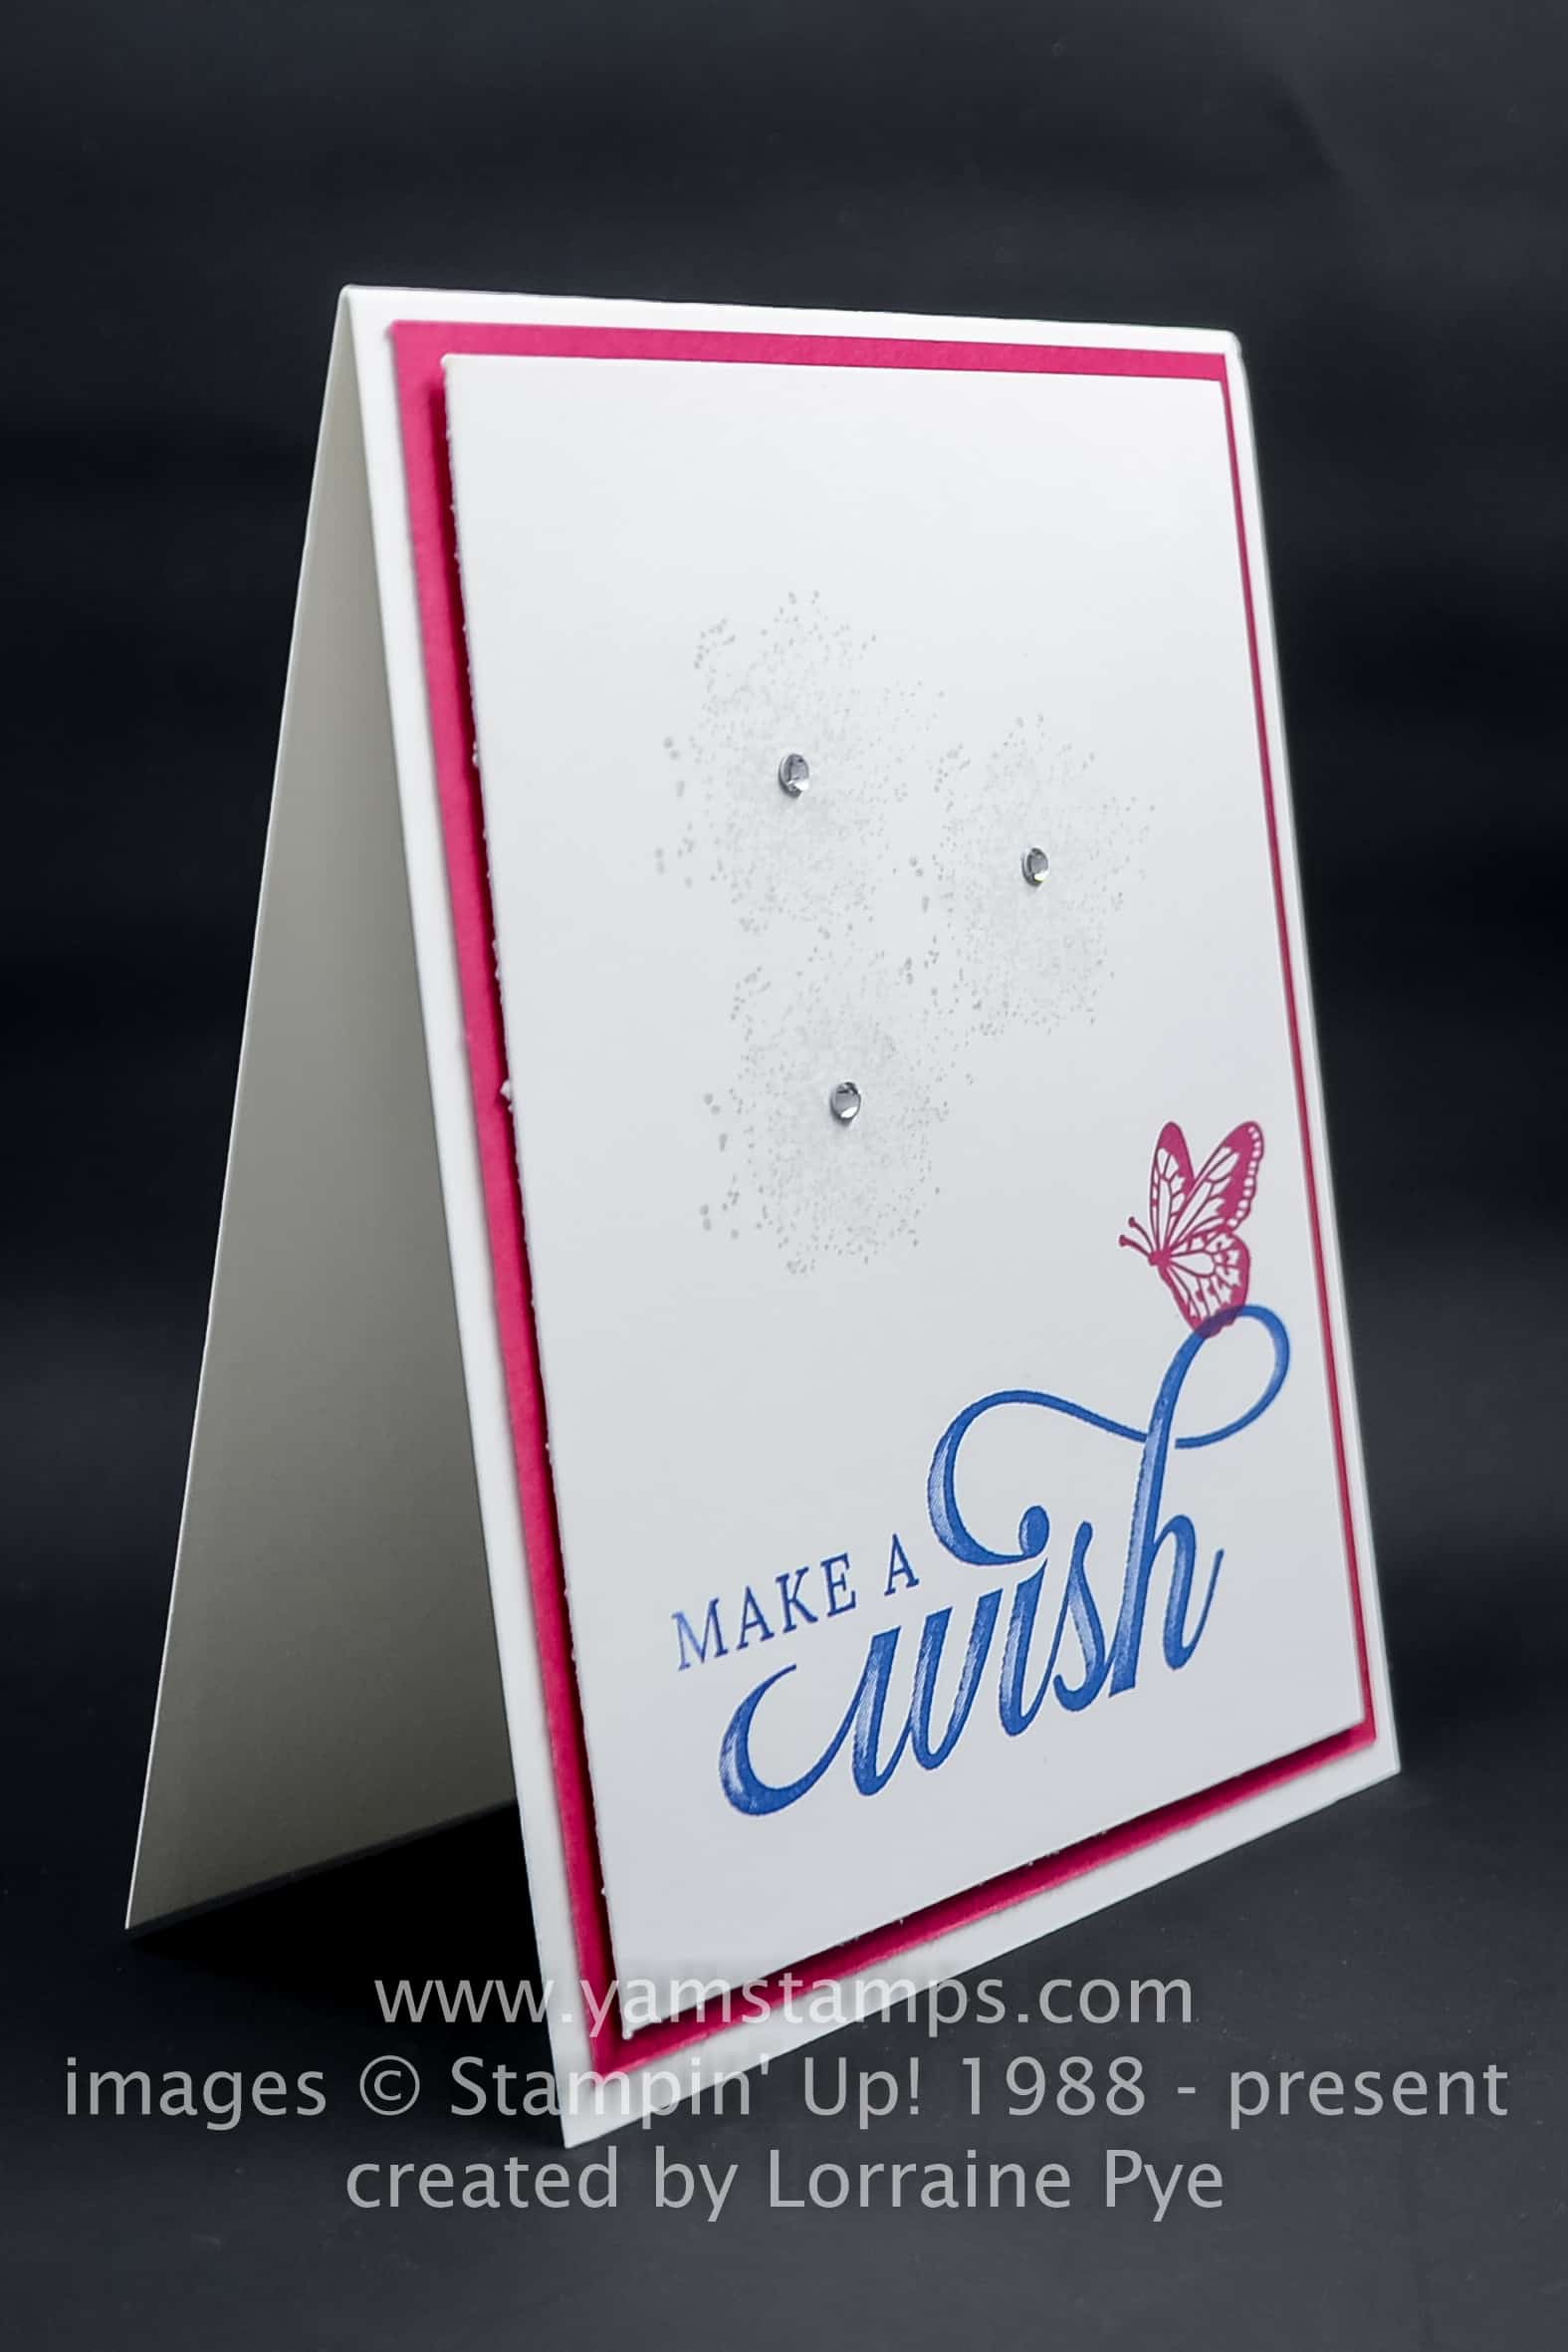
It’s Sunday Swap Share time! Today’s card, Make a Wish, is a beautifully clean and simple one created by Lorraine Pye.
The sentiment is from the Occasions Catalogue – Life Is Grand stamp set, and the butterfly and the “splats” are from the Beauty Abounds stamp set. I love how just adding a layer of solid colour behind the main stamped portion adds drama to the card.
Stampin’ Up!’s Occasions Catalogue is in effect until June 3rd, while the Sale-a-bration Catalogue and event runs until March 31st. I know it can get a bit confusing with all the catalogues at the beginning of the new year!
Also – sad news, the Lovely Lipstick and Grapefruit Grove Foil Sheets have SOLD OUT so they are no longer available as a Level 1 Sale-a-Bration item. Other items are still available though, and fingers crossed that the Organdy Ribbon combo pack looks like it might be available as an option around the beginning of March.
Stampin’ Up! manufactures their rubber stamps on site in Utah, so have more immediate access and control over supply and availability. The accessories are usually sourced from overseas and elsewhere, so even with forecasting, sometimes products are much more popular than anticipated and supplies are exhausted before expected. We are usually then in a backorder situation, or in some cases, Stampin’ Up! makes items unorderable until the stock can be replenished. Currently unavailable to order: the cake builder punch, the butterfly duet punch and the Organdy Ribbon combo pack. This also affects the bundles that include those punches. Once stock is replenished, we will be notified and those items will be available once again to order. I’ll keep you posted!
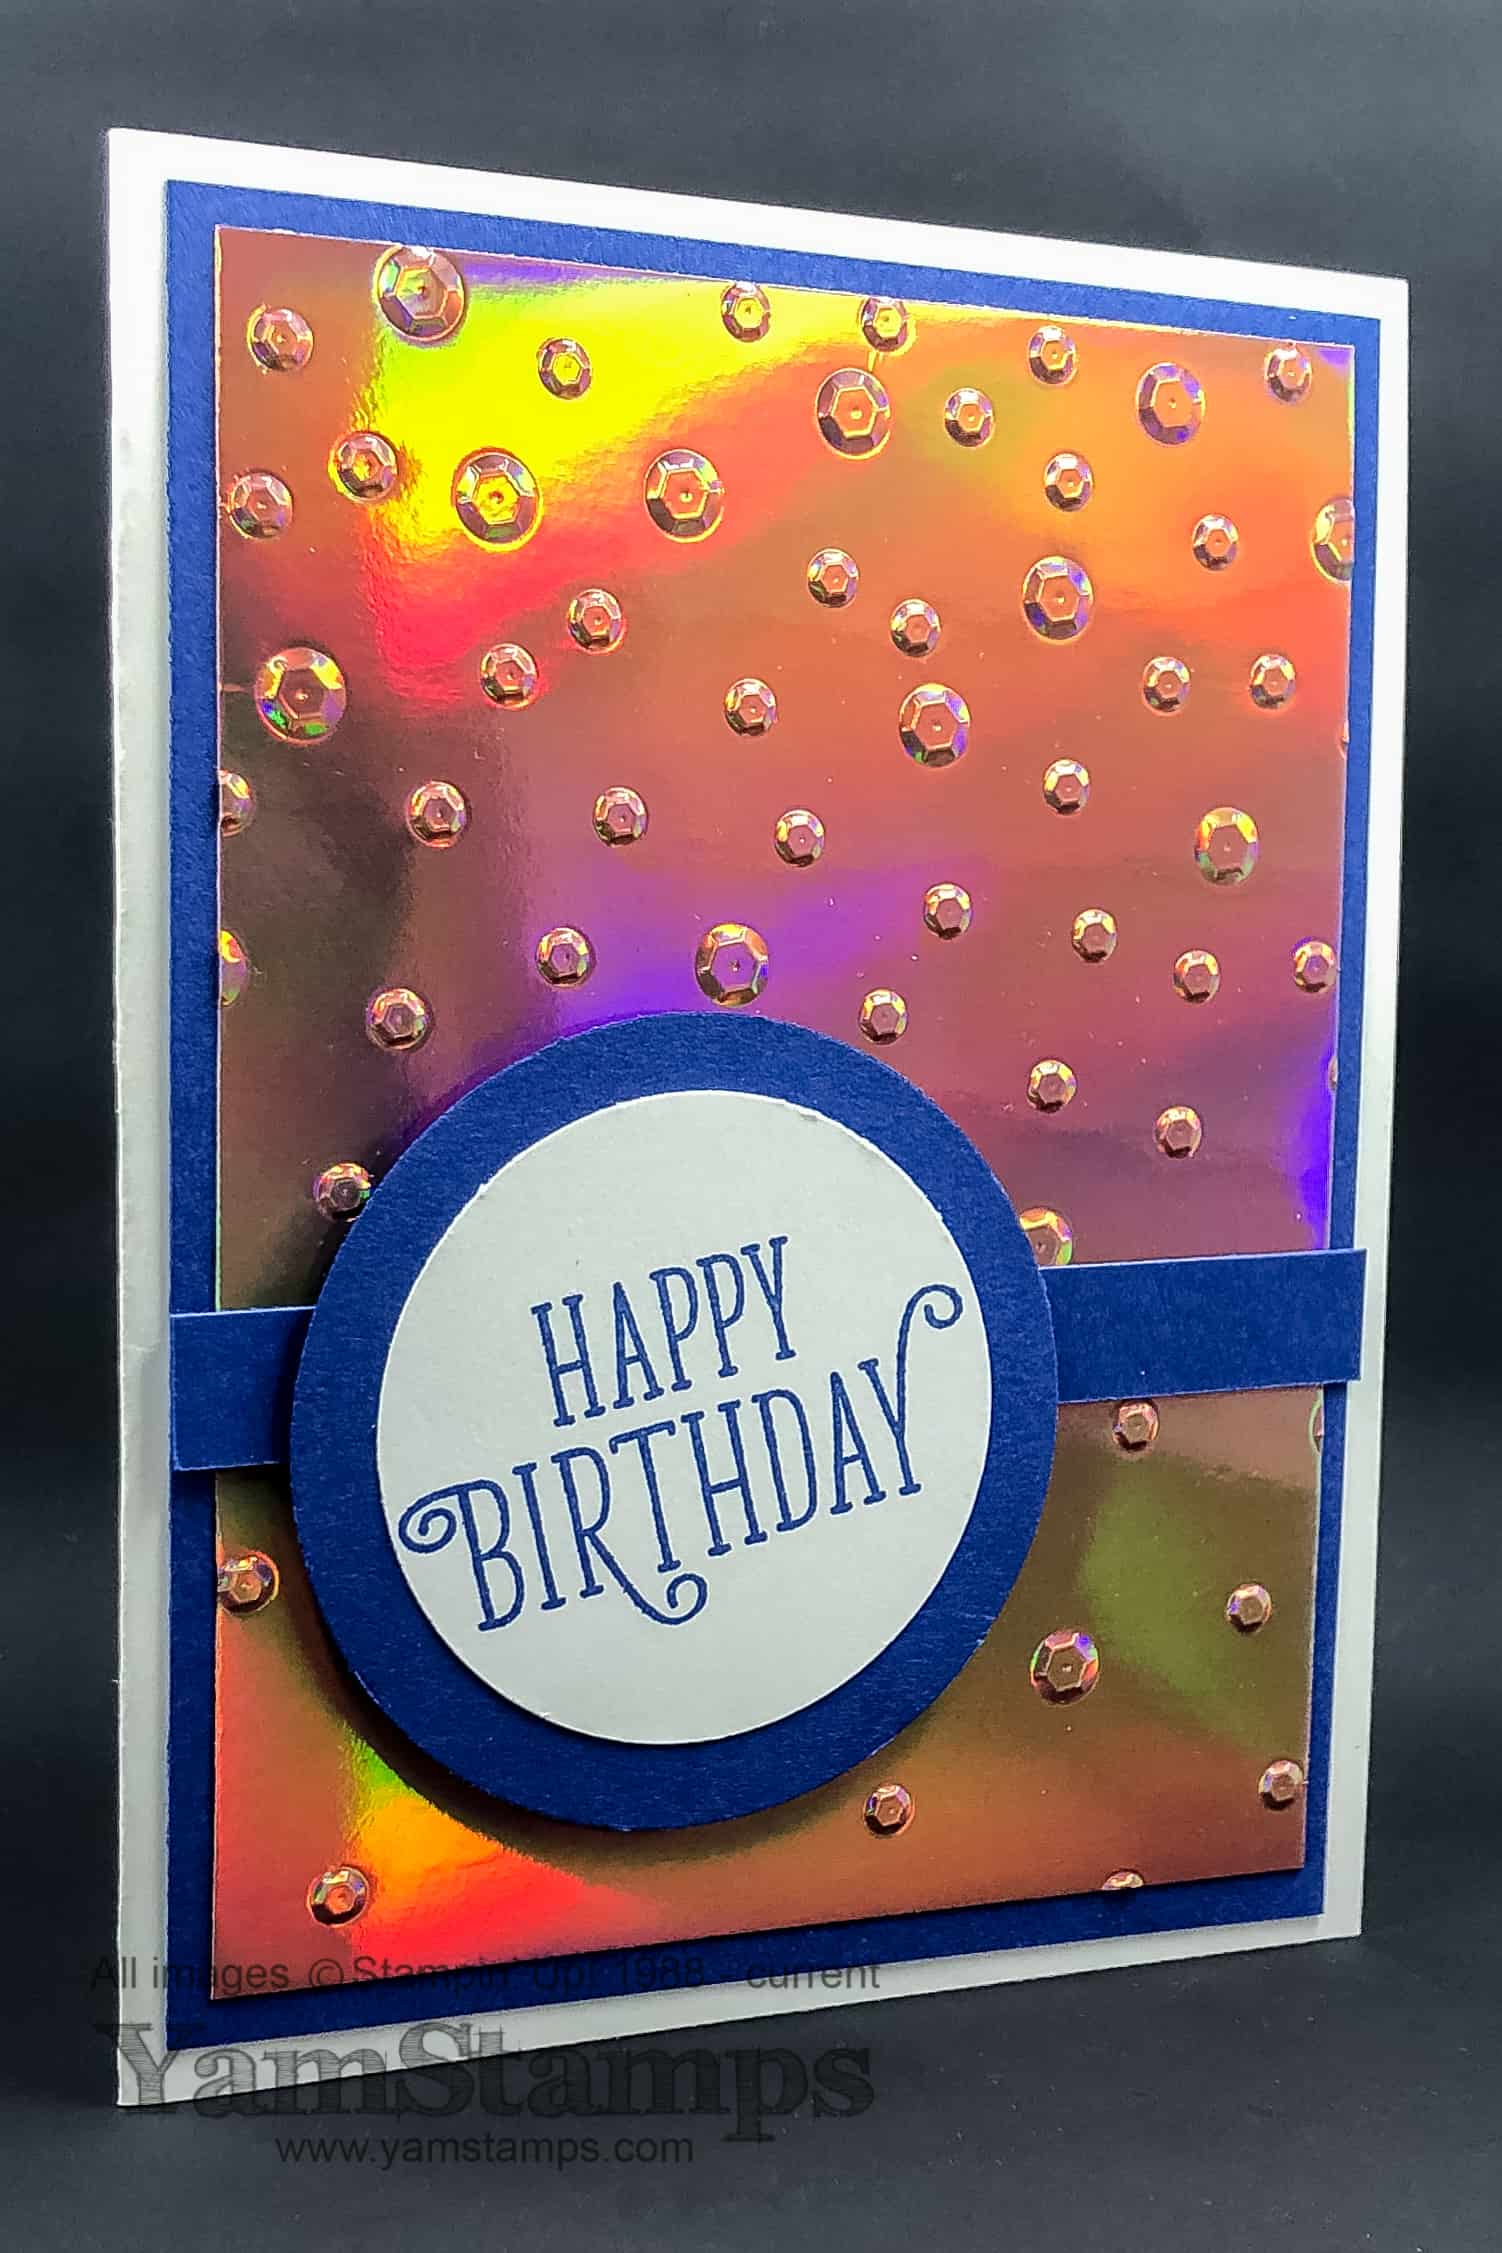
This is a perfect card for a Manic Monday – easy but impressive (though that’s the goal for most of my crafting any day of the week….). This Metallic Foil Birthday Card features one of the Grapefruit Grove Foil Sheets which comes paired with Lovely Lipstick Foil Sheets as a Sale-a-Bration Level 1 package! You get four sheets of each, so eight sheets total for plenty of crafting opportunities!
For this Metallic Foil Birthday Card, I used the Grapefruit Grove Foil which has an iridescent sheen to it – so it’s good for a gender neutral kind of card! Here it’s embossed with the Scattered Sequins Dynamic Embossing Folder, and the sentiment is from the Happy Birthday Gorgeous stamp set. I usually like to use circles for sentiments or images if I can because they’re very forgiving – you don’t have to worry about whether the image is totally straight – and in this case, I wanted to mount the sentiment on an angle to make it a bit more interesting, so it’s easy to do if there aren’t any straight lines or corners I need to worry about! Just a few steps and this card is done. Of course, I used my thrifty trick of cutting the backing circle from the backing layer of cardstock for the foil sheet – since noone will see the hole there anyway!
Just a reminder that for each $60 CAD in product that you order, you earn a Level 1 Sale-a-Bration reward (like the foil sheet package used to make the Metallic Foil Birthday Card) – and $120 CAD product order means you can pick either a Level 2 reward or TWO Level 1 rewards! Coming on Friday, February 15 – more options! A new set of rewards to tempt you through to the end of Sale-a-Bration, March 31st. I’ll be sure to post a link to the catalogue here on the YamStamps site on Friday.
Of course, the Demonstrator Starter Kit special is still going strong – $225 worth of product of your choice for just $135 – or you could add in an exclusive Craft & Carry Tote Bag for a total kit price of $175. Provincial sales tax ONLY applies – so if you’re in a province with a blended tax, there is NO tax, and FREE shipping. You can check out this page of FAQ (shortcut is yamstamps.com/join) or contact me if you want more information about joining my “Eh” Team of stampers! I’d love to have you join our group!
Happy Year of the Pig! It’s the Lunar New Year (Chinese New Year) and the year of the pig, to be precise, Earth Pig. (At least that’s what it said when I looked it up online). In any case, it was enough encouragement for me to revisit a previous favourite Stampin’ Up! stamp set, This Little Piggy.
The perils of being a demonstrator – sometimes I get so distracted by the latest releases and upcoming products that some older items get a little neglected at times. This Little Piggy is available in red rubber clear mount and red rubber wood mount. I stamped the image in Staz On Jet Black ink onto watercolour paper (see the YamStamps Facebook Page post from yesterday to see how I excluded the sentiment on the image). I then did a quick colouring job with my Aquapainter and drops of ink refills. The whole idea behind this card was to get it done and not be tooooo fussy (that’s my reasoning for colouring outside the lines LOL). I used Blushing Bride for the body of the pig, with a bit of Balmy Blue for the sky and Pear Pizzazz for the grass. The flower is So Saffron, and I scribbled onto a clear block with my Neutrals Basic Gray Stampin’ Write marker before picking up the colour to add to the pig’s hooves. I die cut the image and mounted it onto a scallop square using the Layering Squares Framelits for both. Since it was a square image, I placed it on a square card, and now I’m ready to send it to someone in honour of the Year of the Pig! (Want it? Let me know!)
Part of the reason I’ve been distracted by new, shiny objects…Stampin’ Up! will be releasing a second set of Sale-a-Bration products on February 15th, so be sure to come back here to see the new options! Plus, on March 1, there will be more product available to purchase that was designed to coordinate with existing Sale-a-Bration products, so your crafting will be even easier. Demonstrators are able to preorder all these items NOW, so I have been figuring out what I “need”….