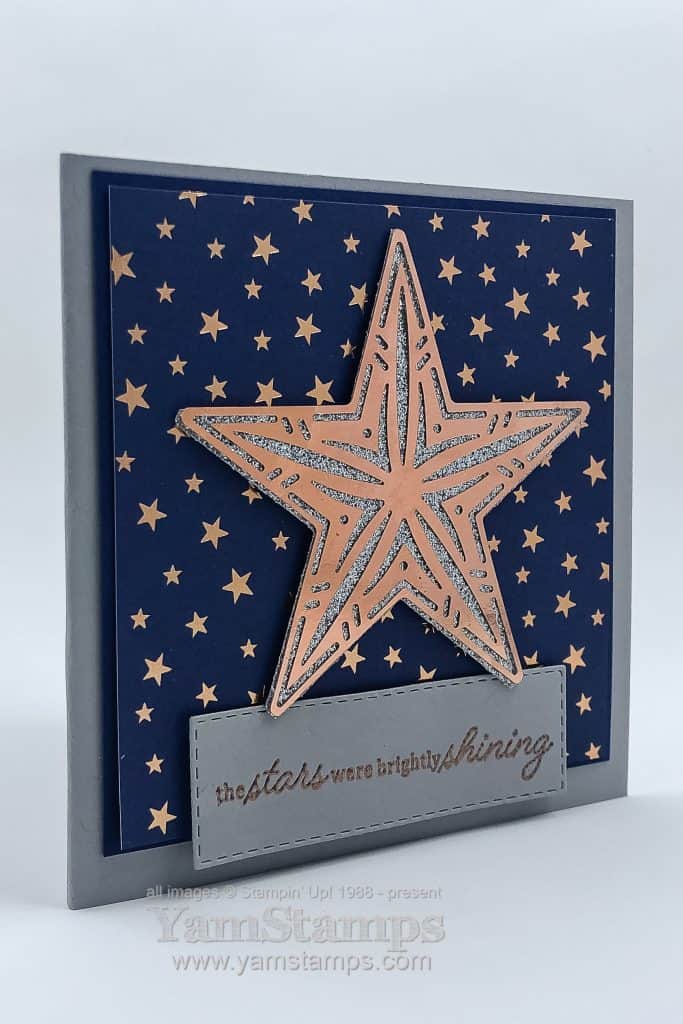
This glittery star card was one of my personal favourites from last month’s Christmas Card Class! While we set it up as a holiday card, I’m sure you could use this accent on a celebratory card for any occasion. (Oh, and surprise, it’s navy and silver….but there’s copper accents and the card is grey….so I’m kind of getting away from that recurring theme? Maybe? I’m trying, really I am!). Though now that I write that, I realize what the colour scheme was for the first of the YamStamps Twelve Weeks of Christmas project emails yesterday…. (Get on my newsletter list so you don’t miss any more of the subscriber exclusive projects!).
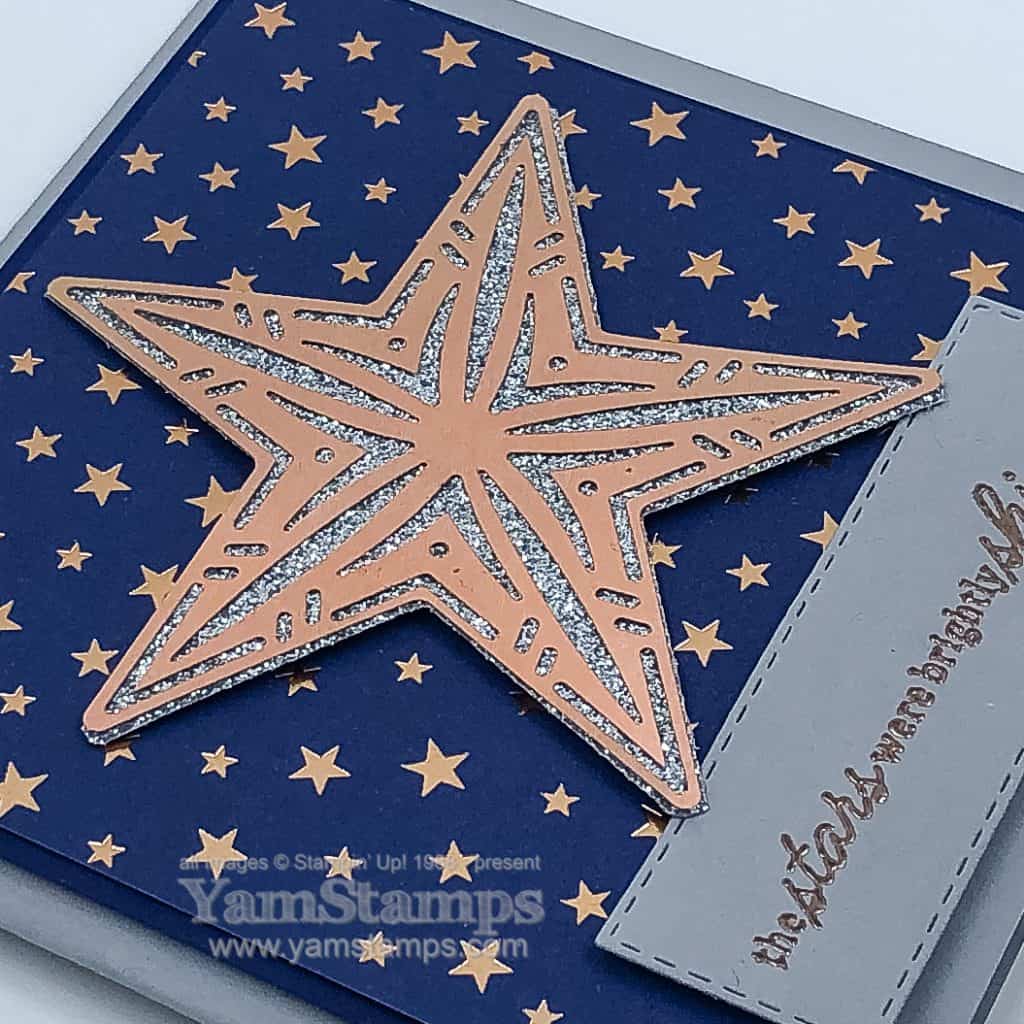
This is a square card, because I really wanted the large star to take up a lot of space on the cardfront. The background is the Brightly Gleaming Specialty Designer Series Paper so I took my colour scheme from that. The large copper foil star is from the Brightly Gleaming Foil Elements – you get 10 of them in the package (if I counted correctly). While I was playing around with the elements, I discovered that the star is the same size as one of the Stitched Stars Dies! So the Silver Glimmer Paper was cut with the star and then the Copper Foil Star was stuck onto it. Once it was secure, we just had to trim the ends of the silver star – because the die has pointy star ends and the foil element is rounded.
I try not to stray too much outside a bundle if possible, but I couldn’t resist using the Shine Bright stamp set sentiment – because I thought it was perfect! If you’re keeping track – the Stitched Stars Dies come in a discounted bundle with the So Many Stars stamp set, while the Shine Bright stamp set comes in a discounted bundle with the Stitched Brightly Dies. It’s heat embossed with Copper Embossing Powder and cut out with a Stitched Rectangle Die. Even though it’s an extra step to die cut a sentiment, it often means I don’t have to re-do a card because at the last moment I stamped the sentiment crookedly! Just stamp the sentiment on a scrap piece of cardstock, then die cut (and of course, position the die so the sentiment is squared and centred within the cut out portion!).
And it was pointed out to me that I missed an embellishment opportunity – a little rhinestone bling in the centre of the star?! Ah well – for the next time I make this card – or YOU could make it!
Are you a member of the Paper Crafting with YamStamps Facebook Group? I did a last minute Facebook Live on Wednesday, showing how you can heat emboss with Stampin’ Up! inks. Click on join and follow so that you can be notified of future Lives – because I’m on a mission to do a few more live videos on a regular basis! If you make a version of a glittery star card, please post it in the group – I have a participation challenge going on right now! Thanks for stopping by.


