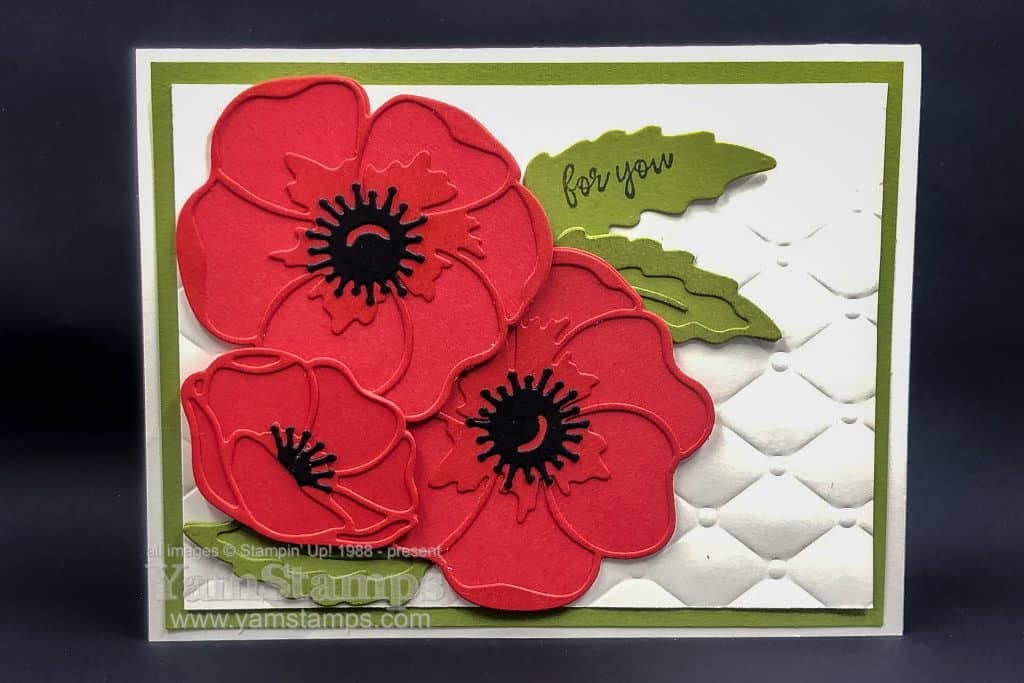
Why is it that “springing forward” means I often will not have a spring in my step for the first few days?! Anyway – here’s a die cut poppy card to brighten your day, and here’s hoping you’re not as discombobulated as me today.
This card was less fussy to produce than you might think….really. The poppy background flower and detail die from the Poppy Moments Dies were both cut from Poppy Parade cardstock (because why think so hard when it’s given to you like that?!). To make the detail die cut stand out just a little bit, I sponged Poppy Parade ink onto it – it’s amazing how it just gives a little bit more depth to the cardstock colour and makes it distinctive but not distracting. I did the same for the leaves in Old Olive. To keep everything cohesive, I stamped the sentiment from So Sentimental onto one of the die cut leaves in Tuxedo Black Memento Ink. The Tufted 3D Embossing Folder adds a bit more interest to the background, again without being too distracting.
To add the detail die cut on top of the background, I typically either use dots of the Multipurpose Liquid Glue in strategic spots (usually where the die cut is larger, because I’m messy…) or pick up some of the glue with a bit of a Stamping Sponge and dab it on the back of the die cut. I also work on top of one of the silicone craft sheets so 1) my die cut doesn’t get stuck down before I even get it onto the piece and 2) I don’t have a super sticky work surface afterward so everything else gets stuck down too.
Time is running out on Sale-a-Bration – it will end on March 31st, but remember that the freebies are also “while supplies last”. Three rewards are already gone forever – Golden Honey Designer Series Paper, Metallic Baker’s Twine & Sequins Combo, and the Kerchief Card Kit (see photos on the YamStamps Facebook Page in this post). Be sure to grab the rewards you want before they’re gone! Contact me if you have any questions or need assistance placing an order. Otherwise, you can shop online in the YamStamps Online Stampin’ Up! Canada store – shortcut yamstamps.com/shop.
I’m off to do work on an online class that I’m hoping to launch in the next few weeks, so stay tuned! I might also need to take a nap as well. What time is it? Enjoy the die cut poppy card in the meantime while I figure out which way is up.
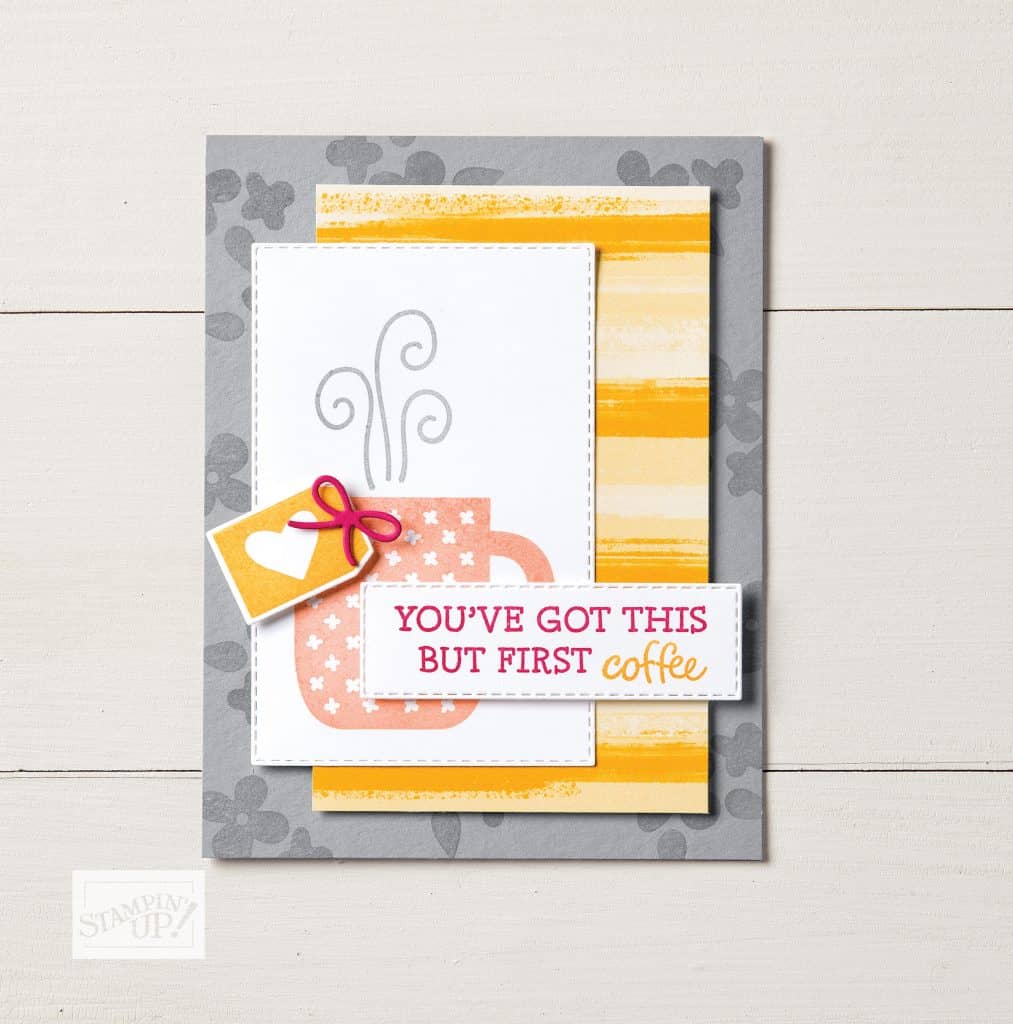
Starting today, there are more ways to Sale-a-Brate! Stampin’ Up! has released a new set of options for your Sale-a-Bration Rewards. This second release of products will be available to select with a qualifying order until March 31 or while supplies last.
This fun card was made using the second release stamp set Rise and Shine. It’s a Level 2 Reward so a $120 product order will qualify you to choose this for free! (and yes, there’s a “tea” stamp as well, so you can customize it!). Check out another fun sample in today’s YamStamps Newsletter (going out at 1pm Eastern) – it’s the big monthly projects newsletter with 4 different project tutorials! Click here to sign up if you’re not already subscribed.
If you’re looking for more ways to Sale-a-Brate, please note that there’s a few date changes on the YamStamps Events calendar this month due to March Break, so check out the YamStamps Events Page to keep up with those! Contact me if you’d like to join us at Monthly Card Class or Stampers Club this month or next. We’d love to have you join us!
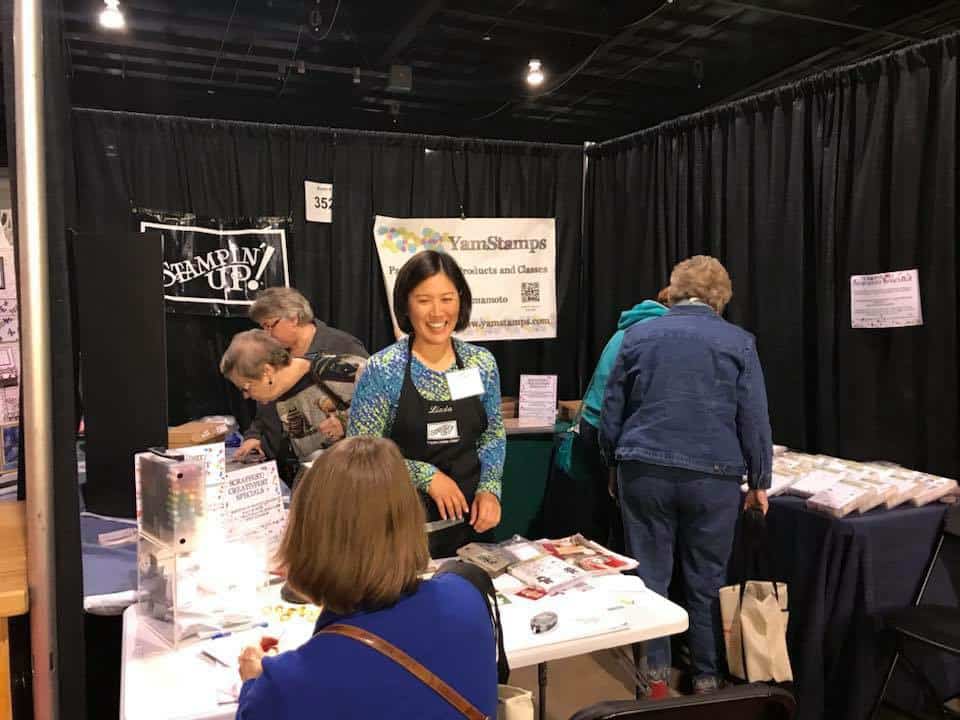
Hey! Happy to say that I will have a booth at Kitchener Scrapfest 2020! Friday April 17 and Saturday April 18 at the Kitchener Memorial Auditorium. If you’ll be attending the crop or will be coming to browse the vendor booths, I hope that you will stop in and say hello. There will be a free make and take and a door prize draw, plus you can shop my retired products table. I’ll have adhesives on hand if you need to stock up for your time at the crop as well. If you are going to be attending, you can also place an order with me ahead of time and pick it up at the booth! Please place your order by March 31 to be sure that it will arrive in time. (BONUS: This means you can get a Sale-a-Bration reward with each $60 product order too!)
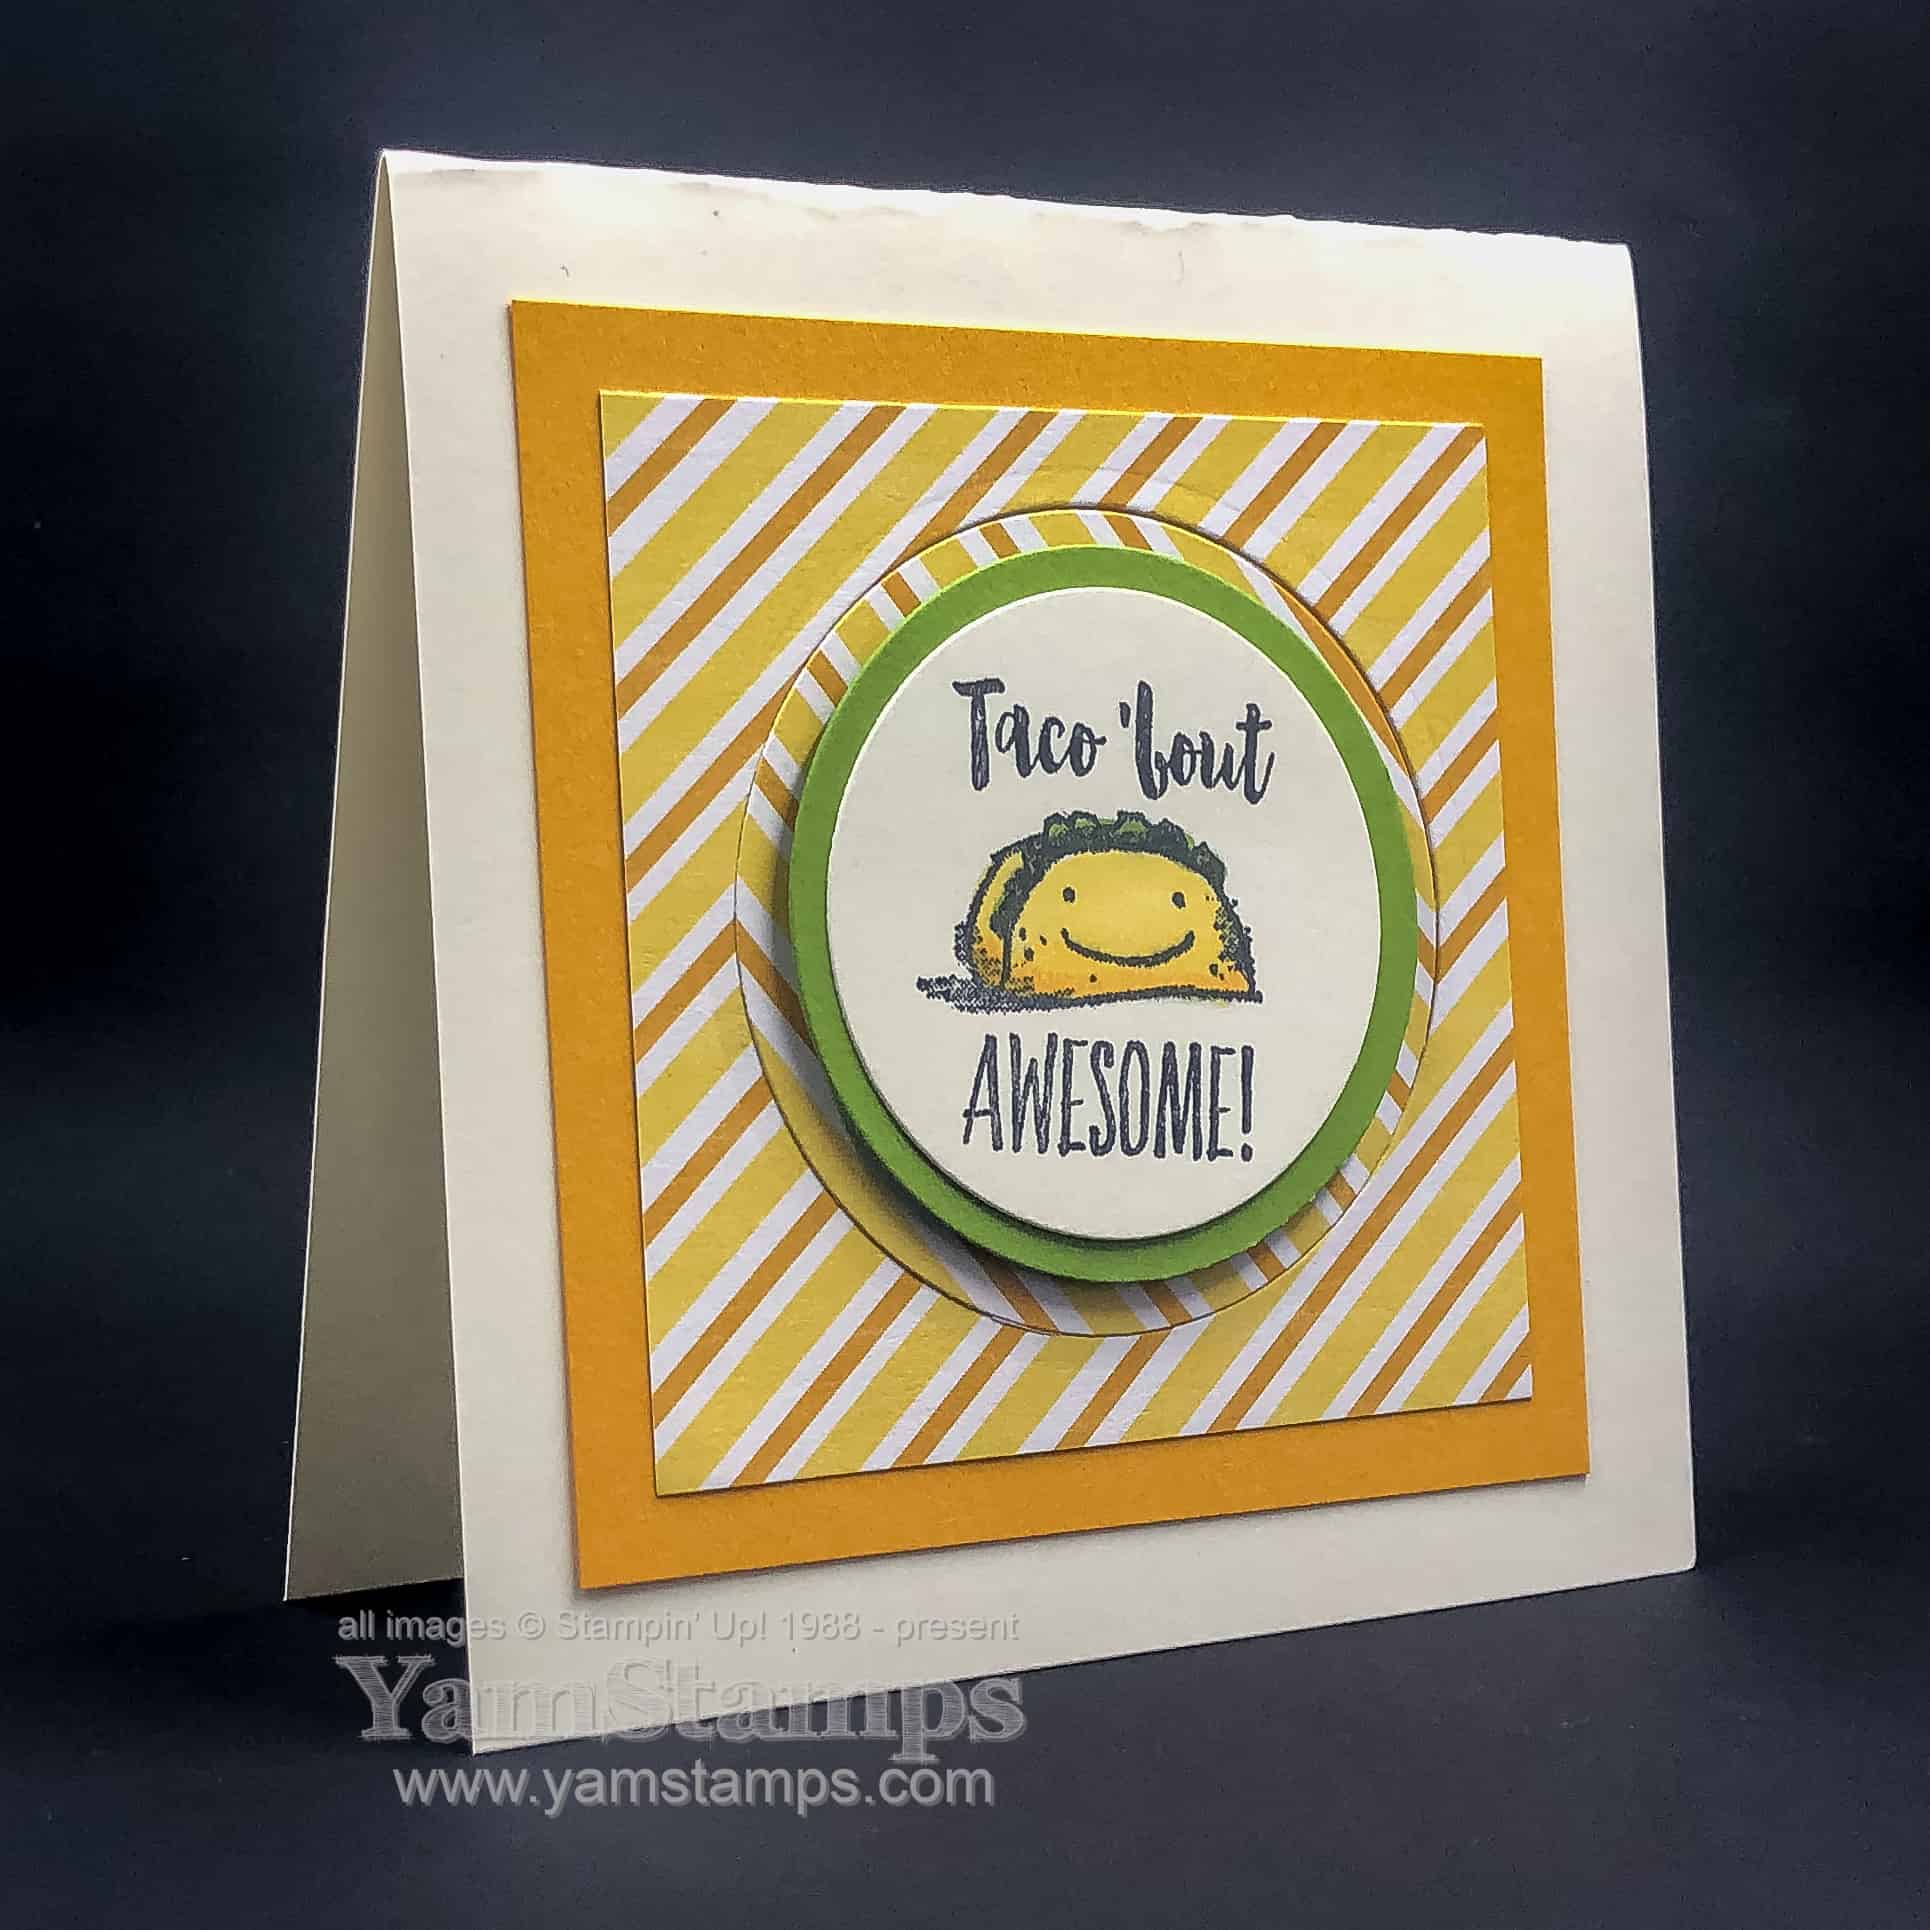
Today I’m sharing this inlaid die cut card…with a twist. Literally. I think I’ve shared other examples of inlaid die cuts – where you die cut a word or shape, and then inlay the same die cut in a contrasting colour. This time, I die cut the Designer Series Paper and gave it a quarter turn (or maybe it was a half turn….) before adhering it into place. I love how it gives a little more interest to the background but doesn’t totally draw your eye away from the cute taco image!
True confession – I didn’t think I actually “needed” the Witty-cisms stamp set from the Jan-June Mini Catalogue that’s featured in this card, but it’s been one of my favourites! I think part of what I like is that the images aren’t super huge, so they’re quick and fun to colour. This image was coloured with Stampin’ Blends and I always feel artistic when I colour with the alcohol markers. I love how there’s no streaks or lines, and the shading blends in so well. I have used other alcohol markers in the past as well (still have a few in my craft room) but what I love about the Stampin’ Blends is the easy coordination. There’s a light and dark version of the same colour, and it’s matched with the Stampin’ Up! colour families. If I recall correctly, it’s light and dark Mango Melody on the taco shell (which coordinates with the backing cardstock) and Light Granny Apple Green for the lettuce portion, which coordinates with the Granny Apple Green Cardstock around the image. The Designer Series Paper is the ever so cute Birthday Bonanza.
So I die cut a Layering Circle out of the Designer Series Paper, and adhered the piece with the hole onto the cardstock. I adhered the die cut circle back into that hole, but turned it so the pattern did not line up. I think this technique works best with a stripe or more plain directional image. Easy Peasy!
Come to a card class or join Stampers Club if you want to pick up other fun crafting tips and techniques just like this Inlaid Die Cut Card! See the upcoming dates on the YamStamps Events Page, and contact me to reserve a spot or to ask questions.
PS I am totally realizing now that I should have saved this card for a Tuesday post. *sigh* (well, maybe I’ll share it to the YamStamps Facebook Page on Tuesday!)
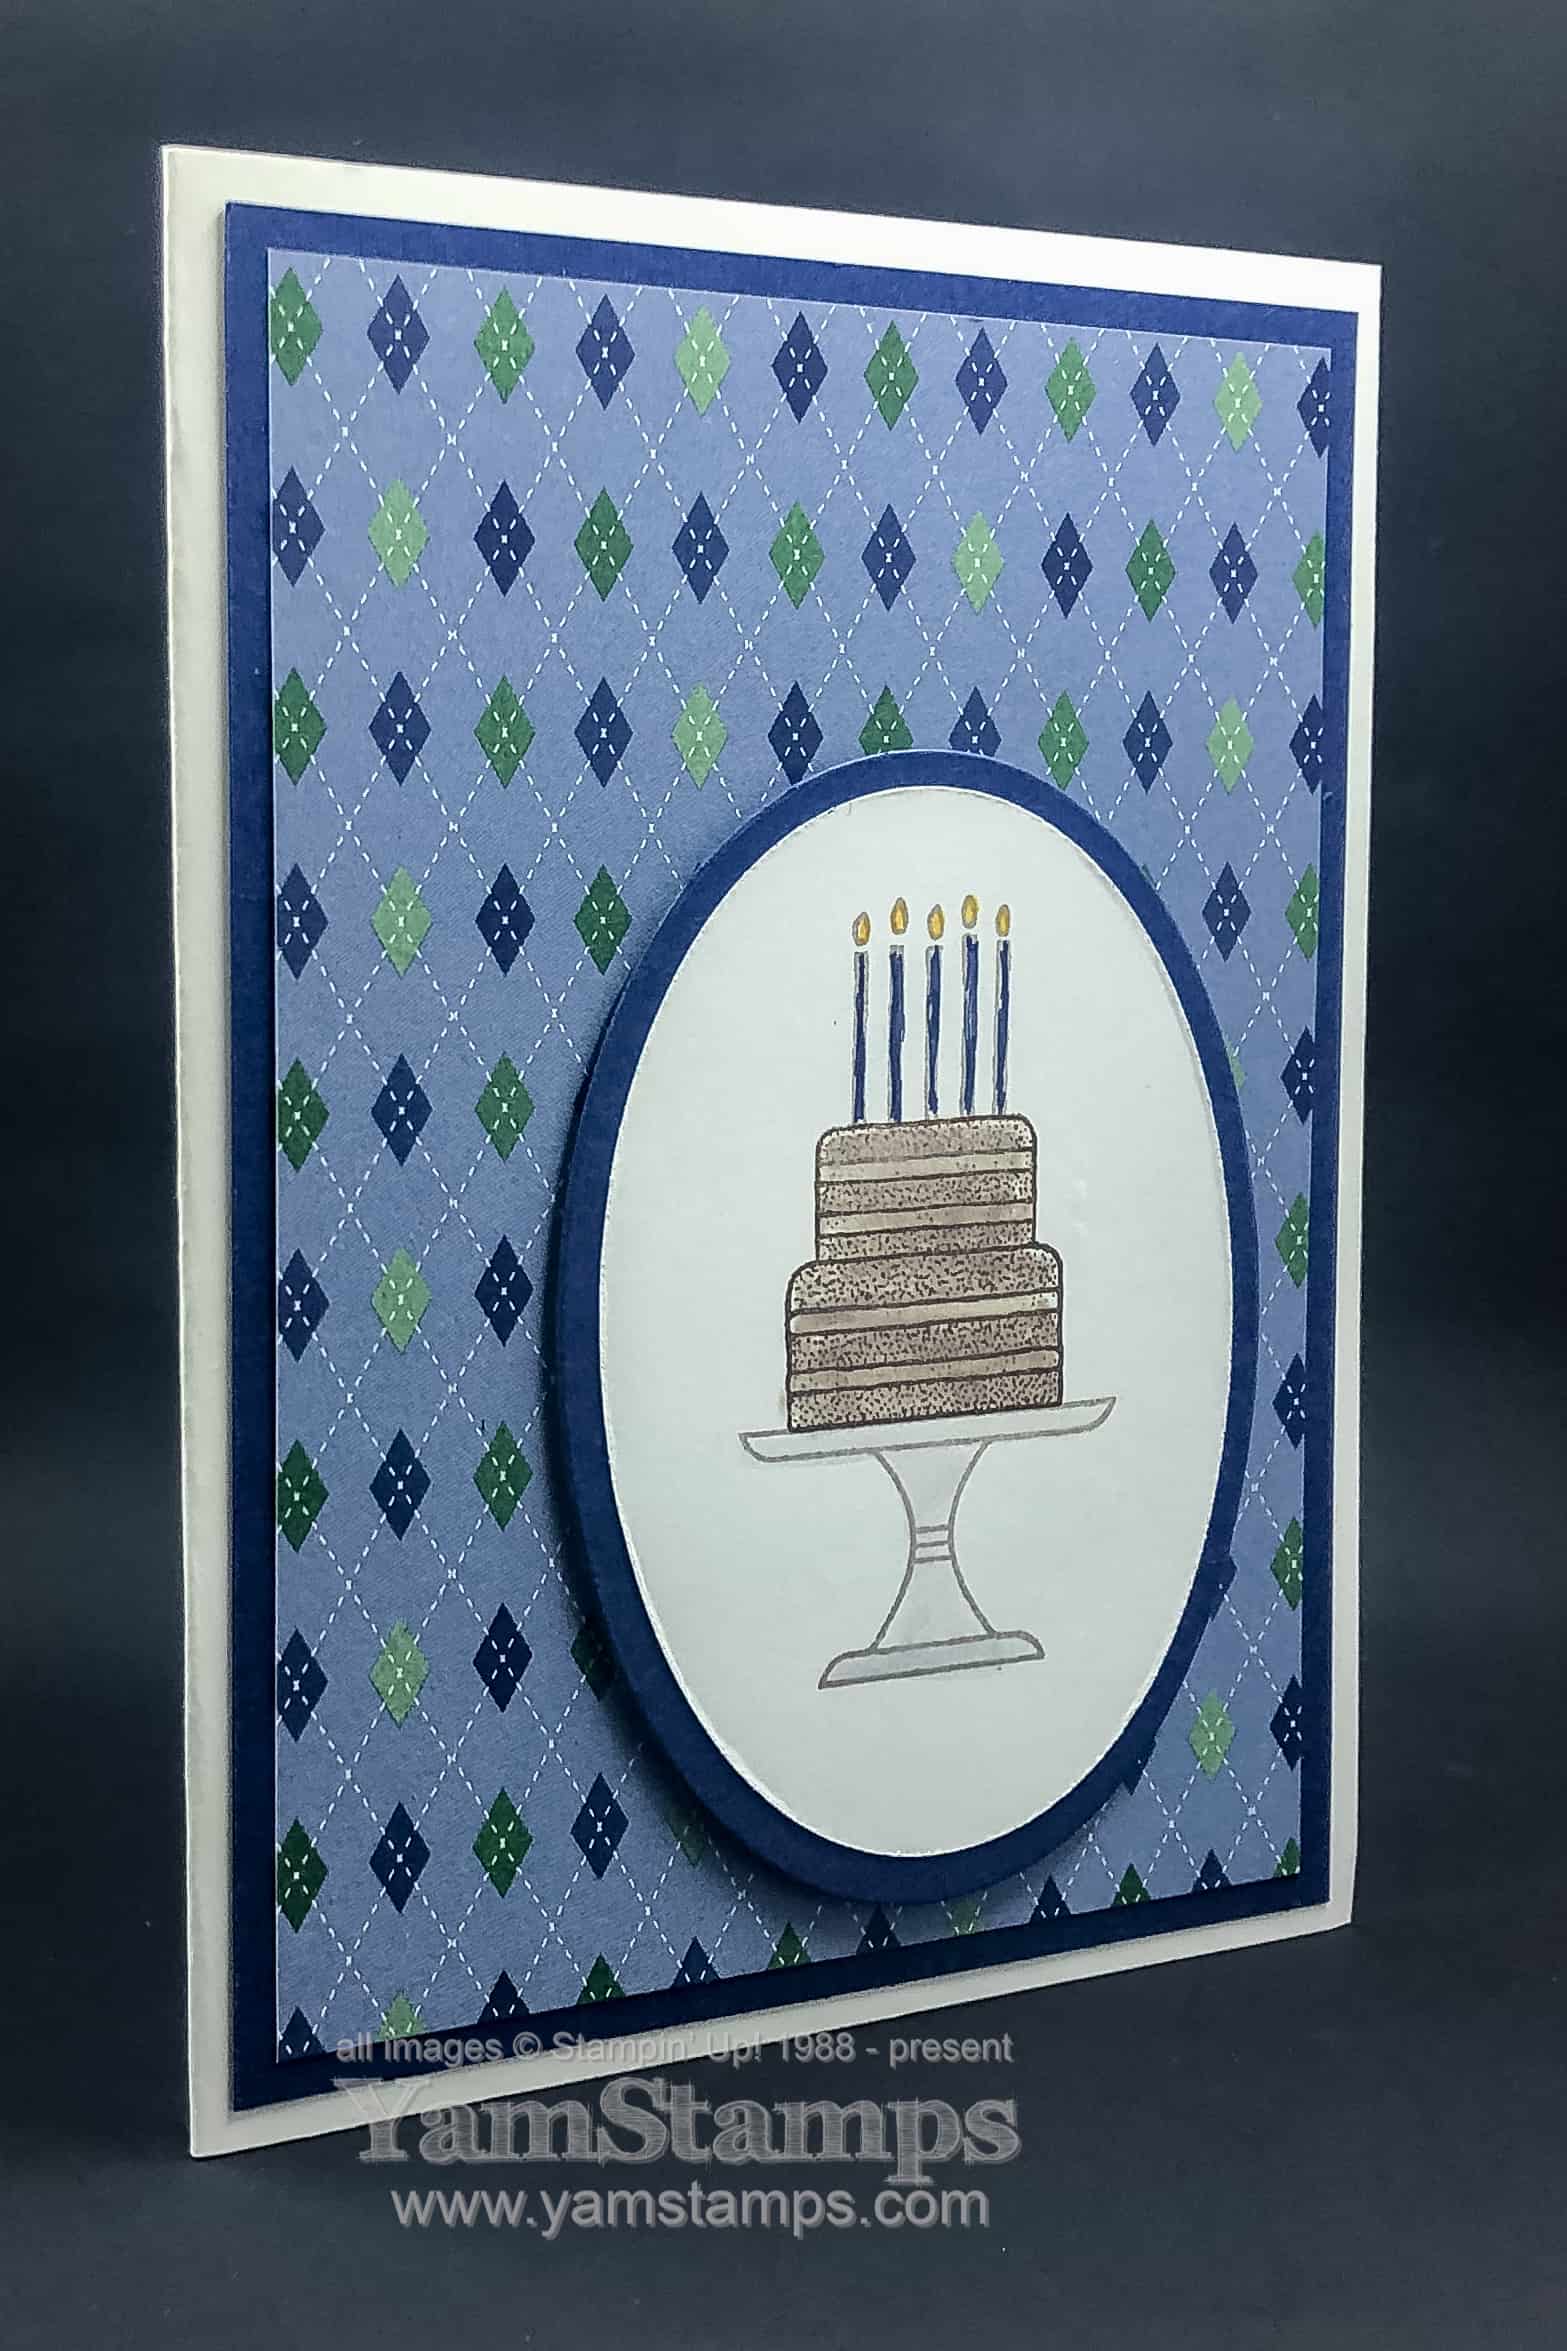
This Birthday Cake Card is today’s clean and simple card. Quick and easy to help someone celebrate!
This card is made even easier by lining everything up with the Stamparatus. If you’ve been following this YamStamps Blog for a while or have attended a class with me, you’ll realize that the larger oval is cut from the centre of the backing Night of Navy Cardstock. I used the Country Club Designer Series Paper for the background – using the argyle side rather than the obvious golf side. The main image on this card is actually three different stamps – the cake stand and outline of candles were stamped in Smoky Slate, and the cake was stamped in Early Espresso. I lined everything up on the Stamparatus so that it was easy to reproduce.
If you’re making multiples – and die cutting the stamped image, the easy technique is to line your stamps up on your Stamparatus. Place your cardstock in the corner of the Stamparatus, and stamp it. Remove the cardstock from the Stamparatus, then die cut with a Layering Oval die. Place the piece of cardstock (the one with the hole in it) back into the corner of the Stamparatus, and use that as your template/guide. For the next images, die cut the oval first, then place it in the hole in the cardstock in the Stamparatus so that your images will be in the right spot. Clear as mud? Check out this video I have on the YamStamps Facebook Page to see this technique in action. Oh – and don’t be like me in the video – place the magnet over a corner of the die cut shape so it doesn’t move…LOL.
Quick and Easy, Clean and Simple – this birthday cake card will be sure to please the recipient, and you’ll be able to whip one up at the last minute and still have time and energy to enjoy the celebration!