Given the weather outside, it seems appropriate to share this shimmery icicles card! The Burlington Santa Claus Parade had to be cancelled due to the freezing rain storm, so I spent time inside doing some photo editing and a bit of paper crafting. While I was sad about the cancellation, I was glad not to be outside in the awful weather!
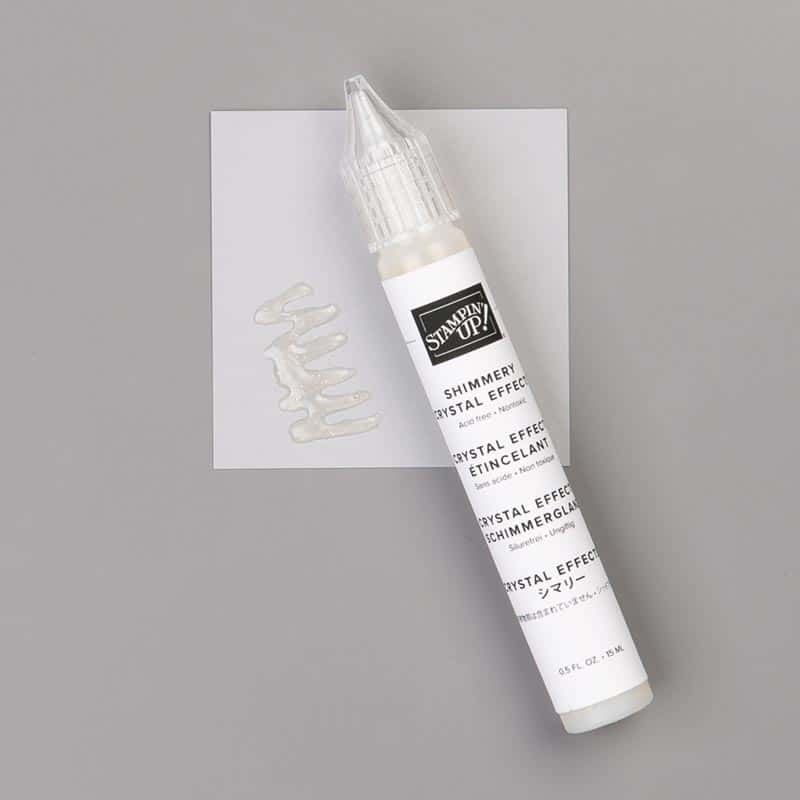
This card was from the November Christmas Card Class, where we used Shimmery Crystal Effects on each of the projects.
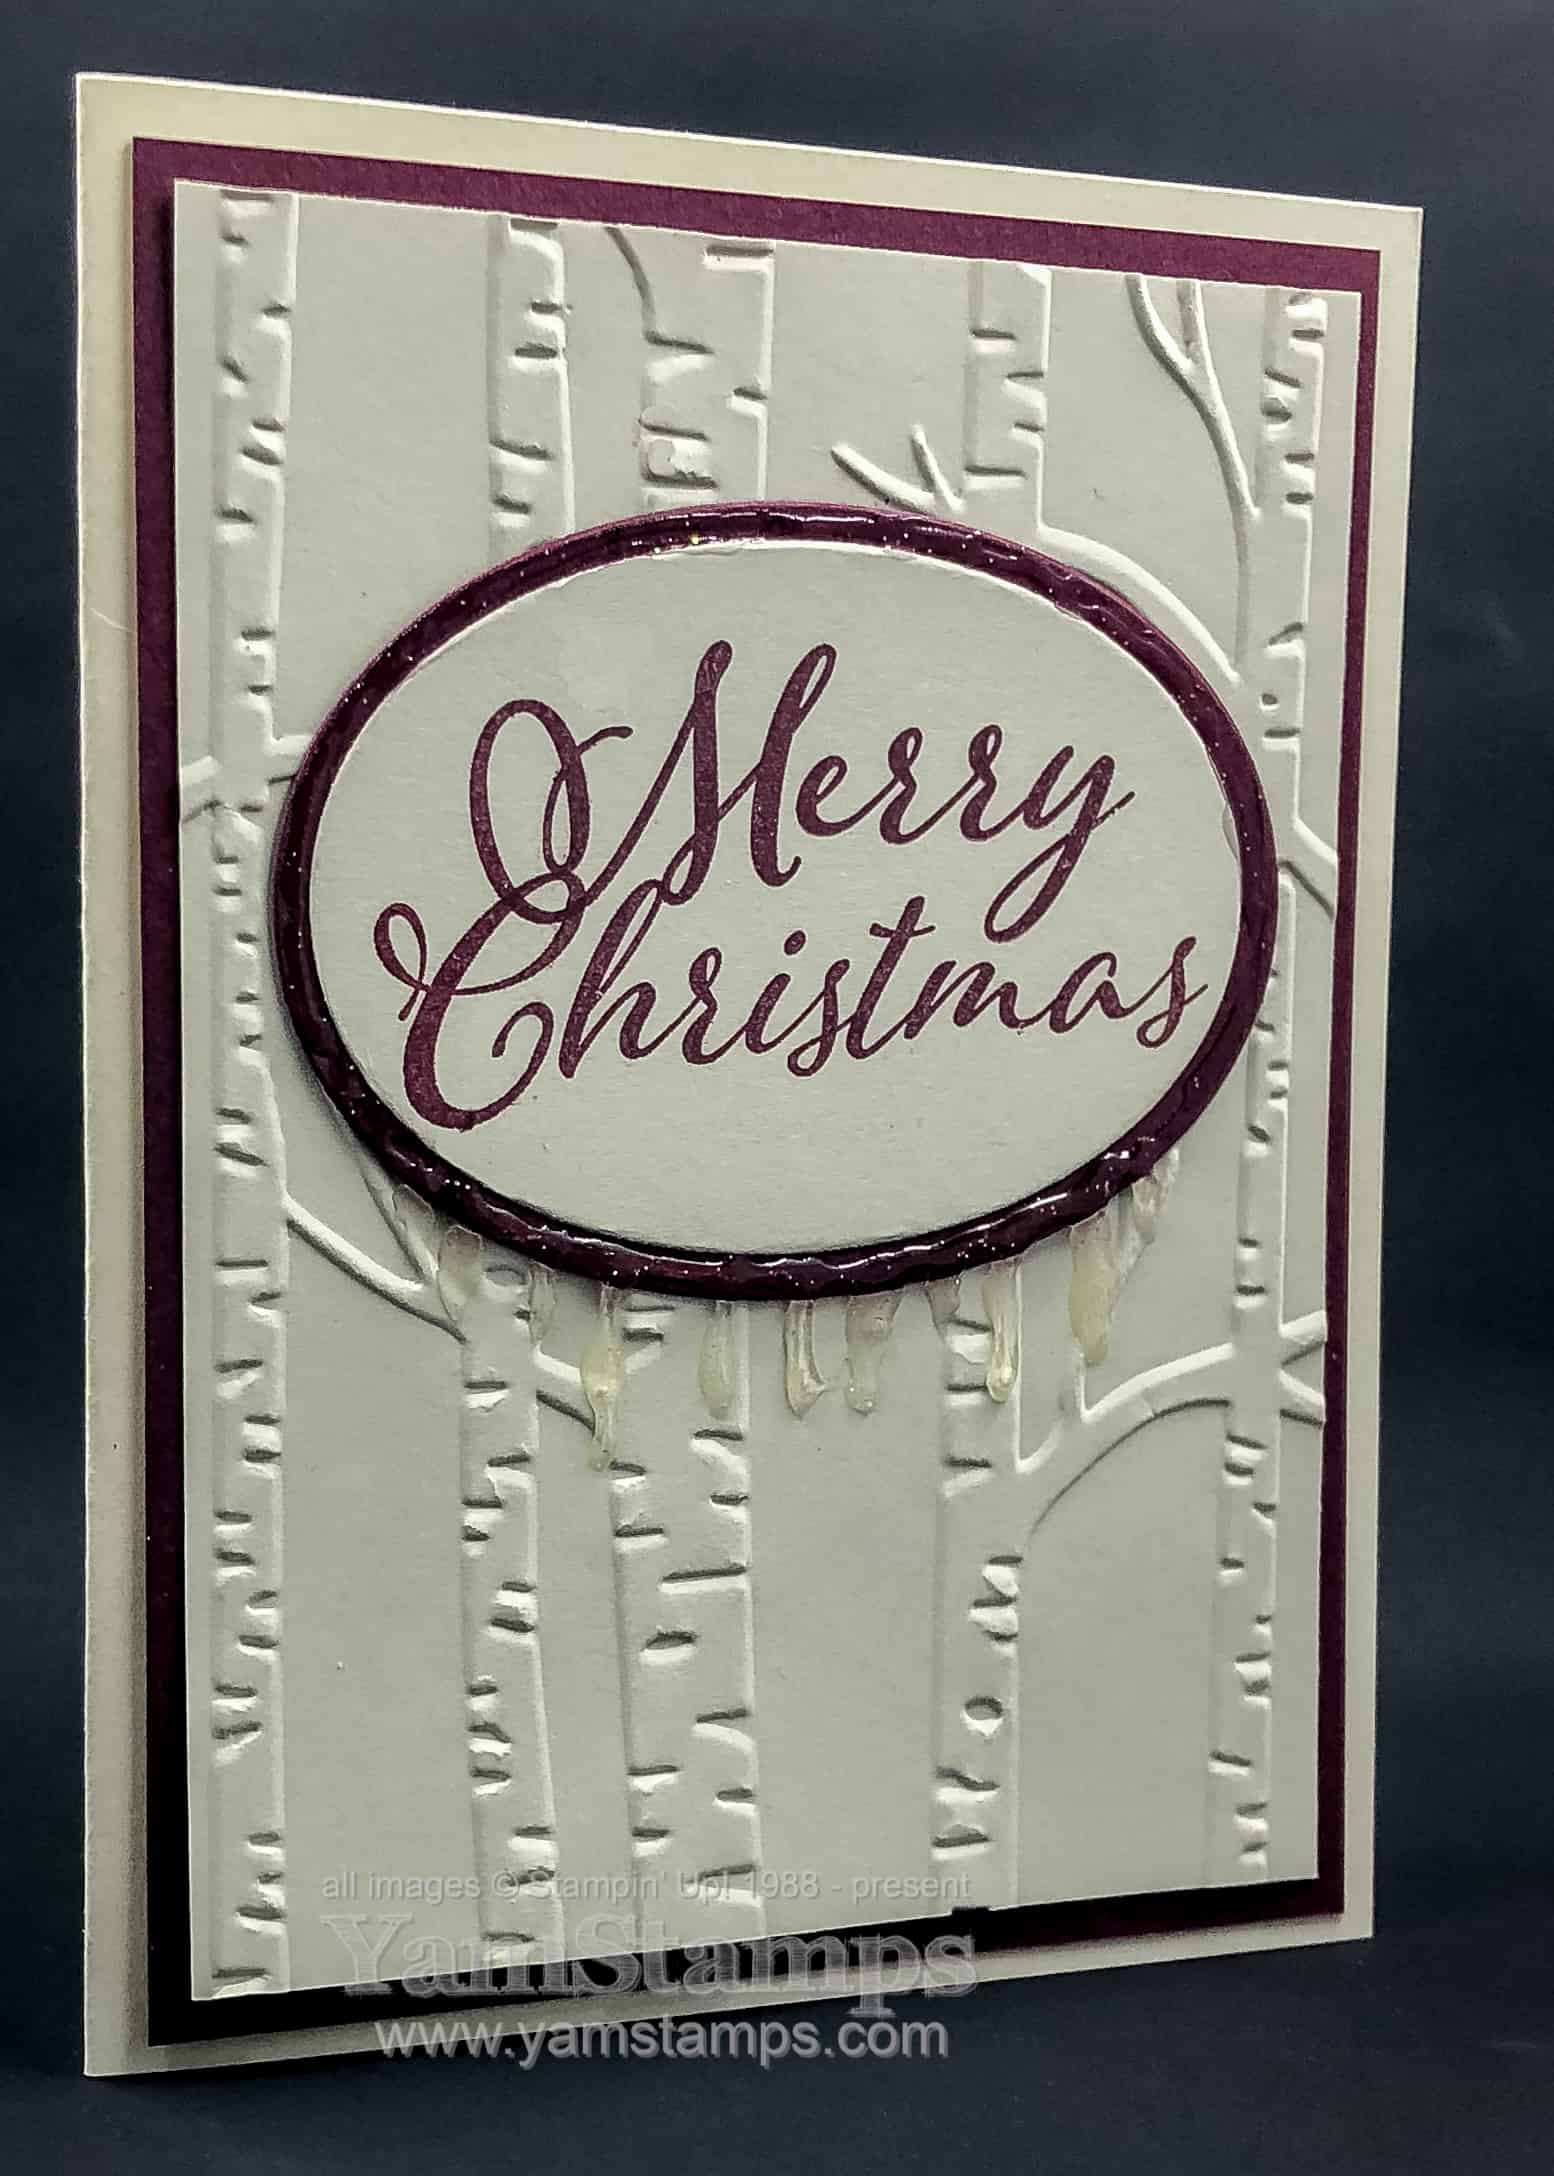
I still love that Woodland Embossing Folder! It’s great for adding texture and interest to the background of a card. The design of the card itself is quite clean and simple otherwise. Layering Ovals for the sentiment, which is from the Merry Christmas to All stamp set.
We added Shimmery Crystal Effects around the backing oval of Merry Merlot Cardstock, and then drew icicles from the bottom portion of the frame. Easy peasy! You do need to allow a fair bit of time for drying – otherwise the card will be glued to the inside of the envelope!! The Shimmery Crystal Effects is fairly thick and you can layer it up and get a 3D effect.
This would be a fun card to make for your friends – and you can easily mass produce it by using the Stamparatus for the sentiment, and then just “assembly line” the rest of the card production.
I can’t believe we’re in December. All of the Christmas Card Classes are done for the year, but there’s still the Monthly Card Classes and Stampers Club on the calendar. I’ll be adding some new classes for the new year, and don’t forget that the Holiday Punch Art Online Class is still open for enrollment until end of day December 2!
The shimmery icicles card is the preferred way to view ice for me right now – and from the inside of my warm home. I am debating on how safe it is for me to navigate the green bin and blue bin to the curb tonight….or if I wait until tomorrow when it may be better?! Stay safe everyone!
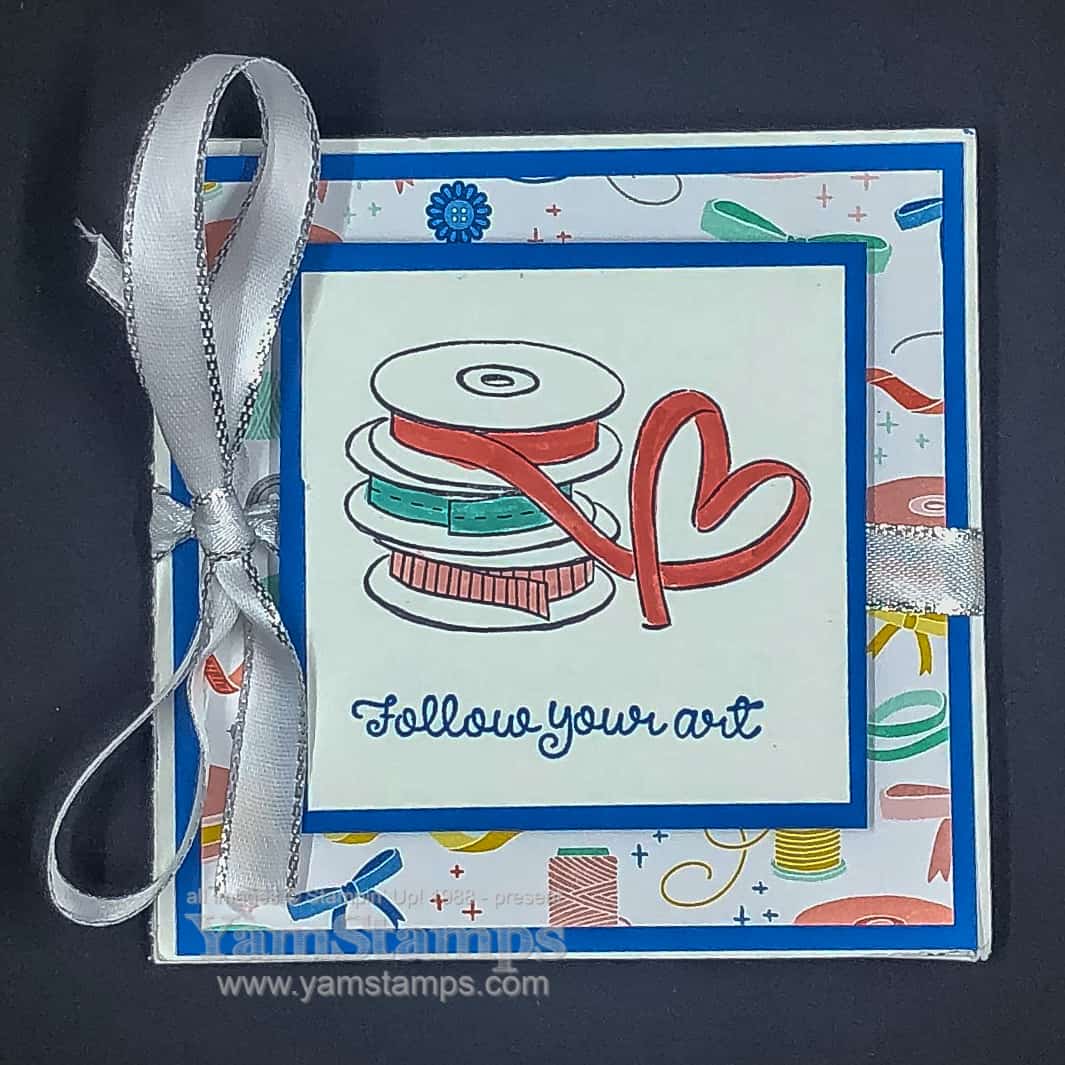
Here’s a fun fold card that we did in last month’s card class, featuring some items from the Follow Your Art Suite.
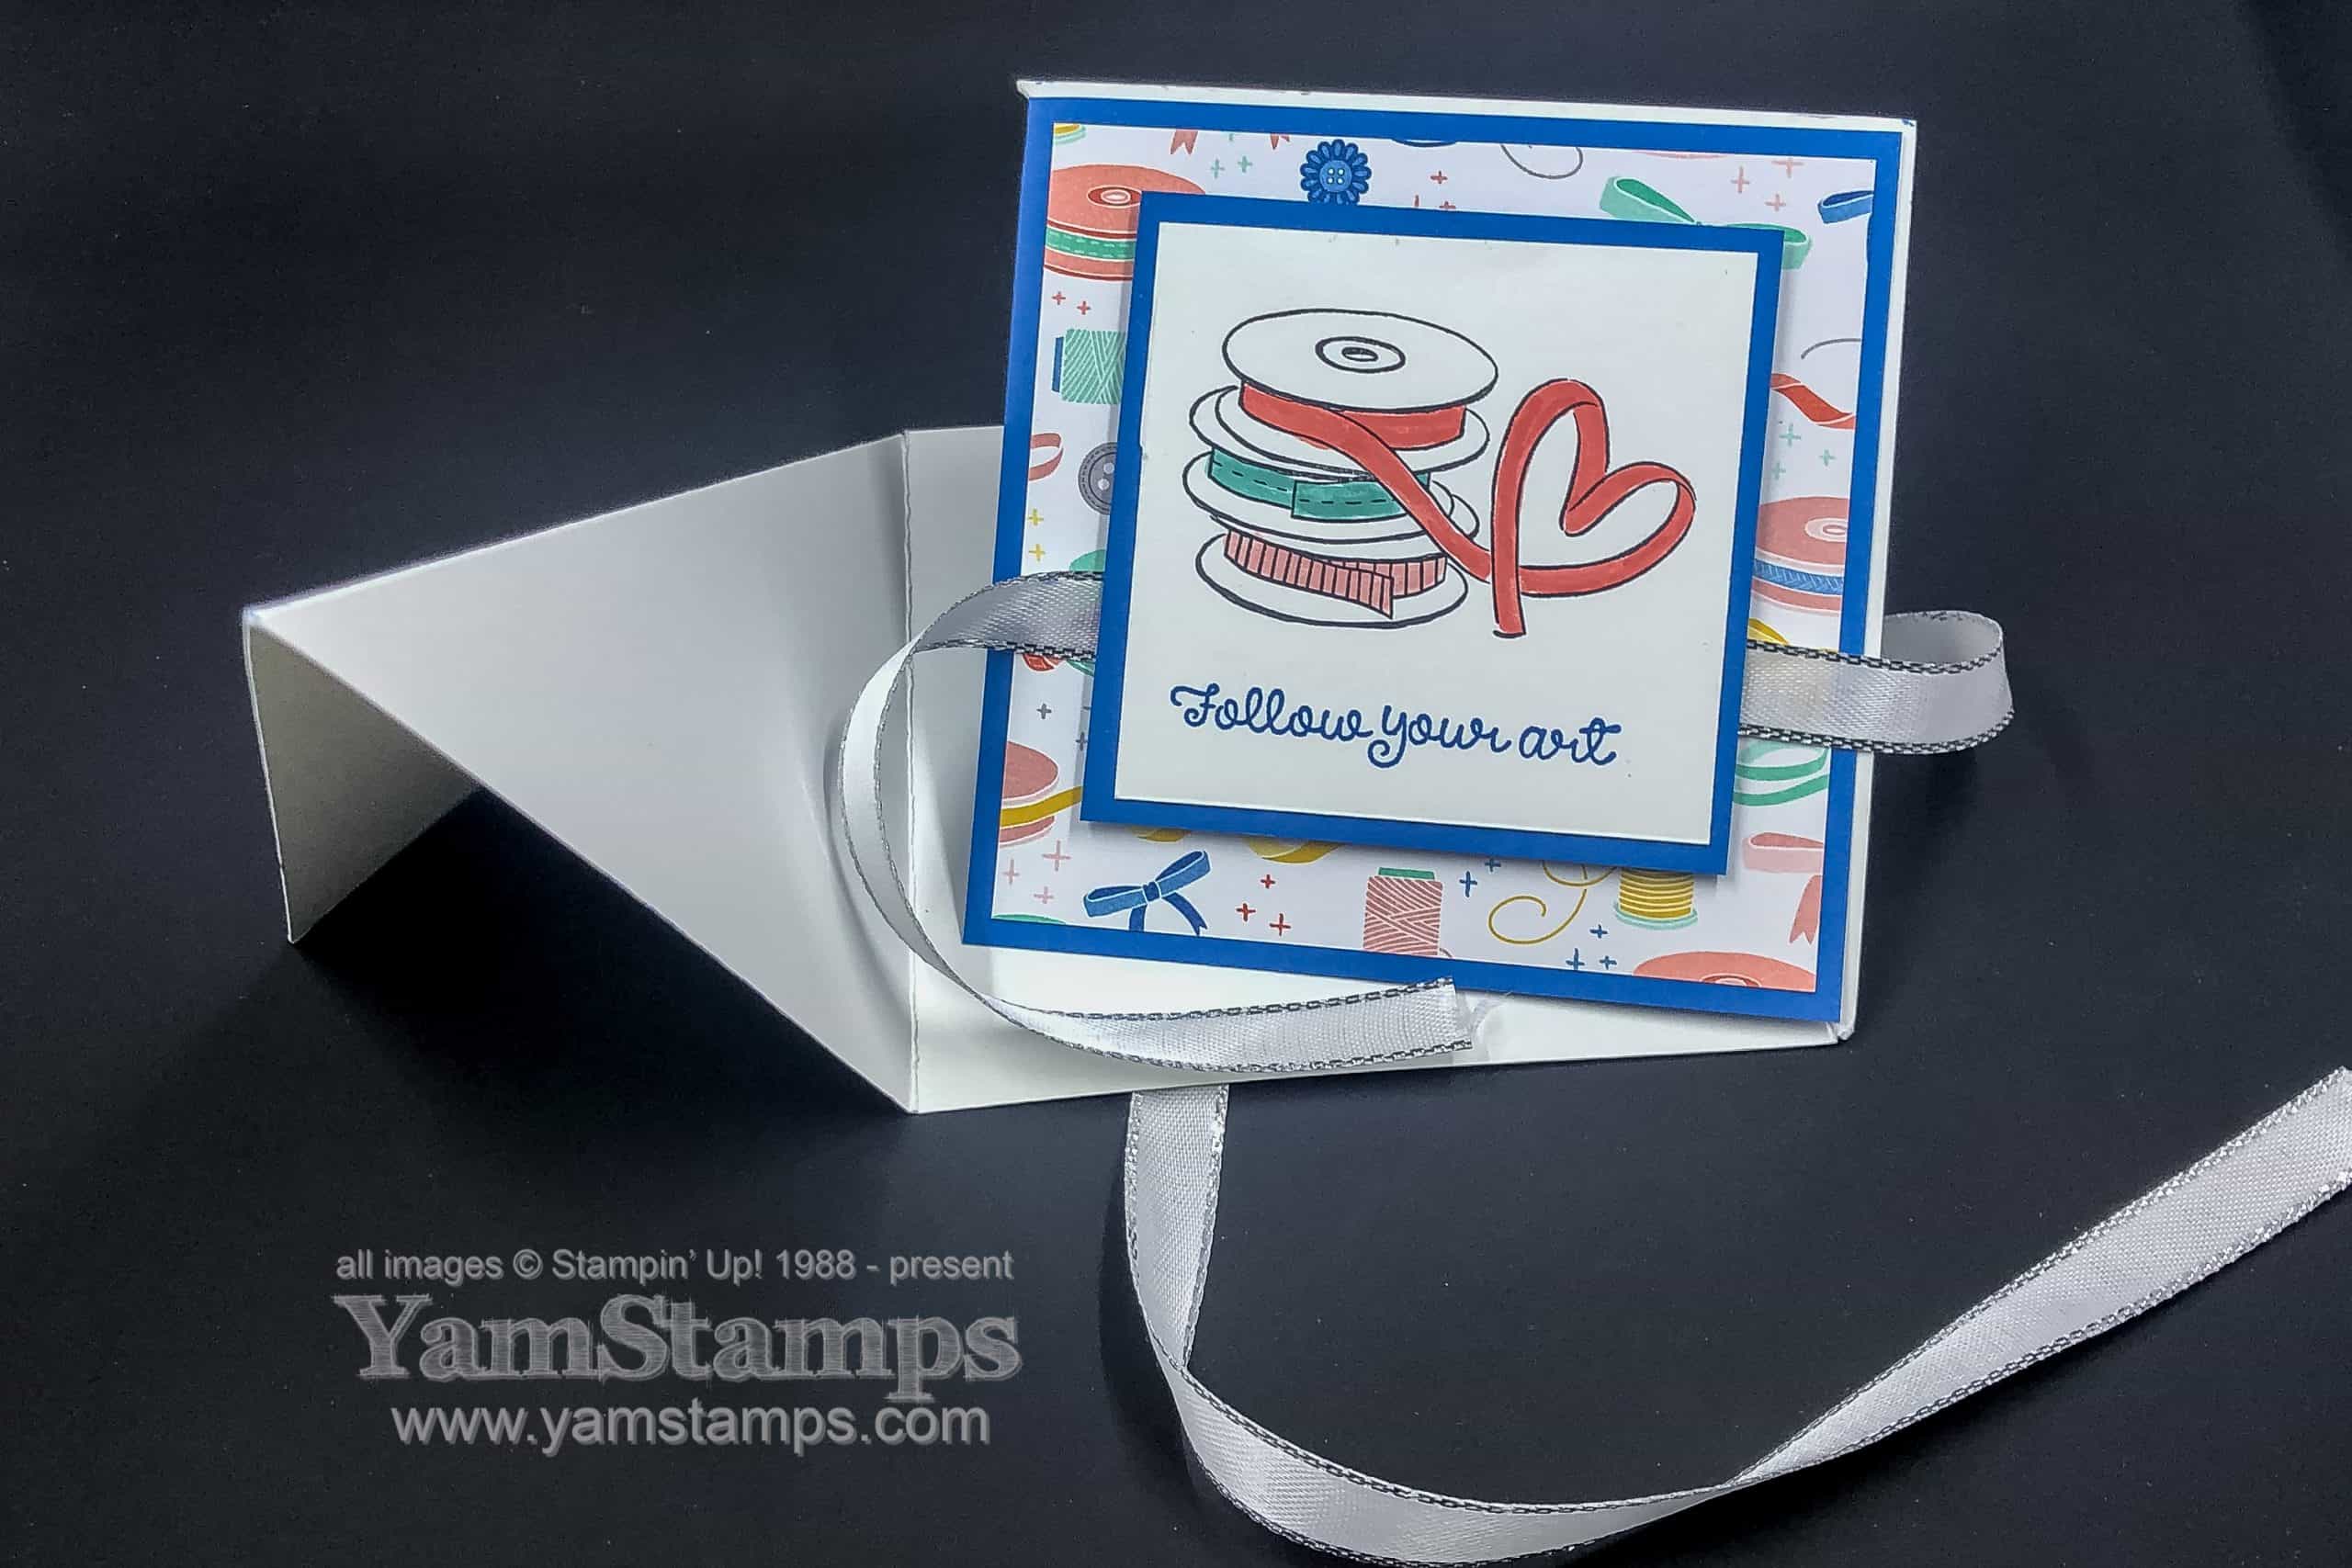
When closed/folded – it’s a square. If you saw my Facebook Live with the easy Gift Card Holder – it’s similar but different LOL. Start with a 4″ x 12″ piece of cardstock, score at 4″ & 8″, and the score diagonally (same direction) on both end pieces. The vertical scores are valley folds (folded inwards) and the diagonal scores are mountain folds (folded outwards).
The next part of the technique is to put the adhesive on one outward corner of the diagonal folded section – so that you can still open and close the card. When closed, the two diagonal folds meet in the middle (not really visible due to the square front design piece). The ribbon helps keep it closed.
(Clear as mud? Leave a comment if you need more clarification – or let me know if you think a Facebook Live on this fold would be helpful!).
I feel that square cards can feature busy patterns without being too overwhelming, especially if you have a large focal image – so this design was perfect for this fun fold card.
Be sure to check back Friday for myBlack Friday/Cyber Monday special! (YamStamps Subscribers will get the information straight to their inboxes on Friday!). Happy Thanksgiving to my American friends and family – and Happy Thursday to everyone else!
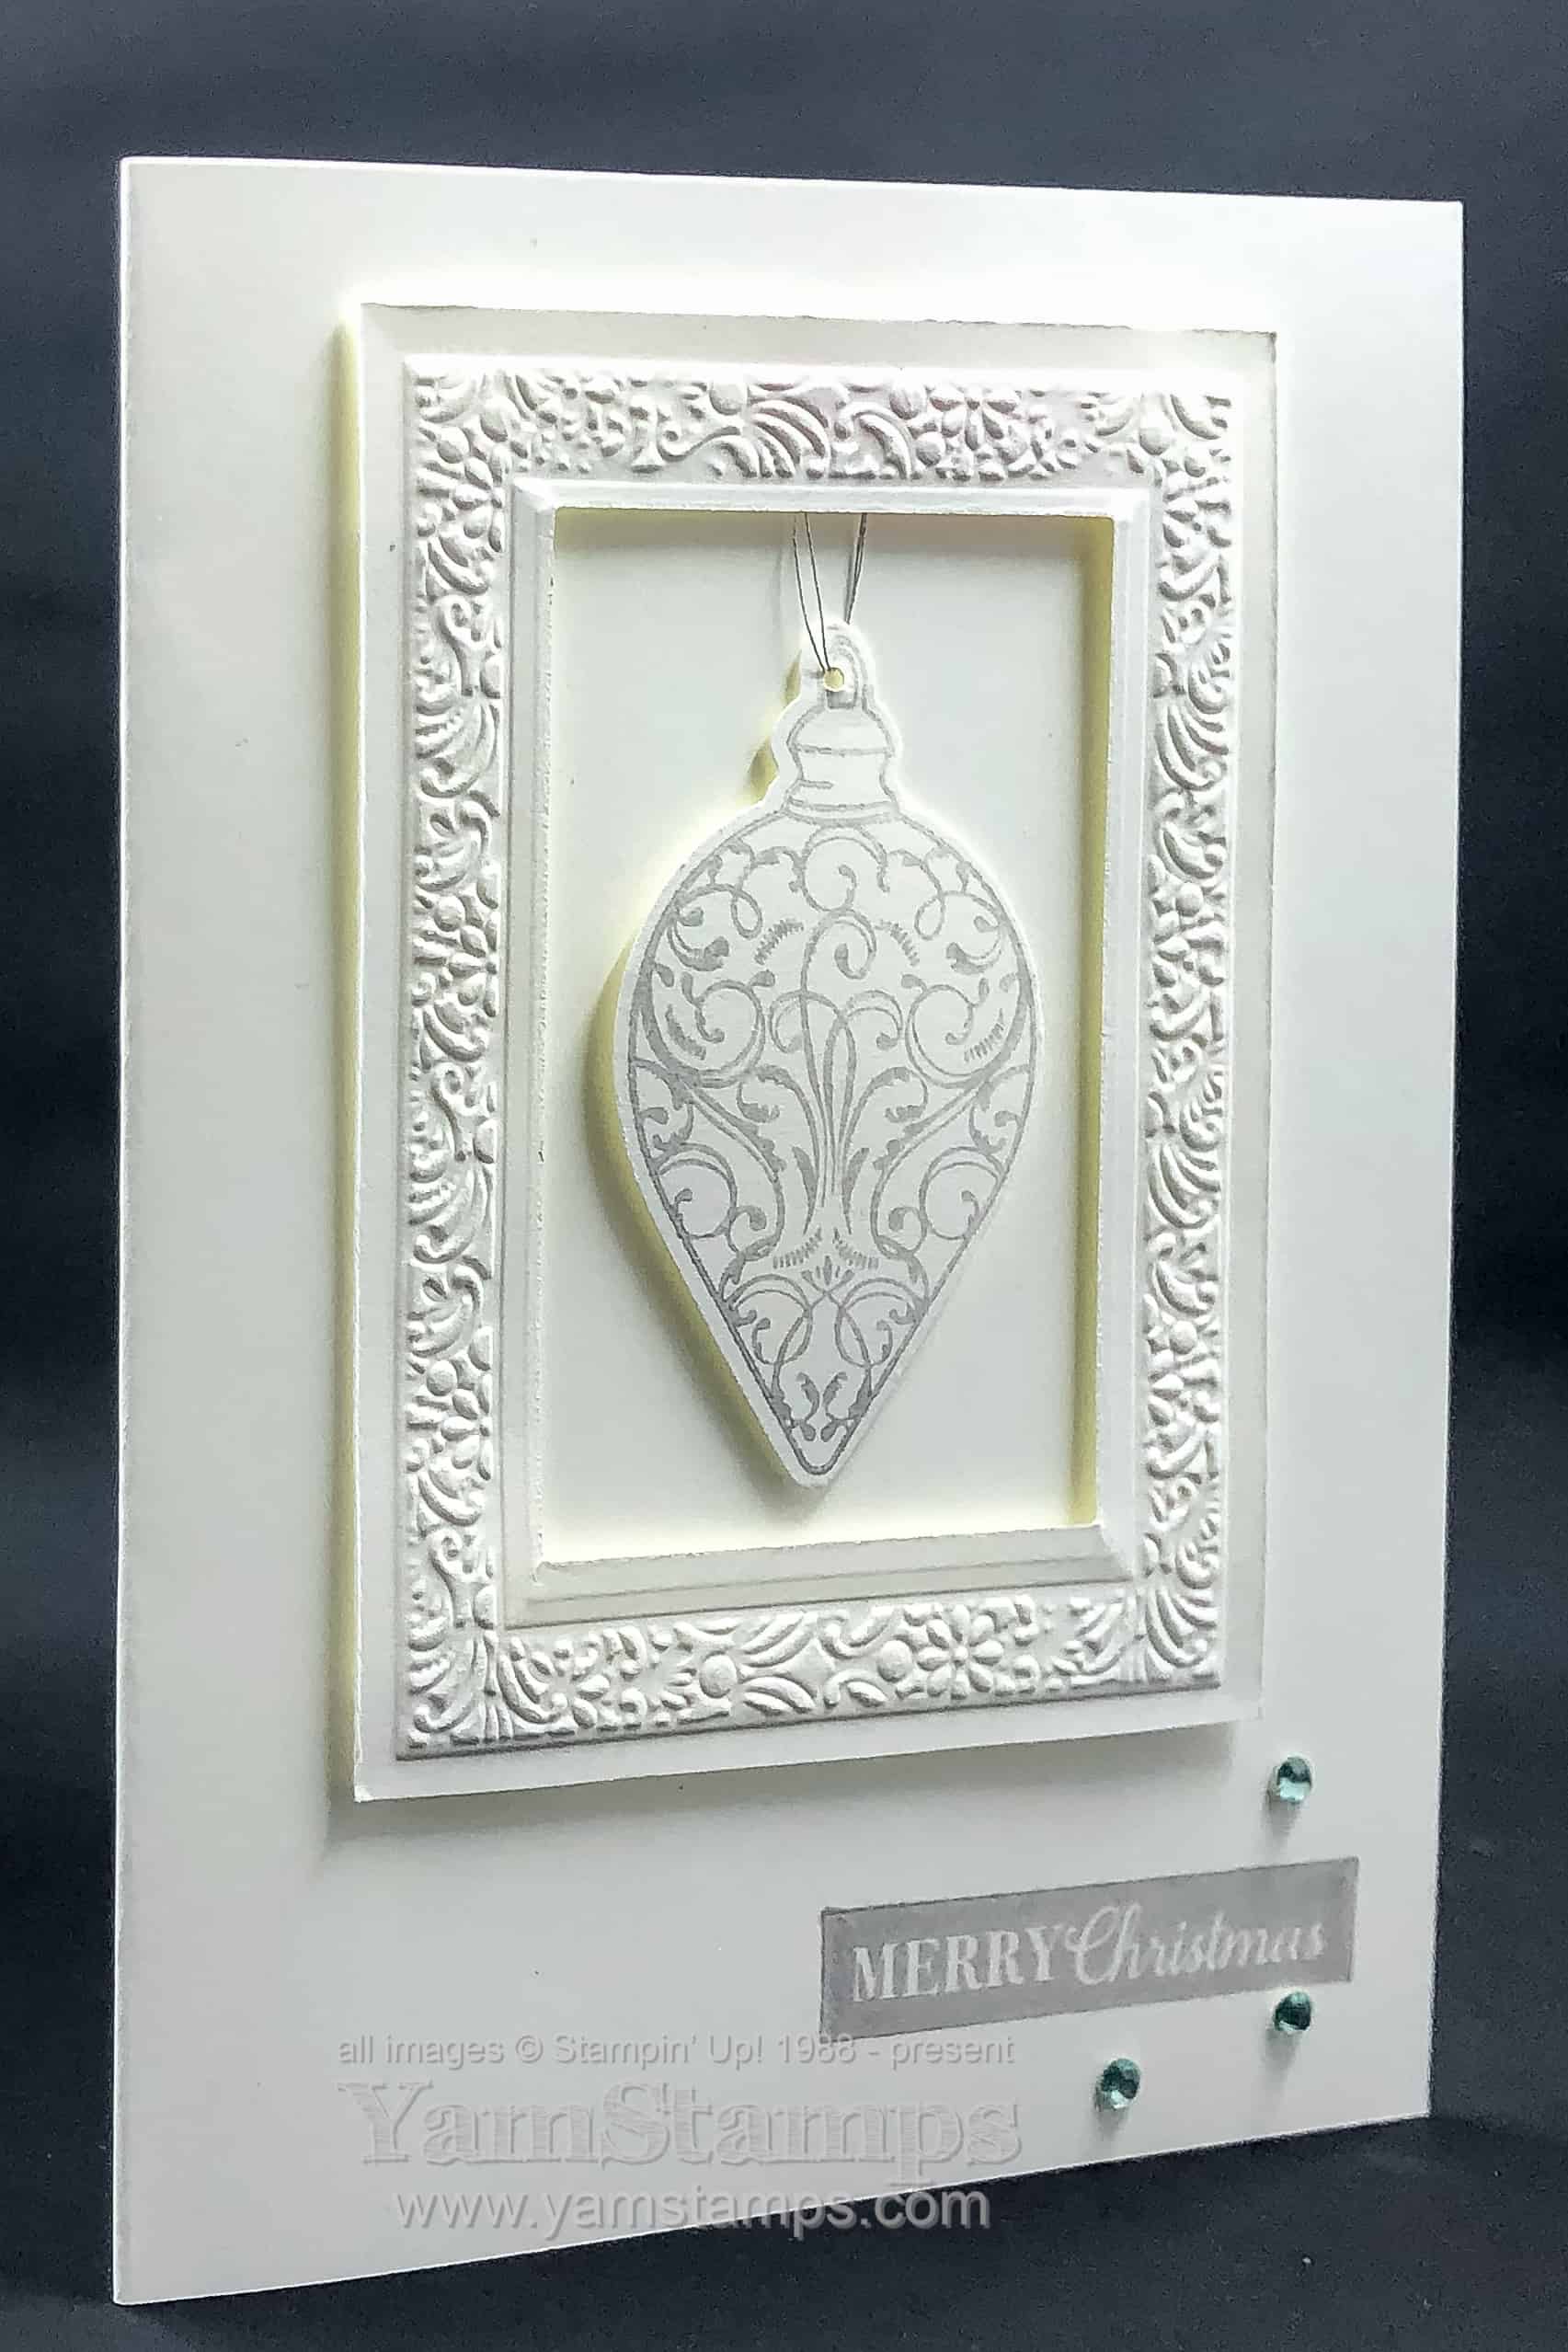
I love the monochromatic look – using just one colour on a project. It’s an easy way to make an impression, and depending on the colour you choose, it can be a dramatic one! Here’s a Monochromatic Christmas Card that we did during the October Christmas Card Class.
For this holiday card, I chose to use a metallic tone – in this case, silver. I used the Delicata Metallic Shimmery Silver Ink. Unfortunately, in the meantime, the Delicata ink pads have sold out! If you want to recreate this card/look – you could choose a grey tone – like Smoky Slate, or heat emboss using Silver Embossing Powder. I shared a card on the YamStamps Facebook Page using Copper Embossing Powder as a way to get a coppery metallic look.
The ornament is stamped and punched out with the Christmas Gleaming Bundle, and I added an extra hole punch to string some of the Silver Metallic Thread. The ornament is hung from the rectangular frame from the Heirloom Frames Dies and 3D Embossing Folders. When you use the frames, I found it more effective to cut first, then emboss – otherwise you tend to flatten the embossing if you do it the other way around. I did “cheat” after and trim a bit at the edges of my cardstock. A bit of subtle bling (is there such a thing?) from the Holiday Rhinestone Basic Jewels. Oh – I guess that technically makes it not a monochromatic card, since I used the light blue ones?! Oops. Well, I’m still calling it a Monochromatic Christmas Card in any case.
My LAST Christmas Card Classes (I can’t believe it) will be this upcoming Wednesday at 1pm or 7pm. Cost is $30 and includes a bottle of Shimmery Crystal Effects. I have had some late openings in the classes, so if you’d like to attend, please contact me ASAP to save a spot. Regular card classes continue on the first Wednesday of each month, and the December class will have one holiday card in the set. You can check out upcoming events on the YamStamps Events Page.
Also upcoming – I will have a Black Friday – Cyber Monday special on an older online class of mine. The Holiday Punch Art Online Class came out a few years ago, but I’ll be offering it at a special price! Check back on Friday for the link – and be on the YamStamps Mailing List to get notification in your inbox!
Sunday Swap Share was missed last week as I was having some technical difficulties….but happily (and fingers crossed) these are all sorted now and it’s back to business as usual.
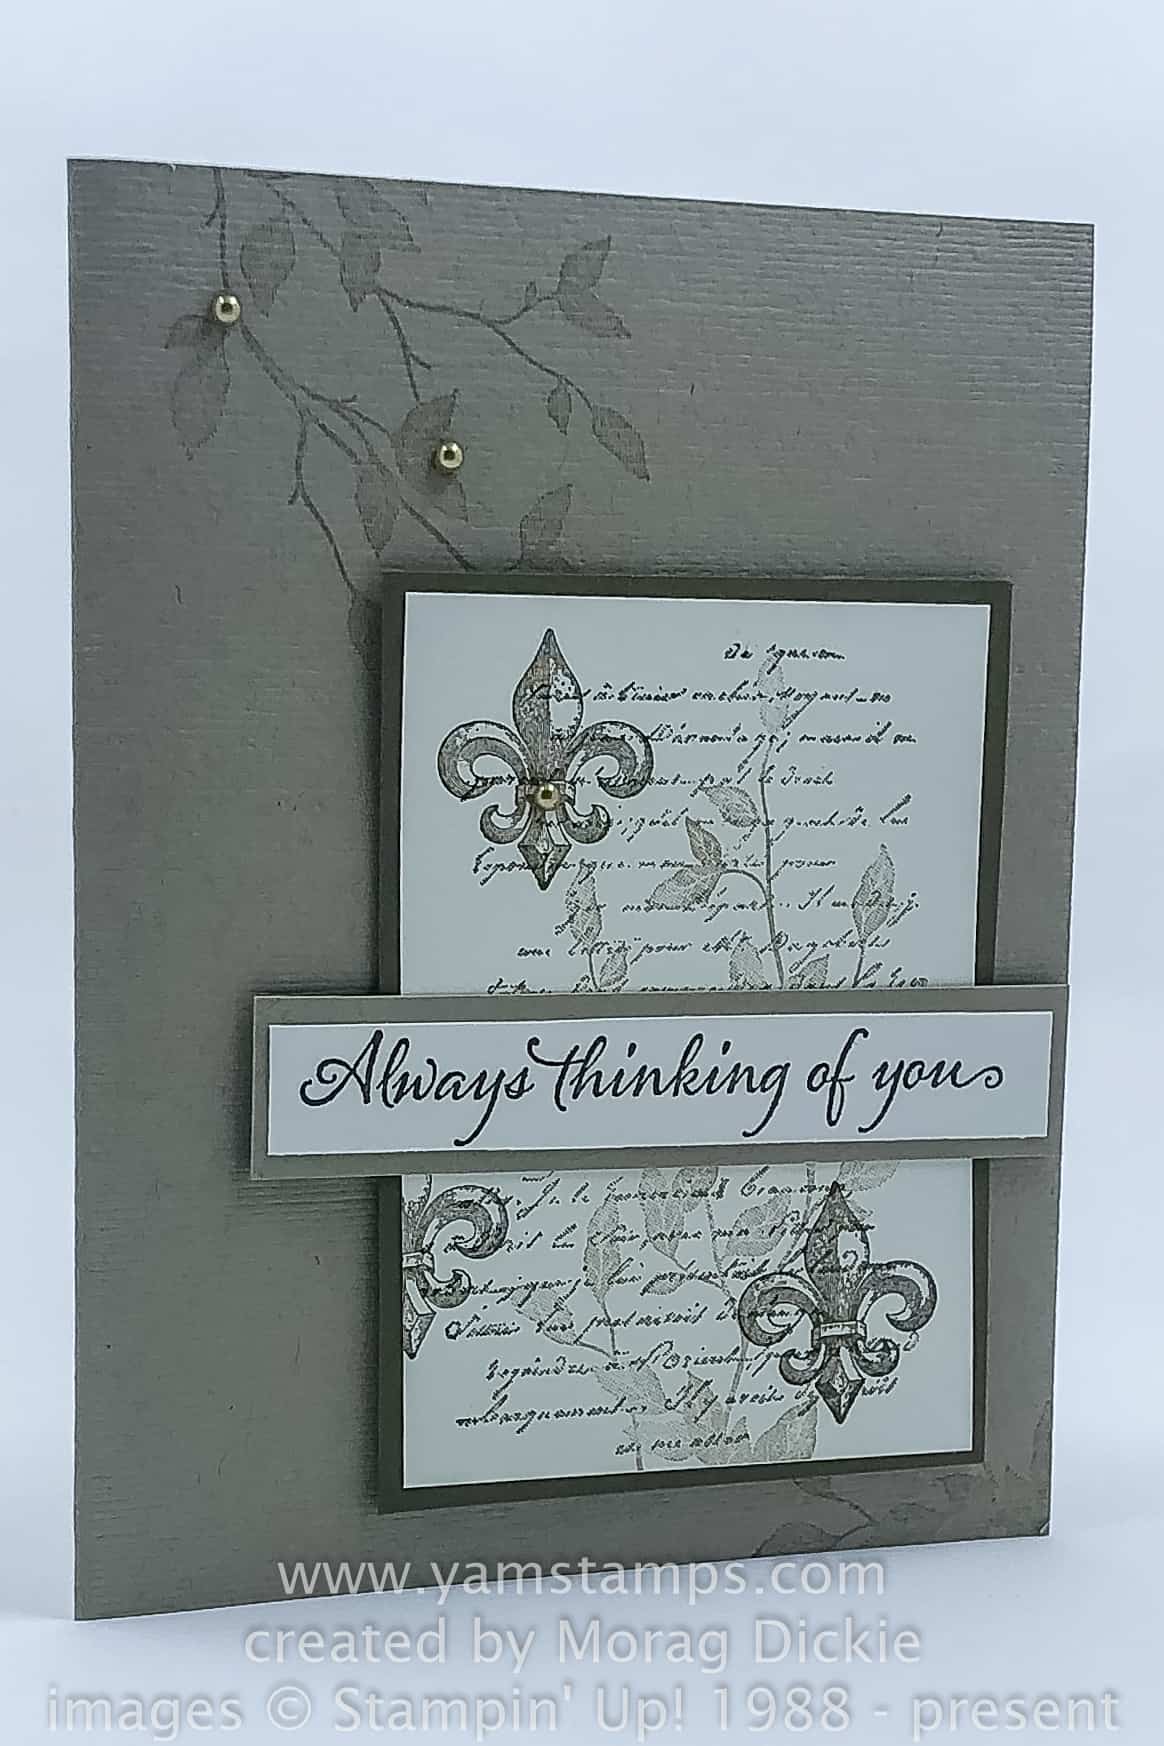
This Sunday’s Swap Share is from my friend Mo Dickie. She’s been a Stampin’ Up! Canada Demonstrator from the start, and took me under her wing when I moved back to Ontario from BC, which I truly appreciated. I have some wonderful and lasting friendships because of SU!
Mo’s card uses the Very Versailles stamp set, which is one I shockingly do not own. Yet. LOL! I love the elegance of this card!
I’m not always great with the collage-type images, but this is a design that I could easily copy – and that’s part of the point of swapping and sharing – getting ideas and reproducible designs! I think one of the secrets of this successful design is the way Mo used different ink strengths to create more depth.
I was fortunate enough to visit France earlier this year, but didn’t make it to Versailles. Still on my list of things to do/visit – so I guess I will have to be sure to go back to France at some point! (I know, nothing like being a little greedy….)
Class is a great way to try out some stamps and crafty items that you may not already own. My last Burlington ON Christmas Card Class is scheduled for Wednesday, November 27th at 1pm or 7pm. For these special classes, the class fee is slightly higher, but on top of the regular class supplies, you’ll receive a full sized product that you will use for some of your class projects, and then take the rest home. November’s Christmas Card Class includes a bottle of Shimmery Crystal Effects, which we will use to add some more glitz to our cards. You can contact me to register/pay to reserve your spot!
Starting in the new year, I will be doing some more product based classes, so be sure to check the YamStamps Events Page, and be subscribed to the YamStamps Newsletters to get notified!
Hi! I’m recovering from tech trauma…I had website issues earlier this week, and then had some issues when trying to do a scheduled Facebook Live. It seems like all is well now (fingers crossed) so hoping it’s going to be back to “business as usual”.
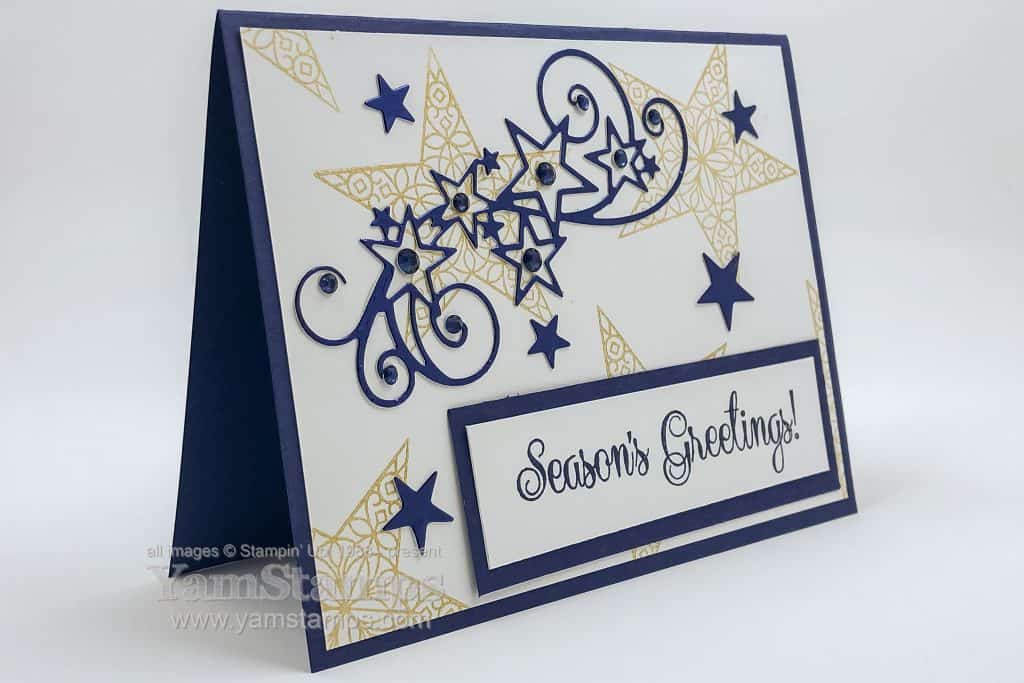
I bring you another starry card…but this time it’s GOLD and blue, rather than silver and blue, because I can only handle so many changes at one time.
The stars in the background are stamped with the Golden Giltz Delicata Metallic Ink Pad. Just a heads up – these ink pads will NOT be carrying over – so if you want the Gold or Silver ink pad, you’ll want to place an order ASAP before they are all gone – gold is already on low inventory notice and copper is already gone (I just saw that when I was linking things up here!).
November’s Christmas Card Class is scheduled for November 27th at 1pm or 7pm. Everyone will receive a bottle of Shimmery Crystal Effects – we’ll use a bit for our projects and then you’ll have the rest of the bottle to glitz up your other projects at home! It’s sure to be a glittery class. You can contact me to register by November 13th – cost is $30 and includes all supplies required (including adhesives). I wonder if I’ll be able to design yet anotherstarry card in blue for that one?!
Check out the YamStamps Events Page to see what else is being offered. I’ll be working on finalizing the start of my 2020 Events Calendar and will get that published soon. In the meantime, sign up for the YamStamps Mailing List by using the box at the top right of this page, or click here. You’ll get notifications of upcoming classes and events as well as the weekly paper crafting ideas and information, so you won’t miss out!
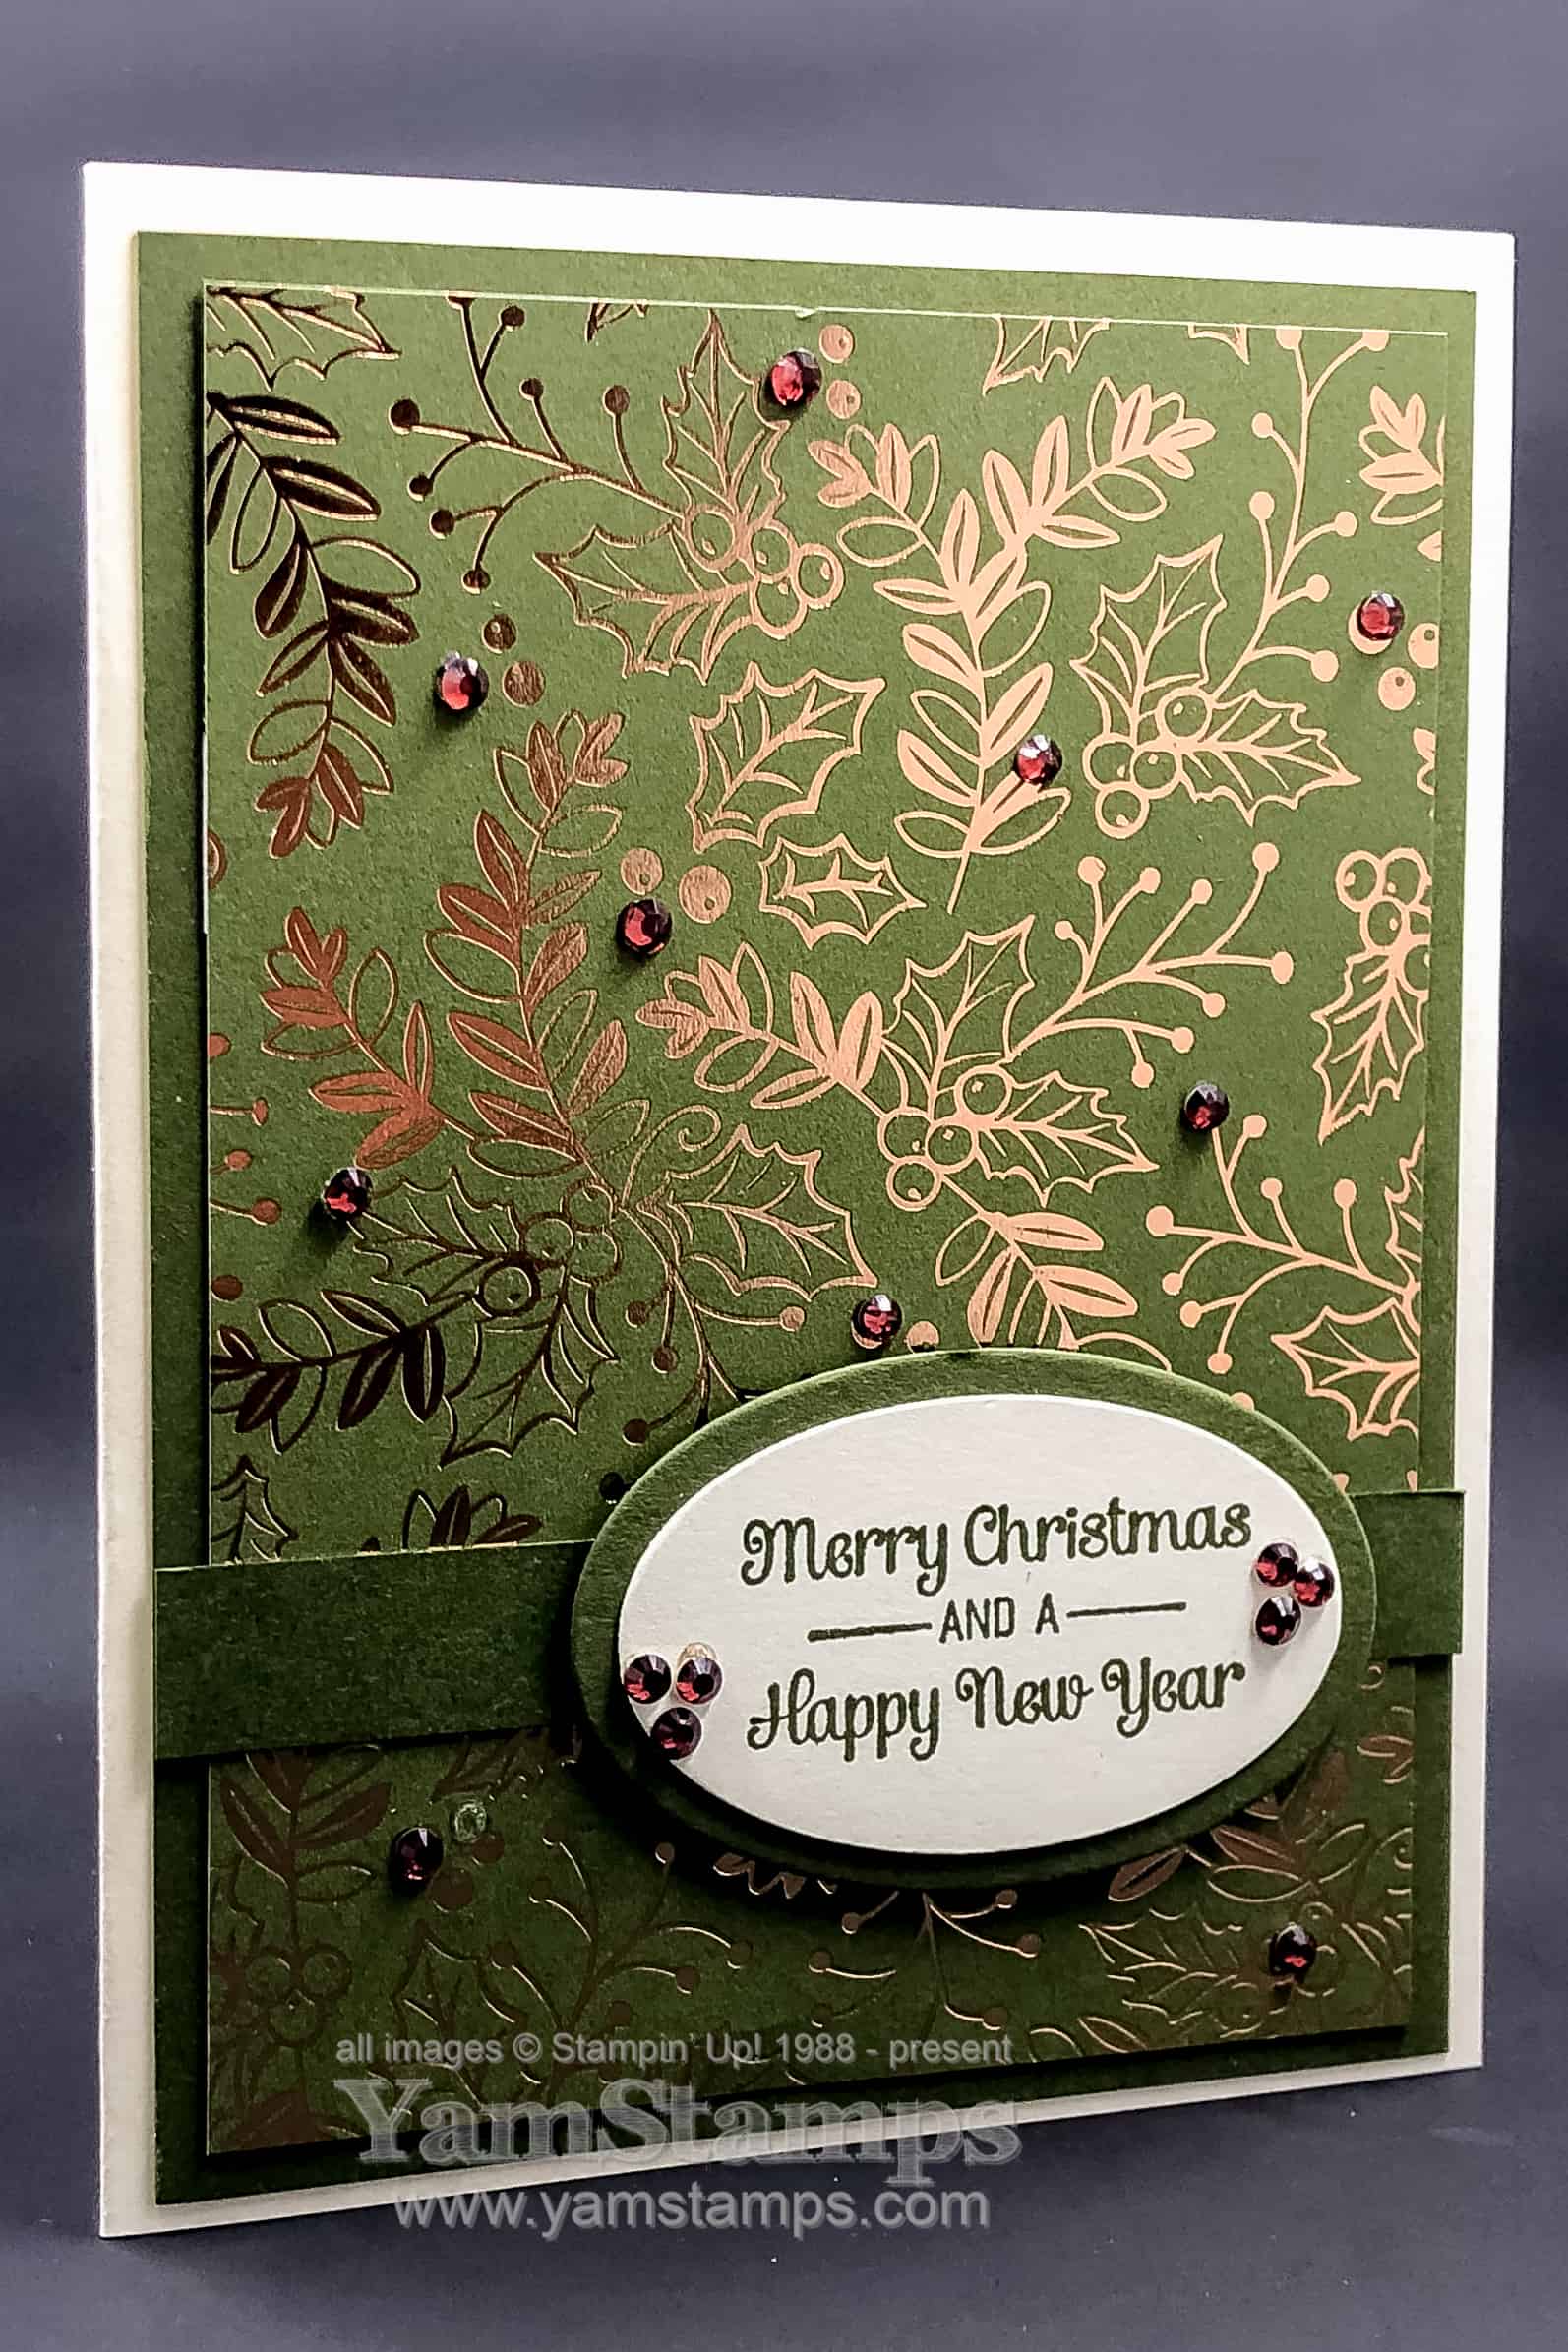
Here’s a beautiful and easy Christmas Card for you! We made this as part of the October Christmas Card Class. Participants received a full package of Holiday Rhinestone Basic Jewels along with all their other class supplies. We used some rhinestones for our projects and then they took the rest home. Or they chose not to put them on their projects and reserved the right to do so later! LOL
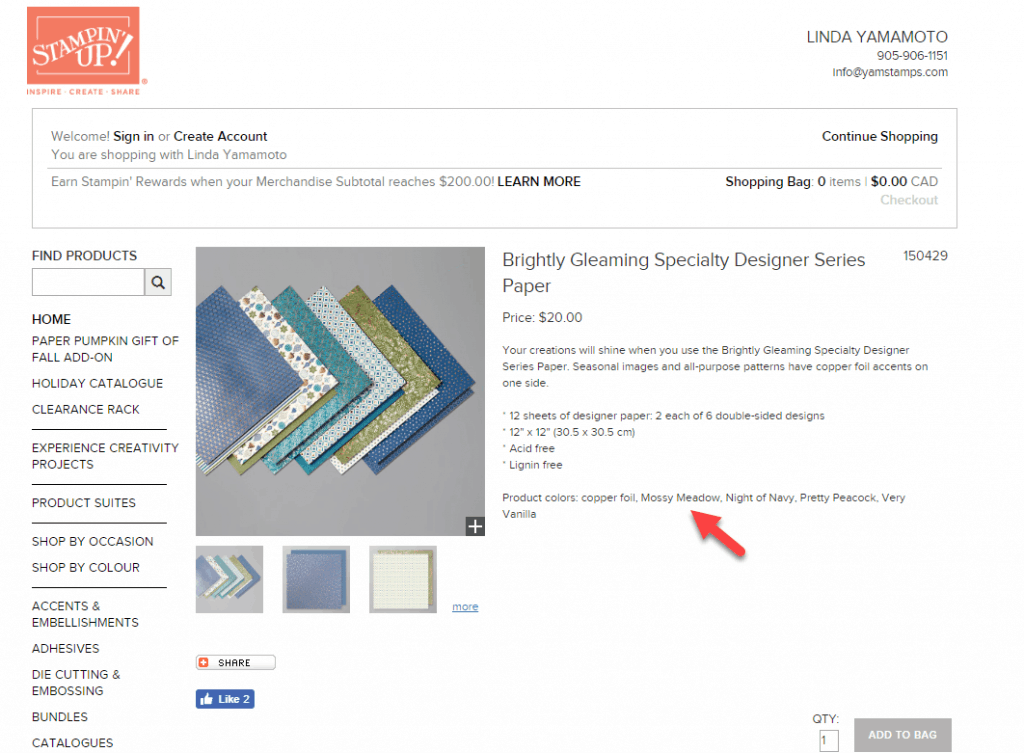
I love the Brightly Gleaming Specialty Designer Series Paper from the Stampin’ Up! Holiday Catalogue. It’s featured on this quick card, which is blinged up a little to give it a little more glamour. (More glamour optional, of course).
According to the paper description, the green colour used is Mossy Meadow, so I used Mossy Meadow Cardstock and Mossy Meadow Ink to coordinate. I also used Very Vanilla Cardstock for the main card and sentiment. I like using Vanilla or White as the cardbase because it’s light enough to write on for the inside of the card, and it’s pretty neutral. I tend to use Whisper White more often than not, so have to “remind” myself to use Very Vanilla too! It’s appropriate for this card, I thought, since the Mossy Meadow has more warm/yellow tones. (Plus Very Vanilla is one of the colours also used in these patterns!)
The sentiment is from Itty Bitty Christmas – not all the images are itty bitty…and then it’s die cut with the Layering Ovals Dies. Frugal Friday Fanatics will probably realize that the backing oval of Mellow Moss is cut from the centre of the backing cardstock. If I was totally clever, I would have cut that belt strip from the centre of the backing cardstock, but I know my limits…so cut that from a scrap of Mellow Moss Cardstock instead.
I actually went a little overboard with the rhinestone accents and ended up removing some…and when I posted this picture I realized I hadn’t managed to scrape the glue dot off along with one of the rhinestones. Can you find the spot I missed? (Well at least the one spot I can see right now, who knows, there may be more). I’ll be sure to remove it before I put the card in a matching Very Vanilla envelope….otherwise the recipient won’t be able to get it out!
If you’d like to join me – there’s ONE more Christmas Card Class coming up – November 27th, in Burlington ON. See the YamStamps Events Page for details, and contact me to register. Otherwise, if you’re on the YamStamps Mailing List, you’ll be receiving the next installment of the Twelve Weeks of Christmas project emails next Wednesday – starting on 3D projects/gifts and packaging! Of course, I will also still be sharing other beautiful and easy Christmas Cards here on the YamStamps blog – because we’ve got a bit more time before Christmas arrives!