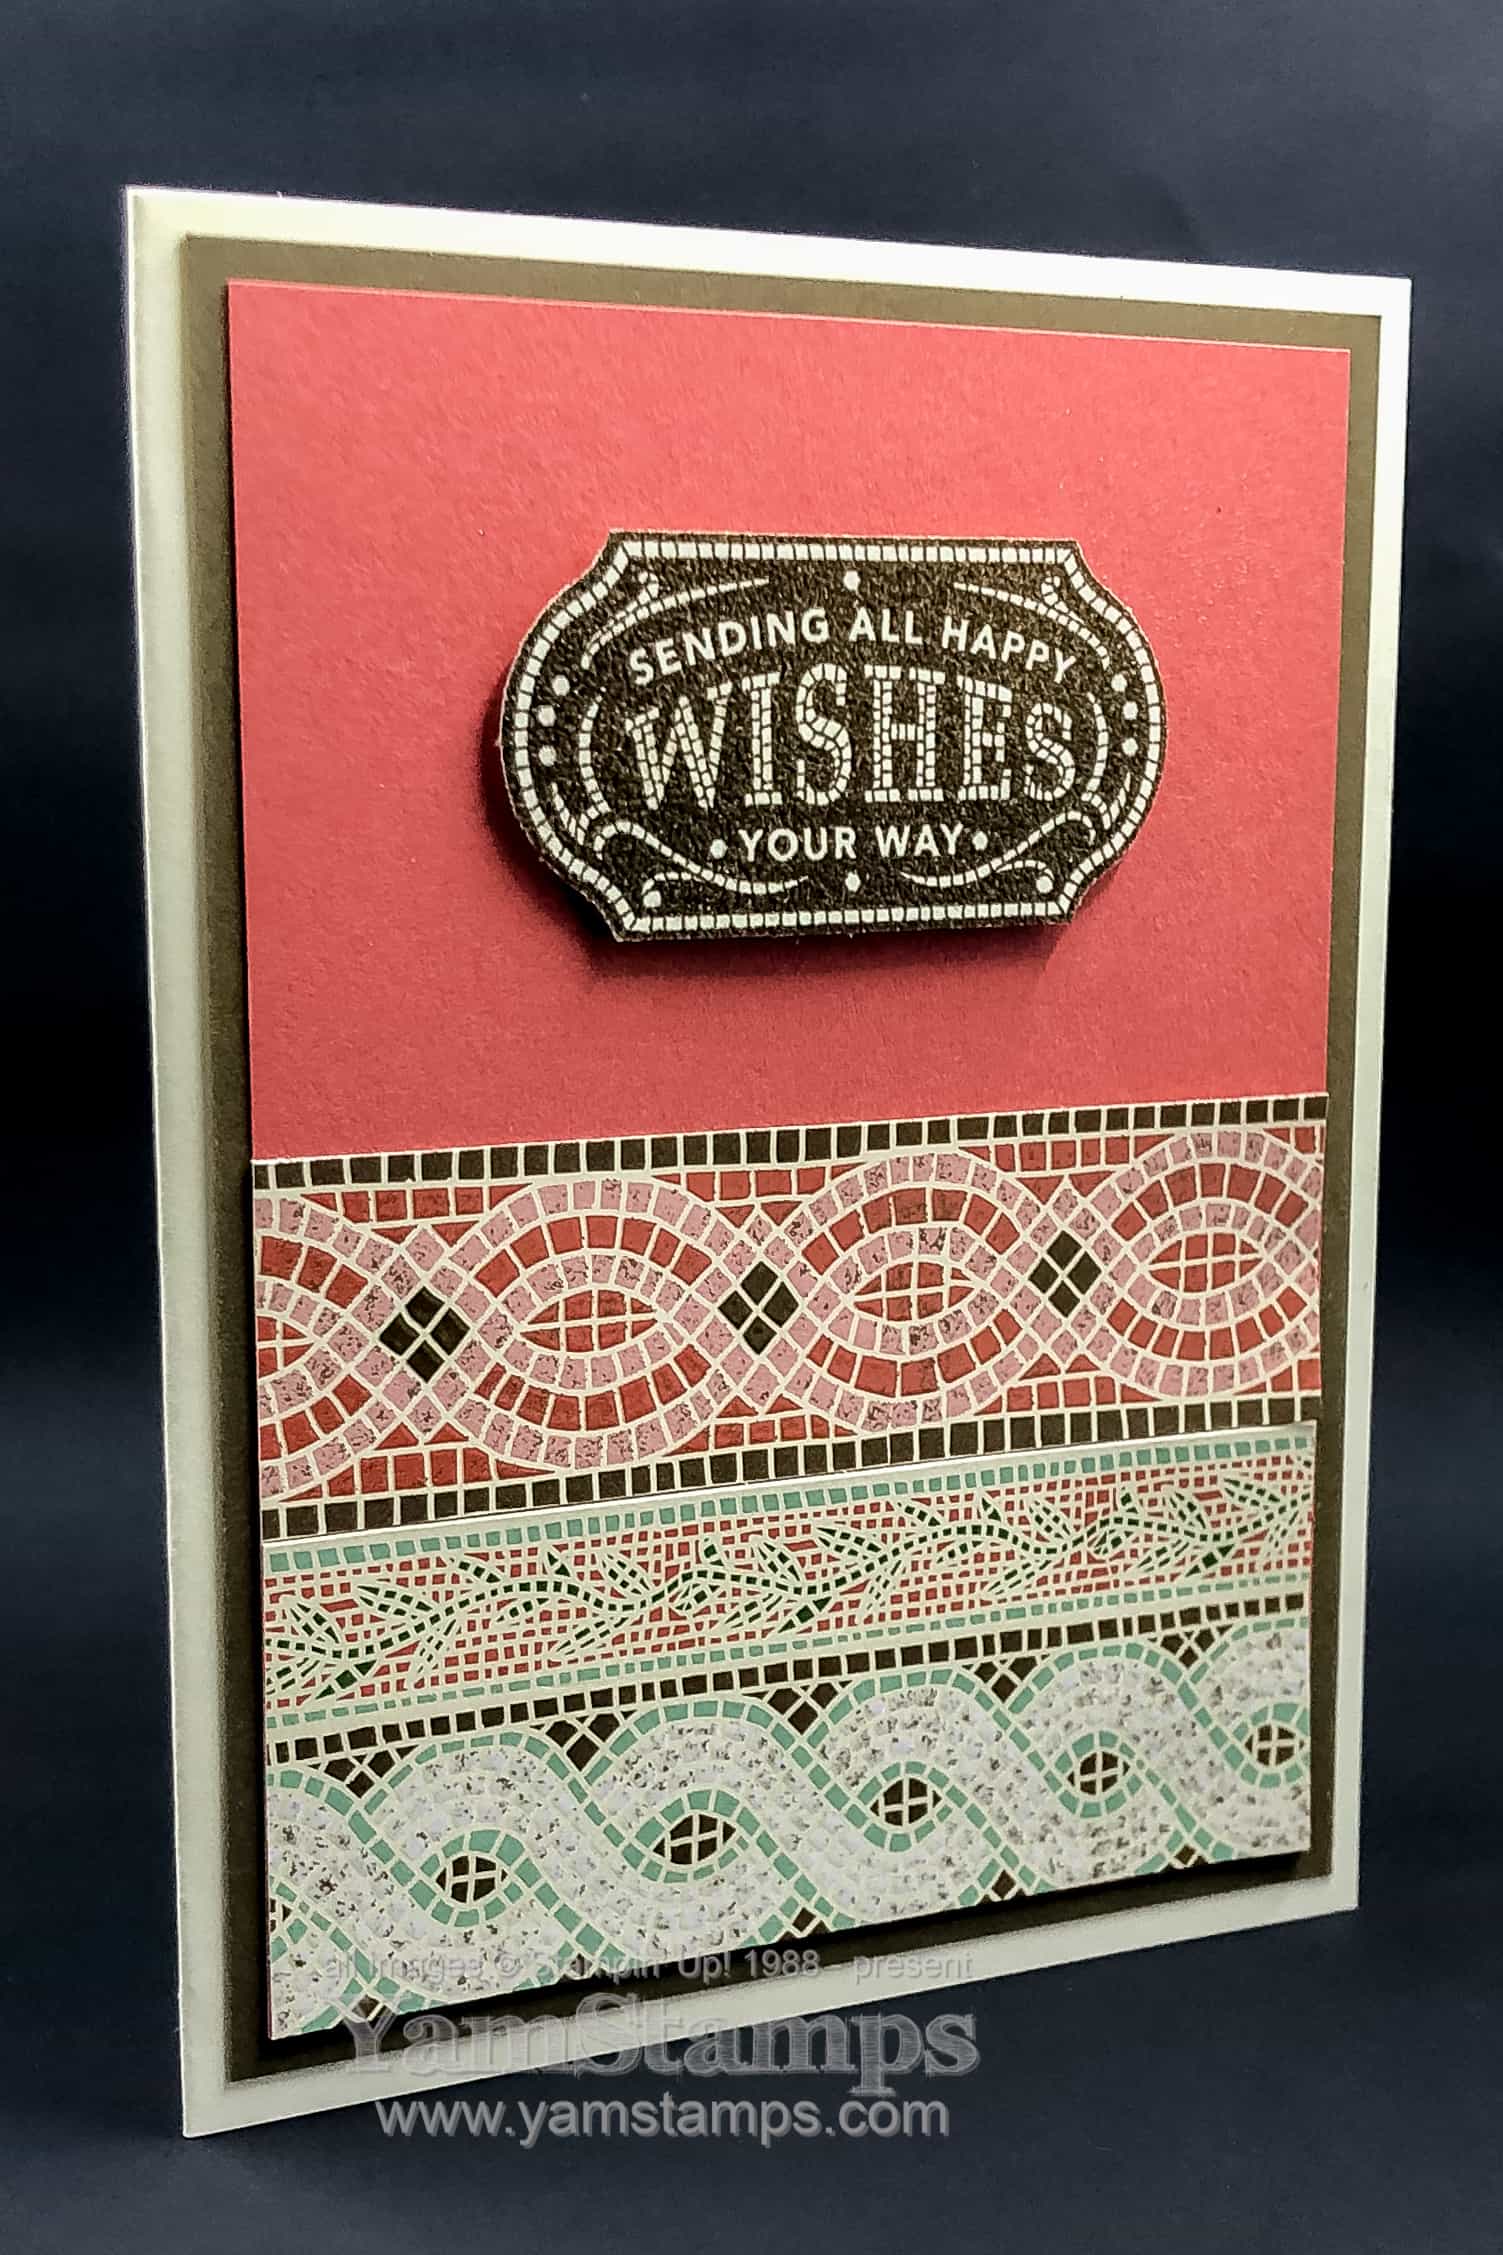
Yes, you CAN heat emboss with the regular Stampin’ Up! inks – but it is easier if your ink pad is well inked, and you need to work fairly quickly to get the powder to adhere to the wet ink. I did a Facebook Live showing this technique in the YamStamps Facebook Group. Join our group and then check out the video here.
I have to admit that Terracotta Tile has surprised me – I use this colour more than I expected! Out of the 2019-2021 In Colours, it was the one that I figured I would use the least – because the blues are definitely my favourite tones….but hey, it’s always good to go outside your comfort zone I guess?!
If you’d like to try out different stamp sets, tools and techniques, consider coming to a class with me! We make four different card projects and use a variety of colours (well at least I try to design them that way LOL) and tools to make them. It’s a great way to “try before you buy” or simply just try! Check out the YamStamps Events Page for upcoming classes in the Burlington ON area. If you can’t make an event, consider getting a group together and I will travel to you! (well, within reasonable driving distance in the southern Ontario area….message me if you’re not sure about what my mileage limits are – because I’m not sure either! haha). If you can’t make a class in person, I do have a couple of online classes (see YamStampsMore for more information), and of course you can always check out the YamStamps site, Facebook Page, Instagram and YouTube (working on that one a bit more soon) accounts for project inspiration and tutorials – like this Cheater Mosaic Card!
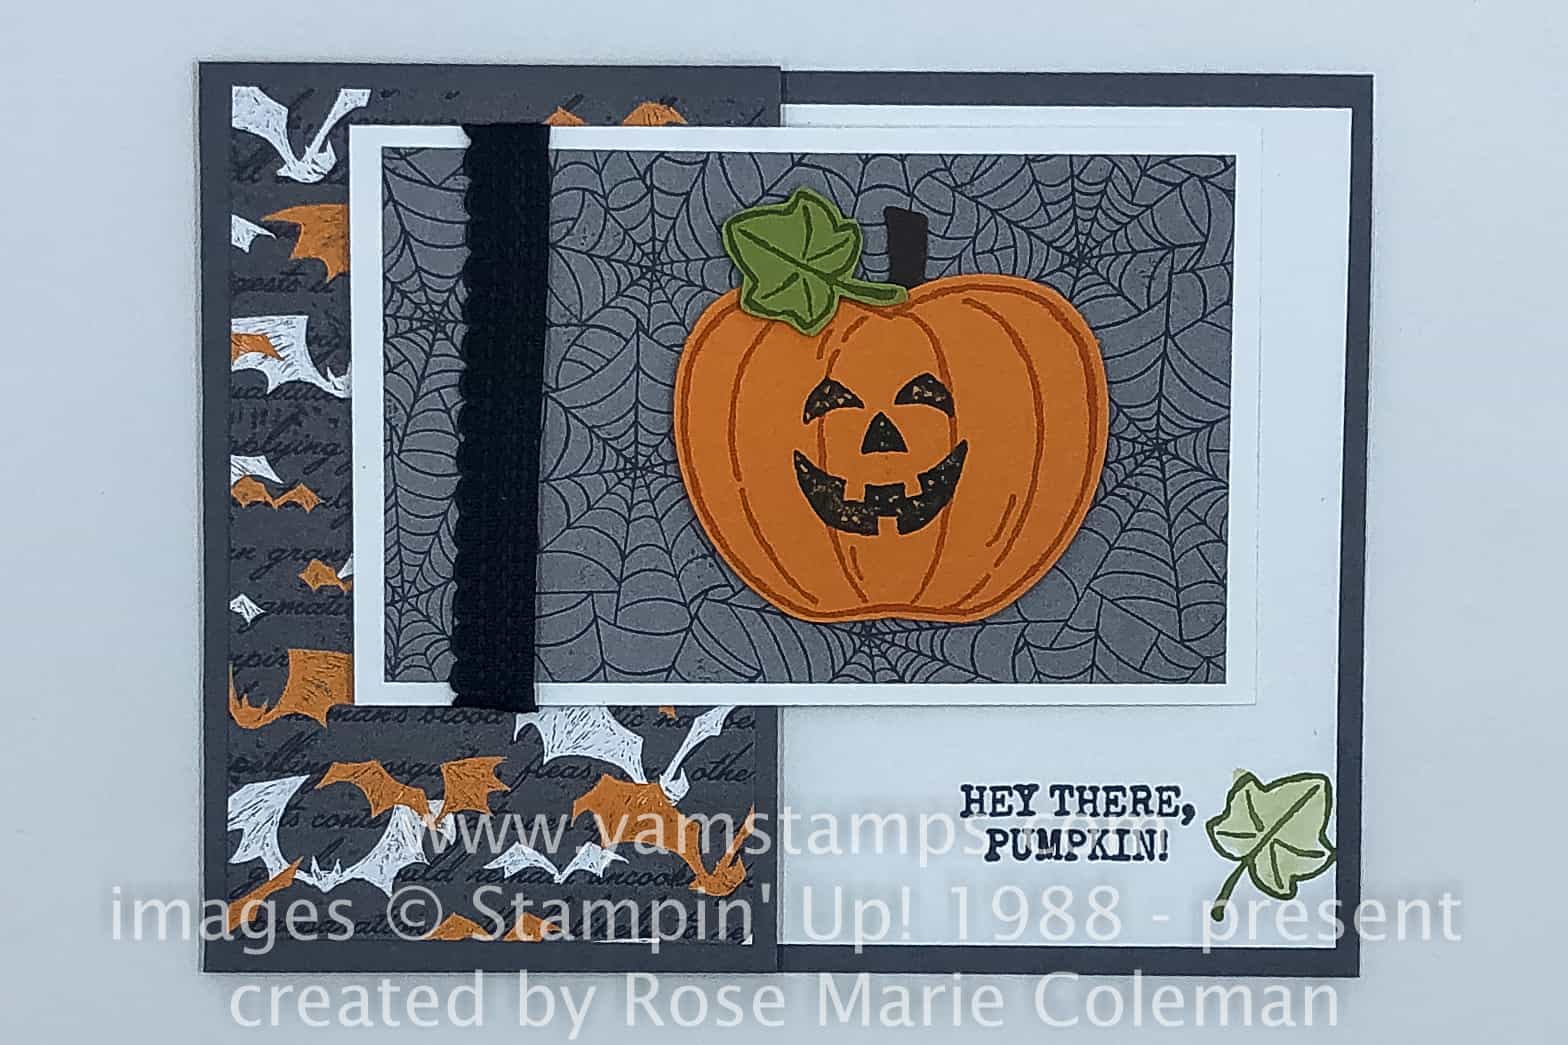
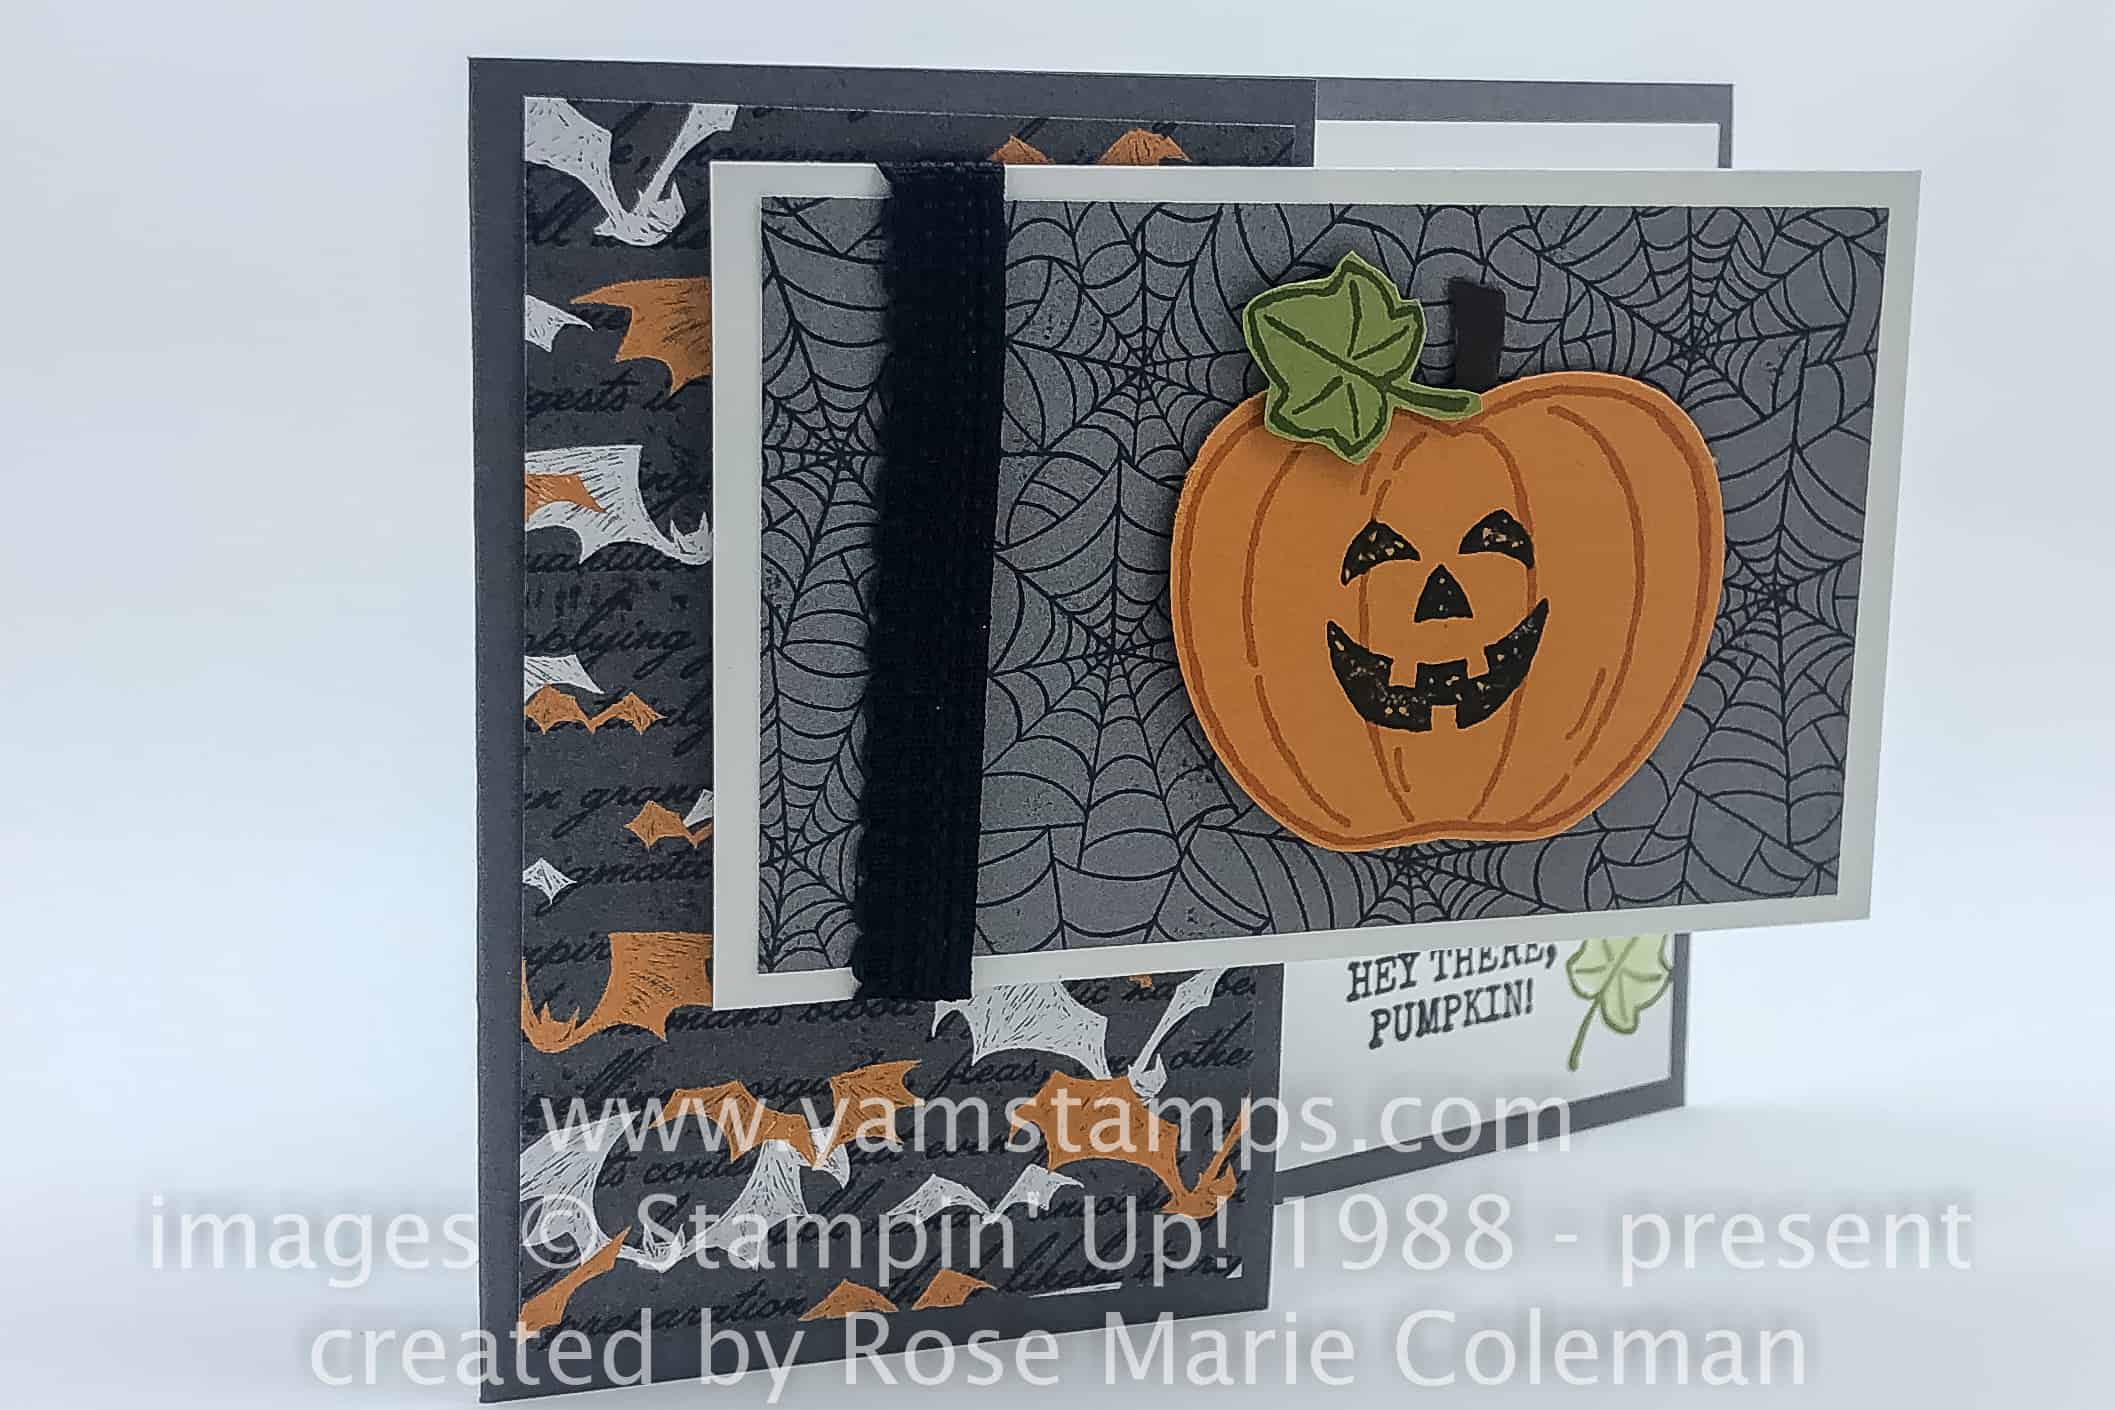
A cute Halloween card to showcase as today’s Sunday Swap Share.
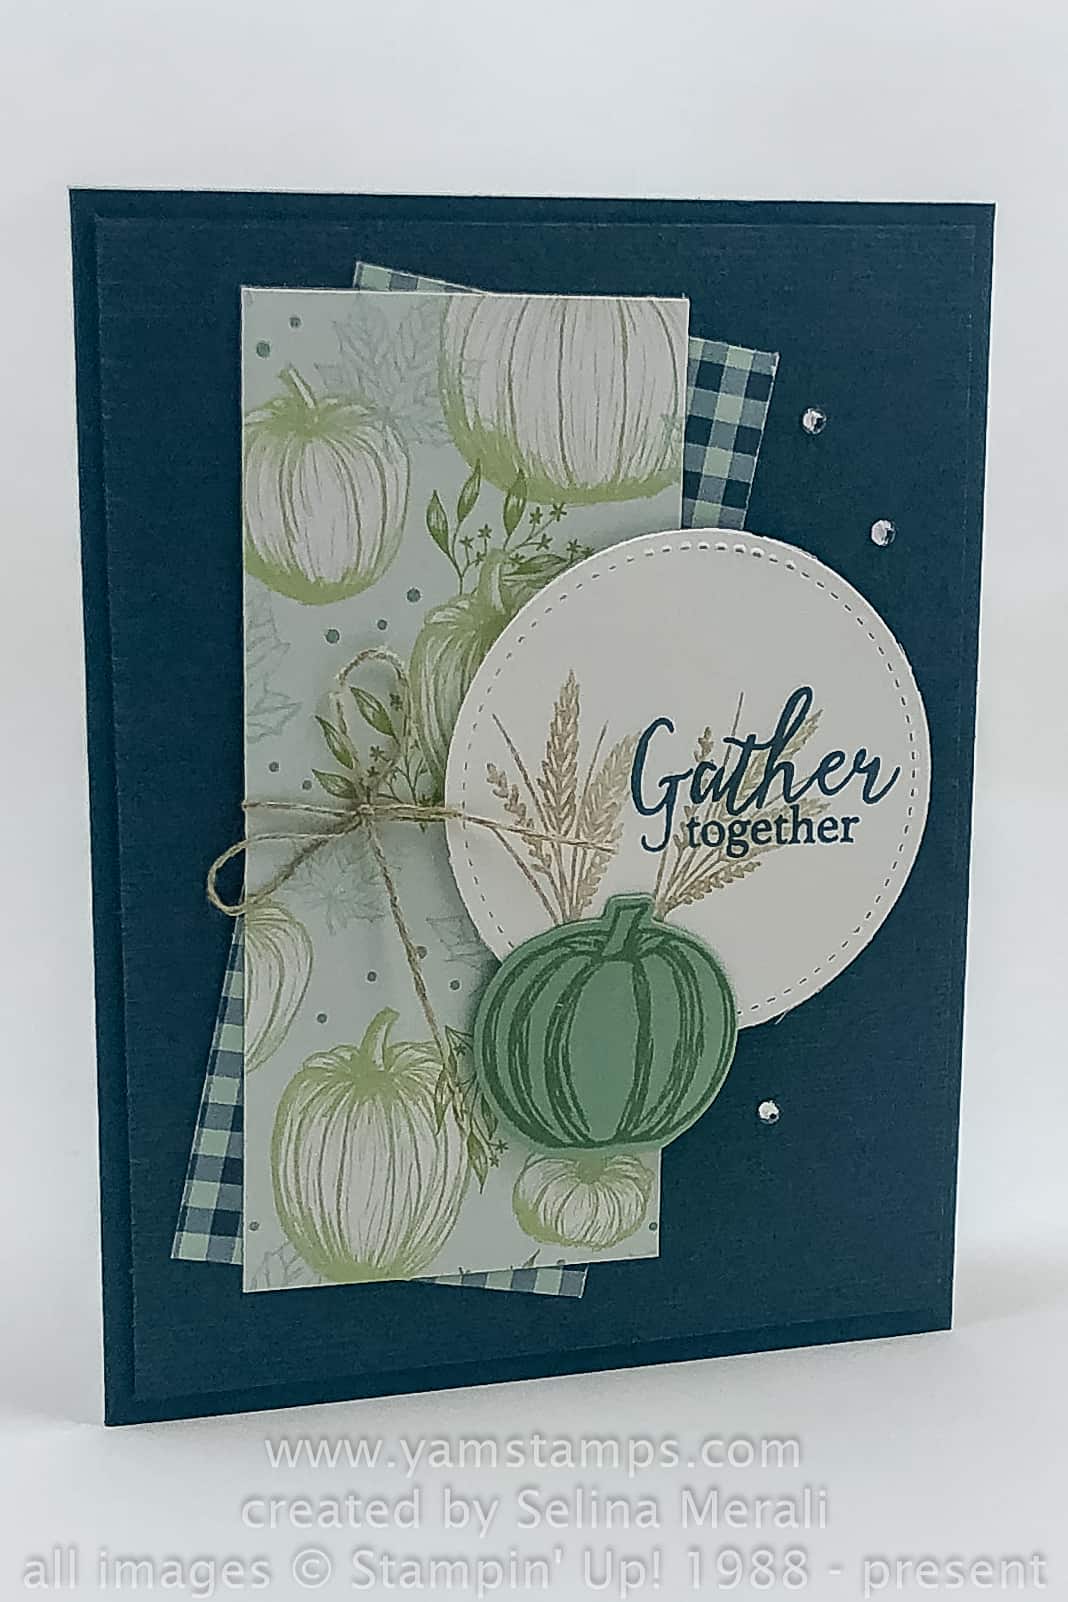
Isn’t it fun? Created by Rose Marie Coleman, this Halloween card showcases the Harvest Hellos Bundle, which includes Harvest Hellos stamp set and the coordinating Apple Builder Punch, which obviously can double as a Pumpkin Builder Punch! Remember that the bundle is discounted so you save a little money on the coordinating products too!
It’s a bit of a fun fold card as well – easily created by cutting the cardstock to 4.25″ x 11″, folding in half and then cutting off a portion of the front of the card. The Monster Bash Designer Series Paper adds even more interest! This cute card would be great to give to your favourite trick or treater!
If you’re looking for seasonal inspiration outside of Halloween, don’t forget that YamStamps Newsletter Subscribers are currently enjoying the Twelve Weeks of Christmas series. This extra newsletter is my way of thanking subscribers – each week brings a different holiday project. We’re showcasing card ideas right now, but will move on to gifts and packaging inspiration in the next few weeks. You can subscribe to the YamStamps Newsletter here, or go here for more information. If you’d like in person inspiration, check out the YamStamps Events page if you’re local to Burlington Ontario. Come to a class, or get a group of friends together and I will bring the class to you! Contact me if you’d like more information or want to see what dates I have available.
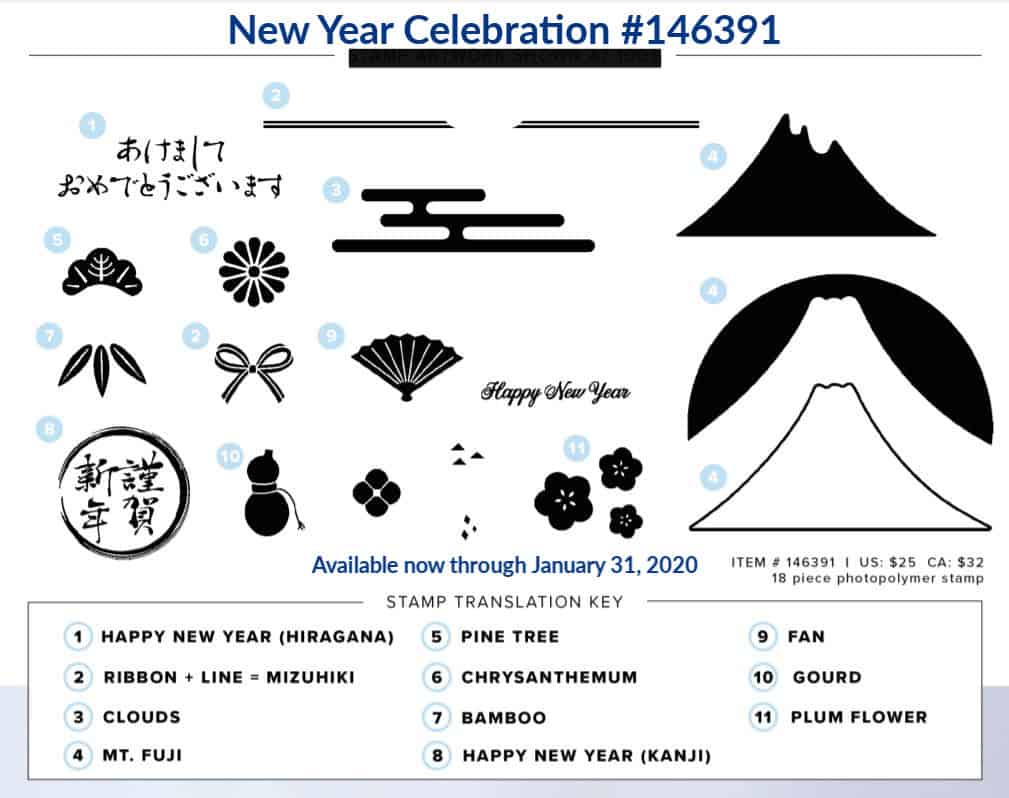
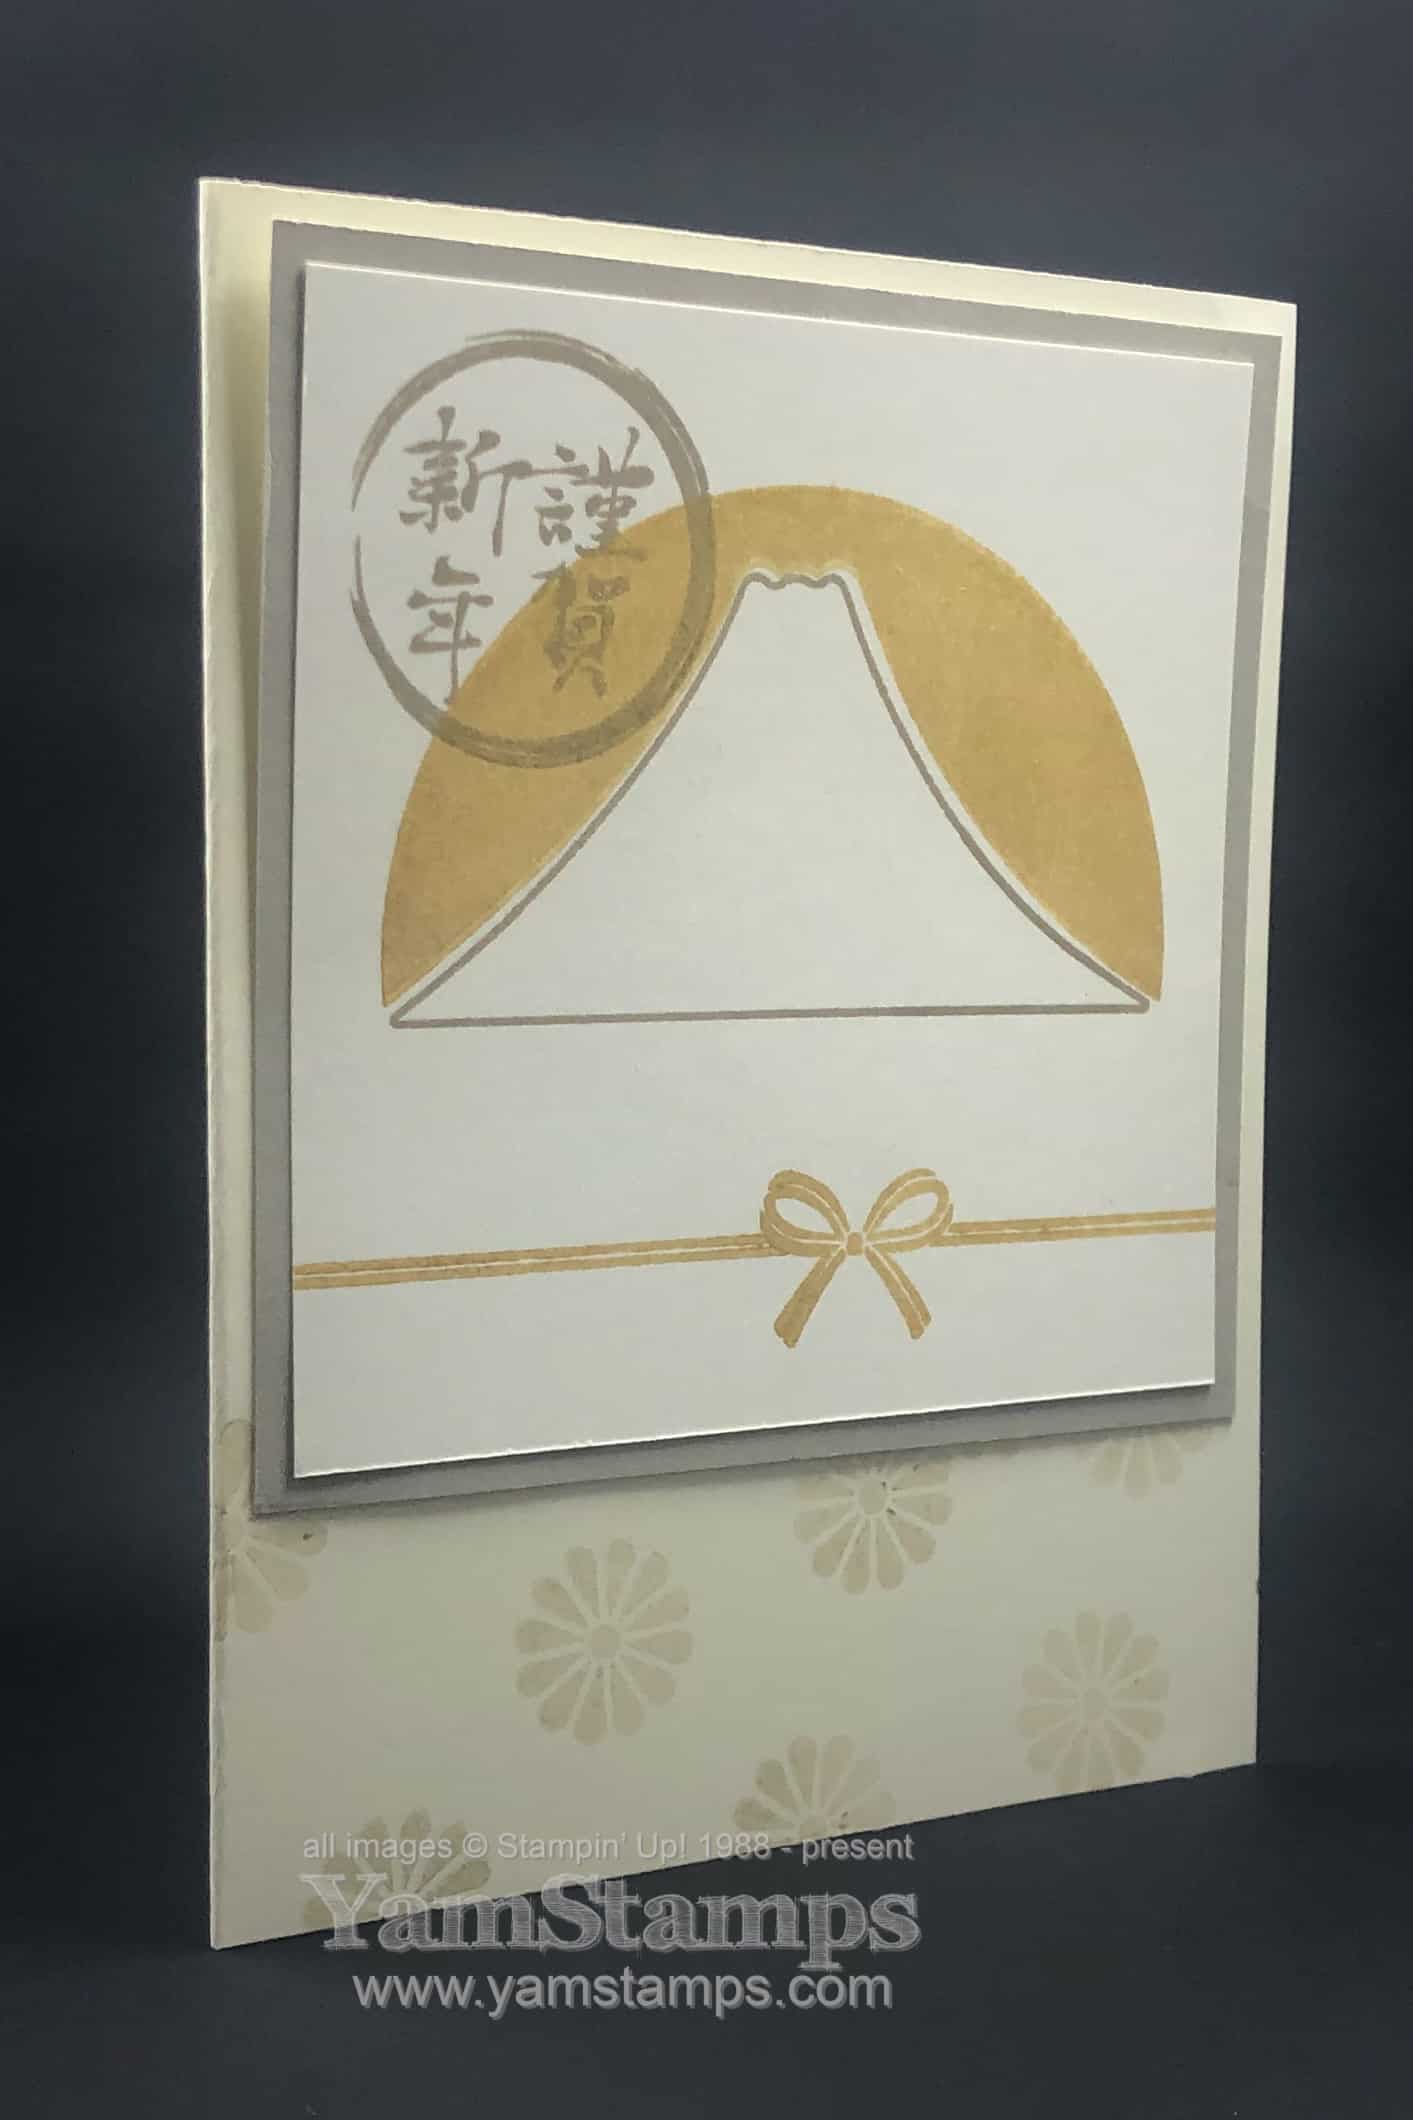
Stampin’ Up! is an international company, with divisions outside North America in Europe and the South Pacific. Stampin’ Up! is also in Japan – and that’s where this stamp set started! The New Year Celebration stamp set is now available in North America for a limited time – until January 31, 2020.
I love the images and the calligraphy in this one, and being of Japanese heritage, wanted to get this stamp set for sure! Sadly, my fluency in Japanese is almost non-existent…though my son is taking it as his university elective!! (I think that it’s a crazy amount of work, but he’s enjoying it).
Even though it’s a new year set, the images can be used at other times of the year, and quite honestly, unless the recipient can read the Japanese characters, you could use those as well!
Here’s the image only/non-new year card. I used the Golden Glitz Delicata Metallic Ink Pad for the background and bow – but the photo doesn’t show how glitzy it actually is!
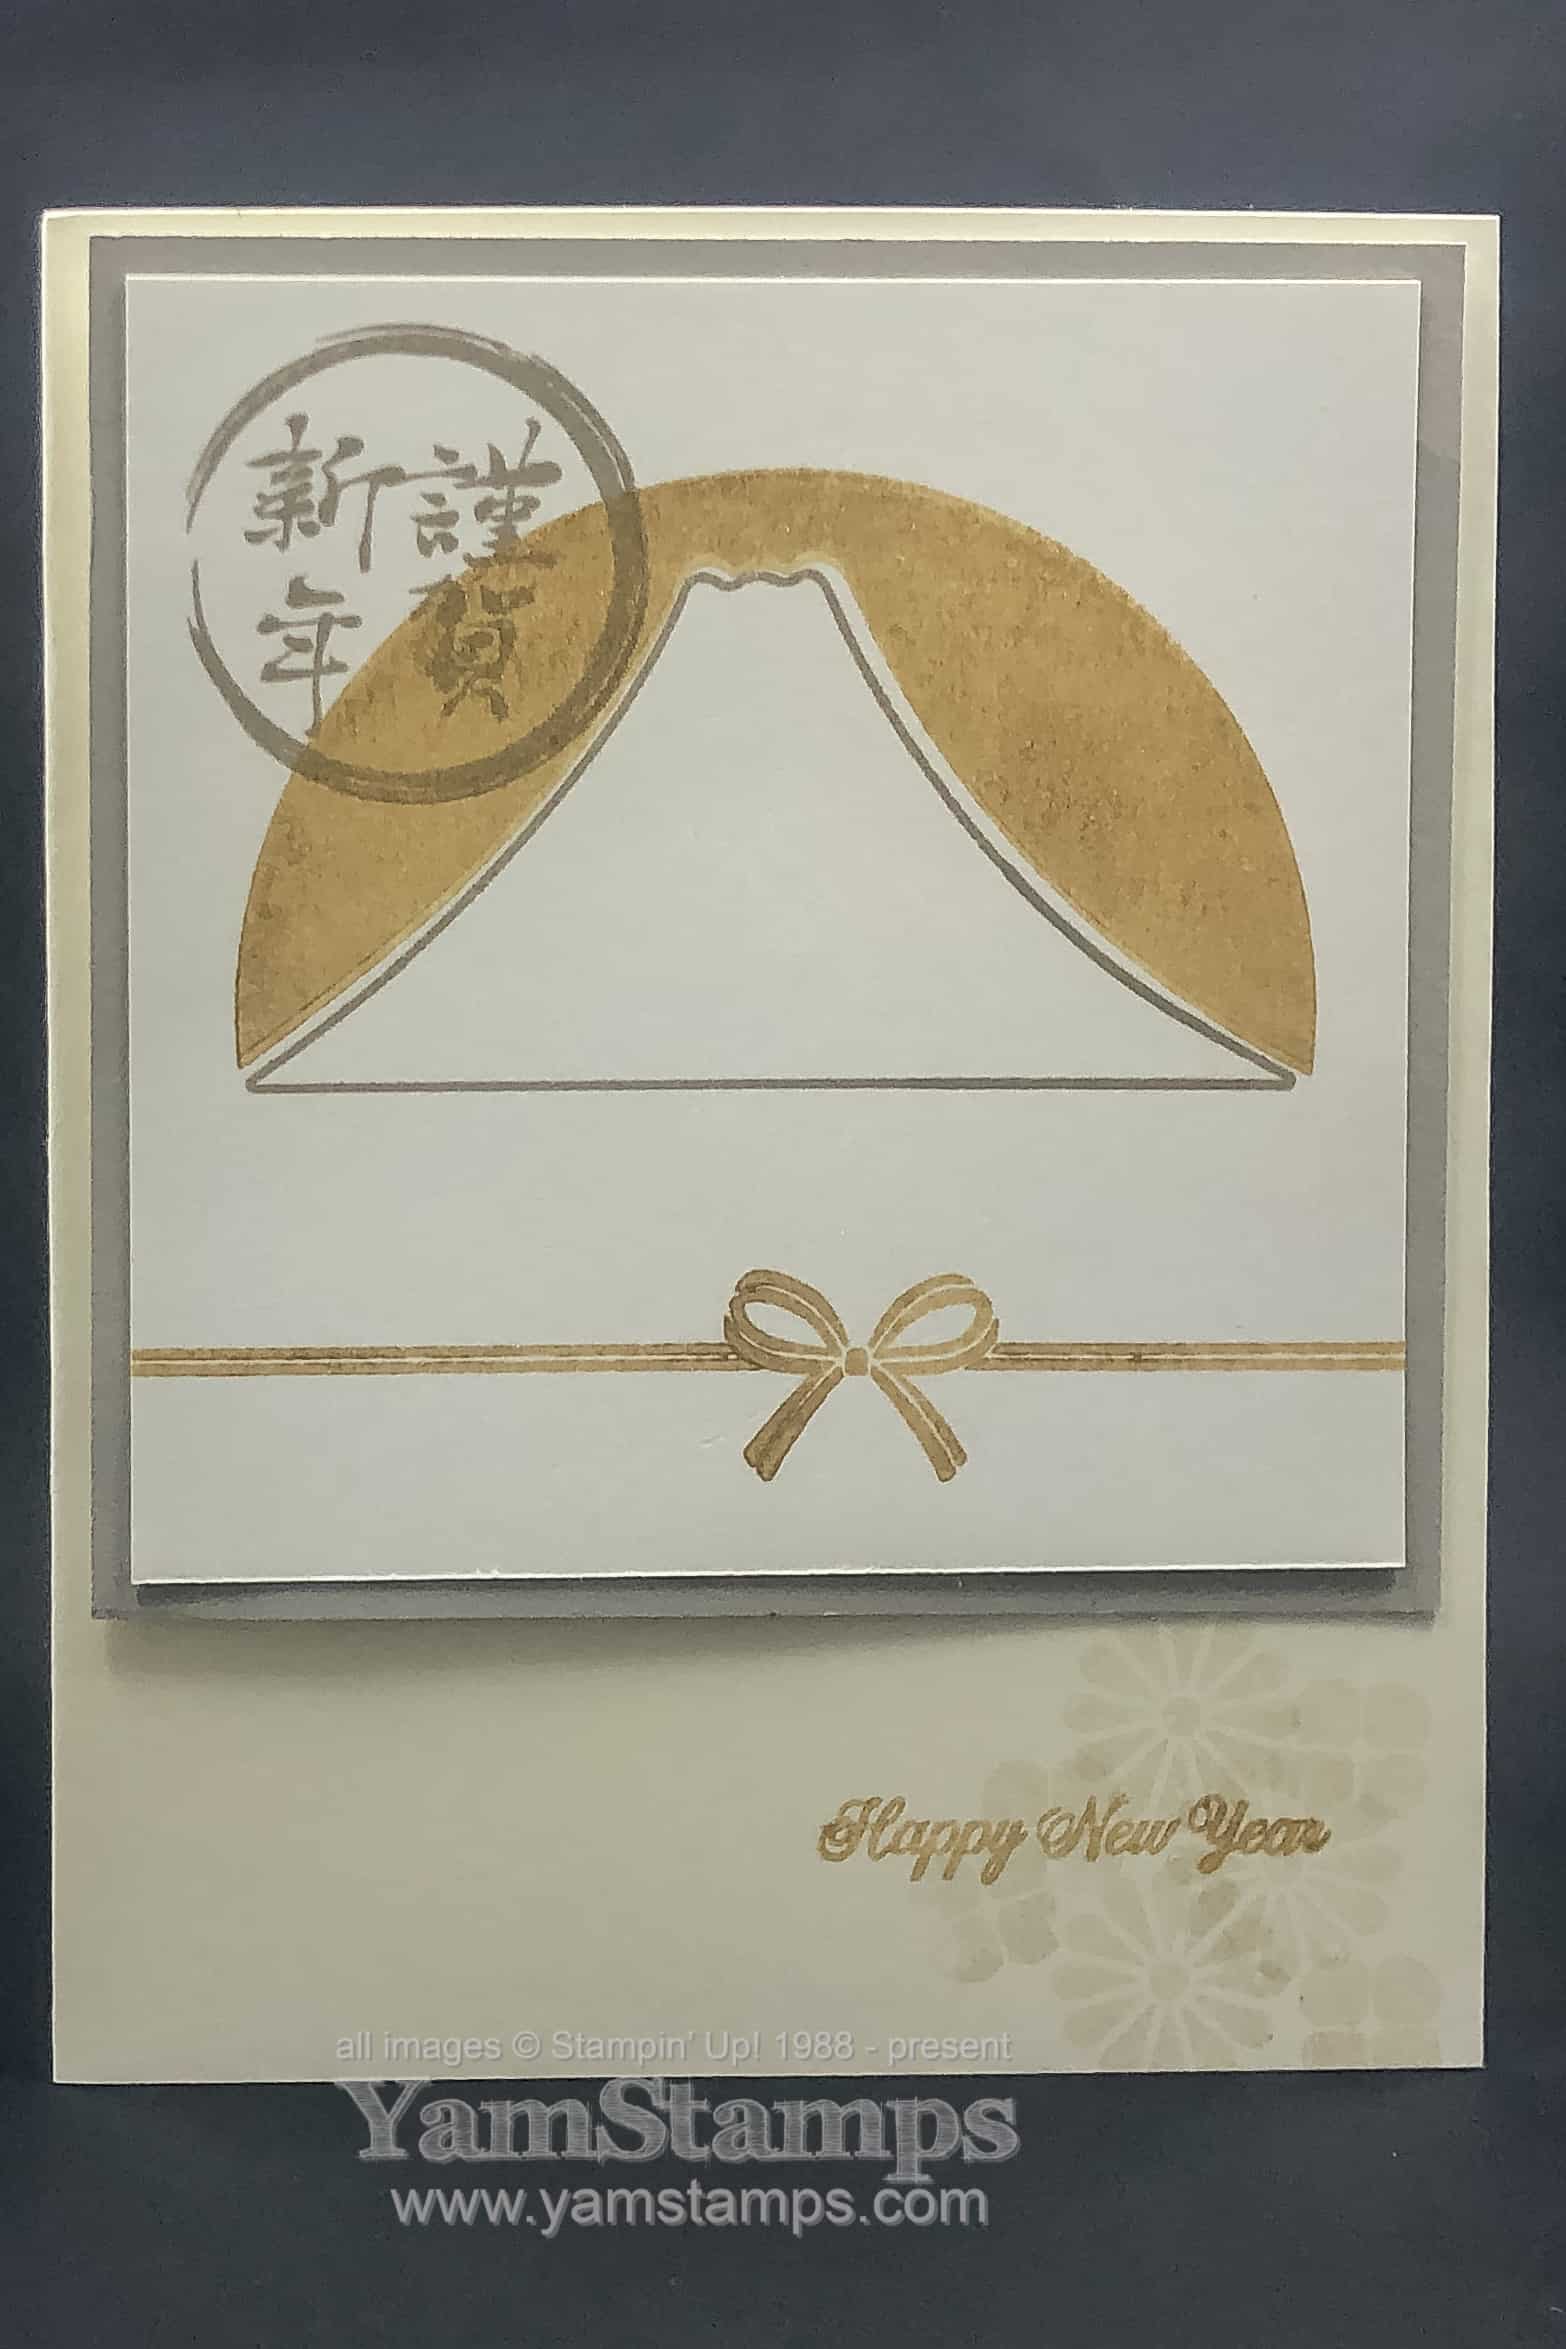
Here’s the new year version (well, for those who only read English….LOL). I used Sahara Sand as the colour for the other images on the card, including the faint flower images on the cardbase itself.
New Year used to be the bigger celebration (as opposed to Christmas) during the holiday season in Japan – not sure if that’s still the case, but it’s also a good reason to still send holiday cards….especially if you miss the Christmas mailing deadline! (…um….that’s typically me….)
HINT if you’re stamping these two images together. I stamped the mountain outline first – because the background “sun” image is a bit more flexible. If you stamp the mountain first, you can adjust the sun so it (roughly) fits around the mountain outline. My first attempt had the sun overlapping the mountain and that wasn’t quite the look I was going for. Also – the Stamparatus is great for 2 step stamping, and also made it easy for me to stamp the sun a couple of times with the Golden Glitz ink to make it really glitzy.
My next HINT – if you’re not sure which way the characters are supposed to go, look at the stamp case LOL. Even though I can’t read kanji, I can often tell which way they are supposed to go because of the brush strokes, so it bothers me if I can see that it’s upside down. True confession, I actually stamped it upside down the first time and had to check because I thought it looked weird.
If you’re interested in getting this stamp set, remember it’s only available until January 31, 2020. You can grab it through the YamStamps Online Store (shortcut: yamstamps.com/shop) or contact me for assistance placing an order.
Happy Thanksgiving to all my Canadian friends and family! Pumpkin pie is baked and I will be putting the turkey in the oven in the next while. I am so grateful to be able to get together with family and friends this weekend. Sunday’s Swap Share celebrates this fact!
A tip if you are creating multiples of one design but want to use Designer Series Paper as part of the project – copy this card design – use smaller pieces as accents. You’ll be able to stretch your sheets a little further. For this demonstrator card swap, we had to make 21 cards. If you have a standard Designer Series Paper package, it will have two 12″ x 12″ sheets of each of the double sided designs. You could cut six 2″ strips and then cut them down further – if you make the pieces 2″ x 3″, you’ll get 24 pieces for example. If you’re trying to be super efficient and thrifty, I’d just recommend doing any number that divides into 12, if you’re trying not to tax your brain too much, I’d recommend doing whole numbers rather than fractions!
I’m looking forward to our family Thanksgiving dinner tonight, and will work it off by walking alongside the Burlington Teen Tour Band at the Kitchener Waterloo Oktoberfest Parade tomorrow! Happy Thanksgiving!
I shared this simple die cut window card the other day in a Facebook Live Video. Did you see it? It was for World Cardmaking Day. If you missed it, go to the YamStamps Facebook Page, click “like” and “follow” and “all notifications” so that you can be notified when I do a Live video! (if you scroll down once you’re on the page, you should be able to find the recording of the video too).
In the Live video, I actually did a side fold card, but nevermind that…LOL. I chose to die cut the oval window using the Layering Ovals Dies, and then die cut a the lacy floral piece using the Christmas Layers Dies. I like that even though it is a Holiday Catalogue item, this die cut can be used for something other than a holiday card. I used a sentiment from the Path of Petals stamp set to create a sympathy card. Often sympathy cards are the ones that we don’t often feel like creating, but often need. Obviously, though, with this pattern and images, you could use almost any sentiment to create a card for almost any occasion. The random extra floral images are from the Shine Bright stamp set, but I thought they were similar to the die image.
In the sample above, I used Thick Very Vanilla Cardstock and Merry Merlot Cardstock. By cutting the die from the same tone cardstock, it makes the die cut look like it’s more continuous with the window, and using Merry Merlot ink for the images ties everything in and adds a bit more dimension without being too distracting. I did add dimensionals behind the Merry Merlot layer to highlight the window and die cut a bit more.
If you are looking for more ideas for easy and effective paper crafting, make sure you’re also on my Newsletter List! You’ll get ideas like this simple die cut window card sent to your inbox– but not this exact card, because the newsletter projects are typically not shared on my social media outlets! Tomorrow is the second of the Twelve Weeks of Christmas mailings – so if you’re a subscriber, I’ll “see you in your inbox” tomorrow!
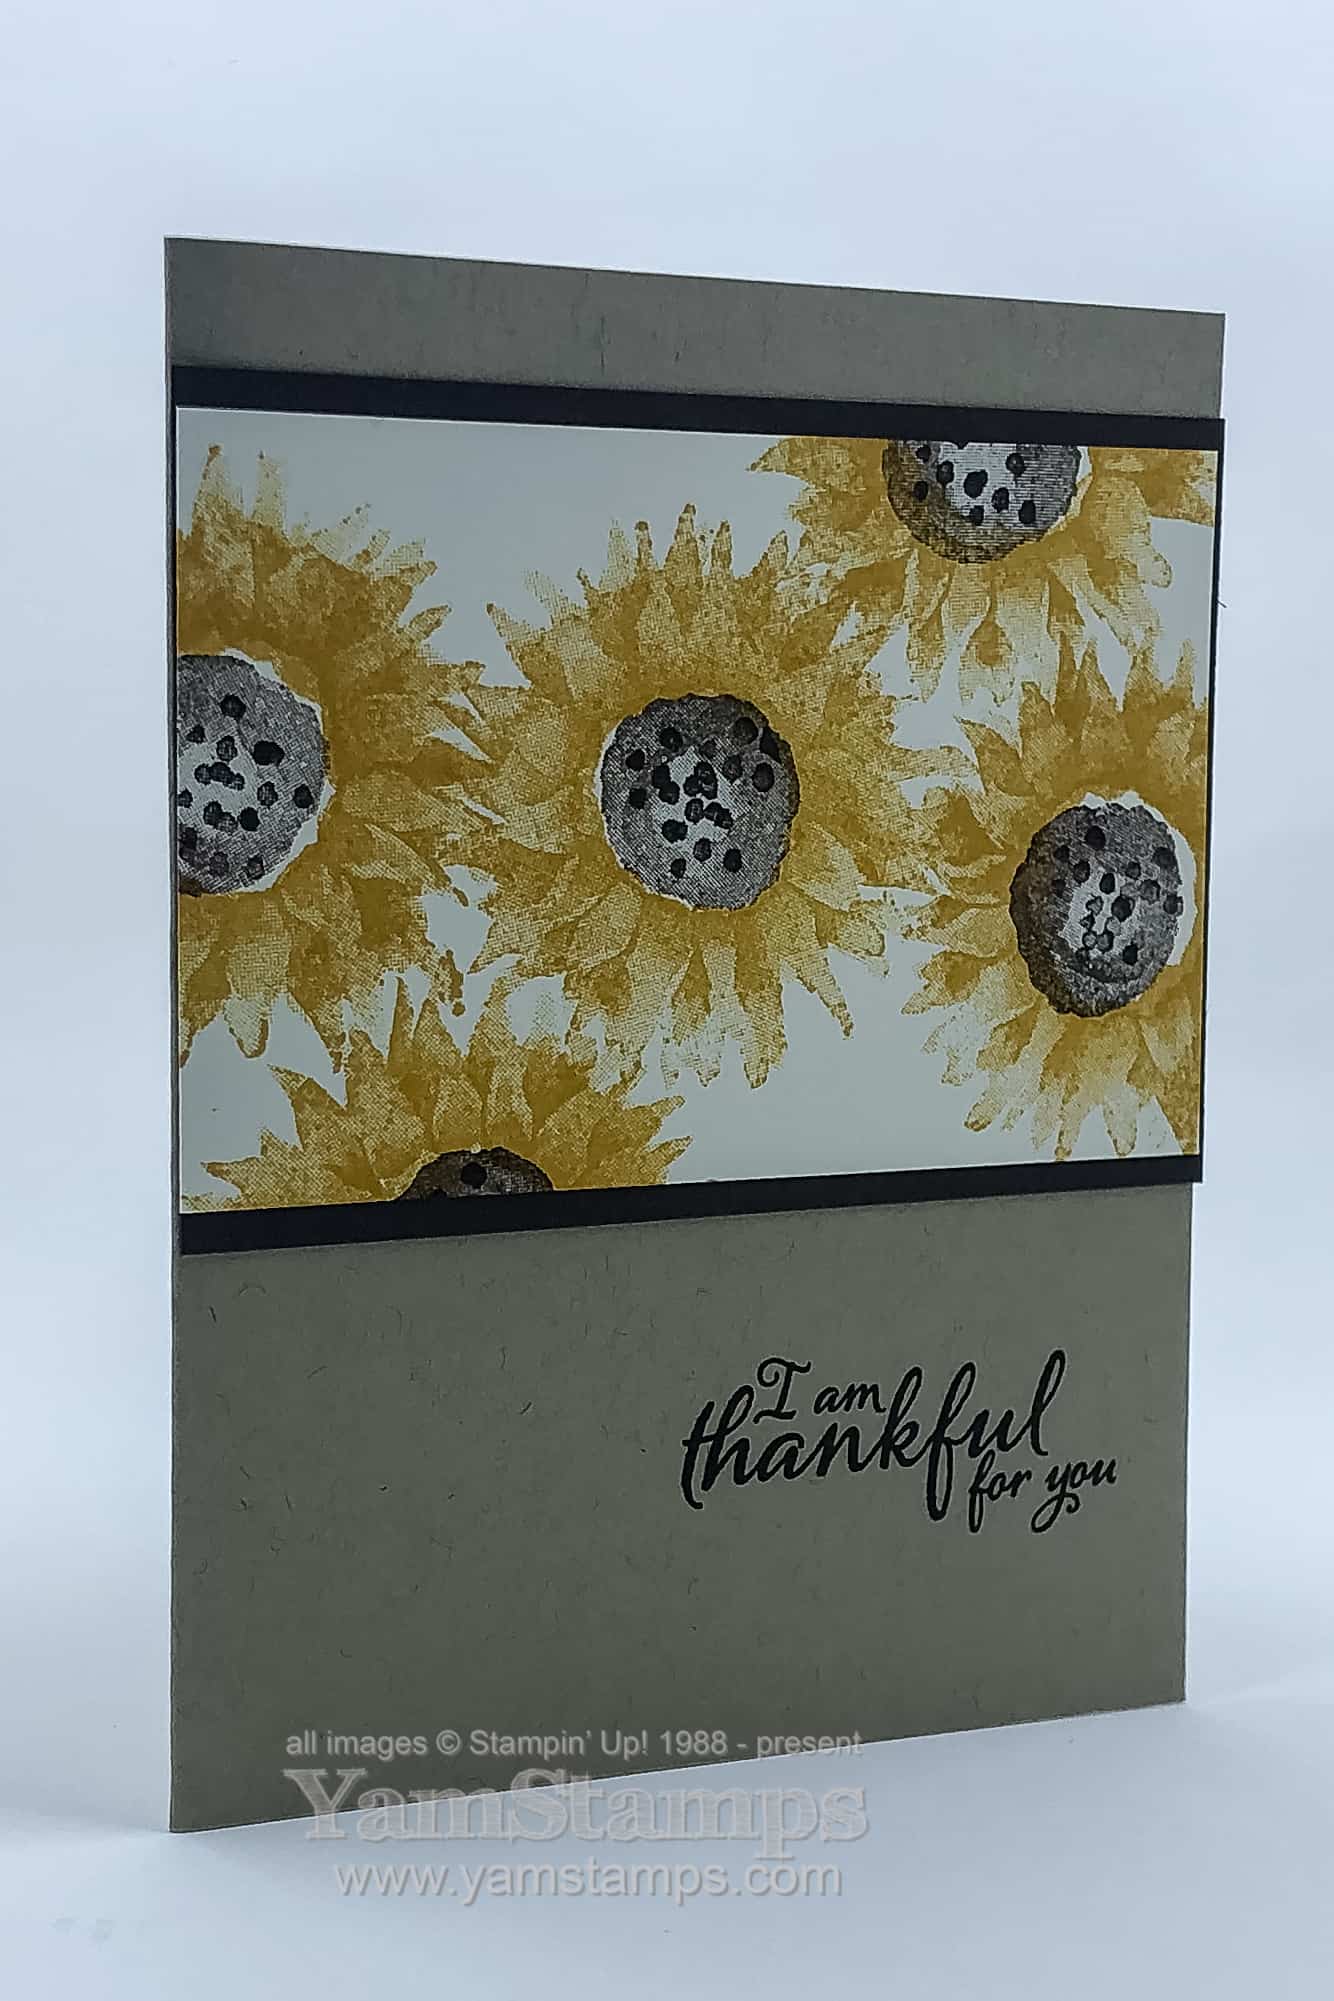
Happy World Cardmaking Day! Yes, who knew there was such a thing? Sharing this sunflower card to celebrate and thank you for visiting the blog. My personal mission is to follow World Cardmaking Day with a “Mail It Monday” – meaning I get card(s) in the mail to people!
You’ll know that I’m all about the quick and easy card – and this is one of them for sure. Let the images take the centre stage and get the card done and mailed! The sunflowers are created with the Painted Harvest stamp set – I love how the two petal images layer to add shadow and dimension. They were stamped in Crushed Curry. The centre is done in Early Espresso (stamped off onto scrap paper once to lighten up the image a bit) so the “seeds” show up a bit more.
This is one of those stamp sets that is so versatile – just by switching out the colours used! I shared a Christmas Wreath card using this set on the YamStamps Instagram Channel.Click here to see it.
So Happy World Cardmaking Day! Are you following the YamStamps Facebook Page? I did a Live video showing a different card today. If you follow the page, click all notifications so that next time I go live, you’ll know about it!
In the meantime, I’m off to address an envelope to get this sunflower card mailed!