Are you looking for card ideas for friends? I spent last weekend avoiding the heat outside by staying inside my air conditioned home and clearing out my craft room (which was a bit of hot work because I hadn’t done that in a while…). Anyway – I came across this card that I created for a demonstrator swap but I don’t think that I’ve shared this yet?! So yay for clearing out craft rooms and discovering buried treasure.
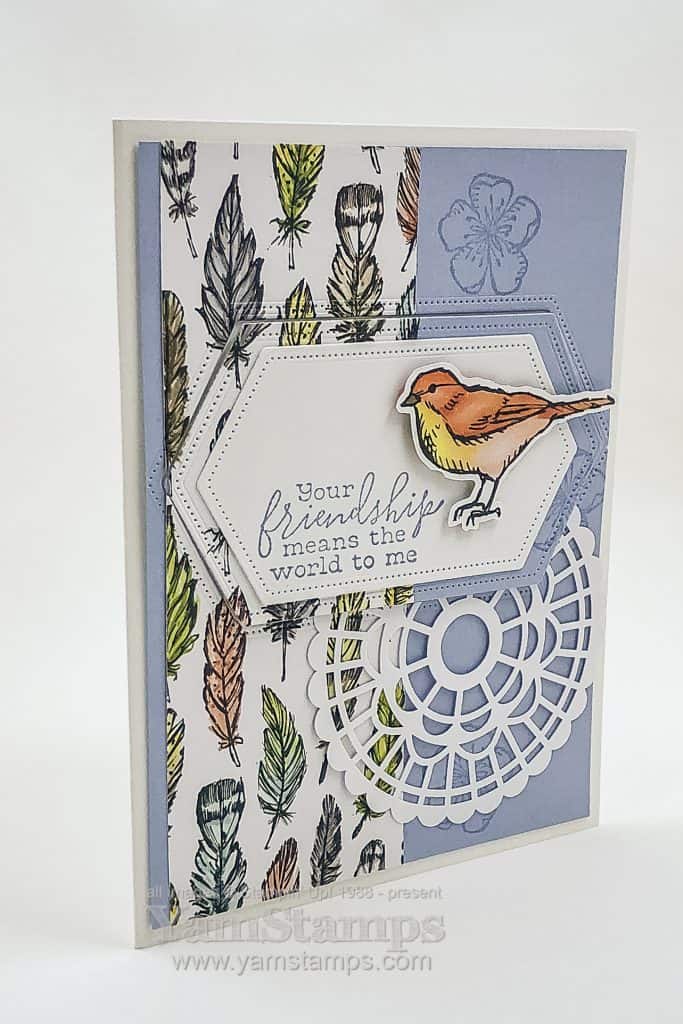
For this card, rather than doing my typical “add the sentiment and put it on a coordinating cardstock layer”, I varied it a bit. I cut the background label layer from the cardfront itself, and then used Stampin’ Dimensionals to make it stand out a little bit. By adding the Pearlized Doily underneath that layer, it made it stand out a bit more. And yes, there’s a bit of fussy cutting on this card – but you can get a LOT of the birds out of the Designer Series Paper so it’s worth it.
When you’re looking for card ideas for friends, especially for good friends, you’re willing to spend a bit more time creating it, and this is an example of a card that’s a bit more work, but worth it.
If you’re looking for more card ideas, don’t forget to be subscribed to the YamStamps email newsletters. All the paper crafting project ideas that you will receive in your inbox are exclusive to the newsletter – you won’t see them on social media or the YamStamps blog (unless I’m highlighting something from there!). You can sign up here or by filling in your information in the sign up box at the top right of the blog. Click here for more information on the newsletter or message me! The first newsletter of each month is the multiple projects newsletter, and the following weeks feature individual projects or paper crafting information and news updates, plus exclusive special editions like the Twelve Weeks of Christmas project ideas. You’ll get plenty of card ideas for friends and family delivered directly to you!
Hi! Remember me? Thought I’d pop in here to share this die cut floral frame cardwith you while I come up for air. I’m in the midst of whining about the heat and humidity (I know, a few months and I’ll be whining about the cold and snow), and trying to get my stamping area into some semblance of semi-organization so that I can function more efficiently. I would do before and after pics of the overhaul, but the before pics would be too frightening, but maybe a few after pics might make it through at some point. Maybe.
In the meantime, I was able to locate enough supplies amidst the chaos to create this card and share it with class attendees this month!
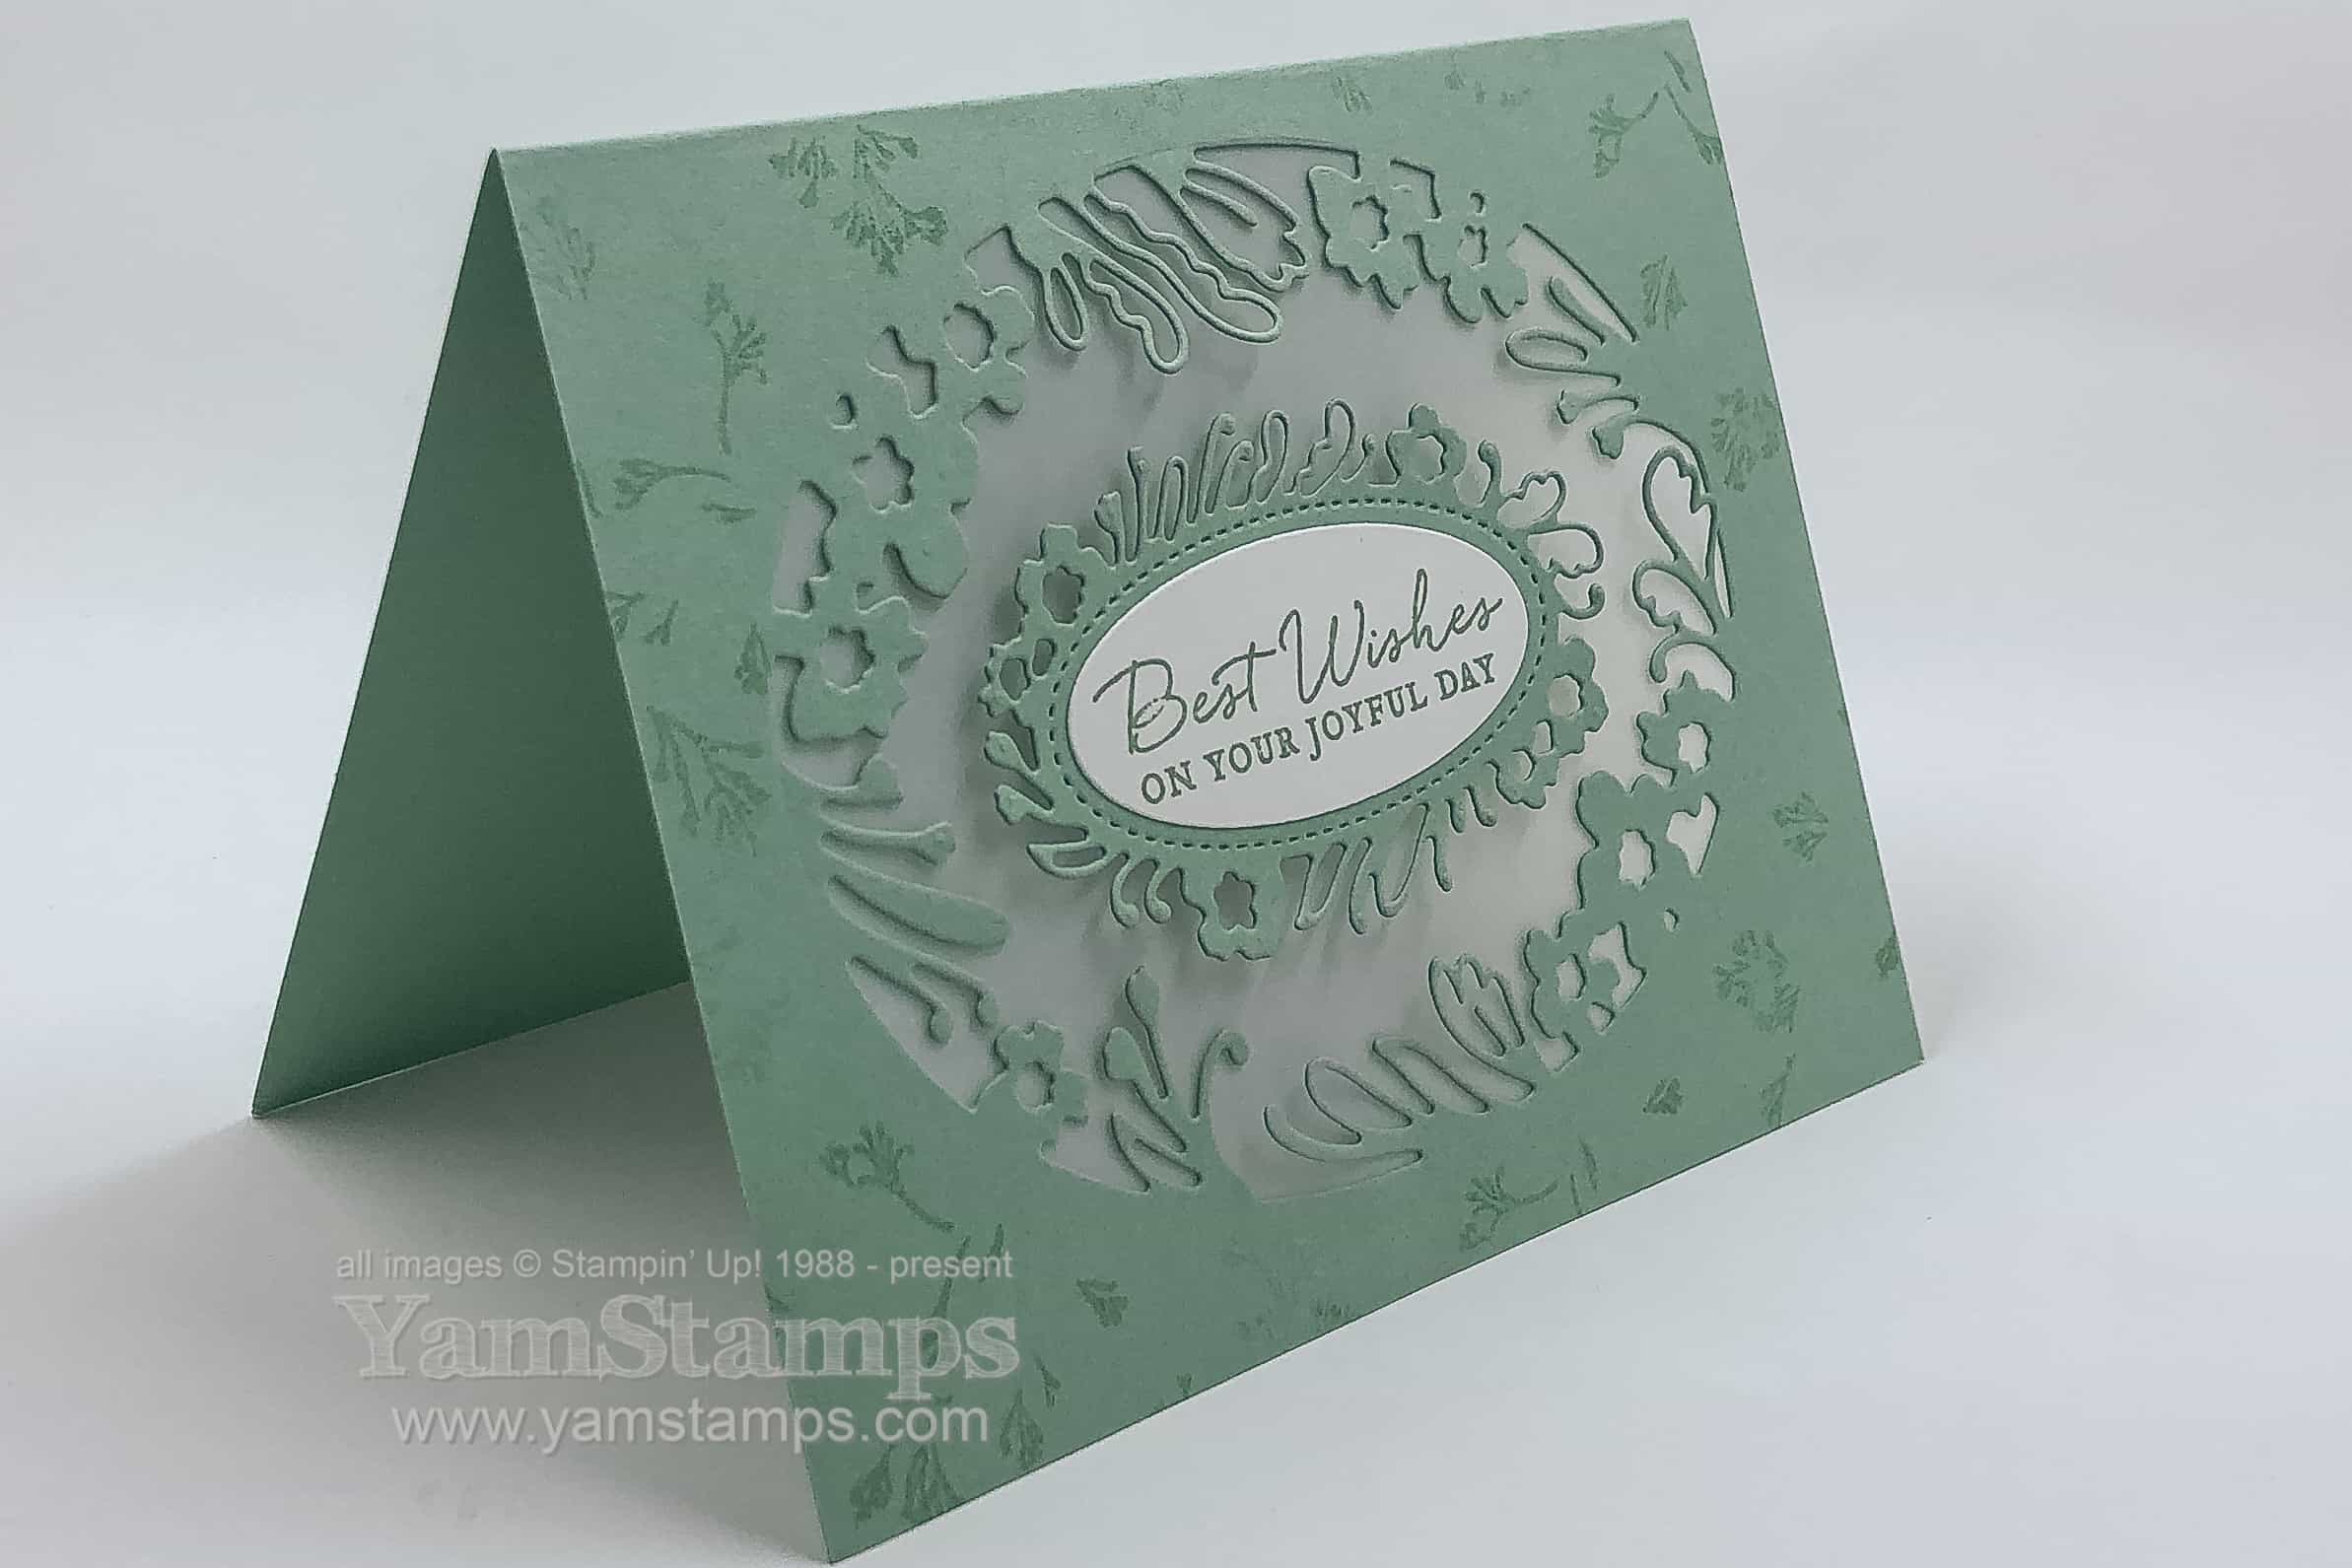
Path of Petals Bundle Card
This die cut floral frame card features the Path of Petals Bundle – which includes the Path of Petals photopolymer (clear) stamp set and the Petal Labels Dies. If you wanted to go all out, you could get the Pressed Petals Suite Bundle which includes all the coordinating accessories and Designer Series Paper as well! (click the link to see everything that’s included).
The Mint Macaron cardstock was die cut, and then a piece of Vellum Cardstock was adhered behind the cardfront. The smaller floral frame was then adhered in place on the vellum. If you wish, you could also put a piece of Whisper White cardstock inside the card. Oh and a Thrifty Thursday tip– the smaller frame was die cut from remnant that was removed after the large frame was cut from the cardfront.
You can easily change the sentiment on this die cut floral frame card to suit whatever card sending occasion you have, and it truly is quite easy to create. The die does all the intricate cutting for you!
If you’re looking for an easy way to spend some creative time, consider joining in at one of my Monthly Card Classes or becoming a member of the Stampers Club! I precut and prep four projects that you create in class – you just show up and follow the instructions! (Or modify them as you wish…LOL). You can always check out the upcoming classes on the YamStamps Events Page – or register for my email newsletters to get exclusive project tutorials and reminders of specials and upcoming events!
In the meantime, I’m back to trying to get organized. One of these days I’ll get the job finished – if I stop getting distracted by all the shiny objects I find!
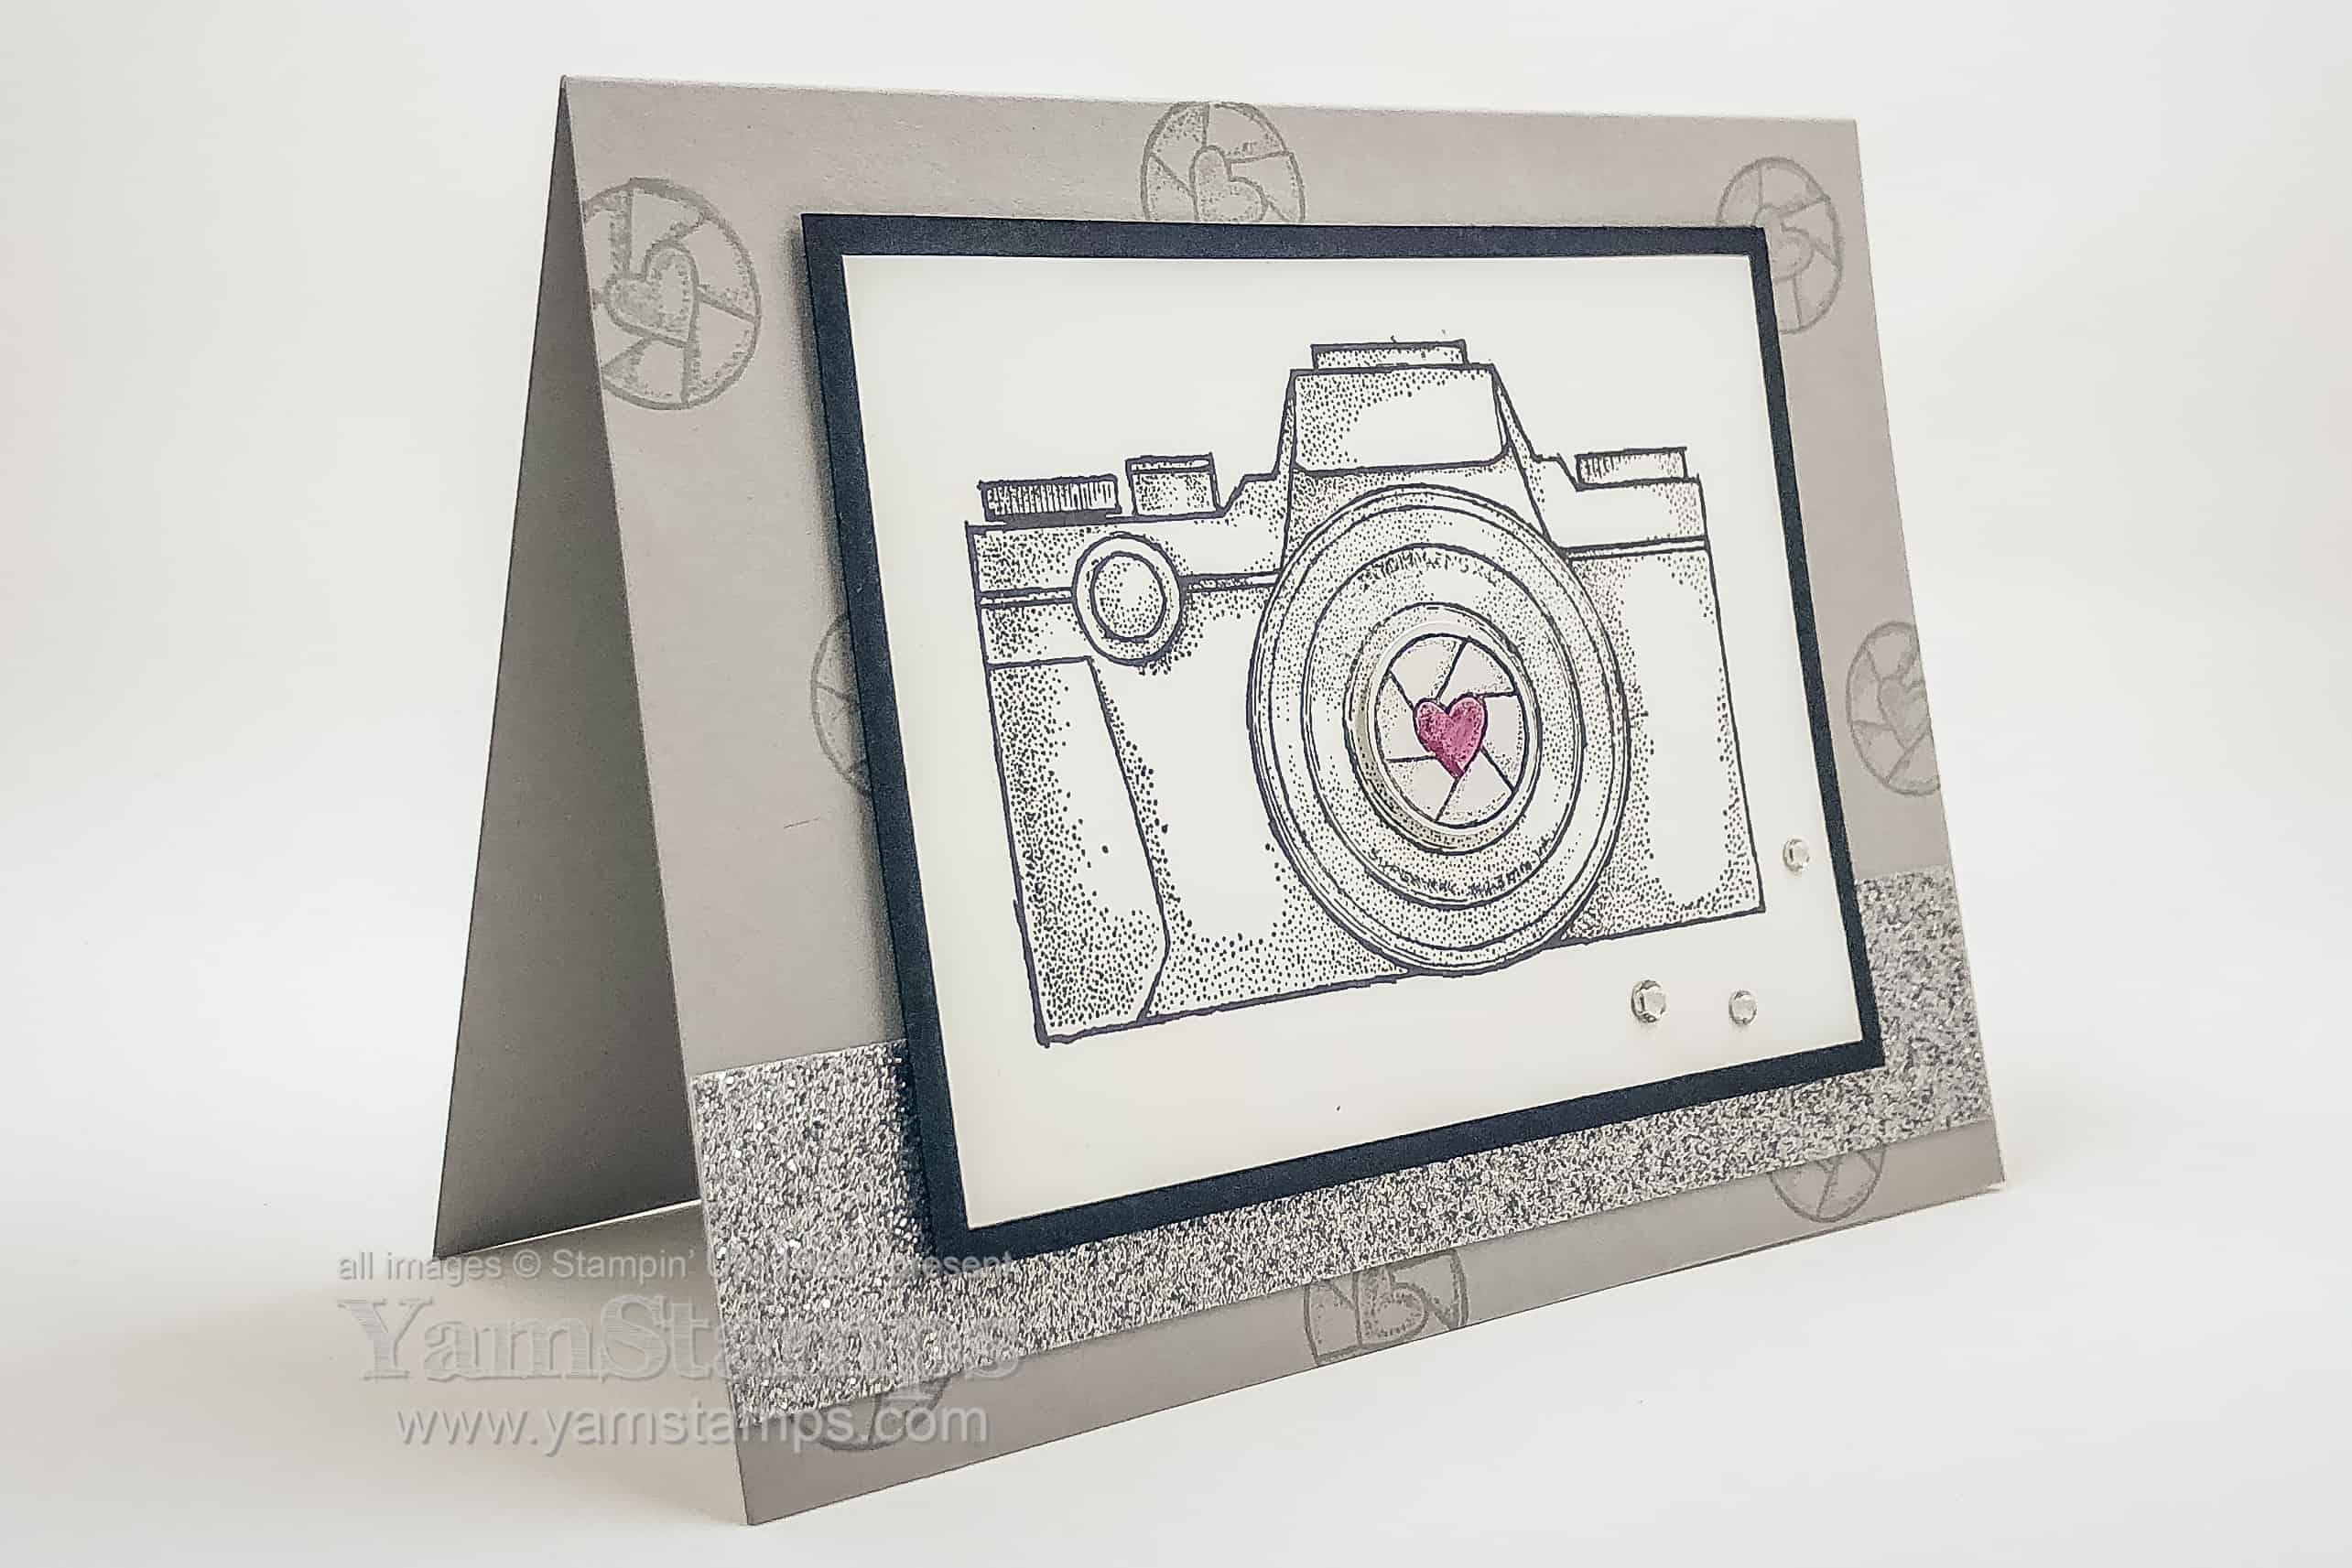
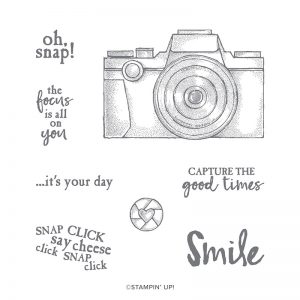
Say cheese! This greeting card for photographers is one that I made for a Stampin’ Up! Demonstrator only swap, using my new Capture the Good stamp set. I went with a monochromatic theme with a little pop of colour.
Actually, I just realized that I have bling on my actual camera….LOL – on my lens cap holder!! So perhaps that’s why I added the rhinestones…it’s a greeting card for photographerswho appreciate a bit of bling…like me!
In any case, with or without rhinestones, this camera card is great for any photographer in your life, or for your scrapbook pages! The sentiments can be applied to many card giving occasions too. This set was inspired by Demonstrator Tami White – when Stampin’ Up! Demonstrators reach 1 Million in Sales (!!) they have a big ceremony and presentation, and the demonstrators get to work with the Stampin’ Up! Artists to come up with a stamp set.
Capture the Good Stamp Set
So whether you’ll be creating a greeting card for photographers, scrapbook pages featuring photographers or (ahem) photos, or other paper crafts, I’m sure you’ll find lots of ways to use this stamp set – I think it’s one of my new favourites from the current catalogue. I will try not to overuse it for future sharing!
That being said, I did use it for a black and white card for July’s Card Class and Stampers Club Class….hahaha! Monthly Card Class is the first Wednesday of each month (usually), so you’ve missed that chance, but if you join Stampers Club before Monday, July 15th, you’ll get the opportunity to make your own camera card (similar but different to this one). Don’t forget to check out the upcoming events on the YamStamps Events Page (you can also see more details about Stampers Club there) or sign up for the YamStamps mailing list to get crafting inspiration and event reminders in your email! Hope to see you in class soon!
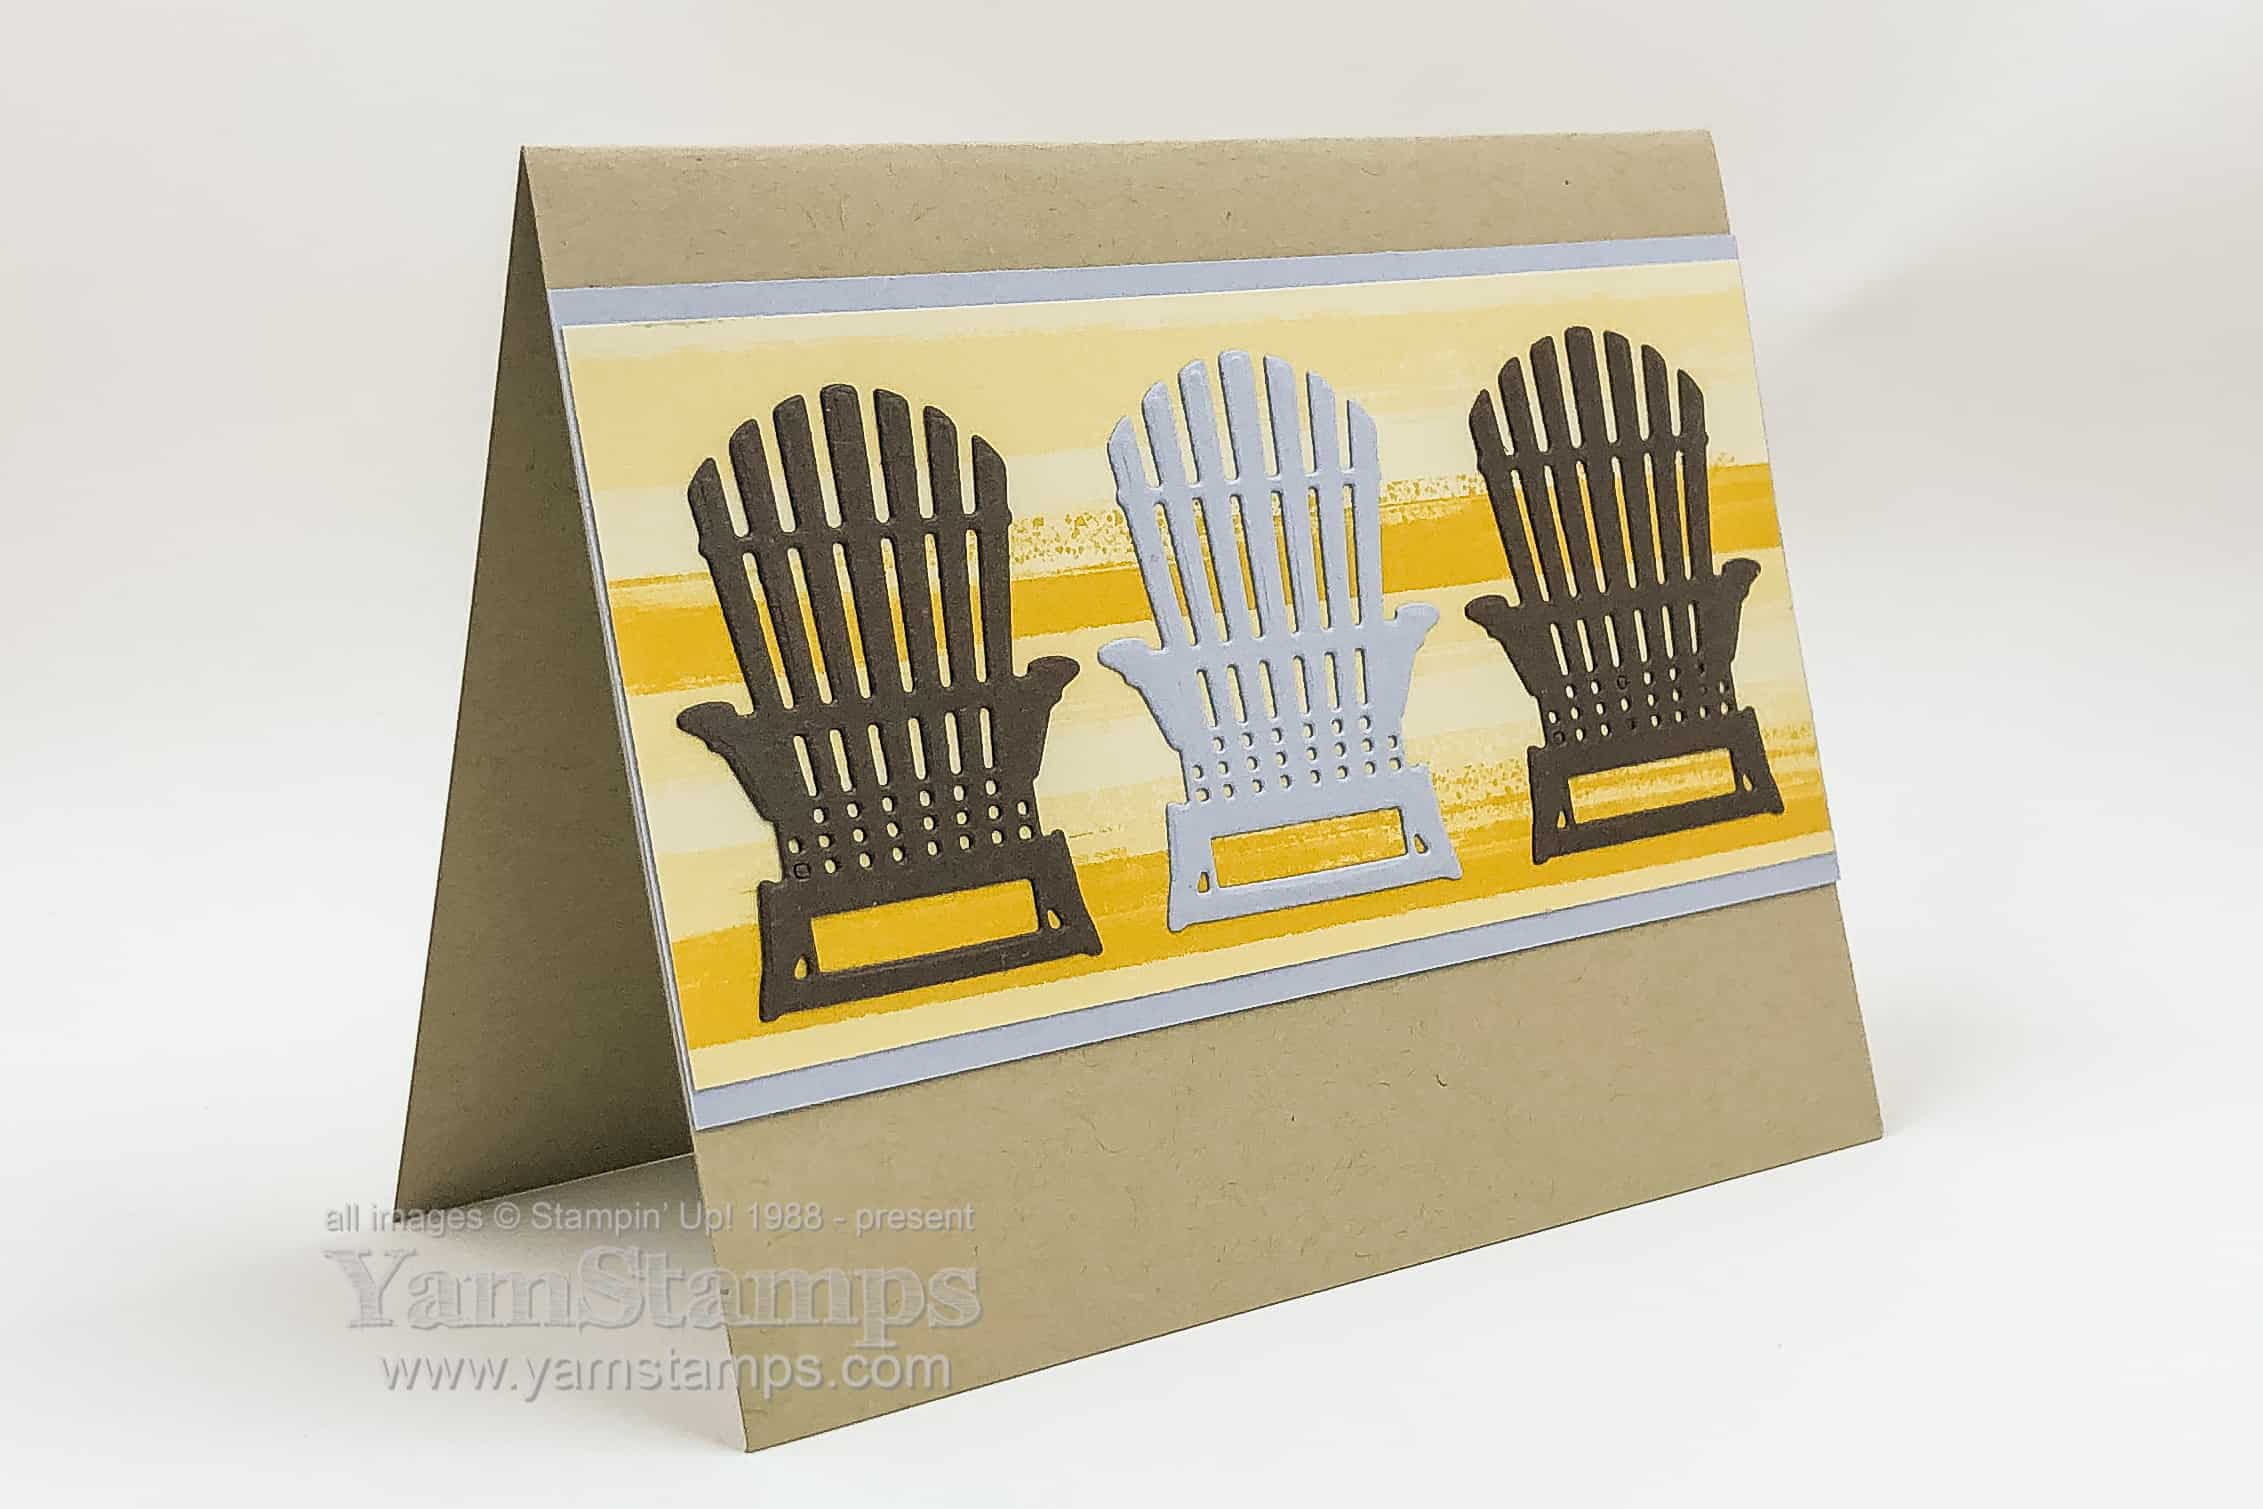
Wow – it is really feeling like summer around here now – school is out, the temperature is up…and it’s Canada Day – happy long weekend to you! (and yay – it’s actually a real long weekend since July 1 is a Monday this year). Though I have heard my son mumbling some complaints that he is being cheated out of a day off since Mondays are his usual day off from his summer job…
Anyway – thought I’d share this easy and fun card featuring MUSKOKA chairs…because this is Canada, eh? They are not Adirondack chairs, though apparently there is some structural way you can tell the difference, but I can’t quite get the energy up to google that right now. So Muskoka chairs they are.
I love that most of Stampin’ Up!’s Designer Series Papers are two sided – often one side has more of a graphic design element that often ties in to a suite of products, and the other is more of a background type pattern or wash. This is the case with the sheet used for this card – so it makes it easy to use the paper outside of the coordinating suite of products.
If you’re interested in getting your hands on a variety of the Stampin’ Up! Designer Series Papers, consider joining my paper share!
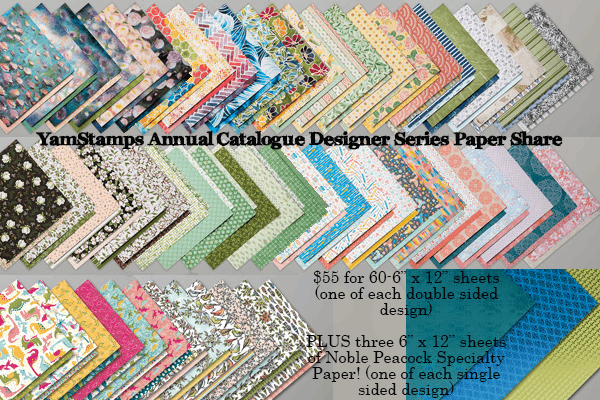
Finally! The YamStamps 2019-2020 Annual Catalogue Designer Series Paper Share
For $55CAD you’ll receive sixty 6″ x 12″ sheets of Designer Series Paper (one of each of the double sided designs from each paper package) plus as a bonus right now, you’ll also receive three 6″ x 12″ sheets from the Nobel Peacock Specialty Designer Series Paper (one each of the three different single sided designs).
Each share consists of one 6″ x 12″ sheet of each of the double sided designs from these Designer Series Papers:
The 12″ x 12″ papers NOT included in this share are the Pressed Petals Designer Series Paper (there’s one sheet in particular that does not lend itself to being cut in half…) and the Noble Peacock Foil Sheets. The 6″ x 6″ papers are NOT included in this share either.
Payment is due at the time of your confirmation of participation. First share will be ready for pick up mid July in Burlington ON. If you’re not local to Burlington, but are located within Canada, I can mail your papers to you (exact shipping costs will apply – regular mail or Xpresspost – your choice). CONTACT ME to reserve your spot in the Designer Series Paper Share! You have until July 31st to let me know if you’d like to get in on this offer! In the meantime – Happy Long Weekend!
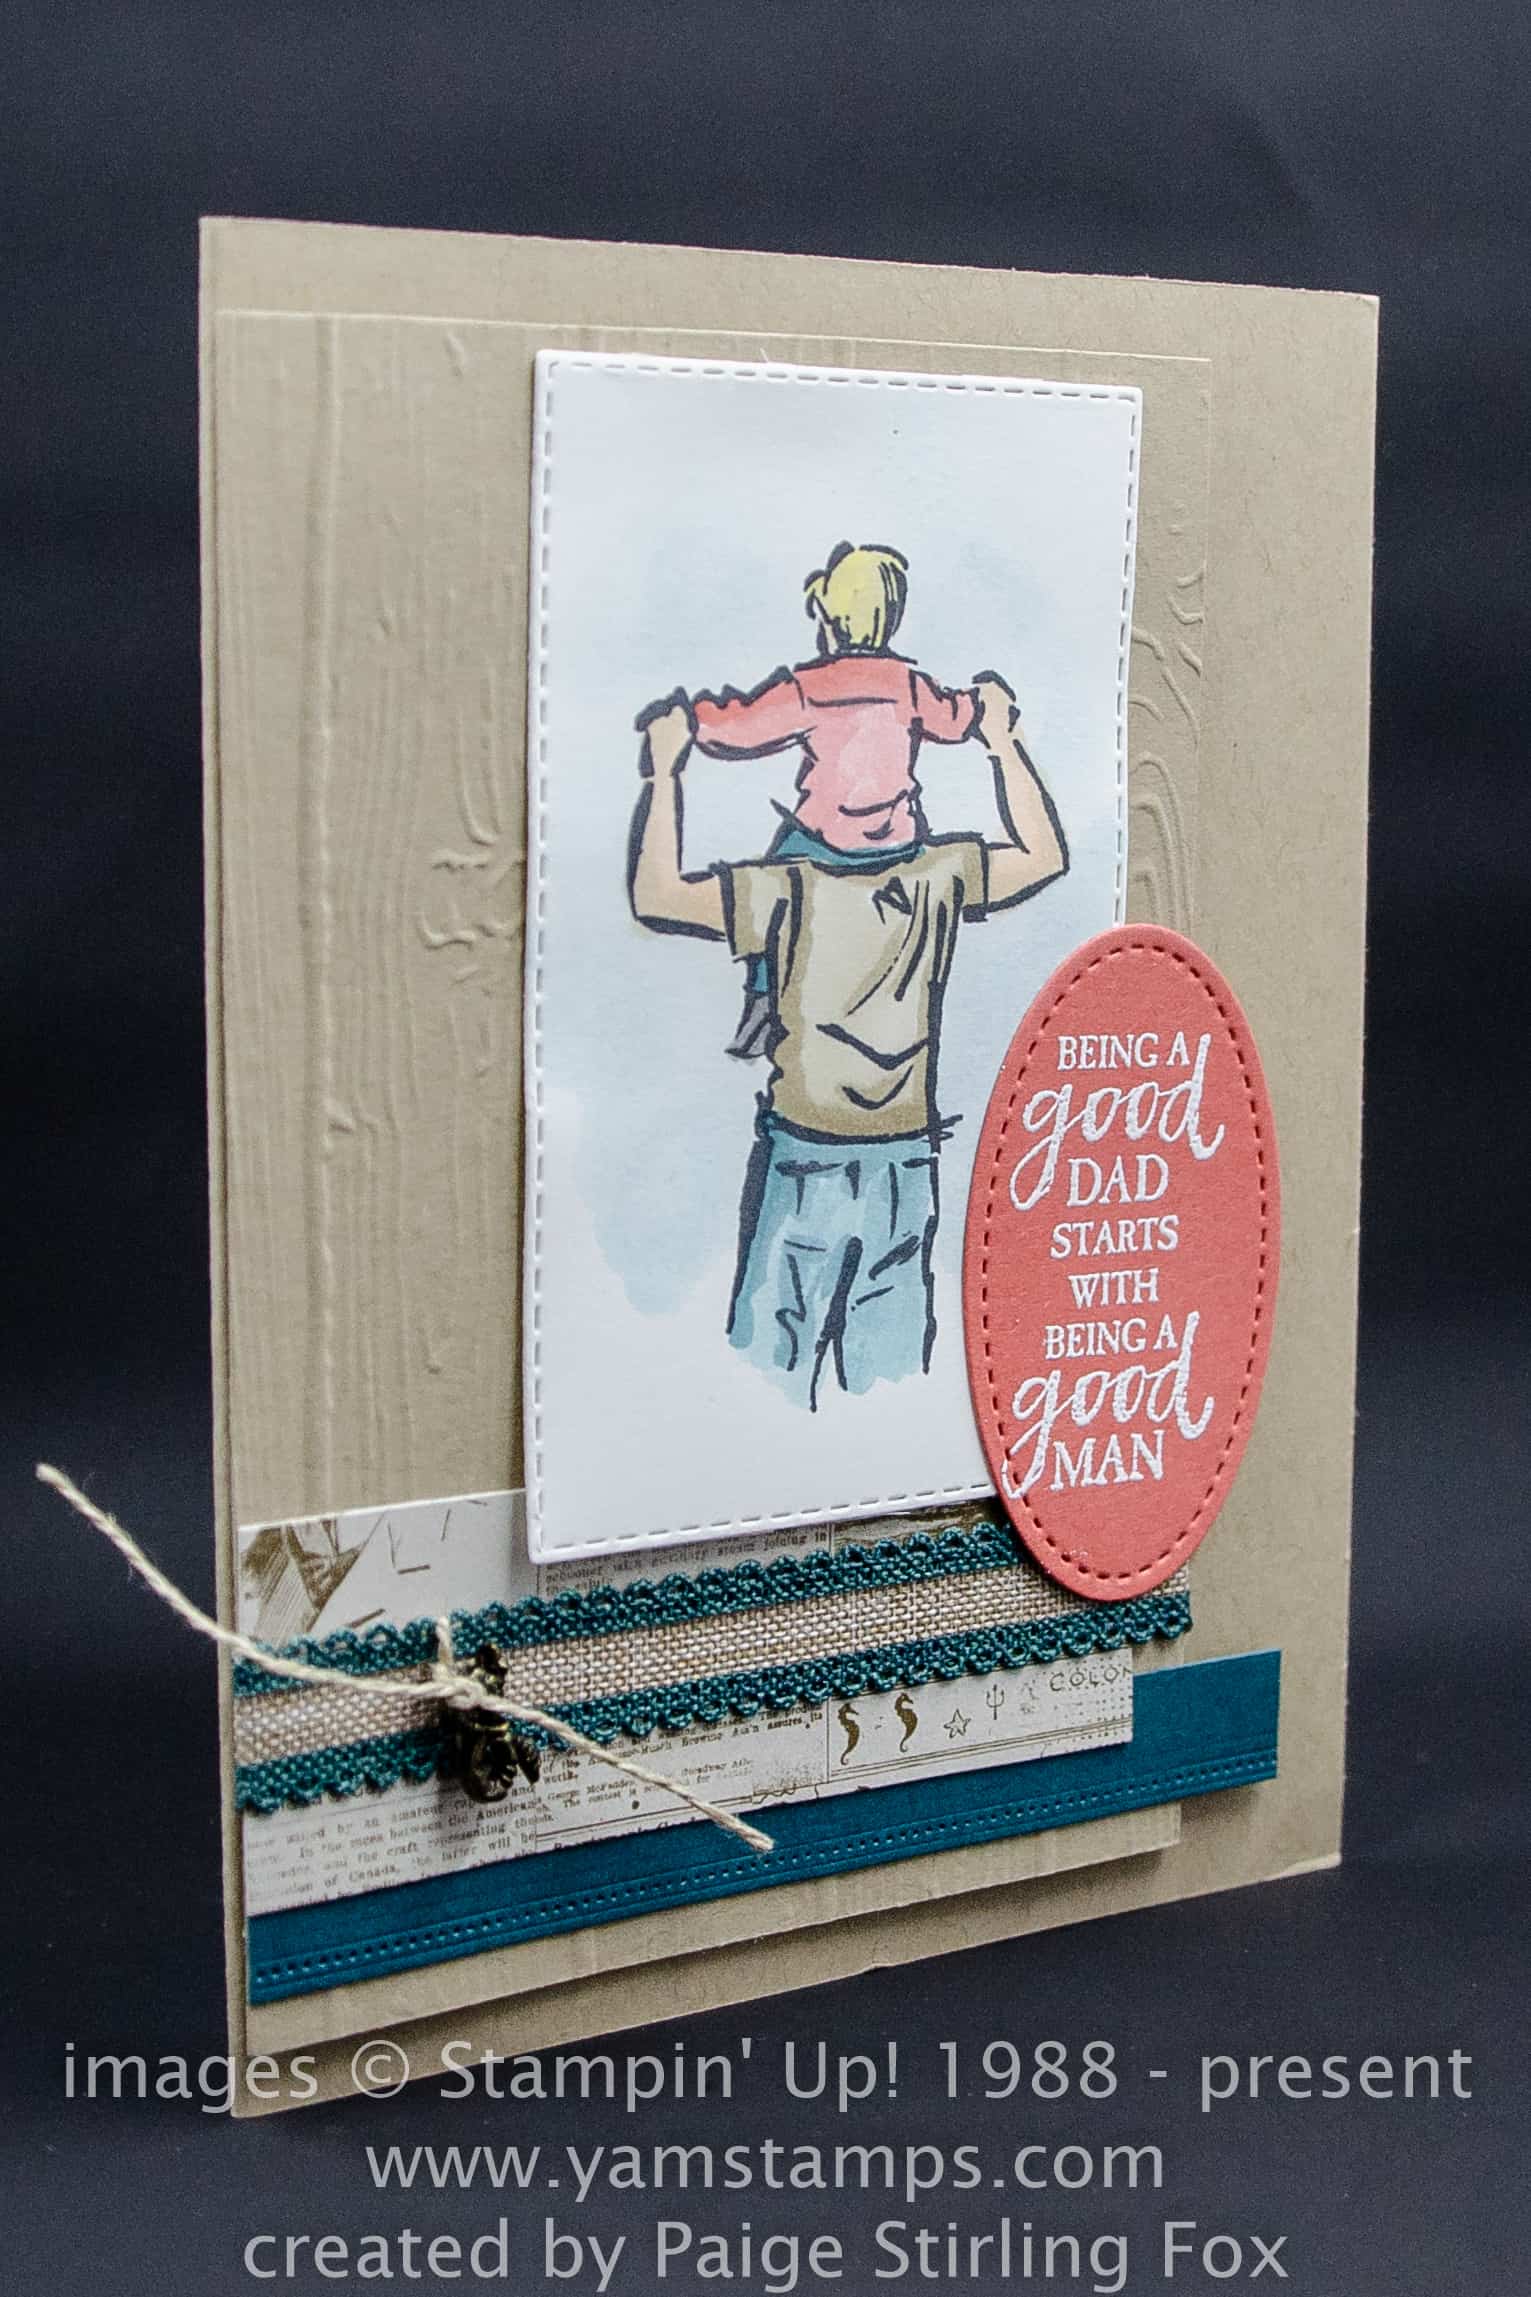
Happy Father’s Day! Are you still wondering what to make for Father’s Day? May I suggest a handmade card?!
In honour of Father’s Day and Sunday Swap Share, I’m posting this card created by Paige Stirling Fox, using Stampin’ Up!’s A Good Man cling stamp set> I love all the little details and touches she added to this card! This is one of those stamp sets that you can use as an outline image only, or add colour with Stampin’ Blends or Aqua Painters and Watercolour Pencils (did you see that the Assortment 2 set (previously a limited time offering) is back for good in this year’s catalogue?).
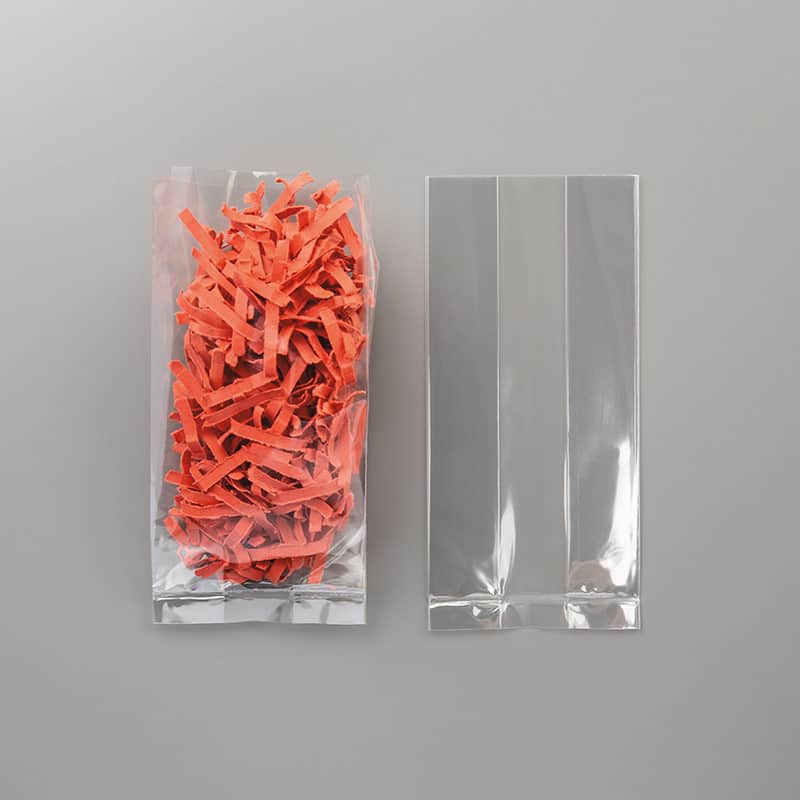
If you aren’t searching for “What to Make for Father’s Day” because you’ve already got your gift (here’s hoping since Father’s Day is today…) – here’s a cute packaging idea featuring the Best Catch stamp set.
If the Dad in your life likes to fish, this is a great packaging idea to hold a bit of fishing gear or a gift card to an outdoor store?
Of course, another idea for “What to Make for Father’s Day”is food…. In our household growing up (and it seems in a lot of households?) the tradition is actually for dad to barbeque something for dinner! So maybe make some dessert to go with the bbq? Stampin’ Up!’s cellophane bags are food safe and ready to load with some baked goodies or your dad’s favourite candies.
Happy Father’s Day to all the father’s and mentoring men out there. Here in Burlington it also means the Sound of Music Festival – free concerts and yesterday’s parade are highlights! I’m hanging out with my favourite band as usual – the Burlington Teen Tour Band – and it’s also the reason it was a little on the quiet side in the YamStamps world – I’ll post more about that in the days to come now that I think I’m almost recovered from jetlag…. Kudos to the people that dealt with my occasional yawning during the Monthly Card Class last week, and apologies in advance to tomorrow’s Stamper’s Club people!! In any case, we’re back at it – hope to see you at an event soon – like the New Catalogue Open House & Retired Product Sale June 22?! Contact me for more details/directions and to reserve a copy of the catalogue!
This card features a stamp set that you’ll be able to purchase with Stampin’ Rewards in the new catalogue as of June 4th – hence the Make This Year Rewarding title of the post!
The images are from the set Soft Spring, a stamp set that can only be purchased using Stampin’ Rewards dollars. Stampin’ Rewards are percentage back dollars that you can spend on Stampin’ Up! merchandise when you host a workshop or have an individual order that is $200 CAD or more. The “hello” is from another new stamp set, To A Wild Rose, which is part of the general catalogue product, so can be selected as part of a regular order, or could also be purchased with Stampin’ Rewards.
If you’re interested in how to make this year rewarding, there’s a few ways to earn Stampin’ Rewards!
Host a private card making class with friends and family. Contact me to book a date and to check out the options – there’s a 4 card class or a 2 card class, depending on your timeframe and comfort with paper crafting! You can earn rewards based on the total value of product ordered at your class.
If you’re local to Burlington ON, join the Stampers Club! Club members have their own class on the third Monday of each month, either in the afternoon or evening. Rather than pay a class fee, each member places a $33 minimum order at the class, and once during their 6 month commitment, they receive Stampin’ Rewards to spend as well! Contact me to start at any time.
Become an “Eh” Team member. Sign up to be a Stampin’ Up! demonstrator and earn your own rewards! Demonstrators get the opportunity to preorder new product – which is how I was able to get the Soft Spring set ahead of time! Get more information here
Of course, making this year rewarding isn’t just about Stampin’ Rewards – attending a Monthly Card Making Class is a rewarding way to expand your crafting skills and card stash! Better yet, you can decide month to month if you’re able to attend – simply register at least 2 days in advance. Monthly Card Class is typically the first Wednesday of the month – HOWEVER, June’s Card Class is the SECOND Wednesday of the month due to my scheduling issues…(more on that later). So mark Wednesday, June 12th in your calendar! RSVP for the 1pm or 7pm class. Don’t forget to check the YamStamps Events page for upcoming dates.
Back to the card – what do you think of the layout? I tend to be very symmetrical at times with my designs, so when I was positioning the Stitched Rectangles on the cardfront, I thought I’d try putting them offcentre as a different design. Though now that I look at this picture….I’d probably drop the main image rectangle down a little bit…you know, to make that right upper corner more symmetrical with the other layer! LOL. The Stamparatus made this card a breeze – and can you pick out the new In Colour on the card? The dragonflies are stamped in Pretty Peacock! I think it’s my favourite new colour…so far…