This card features a stamp set that you’ll be able to purchase with Stampin’ Rewards in the new catalogue as of June 4th – hence the Make This Year Rewarding title of the post!
The images are from the set Soft Spring, a stamp set that can only be purchased using Stampin’ Rewards dollars. Stampin’ Rewards are percentage back dollars that you can spend on Stampin’ Up! merchandise when you host a workshop or have an individual order that is $200 CAD or more. The “hello” is from another new stamp set, To A Wild Rose, which is part of the general catalogue product, so can be selected as part of a regular order, or could also be purchased with Stampin’ Rewards.
If you’re interested in how to make this year rewarding, there’s a few ways to earn Stampin’ Rewards!
Host a private card making class with friends and family. Contact me to book a date and to check out the options – there’s a 4 card class or a 2 card class, depending on your timeframe and comfort with paper crafting! You can earn rewards based on the total value of product ordered at your class.
If you’re local to Burlington ON, join the Stampers Club! Club members have their own class on the third Monday of each month, either in the afternoon or evening. Rather than pay a class fee, each member places a $33 minimum order at the class, and once during their 6 month commitment, they receive Stampin’ Rewards to spend as well! Contact me to start at any time.
Become an “Eh” Team member. Sign up to be a Stampin’ Up! demonstrator and earn your own rewards! Demonstrators get the opportunity to preorder new product – which is how I was able to get the Soft Spring set ahead of time! Get more information here
Of course, making this year rewarding isn’t just about Stampin’ Rewards – attending a Monthly Card Making Class is a rewarding way to expand your crafting skills and card stash! Better yet, you can decide month to month if you’re able to attend – simply register at least 2 days in advance. Monthly Card Class is typically the first Wednesday of the month – HOWEVER, June’s Card Class is the SECOND Wednesday of the month due to my scheduling issues…(more on that later). So mark Wednesday, June 12th in your calendar! RSVP for the 1pm or 7pm class. Don’t forget to check the YamStamps Events page for upcoming dates.
Back to the card – what do you think of the layout? I tend to be very symmetrical at times with my designs, so when I was positioning the Stitched Rectangles on the cardfront, I thought I’d try putting them offcentre as a different design. Though now that I look at this picture….I’d probably drop the main image rectangle down a little bit…you know, to make that right upper corner more symmetrical with the other layer! LOL. The Stamparatus made this card a breeze – and can you pick out the new In Colour on the card? The dragonflies are stamped in Pretty Peacock! I think it’s my favourite new colour…so far…
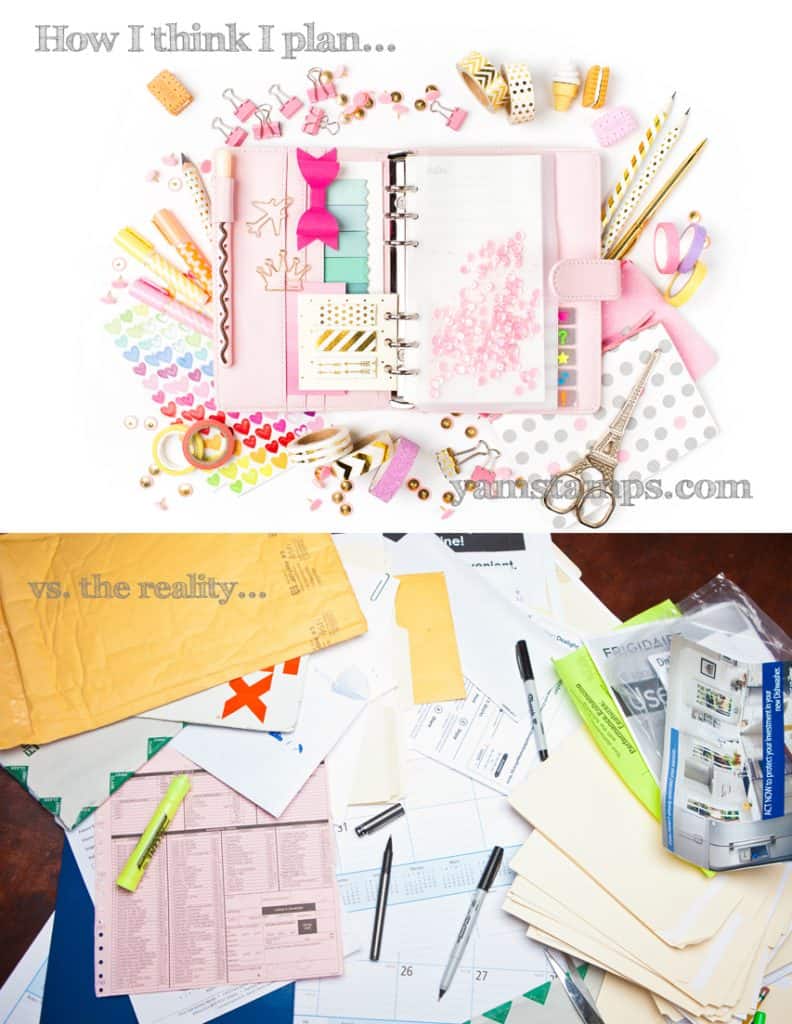
I am having a moment….(well, this is not a new thing really). I like to think that I’m organized, and I know that in certain situations I actually am….but that is not always the case!
My life:
Anyone else relate? And as a side note, the stock photos for “messy planner” are laughably NOT messy. (That being said, these ARE stock photos that I found…).
All this to say – HEY I updated the YamStamps Events page and corrected the date for the New Catalogue Open House & Retired Product Sale – oops! It is Saturday June 22nd from 9 am til 11 am. Hopefully you can make it! Please RSVP for directions and to reserve a copy of the catalogue!
We are into thefinal week for the current Stampin’ Up! Annual Catalogue before we say goodbye and move on to the 2019-2020 Annual Catalogue – be sure to place your final order well before June 3rd at yamstamps.com/shopto ensure availability of product (and avoid the last minute log jam on the site!). The new catalogue items will be available to order June 4th around 2pm Eastern. If you have any questions, please feel free to contact me!
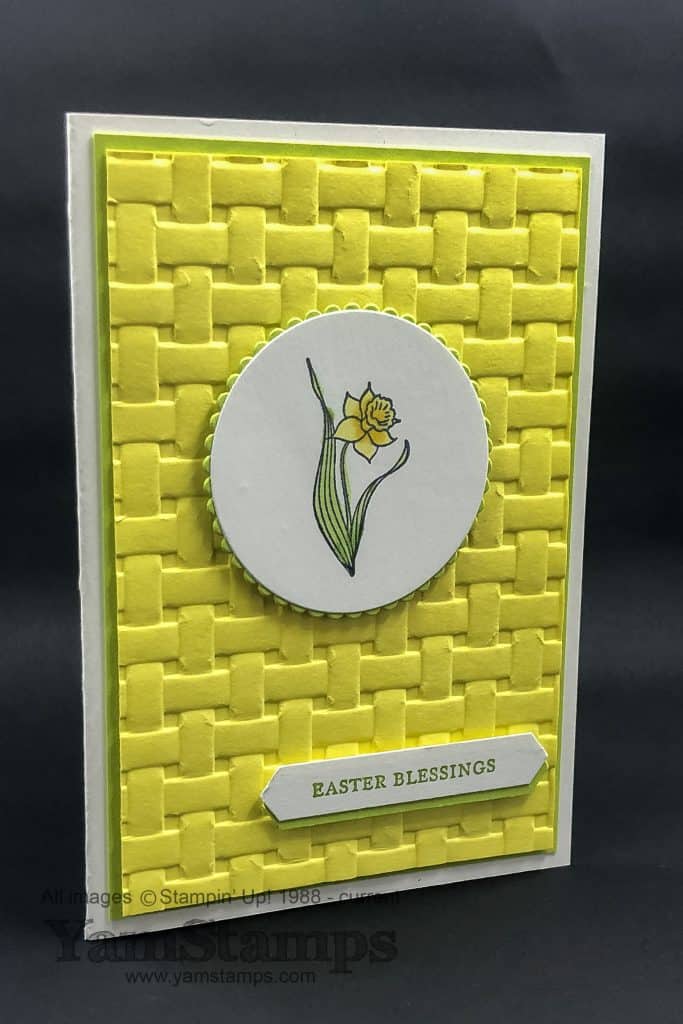
Thought I’d share thiseasy springtime card or Easter card – depending on whether or not you use the Easter sentiment!
If you stopped by the YamStamps booth at Kitchener Scrapfest this past weekend, you may have seen a version of this card on my display board! It’s one of April’s class cards.
One of the things I love about making cards is that I have the fun of making the card, and the recipient has the fun of receiving a handmade card. Anne, of the demonstrators in my group, told a story about how a family member still has a handmade Christmas card displayed on her fridge because it reminds her how much Anne loves her! I think that’s a fantastic sentiment.
This card was particularly fun because the flower is coloured with Stampin’ Blends – I do enjoy a bit of colouring, and this was fast and easy because the image is not too big! Just remember to use Memento Ink if you’re reproducing this card – so that your image won’t smear when you use the Blends. The daffodil and the combination of Lemon Lime Twist Cardstock (grab it before it’s all gone…) and Daffodil Delight Cardstock help make this a truespringtime card!
I also wanted to say THANK YOU to everyone who stopped by my booth at the Kitchener Scrapfest! Huge thanks to Anne and Mary who helped me out at my booth….and to my mother who did a quick round trip to drop off some items I accidentally left at home – true story!! I hope all the croppers, shoppers and vendors had a relaxing day today recovering!
If you filled out one of the door prize draw entries, I’ll be making the draw for the winner of the shopping spree tomorrow – I’ll do a Facebook Live on the YamStamps Page if all goes according to plan (and there’s not some weird outage like there was early today!). Maybe I’ll get someone at Stampers Club to help me out… I’ll also post links to the official Stampin’ Up! retiring list as soon as I’m able – so stay tuned!
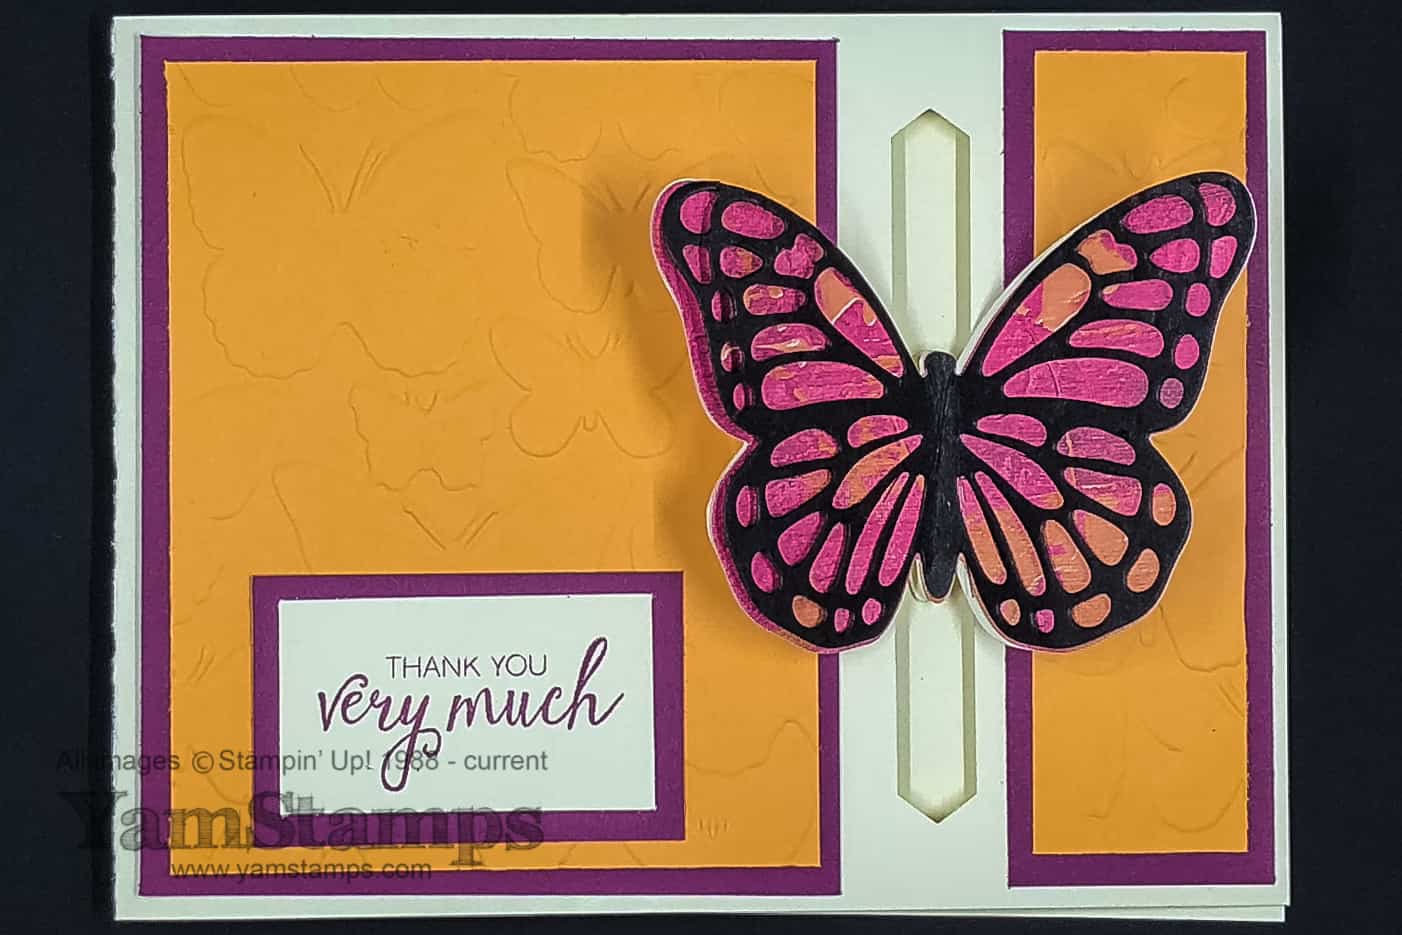
This is a fun butterfly card made easy by using Stampin’ Up! Designer Series Paper and die cuts – but if you want some of these products, you’ll have to move fast as they are on the Retiring List and fluttering away! Stampin’ Up! retiring stamp sets are available until May 25th – guaranteed, but after that, and all other retiring Stampin’ Up! products are only while supplies last.
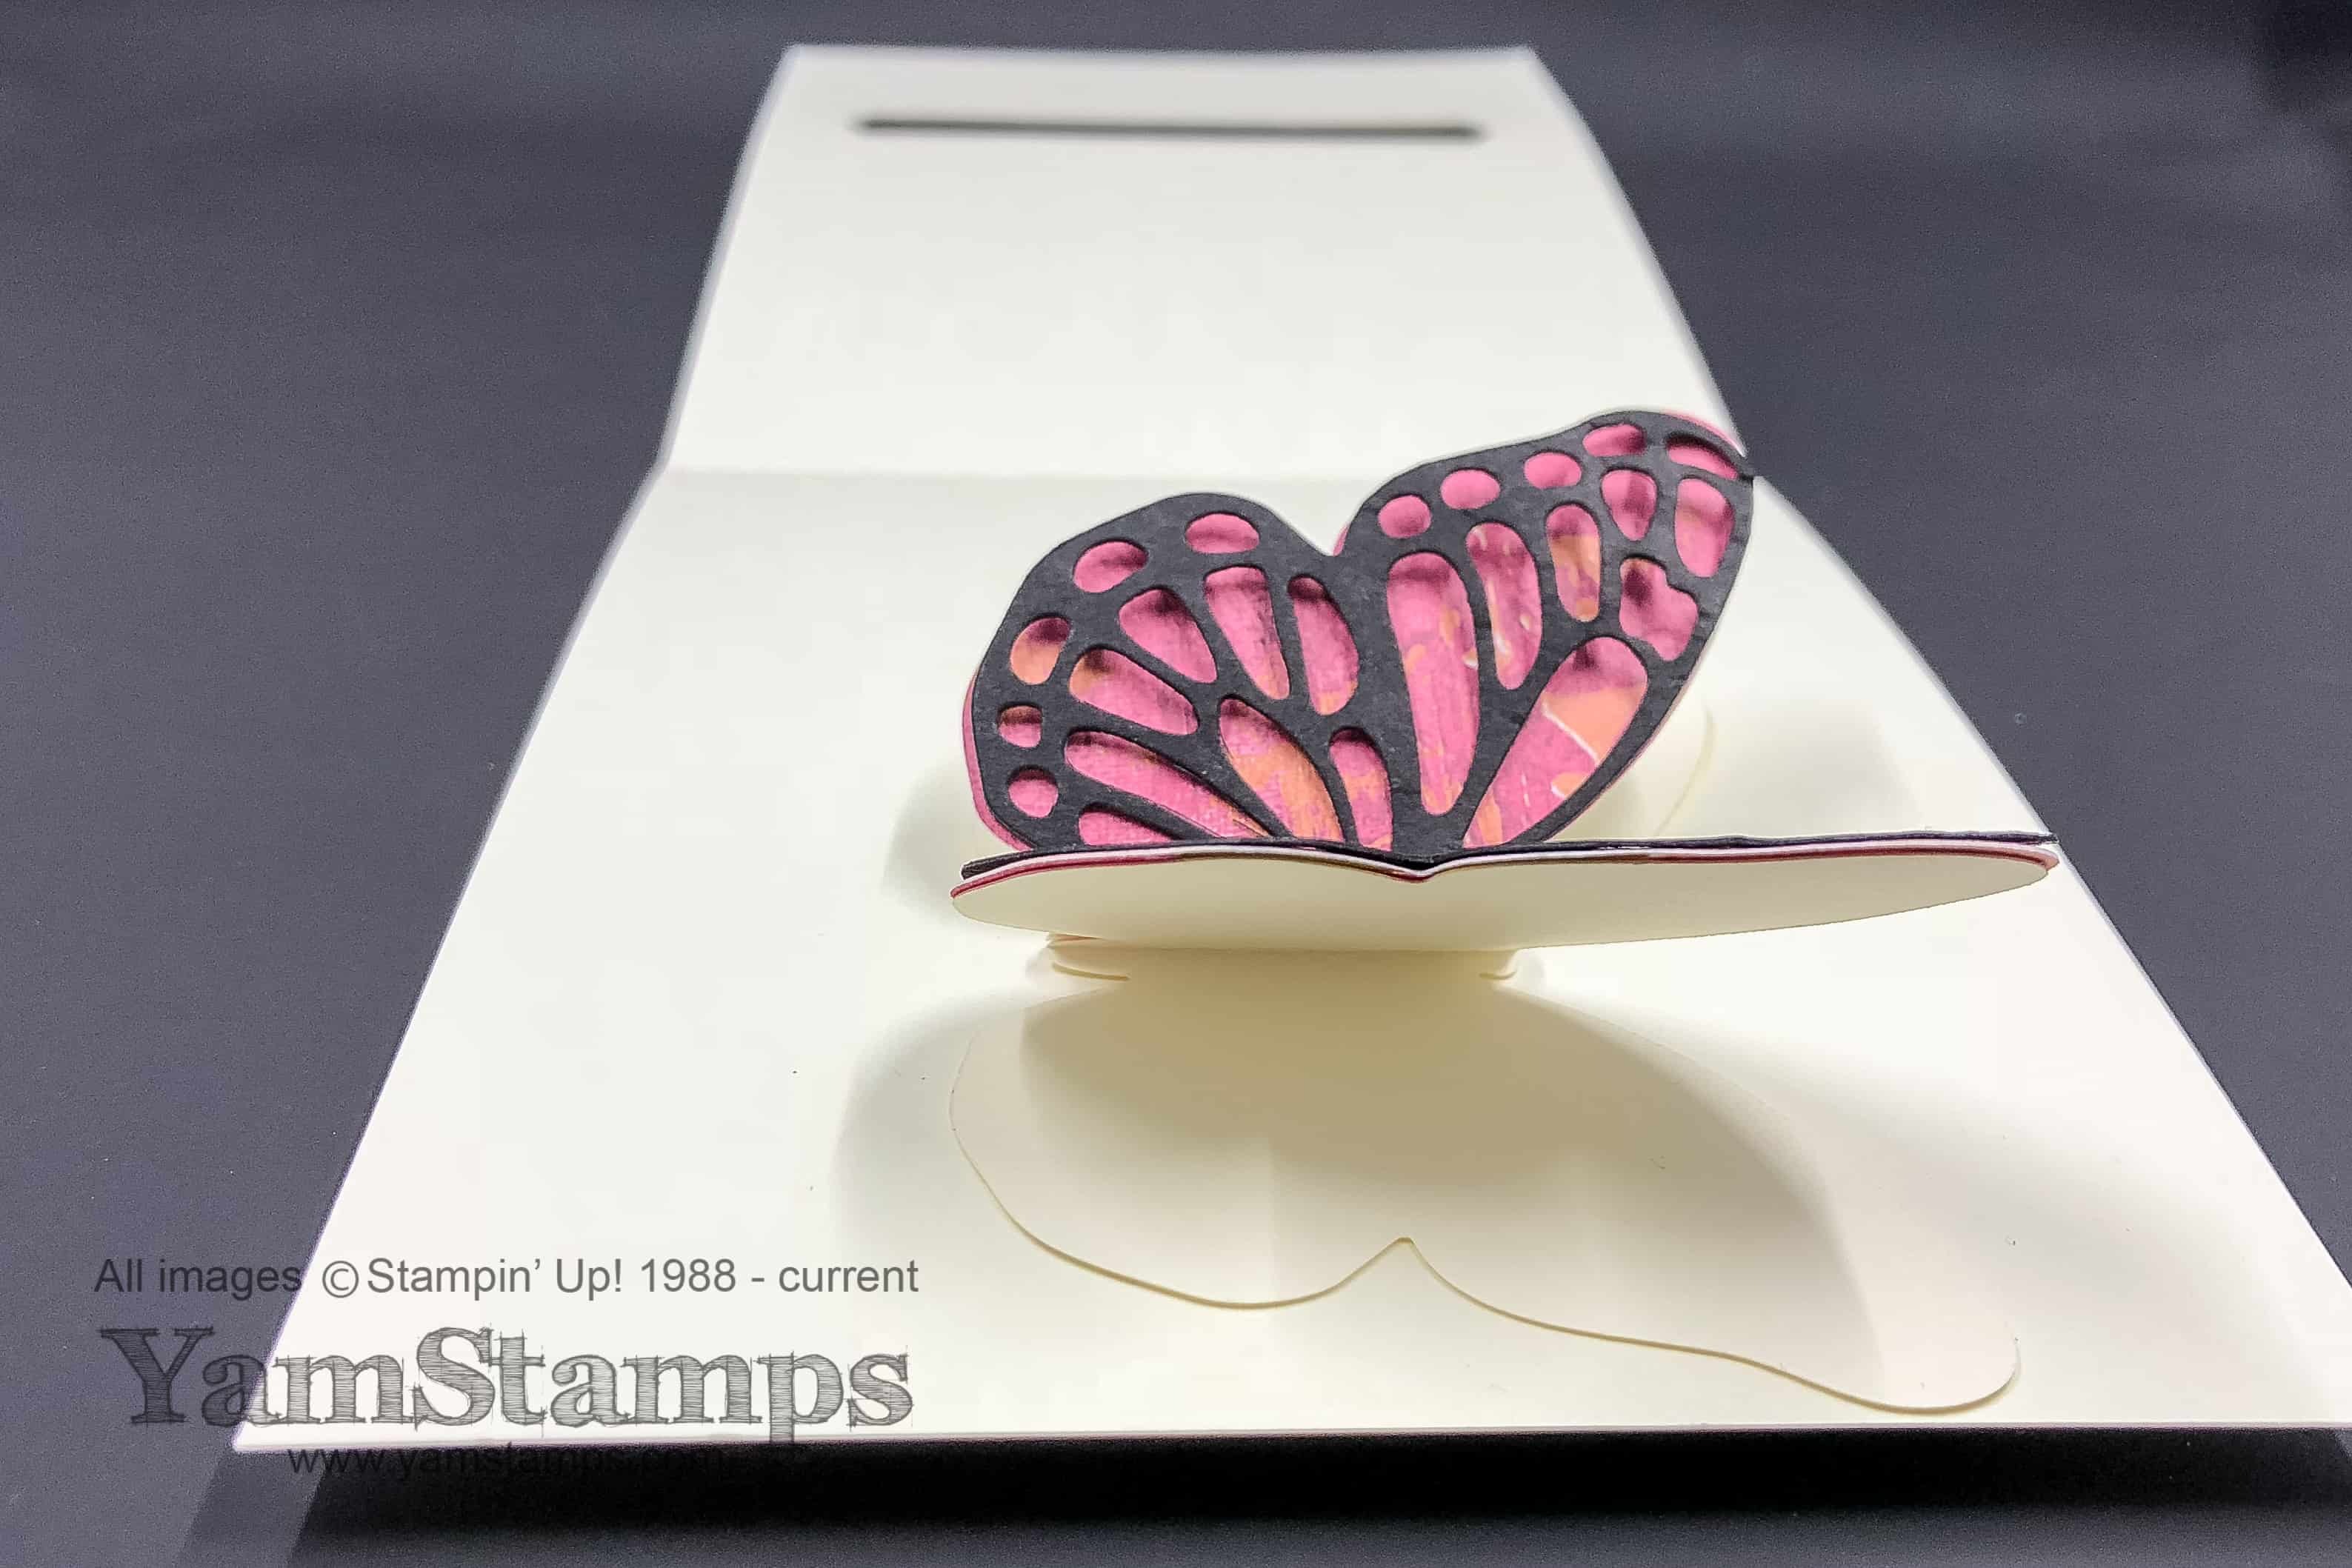
It’s not a colour combination that I would have though of, but I took it from the Desginer Series Paper…. The Painted With Love Specialty Designer Series Paper has been one of my favourites, and it will be retiring at the end of the month. It’s used on the solid butterfly behind the detailed die cut black butterfly. One of the Stampers Club members used the side of the DSP that featured some metallic gold splashes and it was really striking. The solid butterfly die cut is from the Bold Butterfly Framelits, and the detailed butterfly die cut is from the Butterflies Thinlits dies. Both of these die sets are retiring, and (I just checked) only the Bold Butterfly framelits are still available. The Peekaboo Peach Cardstock featured in the foreground of the card is retiring, as it’s a 2016-2018 In Colour – making room for new in colours. It’s embossed with the (already sold out) retiring Fluttering Embossing Folder. The Rich Razzleberry cardstock is still available, since it’s not a retiring/revamped colour, and the sentiment is from the Bunch of Blossomsstamp set, which is NOT retiring so no worries about that availability! The slot on the front of the card (the butterfly pops through it) is created by punching the Classic Label Punch twice in a row to make a longer slot that will comfortably fit the butterfly. It’s also NOT retiring so will be available into next year. A fellow demonstrator, Ronda, shared the construction of this card – it’s fun and different. There are two Very Vanilla solid die cut butterflies underneath the solid butterfly of DSP. Each vanilla butterfly is folded in half, and one half is attached to the inside of the card, while the other half is attached to the back of the DSP butterfly which helps the DSP butterfly fold upwards as well as anchoring it to the inside of the card. See the detail of the butterfly card in the photo below:
For my butterfly card, the detailed die cut black butterfly is adhered on top of the DSP, but if you don’t have that detailed die cut, you could easily just leave the plain DSP butterfly exposed, or you could stamp the butterfly body from Watercolour Wings onto the die cut butterfly to give it more definition.
While I’m sad that the butterflies are fluttering away, I can’t wait to get my hands on more new product from the next Annual Catalogue! If you are in Canada and don’t already have a Stampin’ Up! demonstrator, please complete this form before April 29th and I will see about getting you your own hard copy! If you are local to Burlington ON, please mark SATURDAY, JUNE 2nd 9am til noon on your calendar – that will be my New Catalogue Open House and Retired Product sale! Please RSVP to ensure I have a copy of the catalogue waiting for you!
Thanks for following along on the North American Events Council Blog Hop. Thanks for visiting the YamStamps Blog! I’m Linda, here in Burlington, Ontario Canada. This week, we’re sharing some more samples from the Share What You Love Product Suite! The Events Council members were the lucky ones who got to play with these products that will be available in special bundles only available for purchase next month, ahead of their individual item appearances in the new Annual Catalogue!
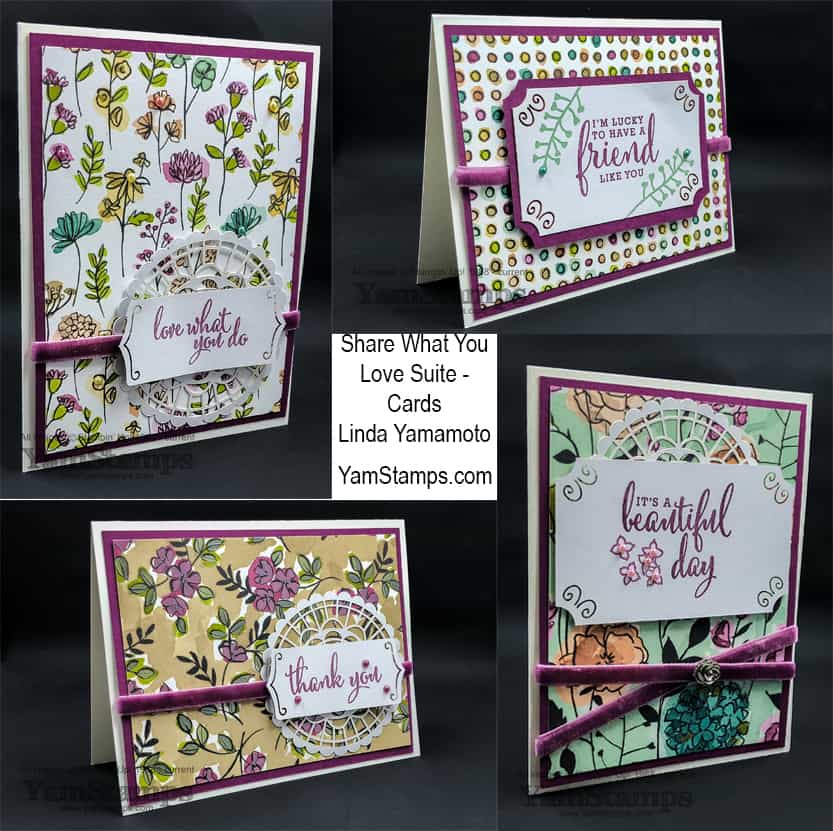
These are some of the cards I created as part of the display for Stampin’ Up!’s On Stage event in London Ontario. The first image shows four cards created on the same basic design premise – a half sheet card (5.5″ x 8.5″ folded in half), with a 5″ x 3.75″ piece of the Share What You Love Specialty Designer Series Paper, matted onto a 5.25″ X 4″ piece of Rich Razzleberry cardstock. Each card also used the Rich Razzleberry Velvet Ribbon and tags from the Share What You Love Embellishment Kit. The Artisan Pearls are on most of the cards, and I used the Silver Self Adhesive Flower (from the Embellishment kit) on a card too.
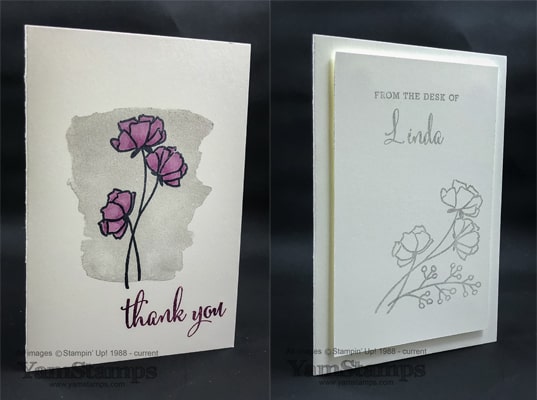
These next samples are clean and simple cards, using Stampin’ Up!’s Notecards. I used the Stampin’ Blends markers on the flowers on the left card, and featured the Make A Difference stamp set on the right card. It has an alphabet in both script and block capital styles. My hint that I shared at On Stage – to get the individual letter images close together, I used the Stamparatus, and placed every other letter on one plate, and the remaining letters on the other plate. Since the notecard is a personalized one, I figured I would make a bunch up in bulk, which means that the Stamparatus is perfect for that. For a “one off” card, I might be brave and just wing it – stamping one letter at a time tends to work best (rather than spelling out entire words on a block). I did that for the scrapbook page that I shared last week.
We have one more North American Blog Hop event scheduled for next week featuring this product suite – so hope you’ll be coming back to join us!
Sharing a bit more from Stampin’ Up!’s On Stage event in London Ontario last weekend. It was so much fun! This was my final official event as a member of the Events Council, and what a way to go out! I heard so many people say that they thought this was one of the best events they’d attended! (Though in all honesty, it kind of feels that way every time we go to an event run by Stampin’ Up! haha). The photo above is the gifts that I managed to get together for members of my demonstrator group, known as the “Eh” Team. They are boxed note pads, decorated with products from the Share What You Love suite. Demonstrators are able to order these products now (well, not the note pads…I already had those), and ordering will be available to everyone come May – with exclusive bundles at that time before they are available as part of the new Annual Catalogue! I think my favourite thing in this suite is the Share What You Love Designer Series Paper – it’s extra thick, and you get twice as much as in a regular package – plus it’s got a Pearlized coating on most of the sheets – you can kind of see the sheen on the flower images on a couple of the boxes above.
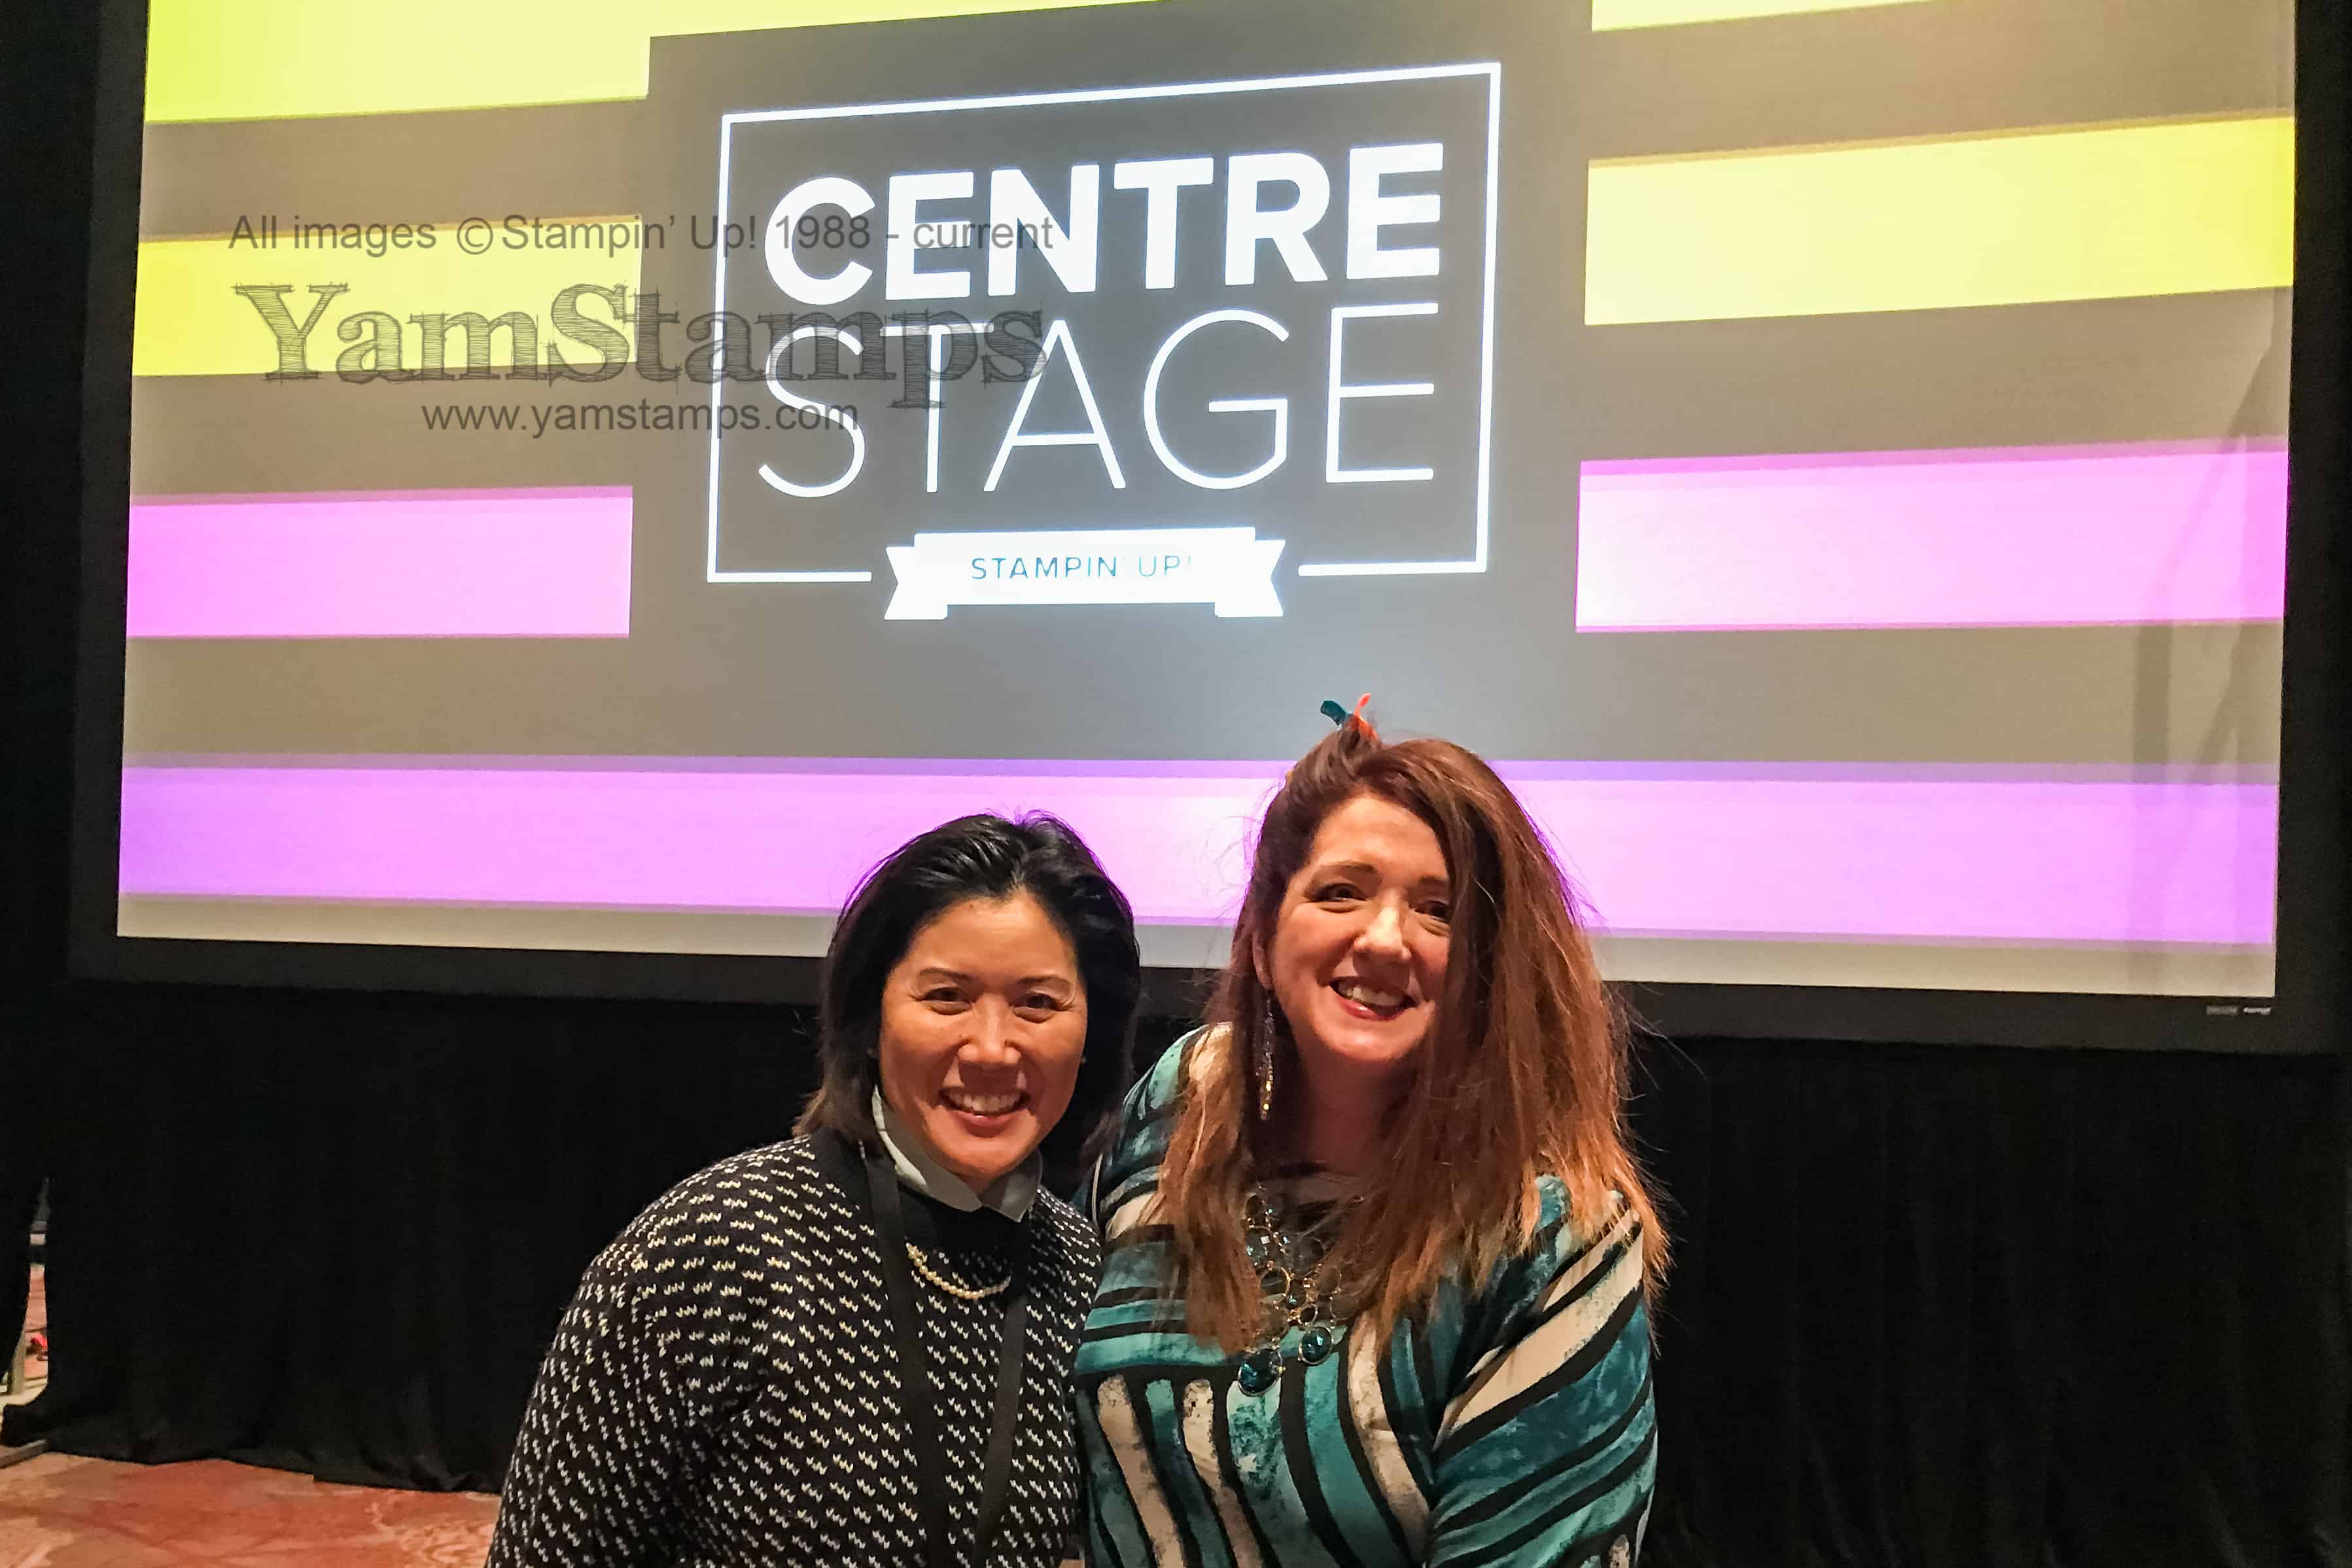
Here’s Leanne & I at the 80’s themed Centre Stage Event….my big hair did not keep its vertical height, sadly….This leaders’ event was the night before the On Stage Event, and it was a lovely dinner and information session, with great giveaways as well! (oh, and that’s a genuine LLBean sweater from the appropriate decade….).
What’s an 80’s party without jelly bracelets (and bright coloured pin?!) Thanks to Donna Griffiths who spread joy to the Events Council members across North America with these fun gifts! Thanks also to Stampin’ Up! for the gorgeous lanyard they gave to Council members (you can kind of see mine in the photo below). I love that even though we were spread out over North America, it was still a feeling of a shared event. I am thankful that I was able to serve with these special ladies!
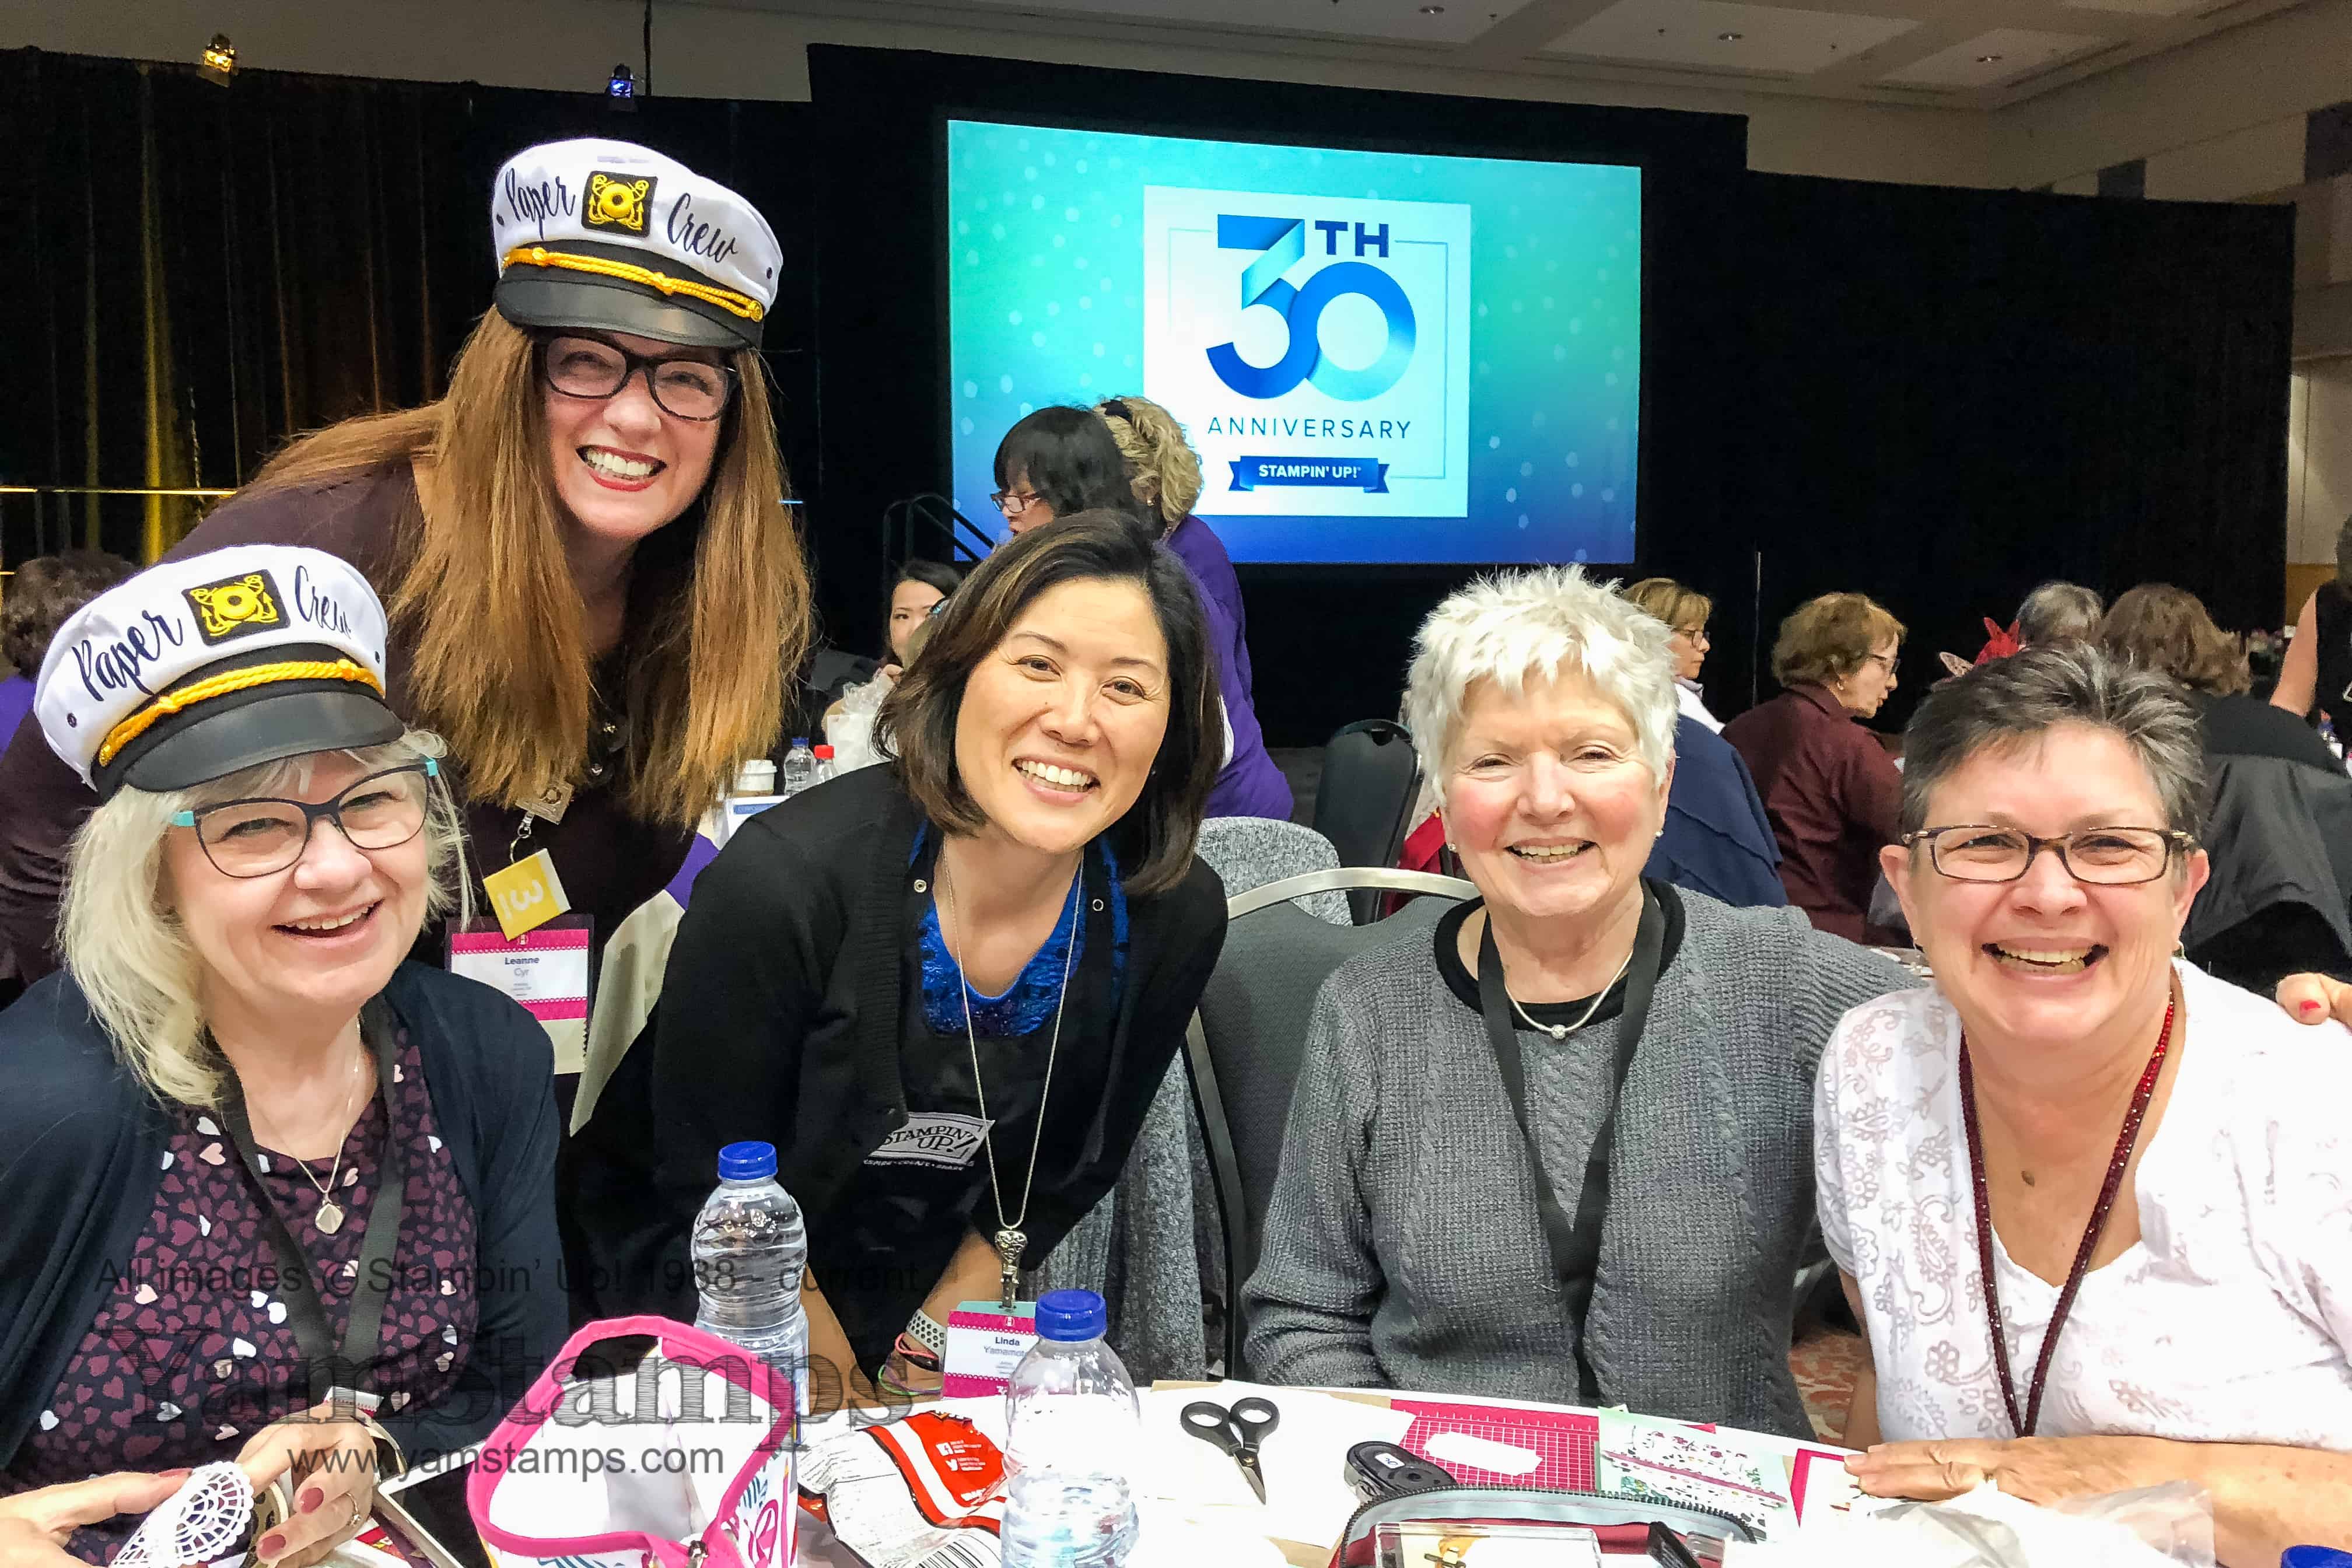
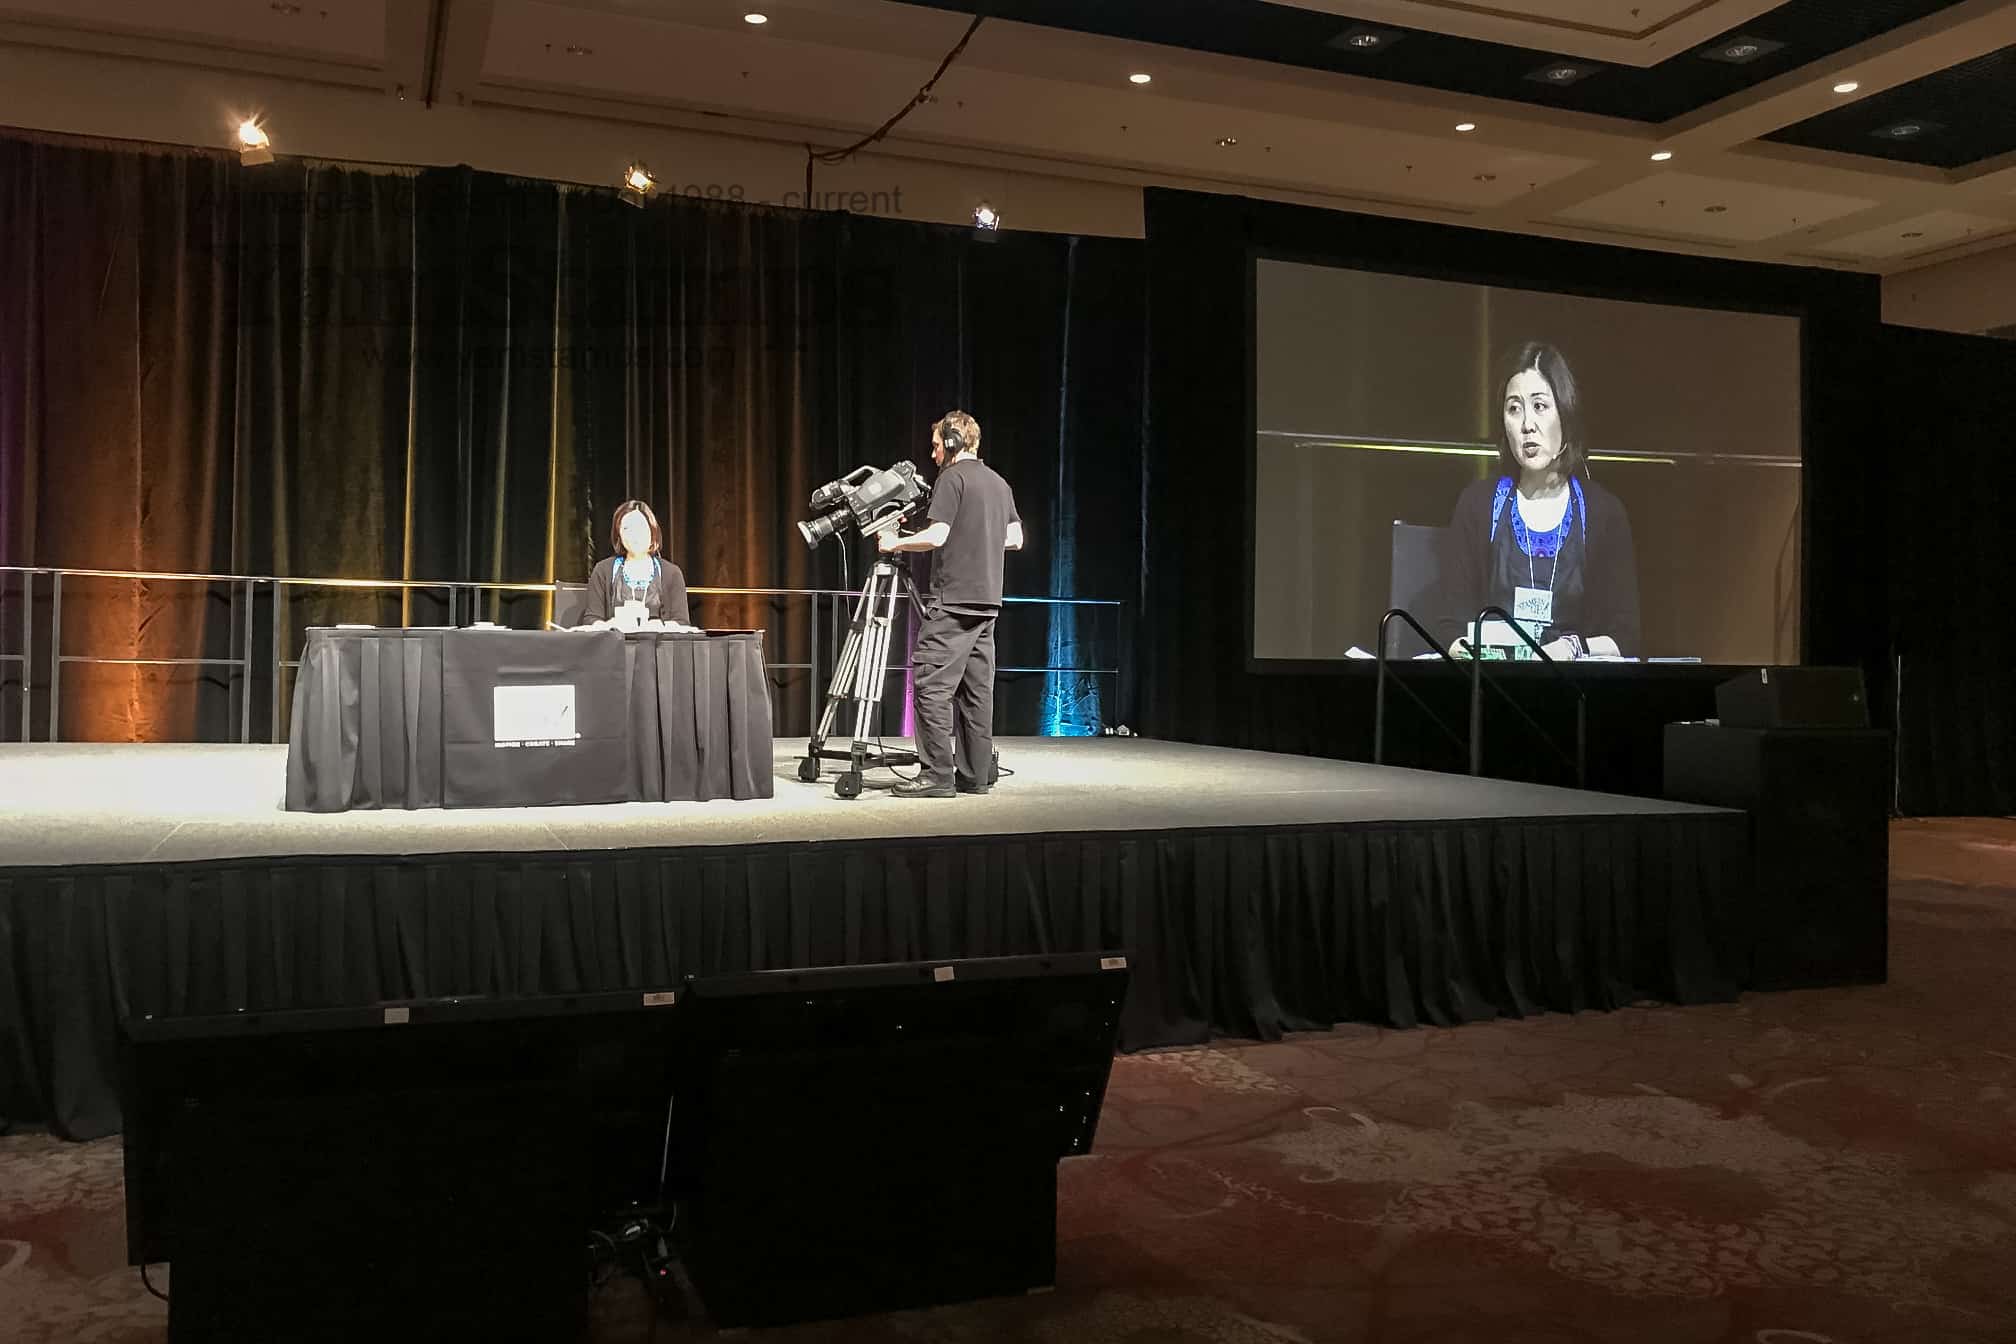
Above – a picture of the “Eh” Team members who were able to attend the On Stage Event in London – Anne, Leanne, me, Arlene and Gail. So much fun….all of these ladies also helped behind the scenes. HUGE thanks to Anne, Arlene, and Gail whose hard work above and beyond allowed the SU staffers to get sleep the night before the event. I presented during the event (check the YamStamps Instagram feedfor my Britney mic photo!) and apparently stayed within my time limit, mic issues not withstanding (I managed to dislodge the Britney mic and had to adjust it before continuing…oops).
Thanks to Leanne for grabbing this photo during my presentation. I will say that presenting at the events has been a good growth experience, and lots of fun in the end. A little stressful initially, I won’t lie…but the room is full of supportive friends, and I got in all the required information…I think….haha!! One of the things I mentioned during my presentation – how much I love being a demonstrator, mostly for the inspiring and creative people that have been brought into my life because of it – and you see a few of them in photos in this post and elsewhere on the YamStamps Blog.
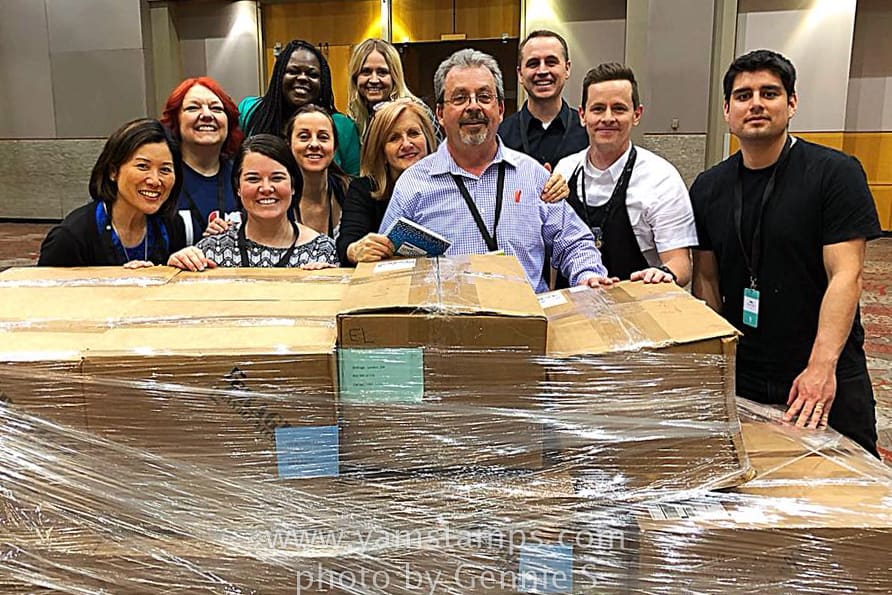
One final picture of everyone behind the scenes after loading one of the pallets. (I stole this picture from our fearless leader, Gennie…) – left to right – me, Kim, Gennie, Carrie, Valerie, Monica, Kathy (designer of that gorgeous Designer Series Paper!), Greg, Josh, Brett and Mike. The SU Staffers get sent out to all the events to help in front and behind the scenes – then go back to their “day jobs” in Marketing, Design, Transportation, IT, Demo Support, HR…you get the idea (I know I’ve also missed some of the departments…LOL). Such a great crowd to work with. Seriously. I would do this again in a heartbeat. The next On Stage Event is going to be a big one – Orlando, Florida in November, celebrating 30 years of Stampin’ Up! Can’t wait! If you’re interested in attending this event, contact me for more information about joining my team of demonstrators!