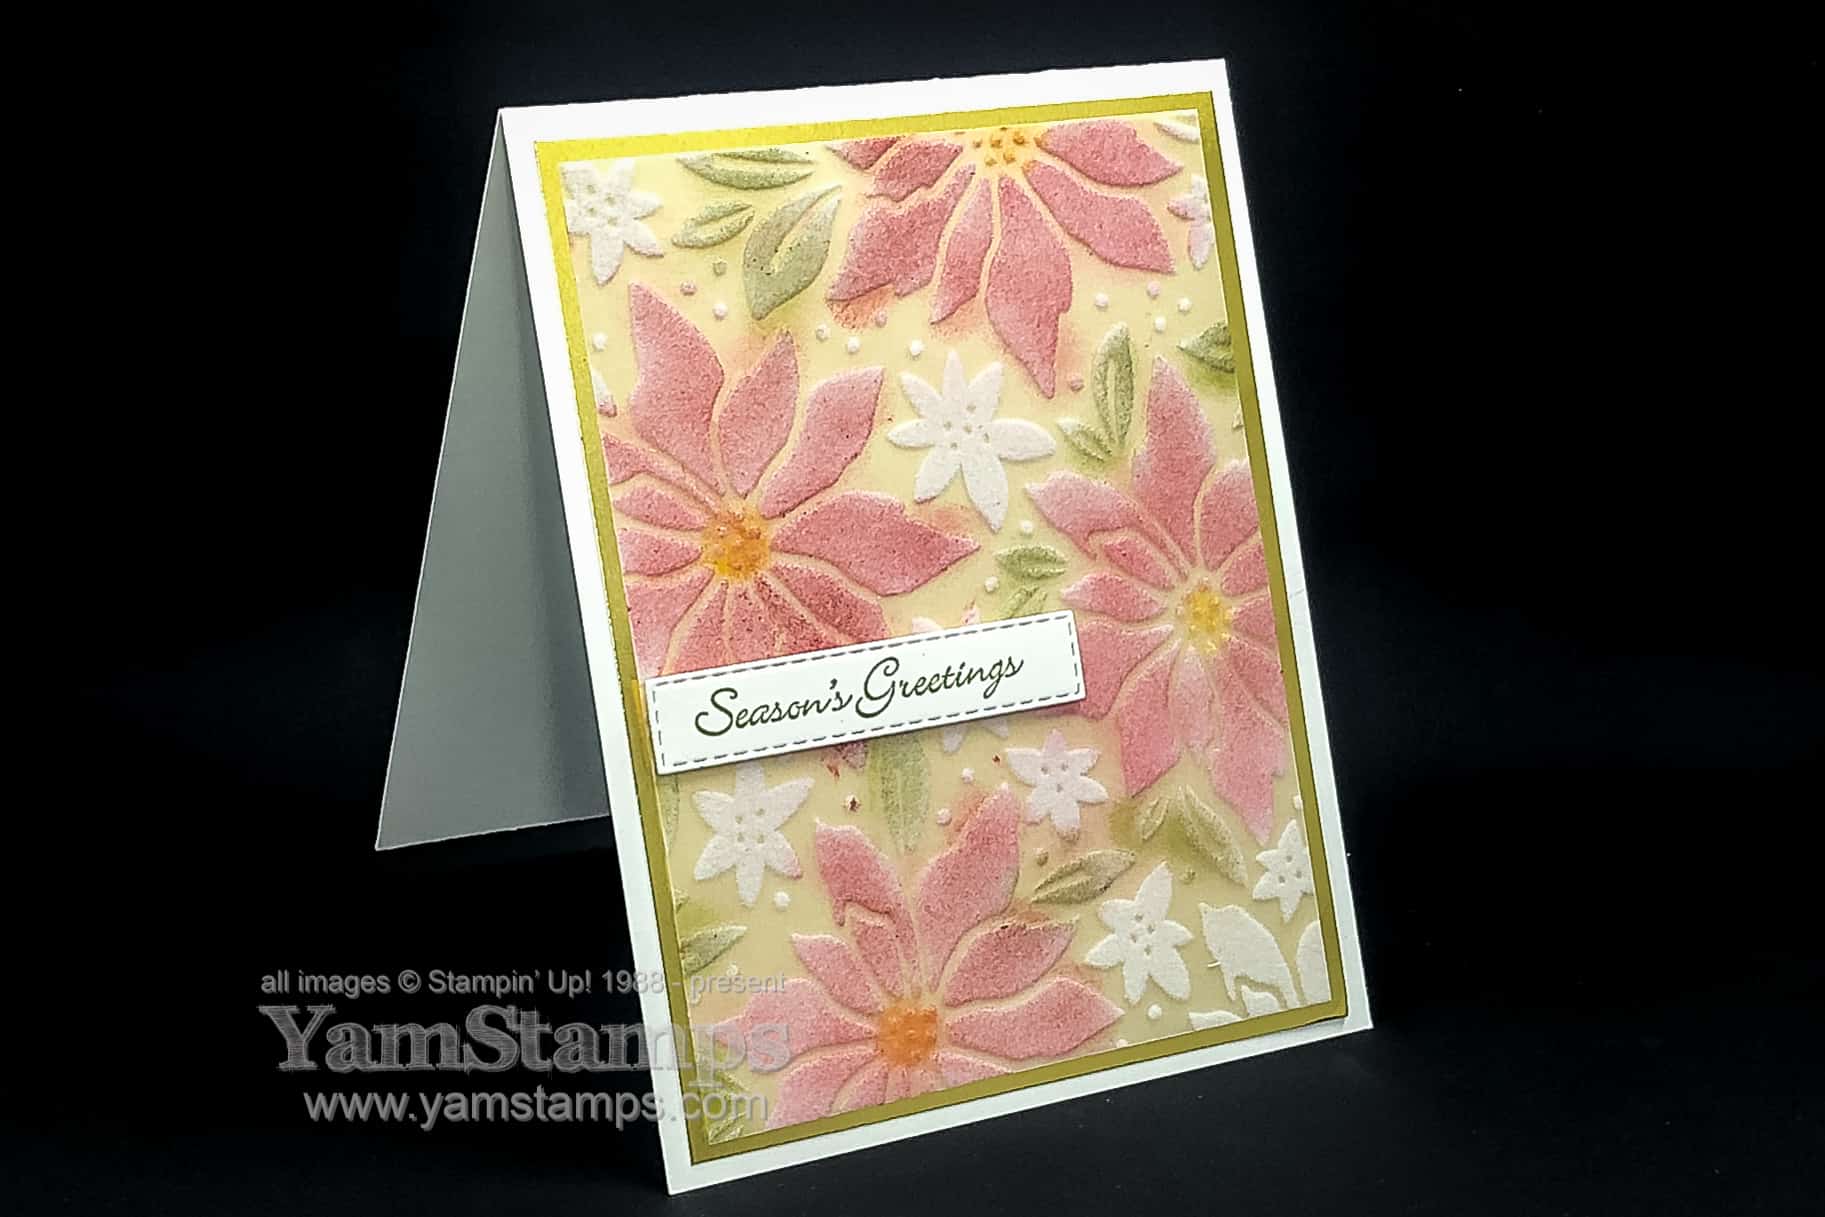
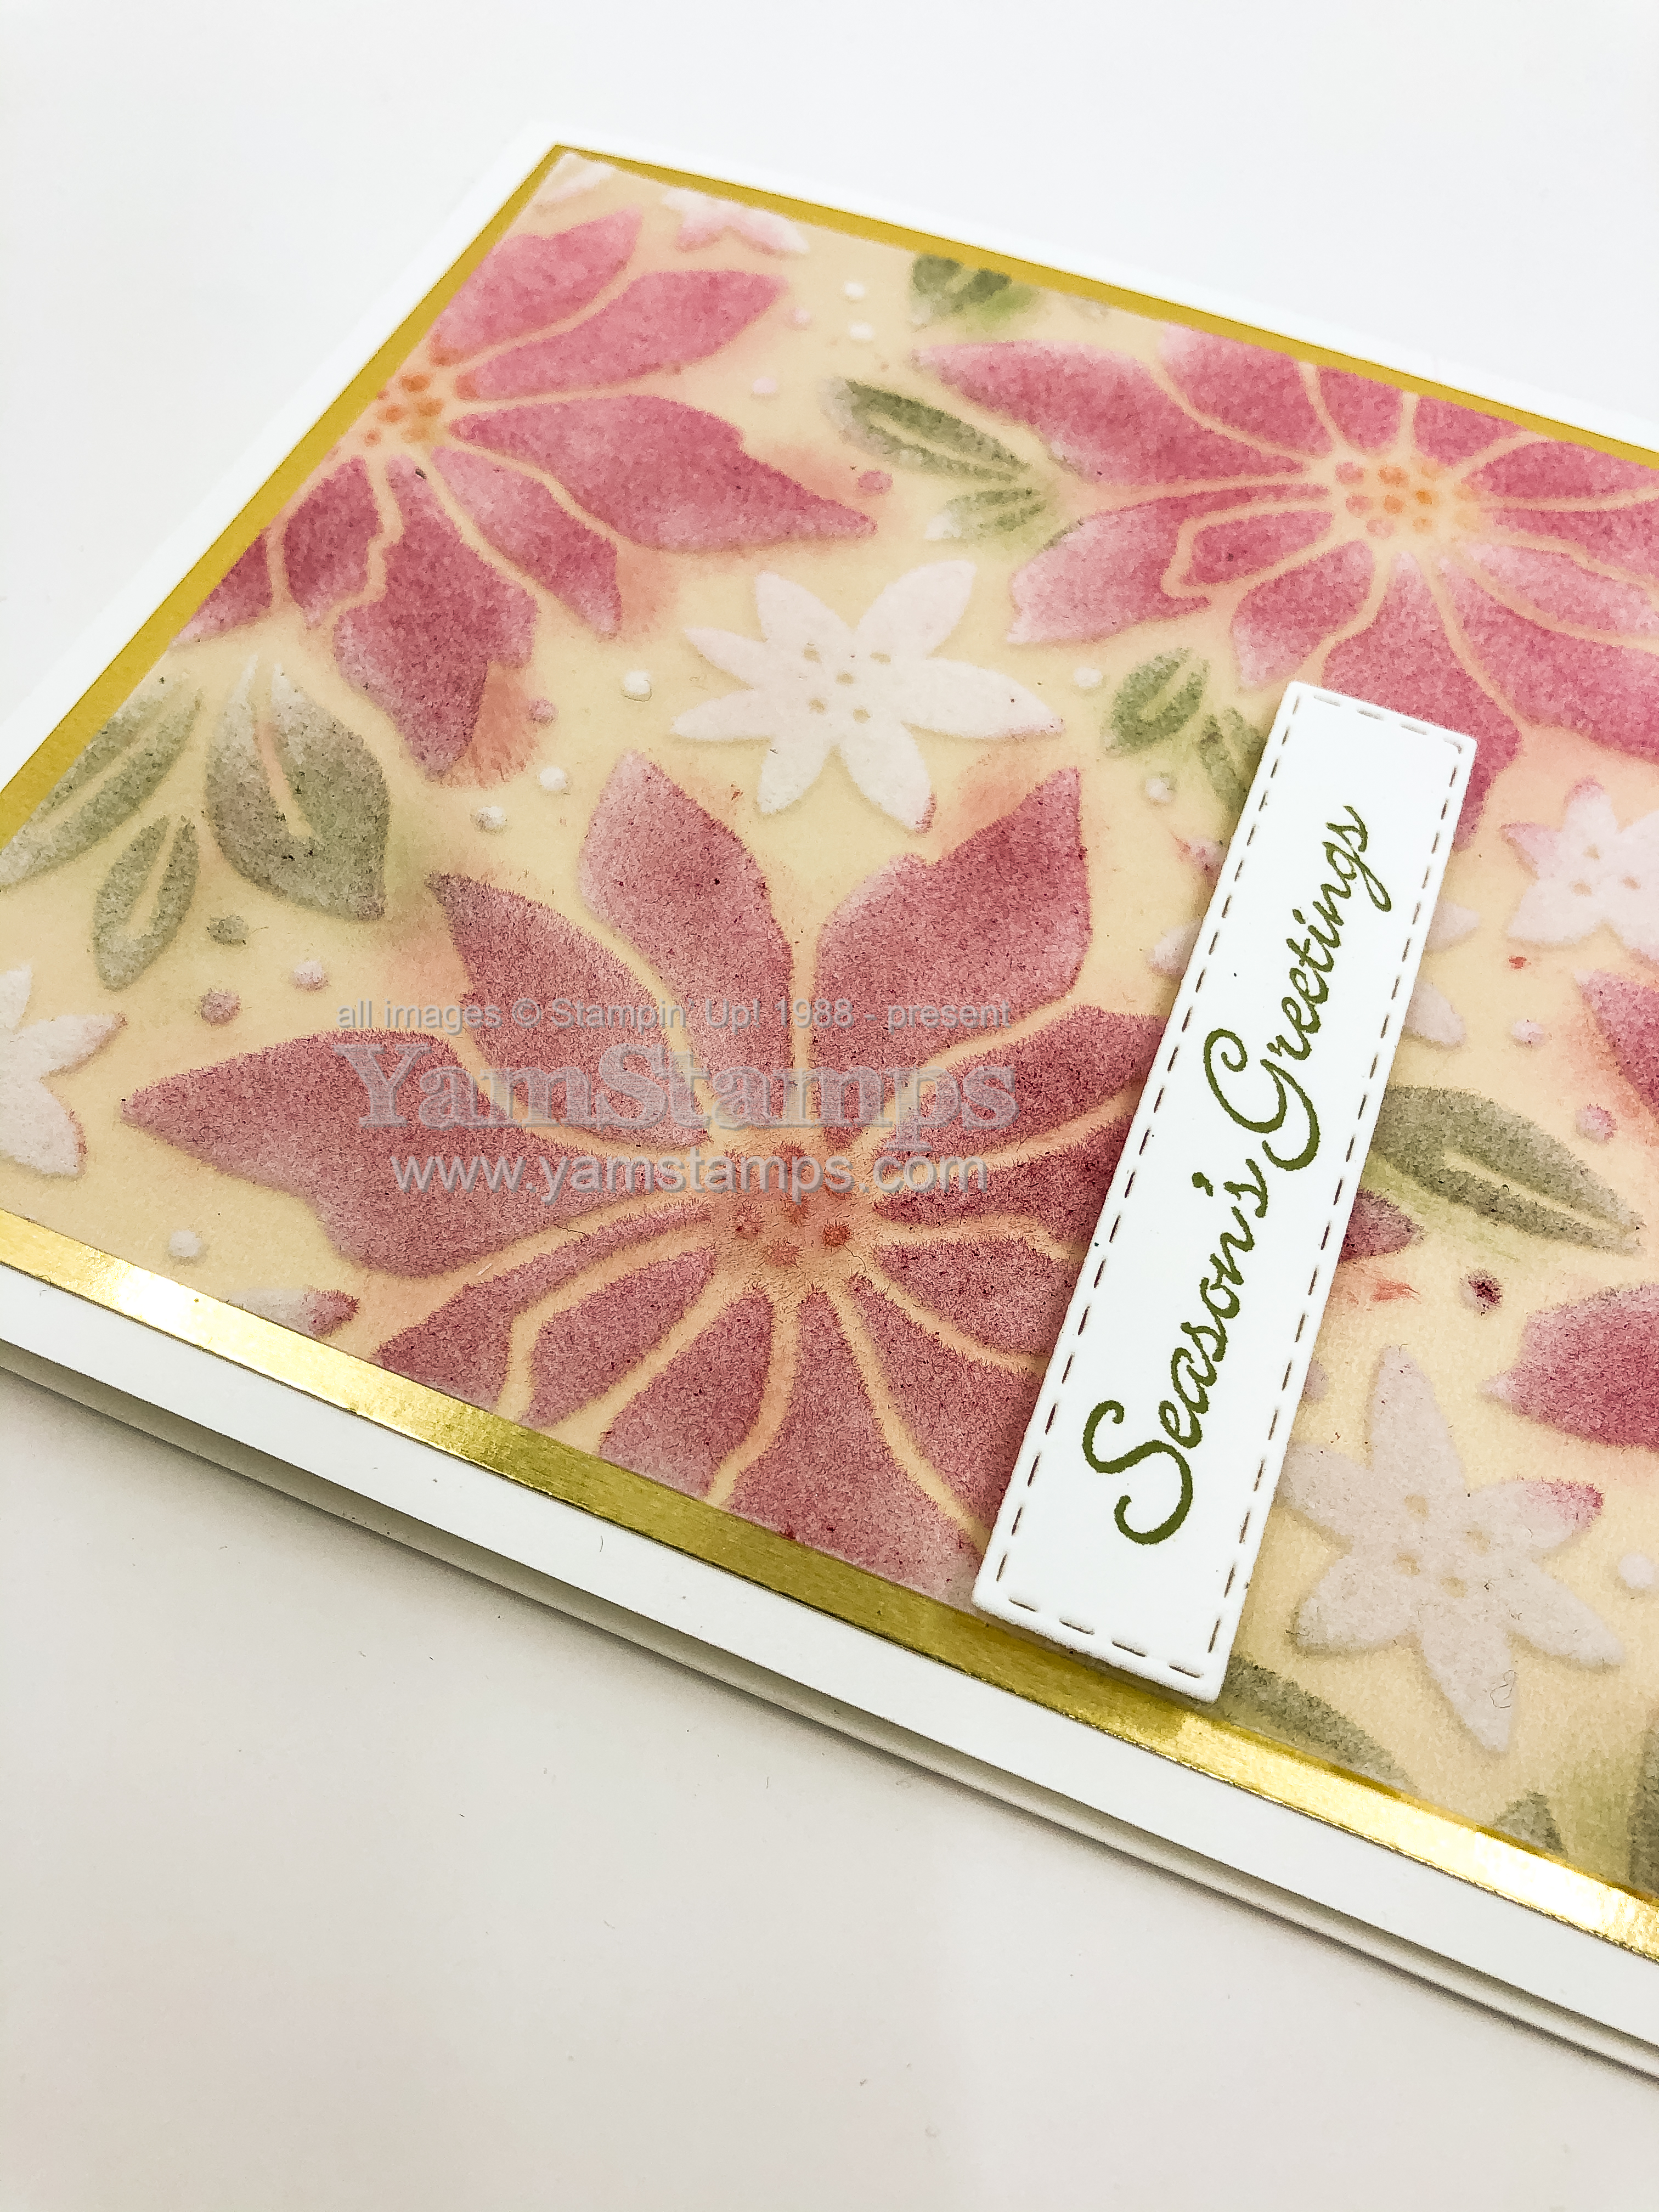
I love how easy this Poinsettia Card was to make – using Stampin’ Up!’s Plush Poinsettia Specialty Paper from the August-December 2020 Mini Catalogue.
Poinsettia Card
I coloured the plush portions of the vellum using a sponge dauber, and then adhered it onto a Gold Foil sheet and added the sentiment from Itty Bitty Christmas die cut with a Stitched Rectangle die. When I was colouring, I tried to stay mostly on the plush portions but didn’t get too fussed if it was off a little bit – I figure it’s more artistic that way LOL.
Poinsettia Card
If you’ve been loving the products from the August-December Mini Catalogue, you’ll also maybe realize that they will be leaving us soon! Stampin’ Up! has let us know which products will make another appearance – either in the next Annual Catalogue OR the next “holiday” Mini Catalogue – which will actually be July– December (an extra month vs this year!). You can download the spreadsheet here for the returning products. NOTE that on the returning products spreadsheet there are tabs indicating which catalogue they will be appearing in.
In terms of items that are retiring – Stampin’ Up! has announced a Year End Sale on selected retiring August-December Mini Catalogue products. REMEMBER that “Bundles” typically “retire”, though the individual elements may return in a future catalogue – just not as part of the discounted bundle. Selected retiring products are on sale from December 8 – January 4 – and all items are WHILE SUPPLIES LAST. Here’s a spreadsheet of retiring items; here’s a pdf version if you prefer.
Your best bet is to place your order online at YamStamps.com/shop – it can be delivered directly to you in Canada – or if you need assistance placing an order or prefer me to place the order for you, I’d recommend contacting me ASAP – if you can send me a message by 8pm on Monday December 7th, I’ll do my best to get things organized so that I can place the orders early on the 8th for best possibility of getting things before they’re gone.
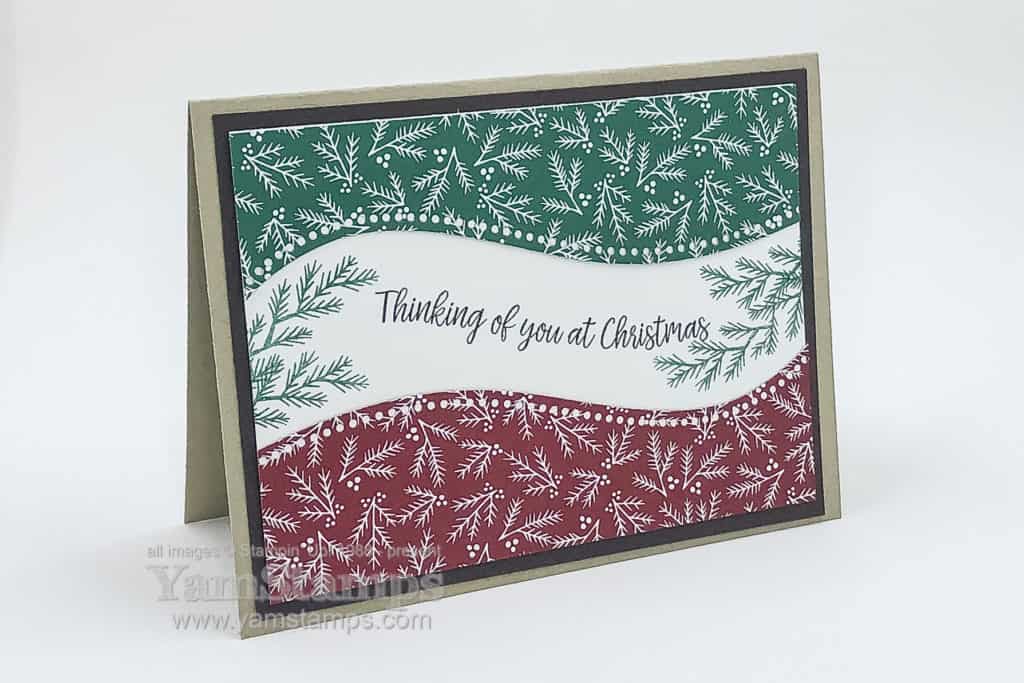
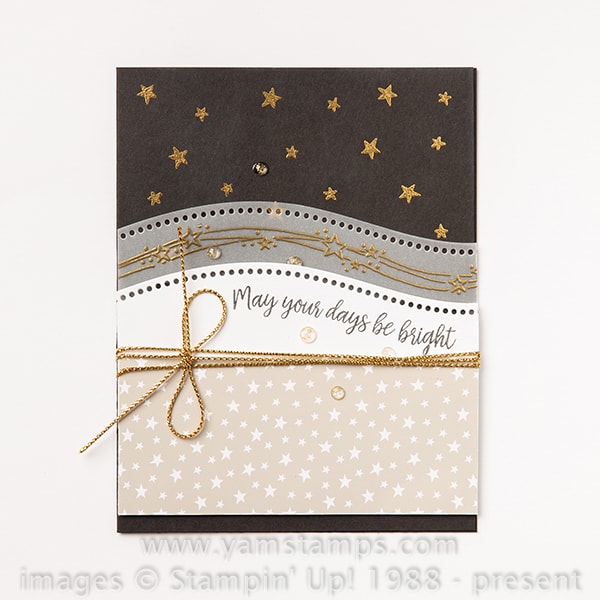
Here’s a Curvy Christmas Card that we made the other evening in Stampers Club. It’s also available as part of the current Card Class to Go(message me for purchase information). I think that 2020 is going to be the year of the resurgence of the mailed holiday card! With that in mind, I’m trying to get going on producing more cards right now – how about you?
Curvy Christmas Card
For this card, I used the Quite Curvy Variety Bundle, which is available until January 4, 2021. It includes the Quite Curvy Bundle (Quite Curvy stamp set and Curvy Dies), the Curvy Christmas stamp set and the Classic Christmas Designer Series Paper. The Quite Curvy Bundle (and the individual components of the bundle) will be available in the January-June Mini Catalogue, but the Curvy Christmas set and paper will not be available after January 5th.
The colours in the Classic Christmas Designer Series Paper are Sahara Sand, Shaded Spruce and Cherry Cobbler. For this card, I die cut the Cherry Cobbler and Shaded Spruce pieces of patterned paper with the Curvy Dies. From the Curvy Christmas stamp set, the evergreen boughs are stamped in Shaded Spruce and the sentiment is stamped in Early Espresso, which is also the backing cardstock. I used Crumb Cake cardstock for the cardbase itself because that was what was closest to hand LOL.
For Stampers Club and Card Class to Go, all the pieces are precut, and participants adhere them together and add their own stamps and ink (since we’re assembling in the comfort of our own separate homes). For this card, if people didn’t have the Curvy Christmas stamp set, another holiday themed stamp set would do. If it’s a photopolymer (clear) stamp set, you can also manipulate the stamp when you adhere it to the clear block to get a curved sentiment as well!
If you are making a bunch of cards, and have extras, you might consider sending some on to others – like those in Retirement or Long Term Care Homes, or Armed Forces members – as noted in this tweet:
Armed Forces Request
Any Canadian Armed Forces Member PO Box 5004 Stn Forces Belleville ON K8N 5W6
Cards will require appropriate postage (to Canada). It was mentioned by a friend that glitter and other sparkly embellishments are best avoided – they can set off the security detectors for one thing, and we all know how glitter spreads and sticks and would not help someone trying to be camoflauged.
I have a couple of these Curvy Christmas Card samples, so I think I’ll be sending a few on to share the holiday spirit. Join me in this mailing effort?! Happy Crafting.
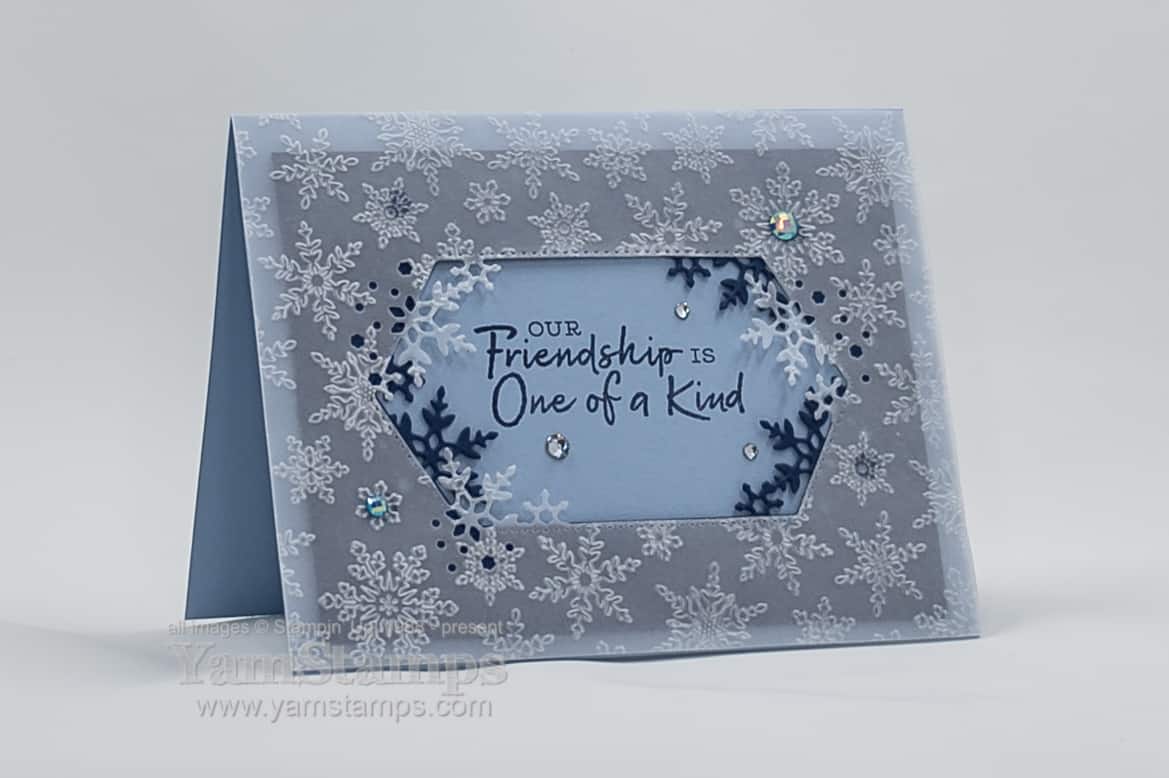
While I know that I’ve been doing the Twelve Weeks of Christmas Projects for YamStamps subscribers, I’m still caught off guard with the fact that Christmas is a month and a half away! Today’s snowflake card for a friend was one that I created for a Stampin’ Up! Demonstrator only swap featuring products from the August-December 2020 Mini Catalogue. Snowflakes are one of my favourite “themes” for seasonal and holiday cards.
I adhered the Vellum to the cardfront with Glue Dots and tried to place them behind snowflakes so they weren’t quite as visible. I hid a couple of them with the gems, and now that I look at this photo, could have added a few more gems?!
I love the fact that this snowflake card for a friendcould be a holiday card but could also be a birthday card, friendship card or just because card during this season. Burlington is entering “Red Zone Status” for the pandemic as of Monday, so I think it’s an important time to keep in touch with people while keeping socially distanced.
If you’re looking for ways to keep busy, consider purchasing one of my Card Classes to Go – the “regular” versions feature a variety of projects, and the Holiday Card Class to Go focuses on holiday cards only. Each class has the precut materials for four different cards, plus a printout with a photo of the completed project and step by step instructions. You can add sentiments from your own stash or shop the YamStamps Online Stampin’ Up! Canada store (shortcut:YamStamps.com/shop) for the ones I use in the samples. Contact me for payment links and more information. Each class cost is $20 and includes postage within Canada.
I love that the curved edges are 6″ long – so you can cut a 6″ x 6″ piece of Designer Series Paper easily so it will fit across a “landscape” oriented card or a 6″ x 6″ scrapbook page. Next week I’ll be sure to share a card that I designed with this bundle – after Stampers Club members have had a chance to make it! (I need to keep some things a surprise from them LOL).
So instead I’ll share this sample created by the Stampin’ Up! designers…
Curvy Celebrations
I love this card – and I really like the non-traditional colours! I may have to recreate this myself…
How are your holiday cards coming along?! I have a suspicion that we will need to get them in the mail earlier than usual because the workload might be higher than usual this year. Since we can’t easily get together in person, holiday cards will play a bigger role in how I celebrate and reach out to family and friends this year. If you’re looking for help with your holiday cards, contact me to get the Holiday Cards Class to Go! It’s like the Card Class to Go…but only holiday themed cards. It’s the same cost as the regular class to go ($20CAD for 4 different designs and envelopes), but there’s also a bulk card option ($35 for 8 cards, 2 of each design). All the cards will have precut elements, and you assemble them, with the option of adding your own greetings with stamps and inks you have on hand.
If you need a few supplies, or want to grab the Curvy Celebrations Bundle, you can head to the YamStamps Online Stampin’ Up! Canada store (shortcut is yamstamps.com/shop), or contact me if you prefer to pay by etransfer, or need assistance placing an order. Don’t forget that if you place an order for $50 product during November, you’ll receive an exclusive tutorial bundle as my thanks! Happy Shopping!
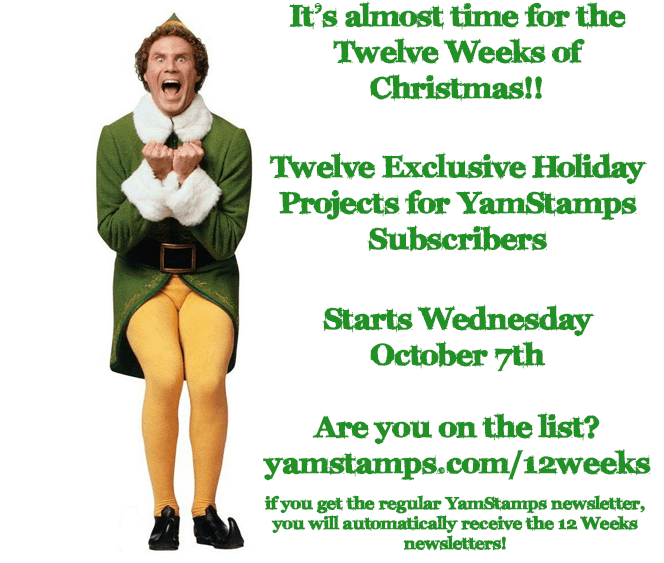
It’s that time of year again….starting next week, it’s the Twelve Weeks of Christmas! As a special feature for subscribers of the YamStamps Mailing List, each year at this time I have a special extra newsletter edition. Each week brings a holiday project tutorial – complete with a picture, supply list, and step by step instructions. This is in addition to the regular YamStamps Projects Newsletters – so there’s lots of ideas and inspiration coming to your inbox – but only if you’re a subscriber! Just like the regular YamStamps newsletter project – these projects won’t be shared elsewhere.
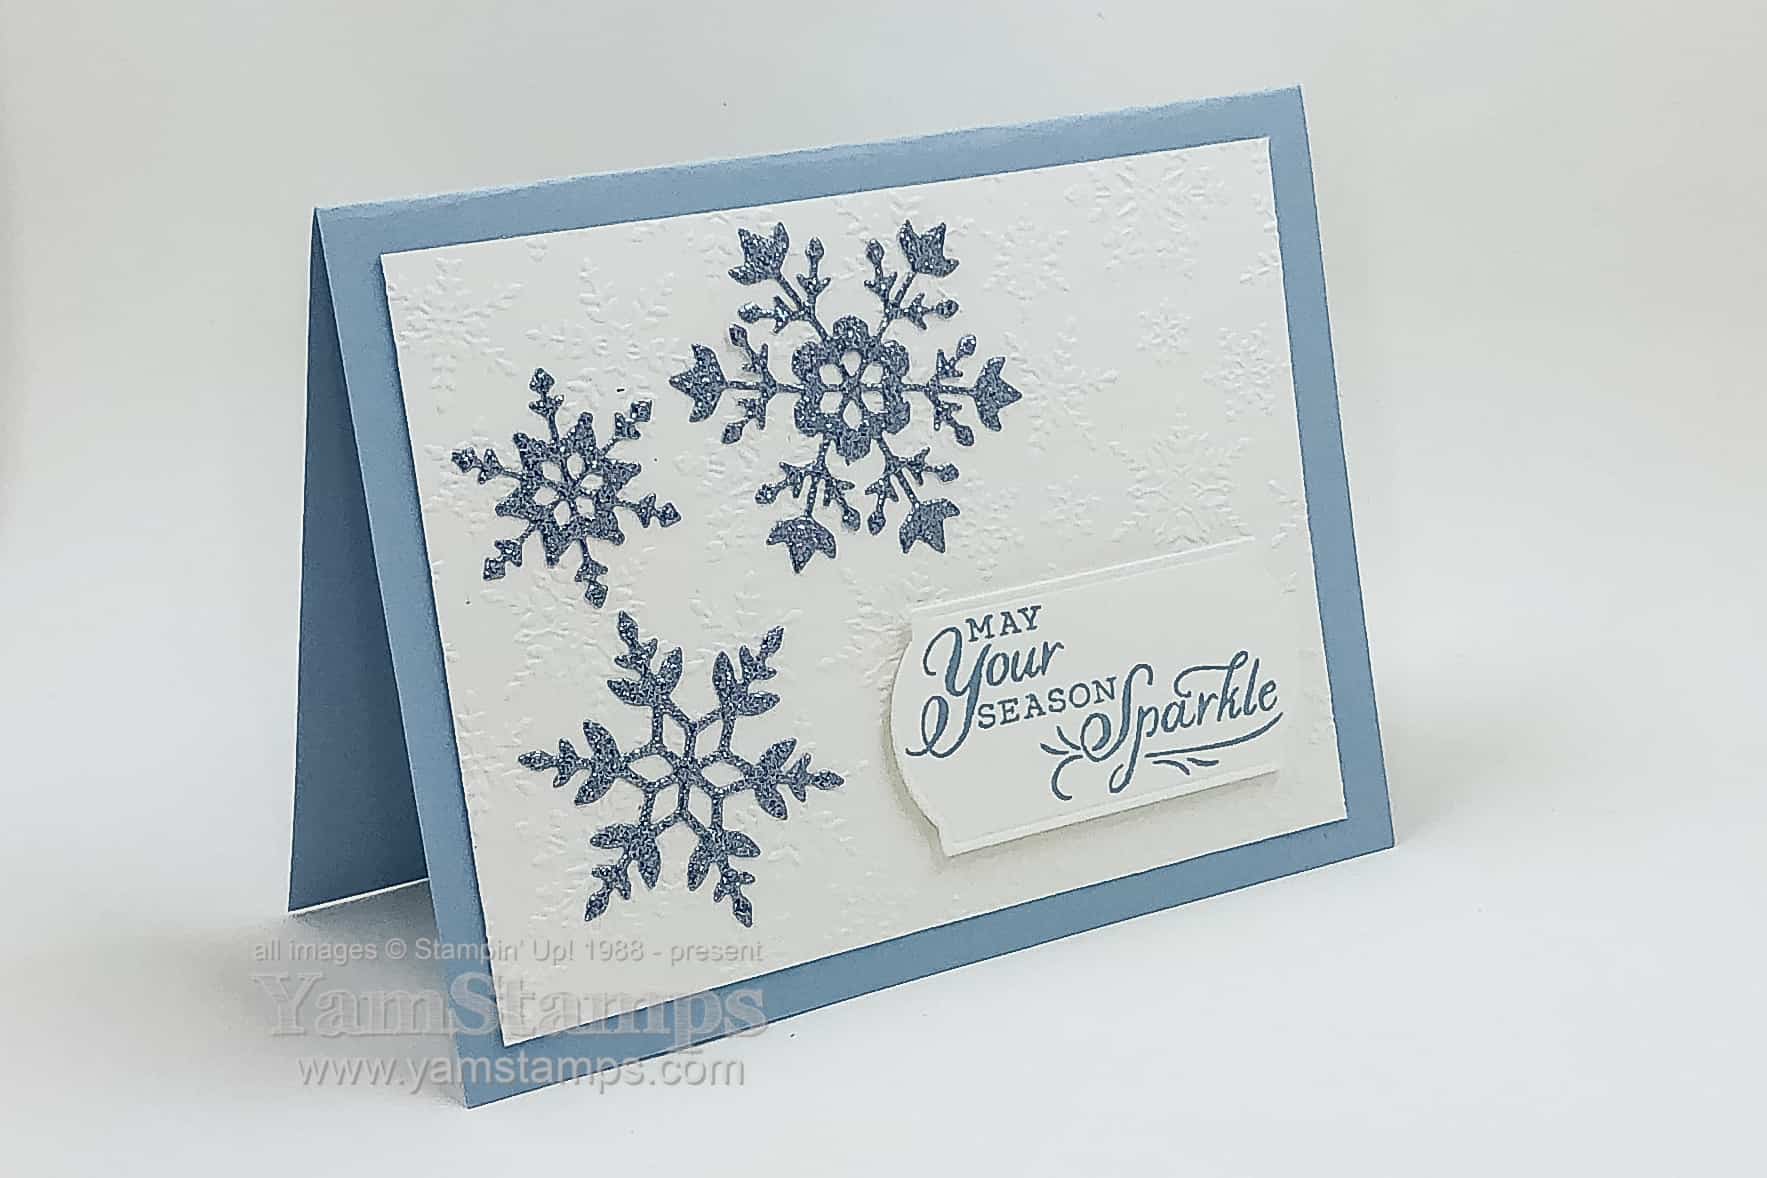
Too soon? Sharing a glittery snowflakes card that is part of the Card Class to Go “A” set. Typically in card classes around this time of year, I’ll start including one specific holiday-type card in the mix…so that class/club attendees will have a small selection of designs and cards by the time they need to mail them.
This card features products in the Snowflake Wishes Bundle, which includes the Snowflakes Wishes stamp set and coordinating So Many Snowflakes dies. Not sure if you can see it well in the photo but the Whisper White cardstock background is embossed with the Winter Snow Embossing Folder. Since it was part of the Stampers Club / Class to Go, I pre-cut all the snowflakes from the Balmy Blue Glimmer Paper for the card kits. Before I die cut, though, I adhered one of the Adhesive Sheets to the back of a 6″ x 12″ piece of the Glimmer Paper – so assembling the glittery snowflake card is even easier – just peel off the backing and stick the snowflake in place! Truth be told, I’m a slightly lazy crafter – so if I have to use liquid glue, I won’t go over every inch of the embellishment – just dots here & there, which usually works…as long as I am sure to cover enough areas so that it will stick! This leads to my second confession – I’m also a messy crafter, which means that usually the first embellishment (or even card, if I’m lucky) will be okay, but the second or third has my gluey fingers often mucking up things or getting stuck to the project as well. Thankfully, I have ALSO learned to use my Silicone Craft Sheet because nothing sticks to that…not even my sticky fingers.
I used the sentiment from the Snowflake Wishes stamp set, but those in Club/Class received a blank precut label and could stamp whatever sentiment they wished from their stash. (Stampin’ Up! rules prohibit us from including any pre-stamped materials in our kits). If you’re interested in getting a Card Class to Go kit, contact me! Delivery is either porch pick up in Burlington ON or via Canada Post.
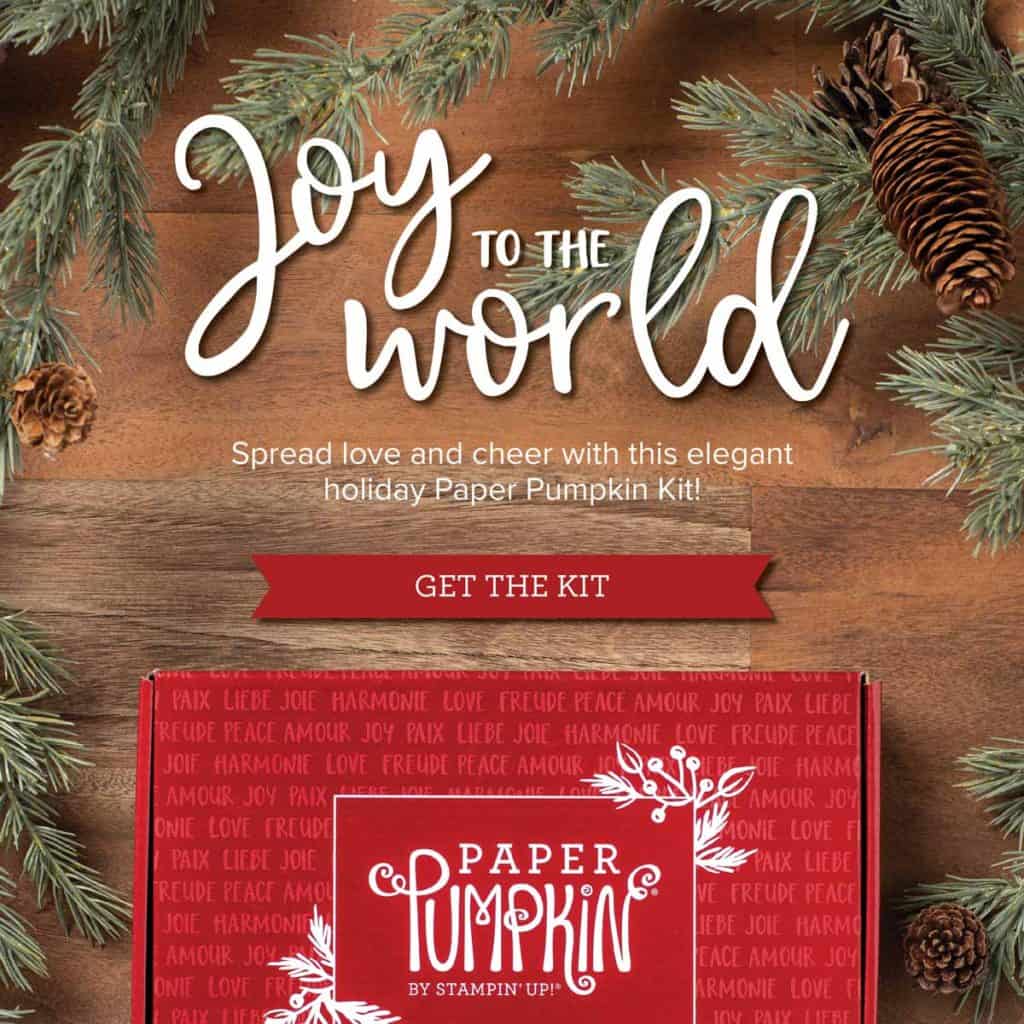
If you’re looking to start in on your stash of holiday cards, I’m working on a class revolving around a Holiday themed bundle, but in the meantime, you may also want to consider grabbing the next Paper Pumpkin kit, which is on sale right now. September 11-October 10 is the subscription period for the October box, which is called Joy to the World. It includes supplies to create 8 cards, and includes die cuts in English, French & German. Great for sending to friends around the world! I’m looking forward to this one. You can subscribe to get a new kit each month, and pay month by month, or purchase a pre-paid subscription for 1 month, 3 months, 6 months, or 12 months. You can cancel at any time, or put a month on hold if you need.
If you purchase a Demonstrator Starter kit this month, you’ll receive a code to redeem for a Paper Pumpkin kit. **If you purchase between Sept 1-15, you’ll receive a code you can redeem as of September 16th. If you purchase the starter kit Sept 16-30, you’ll receive a code you can redeem after October 10th.**SO –if you would like to get the Joy to the World kit as your free Paper Pumpkin kit you will need to complete the Starter Kit purchase by Tuesday September 15th. Check out the FAQs for joining my group of Stampin’ Up! Demonstrators here or message me if you have any questions.
In the meantime, I’m packaging up the next Card Class To Go / Stampers Club kits – no glittery snowflake cards this time around (different set of cards each time) – but still 4 fun projects!