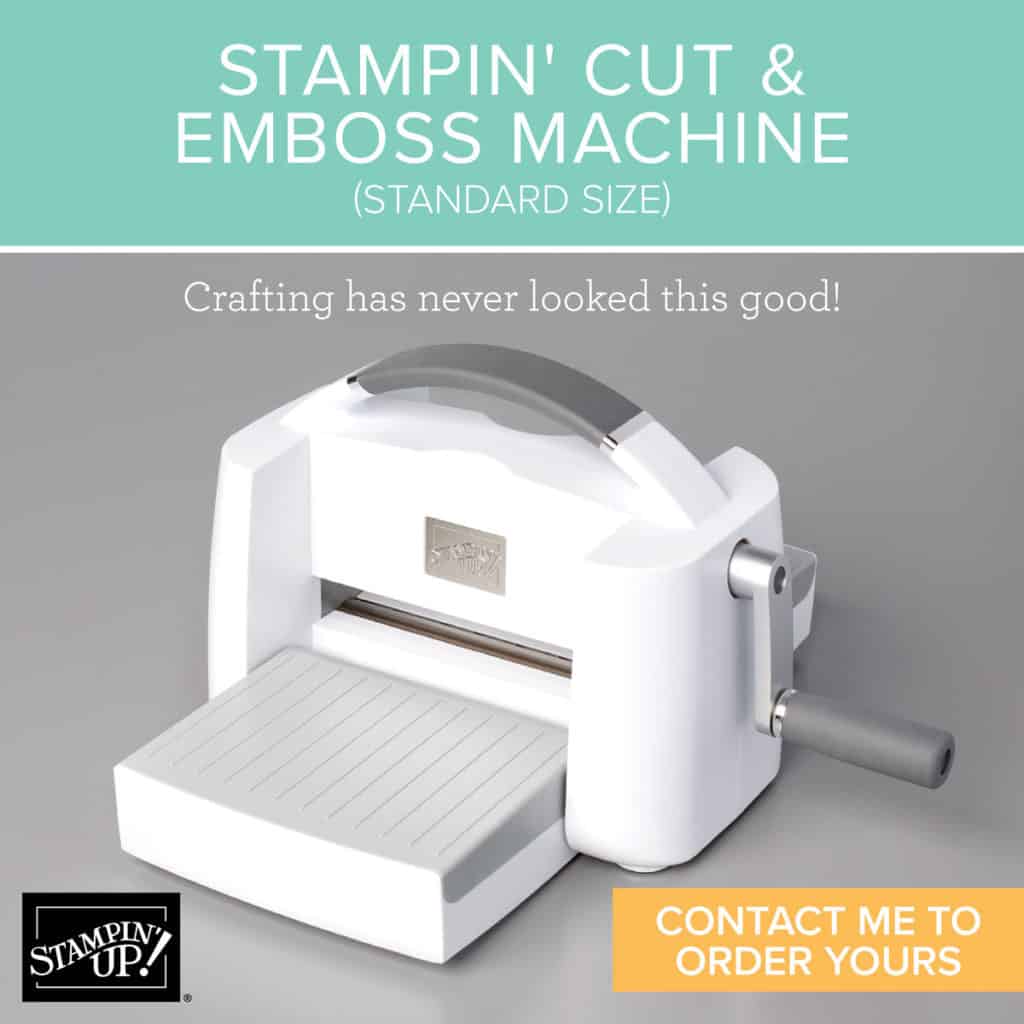
Now available to order – the Stampin’ Cut & Emboss Machine!Stampin’ Up!’s standard sized machine is available for customer order starting today. This machine has a wide 6″ (15.2 cm) platform that works with all Stampin’ Up! dies and embossing folders. It comes with 1 Base Plate (Plate 1), 1 Die Plate (Plate 2), 2 Cutting Plates (Plate 3), and 1 Specialty Plate (Plate 4). All the plates are numbered so you know exactly which one goes where (and which one to use when, thanks to the printed instructions on the base plate!)
The machine platforms fold up so it’s compact for storage or portability. Also available today – the Magnetic Cutting Plate. While Demonstrators were able to order the Stampin’ Cut & Emboss Machine in August, the Magnetic Cutting Plate was not available until now – so you can be sure that will be on my order today! Much as we loved the Magnetic Platform for the Big Shot – the Stampin’ Cut & Emboss Magnetic Cutting Plate will replace one of the plates in the sandwich. Once I get my Magnetic Platform in hand, I’ll be sure to do a video to show it off! You can place your order in the YamStamps Online Stampin’ Up! Canada Store here, or contact me for assistance.
The Stampin’ Cut & Emboss Machine(Standard Size) is $163 CAD – so the other news is that you could select it in your Demonstrator Starter kit and pay just $135. During September, there’s a Get & Go promotion as well – new demonstrators will receive two stamp sets (Queen Anne’s Lace and So Much Love), a package of rhinestones and 16 precut card packages to create 8 cards of 2 different designs – or use to come up with your own creations! The kits are designed for you to either make cards to send to friends and family, or to help you share the fun of cardmaking with others in a class (virtual or socially distanced). Check out this FAQ about becoming a demonstrator with my group, or if you can go here or contact me if you’re ready to start the process!
Or at least part of it…. Stampin’ Up! had a Leaders Summit this weekend – it kicked off Thursday evening, actually and ran Friday afternoon/evening and Saturday afternoon/evening. It was to be an in person event….in New Orleans….but got changed to an online event due to COVID. Let’s just call it a fortunate thing in some ways – because I don’t think anyone would have been able to make it to an in person event due to the weather!
Like most Stampin’ Up! events, it was a mix of information and inspiration. As this event was for demonstrators that have a team of demonstrators it also looked at ways to support and motivate our team as well as ourselves and featured some great guest speakers and the chance to network and brainstorm with other demonstrators.
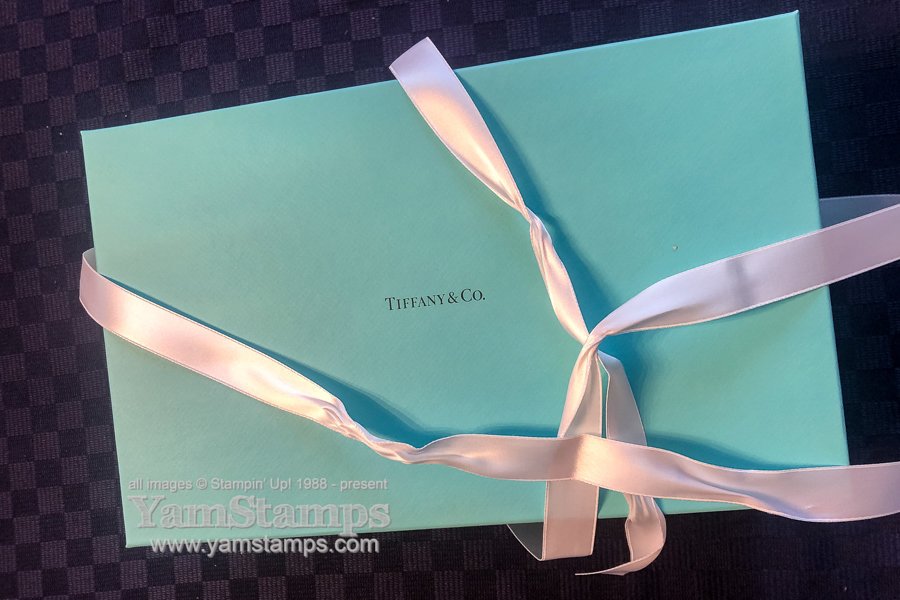
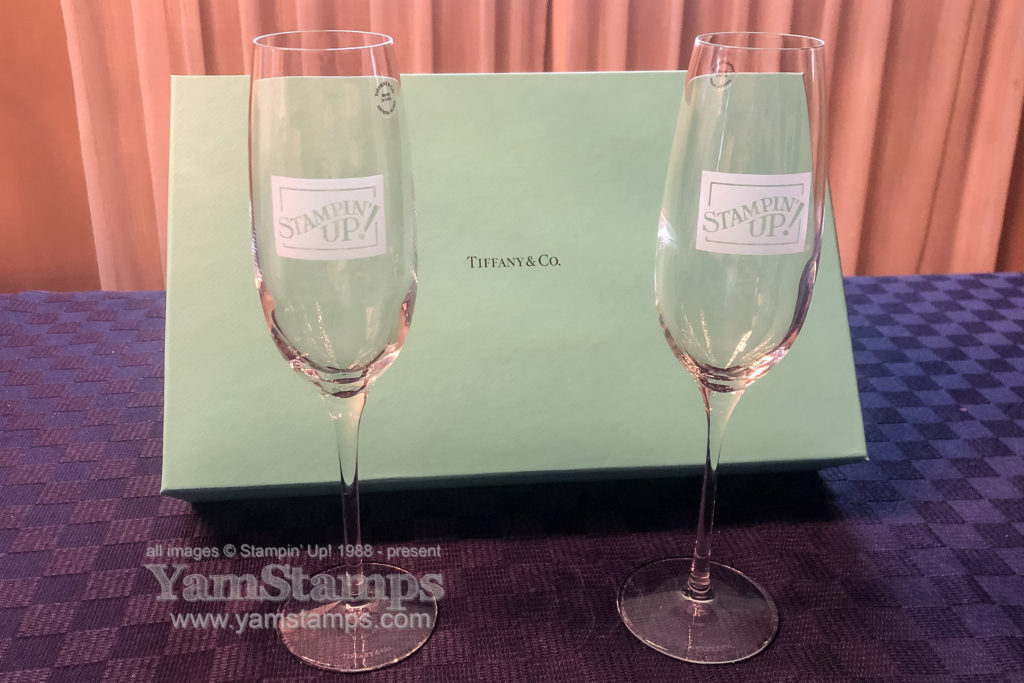
Did you see the surprise gift that the sent to the leaders who registered for this event? (You may have heard me squealing a bit…). Imagine getting this box!
It was a beautiful gift, and in all honesty, I love the box as much as the contents LOL.
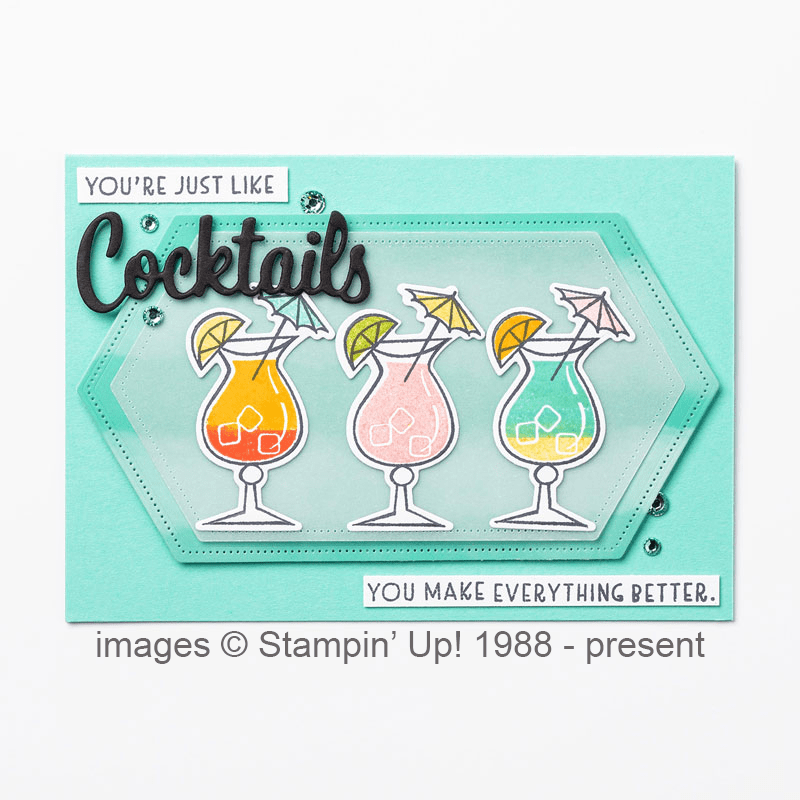
Here’s a fun project that uses Coastal Cabana, which is kind of close to the Tiffany Blue, and drink glasses which are similar but different to the Stampin’ Up! flutes that I received. Click on the image to see the items used to create it and a quick tip on how to get two-toned drink images!
Stampin’ Up!’s next event has also moved to an online format, and it’s open to all demonstrators. I’m looking forward to attending, along with members of the “Eh” Team – my demonstrator group. If you’re a demonstrator and you’re reading this post – a reminder that the deadline to regsiter for the event is September 1st! If you’re not yet a demonstrator, you can find out more about becoming a member of my demonstrator group here – or message me!
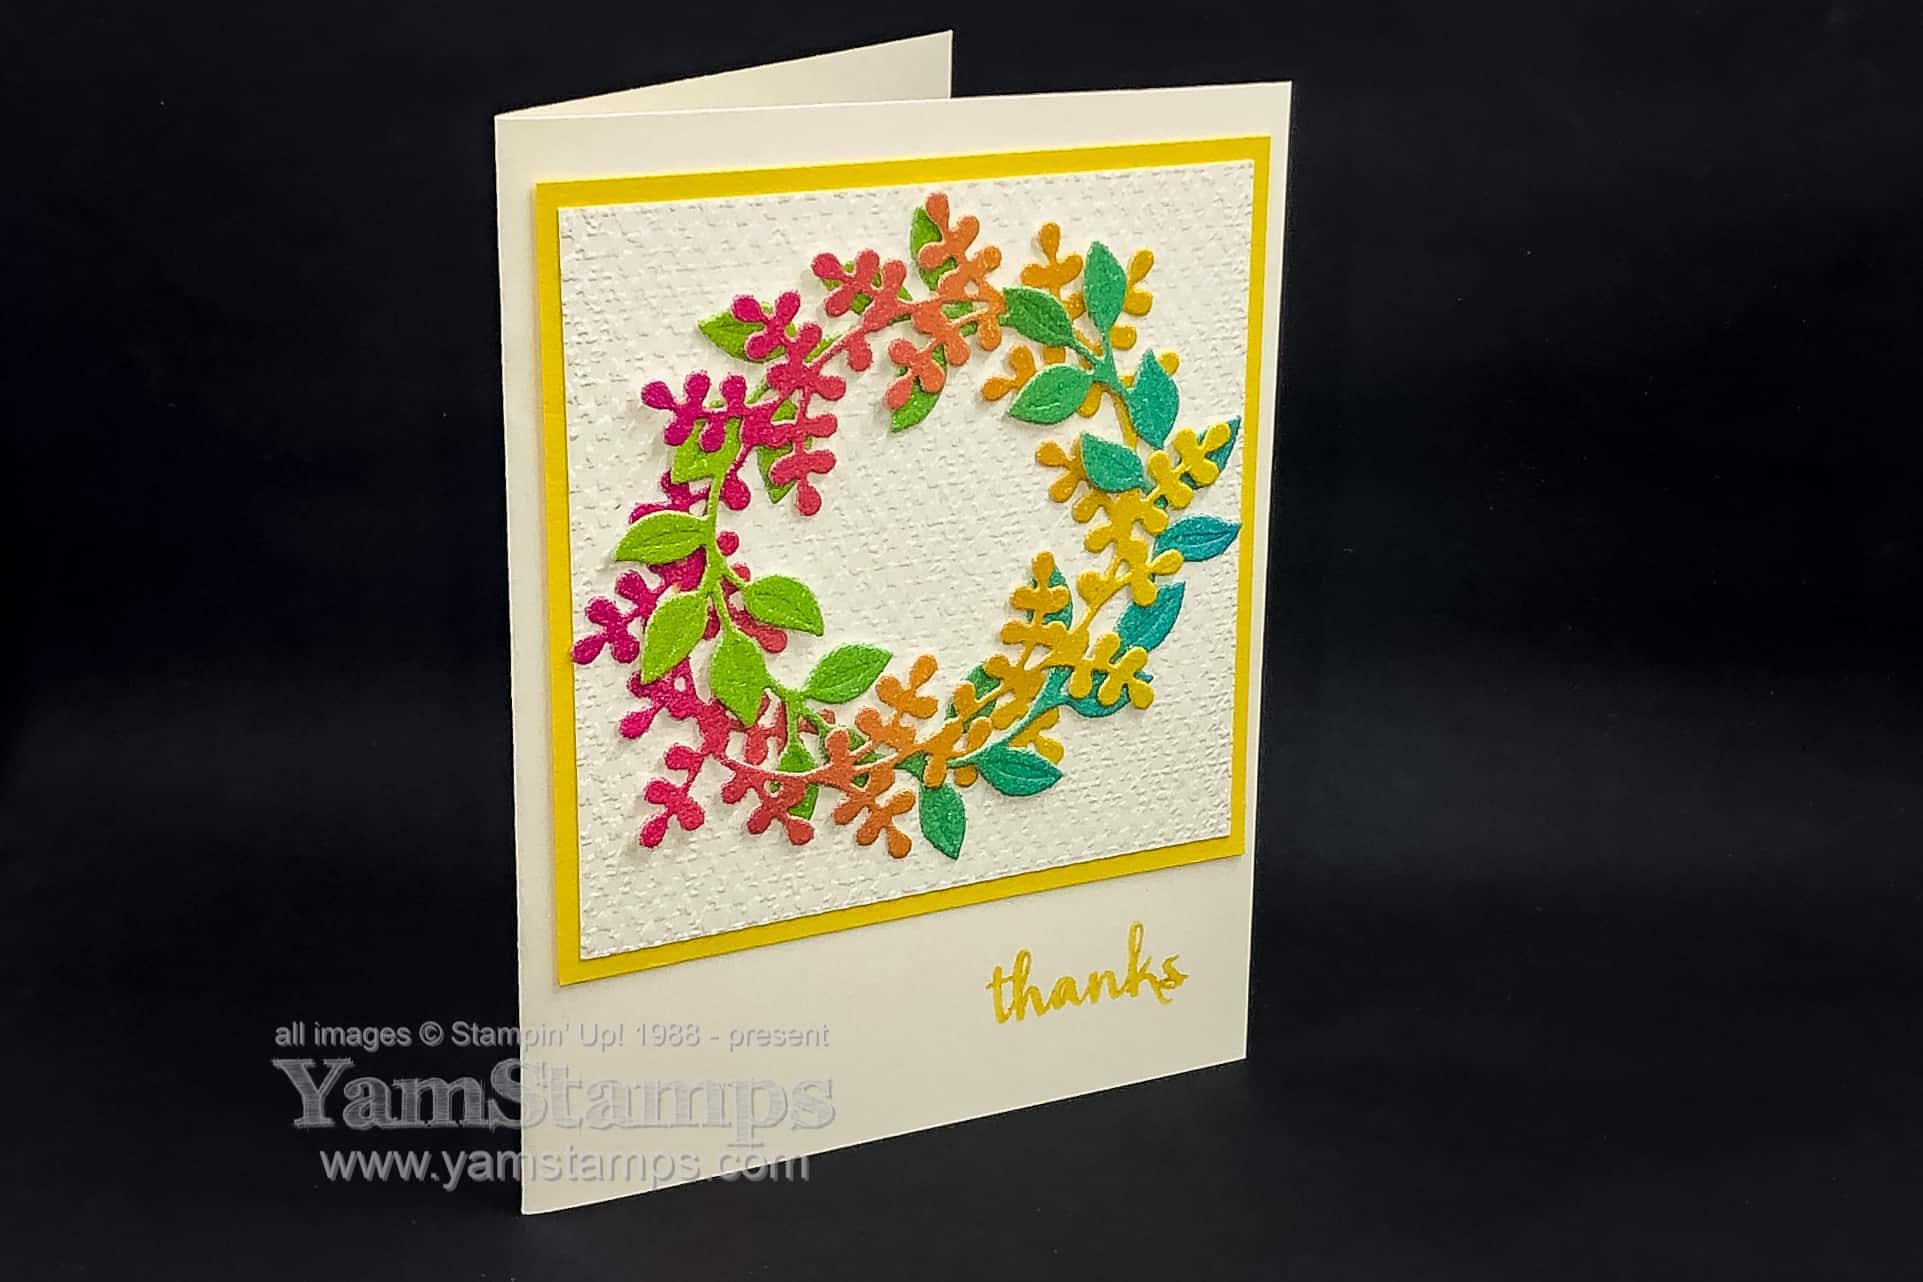
I promise to move on to other shapes and forms next….but I am sharing this rainbow wreath card before I do!! This is a variation on the original wreath card I did in this post. My friend Gloria saw the Facebook Live that I did, and then used the Rainbow Glimmer Paper in her card variation – so I used her take on it when I created the latest Class to Go/Stampers Club Class.
For Stampers Club we are doing Zoom meetings, and I’m starting to get the hang of it – getting the packages all done up for pick up/mailing, and then creating together online….except that I have forgotten to hit “record” a few times now… My Stampers Club members have access to an online site where the project photos and video are shared, so I had to re-shoot the “how to” video for the last club! My tech error means that I had a video that I could edit down to focus on one project at a time and post it elsewhere as well – so I uploaded my first IGTV video on the YamStamps Instagram Page, and uploaded to the YamStamps YouTube as well. I edited out all my talking, and just used written captions to give the instructions/highlights during the video. Let me know what you think – do you prefer listening to verbal instructions or like the quick read version instead?
Here’s the video (click on the above links if you can’t see it here for some reason). I added music just so it had something for sound…
OK now that you’ve seen the video of the Rainbow Wreath Card, I’ll be off to see what else I can create that doesn’t have a circular wreath as the main focus….the pressure…
If you’re interested in joining Stampers Club – please contact me or check out the YamStamps Events Page for more information! We welcome new members at any time. We meet once a month – our next date is Monday September 21st, and members commit to a 6 month cycle. Since we are meeting virtually for the next while, you’ll be able to join us from wherever you are in Canada! Also – with access to the members only site, technically if you can’t make it at the get together (though it is more fun if you do) – you’d be able to access the information afterwards anyway. If you don’t want to commit to club membership, you can always grab a Card Class to Go. You can either pick up or have your class packet mailed to you with the photo/instructions for the projects. You supply your own adhesive and stamps/ink (I’ll make suggestions as to the sets/ink colours in the instructions) and create the projects on your own time.
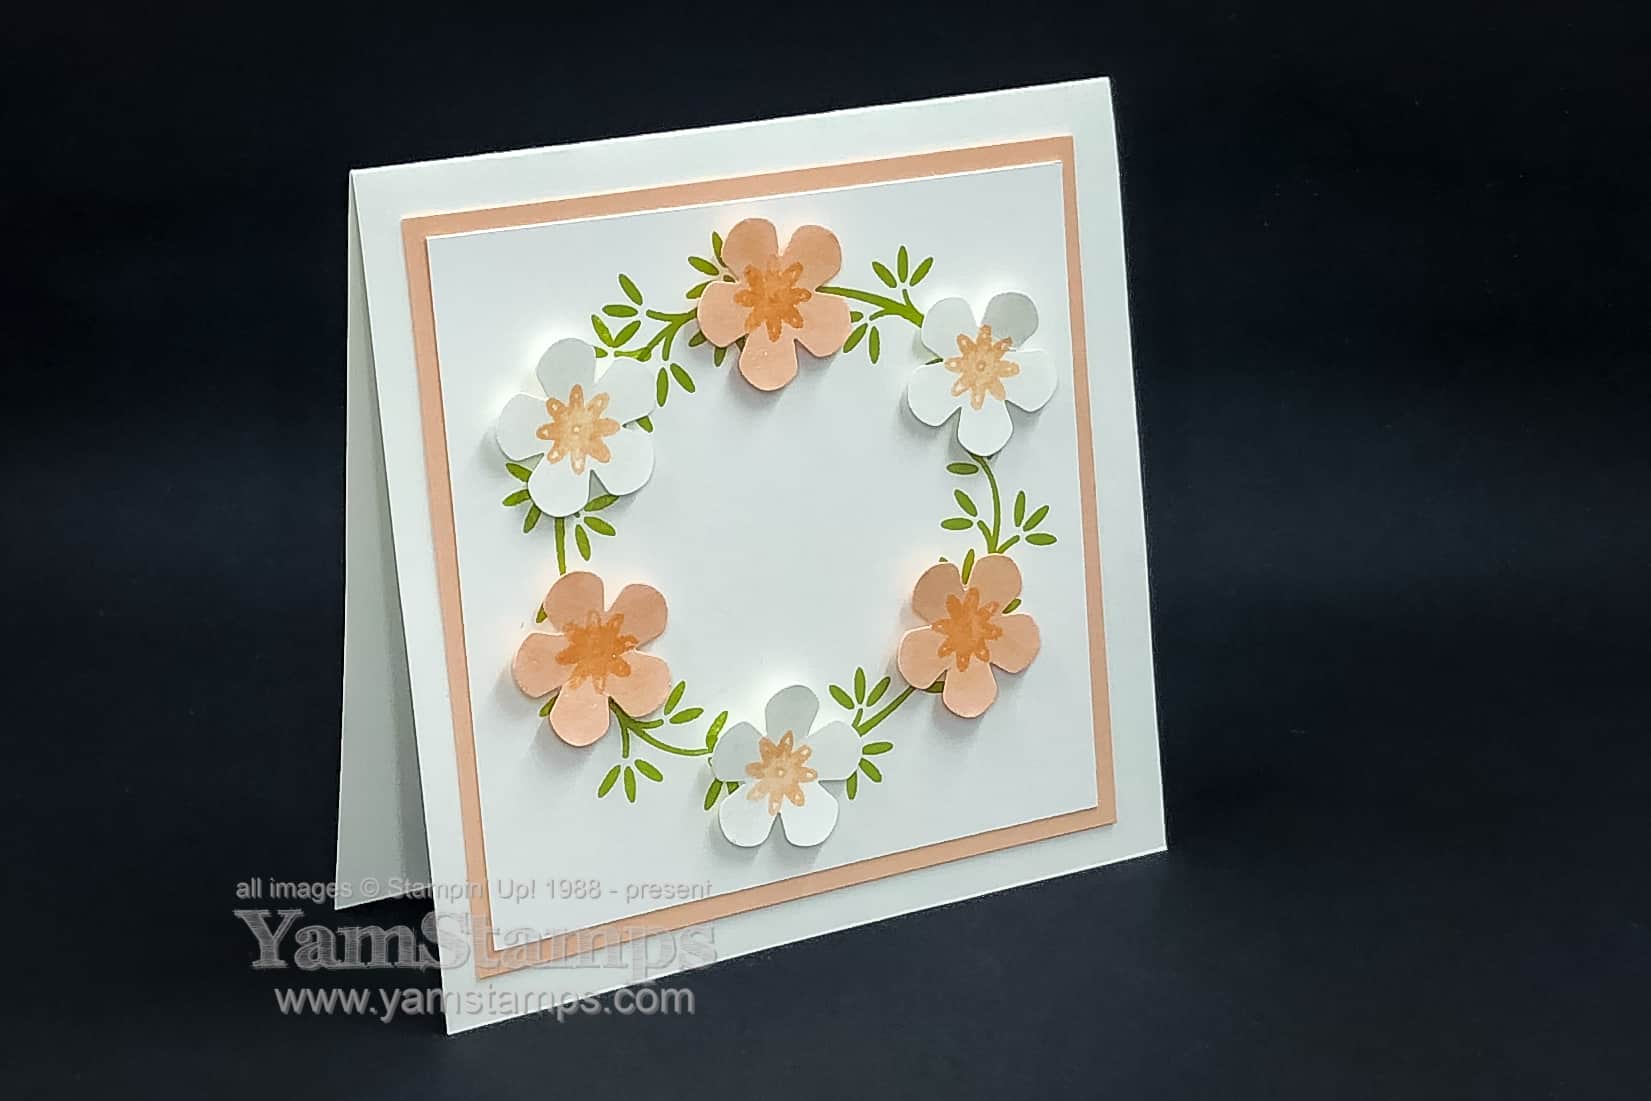
I am on a bit of a floral wreath kick(like this previous card) Or maybe it’s a circles thing. Who knows. Anyway – here’s another take on a floral wreath card! This one uses the Ornamental Envelopes Bundle…which I have not yet used for envelopes…LOL
While the bundle actually has dies to cut out the flowers that are in the set, I chose to add in something different. I combined the Ornamental Envelopes stamp set with the Small Bloom Punch instead, as I wanted more substantial flowers – primarily to hide the gaps in my wreath!!
I stamped the branches bough three times on a 3.5″ piece of cardstock so they formed a circle. I used the brush end of my Petal Pink Stampin’ Write marker (from the Subtles Markers) to colour in just the largest of the 3 flowers on the stamp from the Ornamental Envelopes stamp set. I stamped the flower onto scraps of Whisper White and Petal Pink Cardstock, and then centered them in the Small Bloom Punch so they became the centre of the flowers. Use the punch “upside down” so you can see the image when you’re punching.
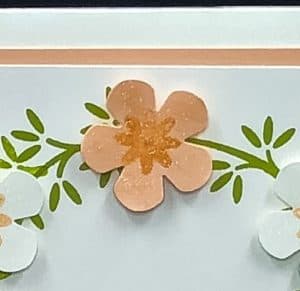
Once assembled, I used the Wink of Stella Clear Glitter Brush to add a bit of sparkle to the flowers (you can kind of see it in the close up shot above). I was really pleased with how this project turned out! Perhaps when I get around to mailing it I’ll actually decorate the envelope as well!
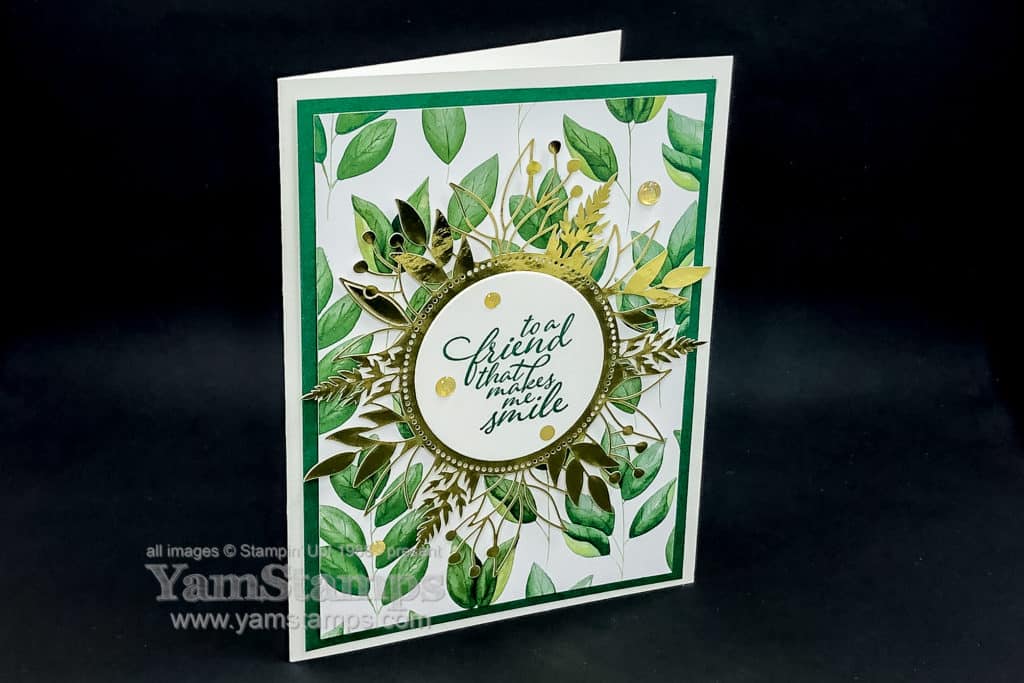
Stampin’ Up! Product Suites typically include a bundle (stamp set and a punch or die set that coordinates), Designer Series Paper, embellishments and often another coordinating tool. From the Forever Greenery Suite, I chose to use the Forever Fern stamp set (it also comes in a discounted bundle with the Forever Flourishing Dies), the Forever Greenery Designer Series Paper, and the Forever Gold Laser Cut Specialty Paper. By purchasing the suite, it’s like the “Easy” button for the products – you don’t have to enter each item’s code one by one – you get all the coordinating products with one easy item code. It’s a nice option if you know you love everything in the suite anyway!
For this Greenery Greeting Card, I added a die cut circle of Whisper White Cardstock, stamped the sentiment in Shaded Spruce (which is one of the colours used in the Designer Series Papers) and then added a few Gold Glitter Enamel Dots – the one item that is not part of the suite, but coordinates nicely with the gold theme.
Super easy! Honestly, I think the most time consuming part was being sure to be careful when removing the gold laser cut element from the sheet! This greenery greeting card probably took me about 5 minutes max. Perfect for a Manic Monday!! Pick the elements from the suite, pick the colour to coordinate and you’re off to the races.
The YamStamps Newsletter is going out tomorrow and will feature a card tutorial that also features leaves, but in a totally different colour scheme (and with a totally different stamp set than today). Be sure to be subscribed to get weekly paper crafting information and inspiration! In the meantime, I’m off to play with my new Stampin’ Cut & Emboss Machine! (Did you see the pic I shared on the YamStamps Facebook Page?) Demonstrators get to order the machine right now – before actual sales open up in September. By then I’ll be all set to help you figure out how to use it when you get to place your order next month!