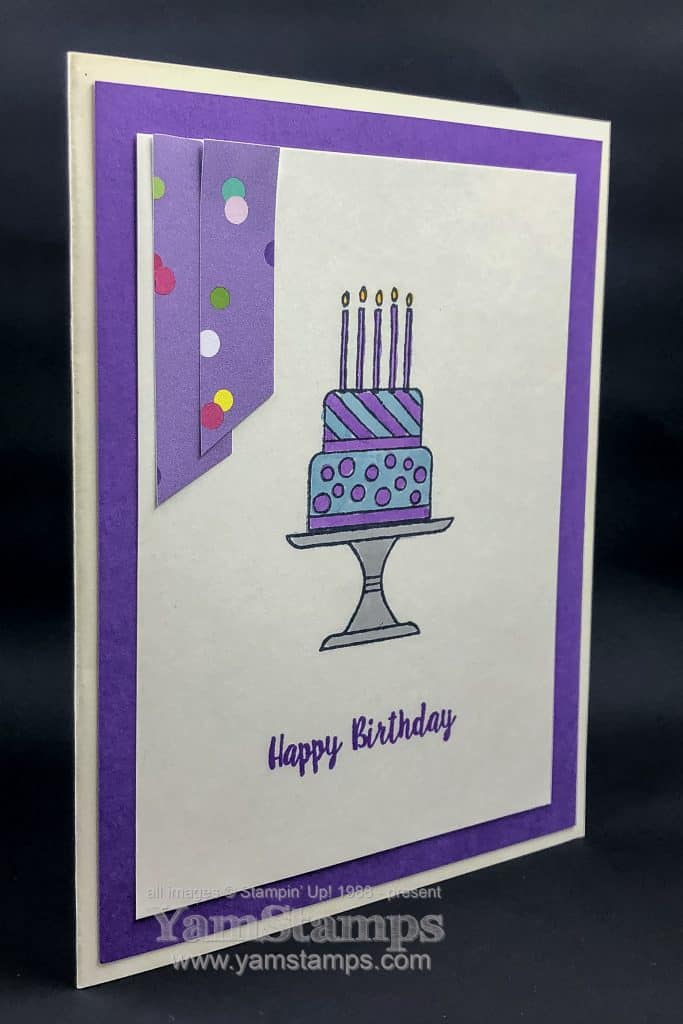
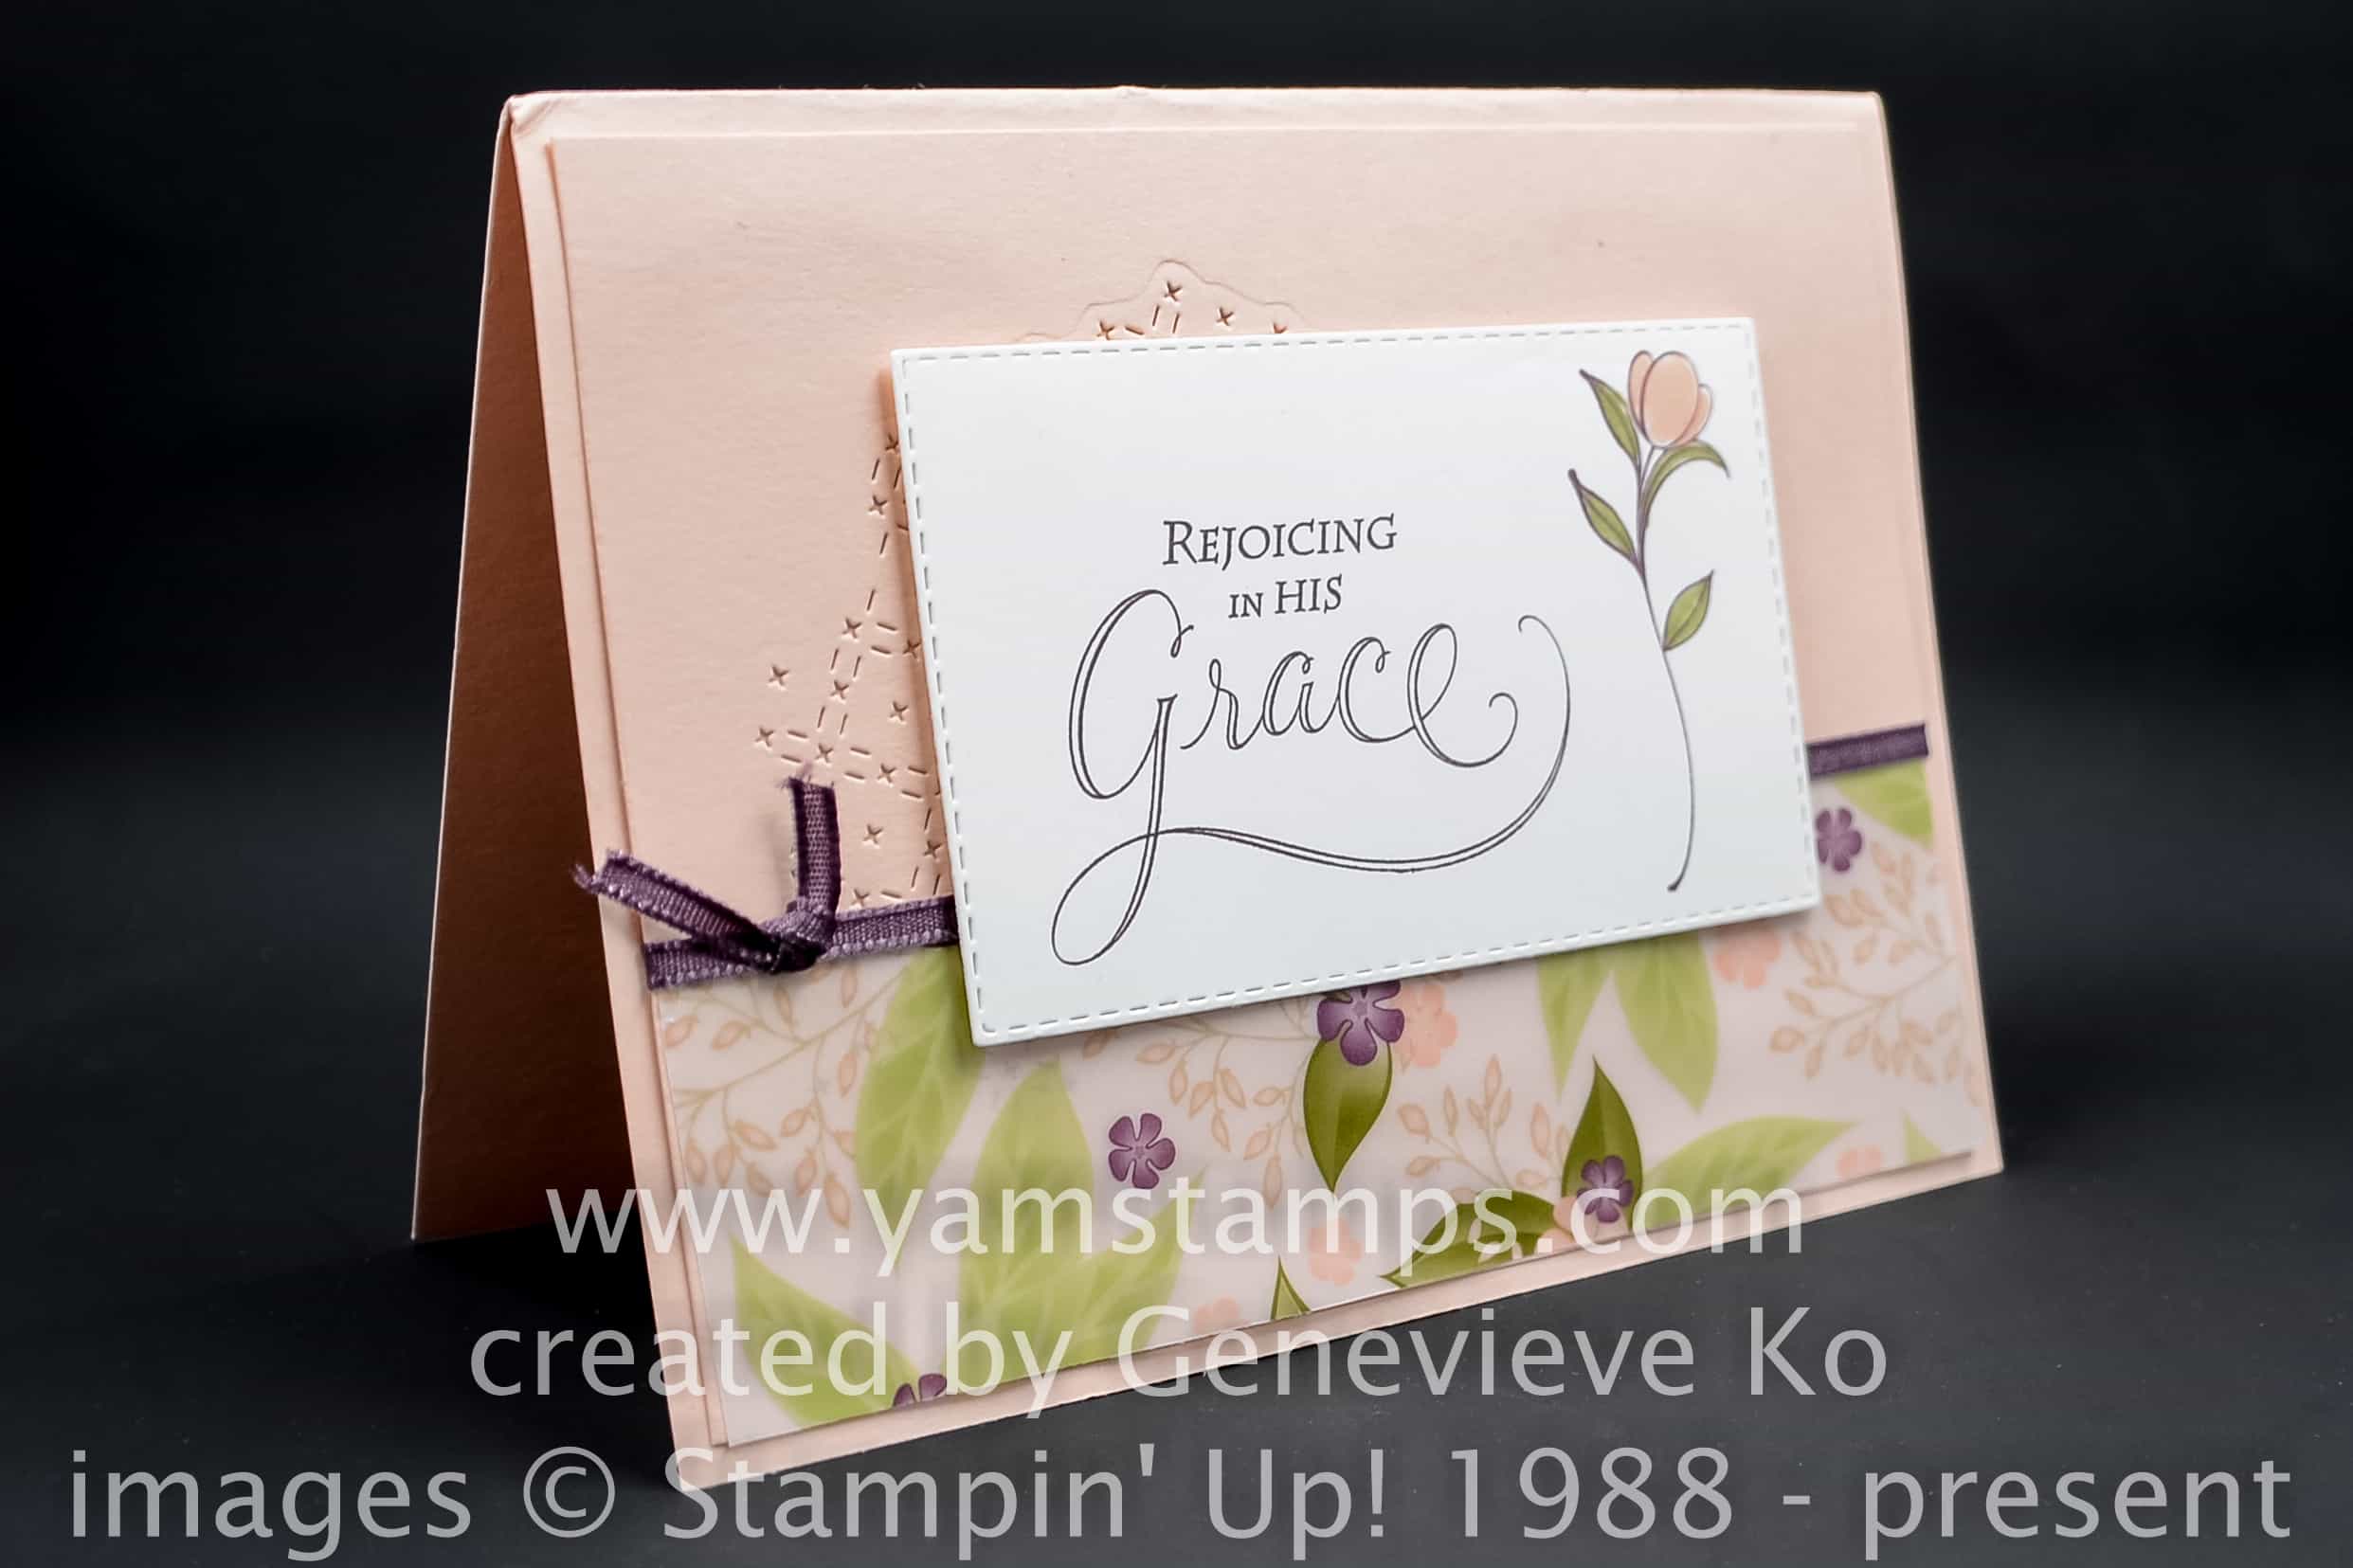
Piece of Cake Handmade Card! It refers to the stamp set as well as the process to make the card! The Piece of Cake stamp set (and coordinating Cake Builder punch) are NOT retiring – BUT the discounted bundle will not be available beyond June 3 – so why not get them together for a deal while you can?!
This was a recent class card – and we used the Stamparatus to make sure the images lined up perfectly – so this Piece of Cake Handmade Card really was a piece of cake to create! The images were stamped in Tuxedo Black Memento Ink, and then simply coloured with Stampin’ Blends. We only used one shade of each of the inks but you can still get a bit of shading and depth by colouring over a section again to enhance and deepen the tone. (main colours: (dark) Balmy Blue, (dark) Highland Heather and (light) Smoky Slate for the cake stand). I love the way that these alcohol based markers don’t leave “streaks” where you’ve coloured and gives a very solid look to the image.
Cardstock is Gorgeous Grape, combined with a few little strips of the How Sweet It Is Designer Series Paper. That paper was part of the Designer Series Paper share that I did for the Occasions Catalogue – and I will be offering a share for the Annual Catalogue as well – so stay tuned for details! Paper shares are a great way to get a sampling of everything – you have enough to use on a few projects, and you can also decide if you want to get full packages of your favourites. Sometimes you need to see the paper and designs in person to get the full effect!
In the meantime, please remember that retiring products are available while supplies last / until June 3 – so please don’t hesitate if you really want to get something that’s marked as retiring – especially if it’s anything but a stamp set!! Stampin’ Up! has a bit more immediate ability to react to demand with stamp sets since they make them in house so those rarely will sell out before the end of the catalogue period (but again, no guarantees!). Any questions, concerns, or assistance needed placing an order – as always – please contact me!
Final note – Wednesday is May 1st – yay, May! It’s also MONTHLY CARD CLASS DAY – the first Wednesday of the month – a bit of a shock when the first day of the month and the first Wednesday are the same day! Please contact me ASAP if you want to attend at 1pm or 7pm!! Space is limited. Check the YamStamps Events page to see all upcoming dates – including the special date for the June Monthly Card Class! Hope to see you in a class soon!
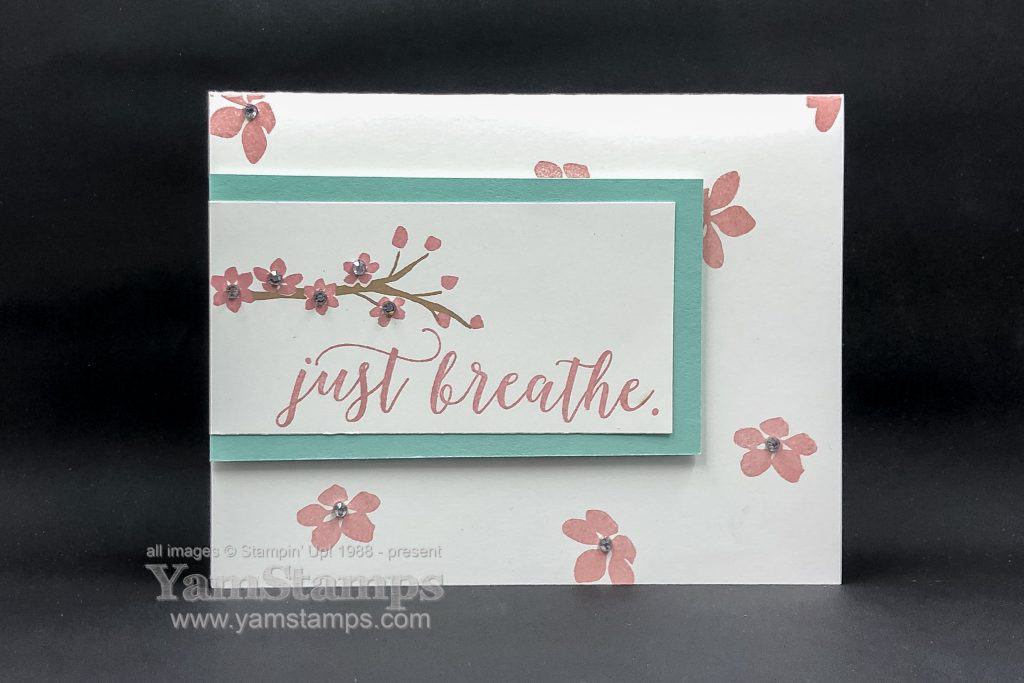
Happy Easter! Happy Passover! Happy Spring! I hope that you are able to enjoy this long weekend however you are celebrating. Today I’m sharing this cherry blossom card, created with the Colo(u)rful Seasons stamp set. If you stopped by my booth at the Kitchener Scrapfest, you may have made this tag as your make and take – and I’ve turned it into a card!
First of all, I did offset the tag on the Pool Party Cardstock background, so it’s a little different than the sample we shared at the YamStamps Scrapfest Booth. Other than that, I still used the Stamparatus to stamp the branch, blossoms and sentiment in place on the tag. I stamped the other flowers randomly across the cardfront, and then wanted to step it up a bit, so I added Rhinestone Basic Jewels to most of the visible full flowers. I think that the white space helps give that “breathe” type feeling to the design.
Happily, this stamp set is NOT retiring – so it will still be available when the new catalogue is in effect on June 4th. You’ll be able to create another version of a cherry blossom card, or a falling leaves card, snowflake card, or a beach card…because this set has all the seasons covered!
Do you want a copy of the new Stampin’ Up! Annual Catalogue? If you’ve placed an order with me in the past year, I will automatically put you on my list to receive a new catalogue. Otherwise, if you don’t already have a Stampin’ Up! Canada demonstrator, please fill out this questionnaire or go to yamstamps.com/2019catalogue and I’ll get in touch with you!
OK I am off to make a lemon meringue pie for Easter Dinner dessert – wish me luck, it’s been a while since I did meringue pie, and I don’t have one of those fancy, cheffy-type mini blow torch thingies. In the tradition of the Great British Bake Off, though, I will definitely aim for “no soggy bottom” on my pie.
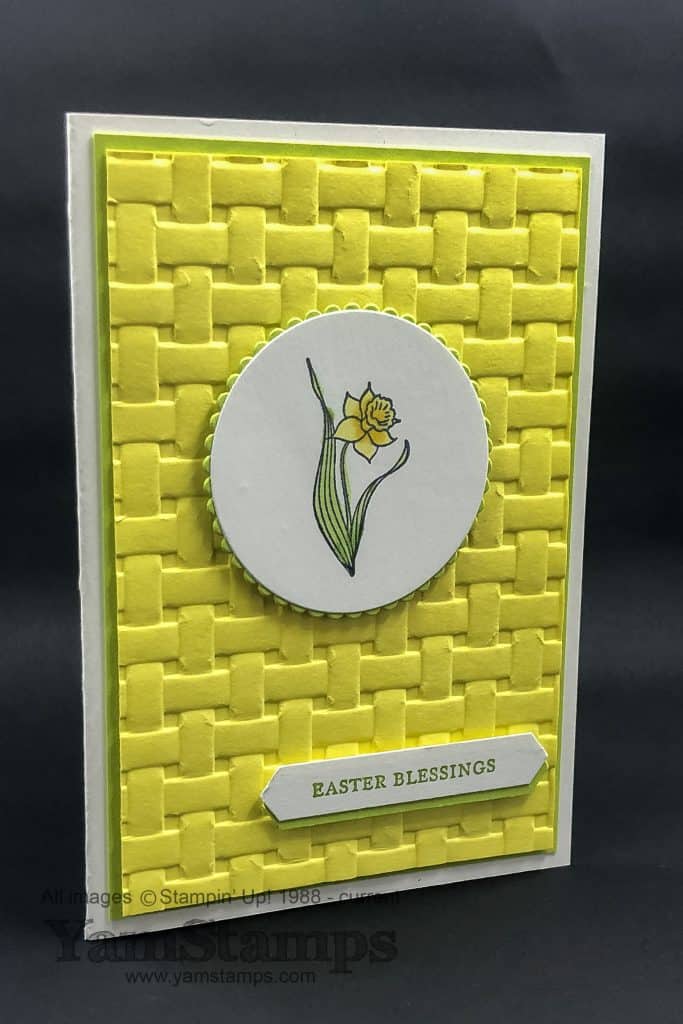
Thought I’d share thiseasy springtime card or Easter card – depending on whether or not you use the Easter sentiment!
If you stopped by the YamStamps booth at Kitchener Scrapfest this past weekend, you may have seen a version of this card on my display board! It’s one of April’s class cards.
One of the things I love about making cards is that I have the fun of making the card, and the recipient has the fun of receiving a handmade card. Anne, of the demonstrators in my group, told a story about how a family member still has a handmade Christmas card displayed on her fridge because it reminds her how much Anne loves her! I think that’s a fantastic sentiment.
This card was particularly fun because the flower is coloured with Stampin’ Blends – I do enjoy a bit of colouring, and this was fast and easy because the image is not too big! Just remember to use Memento Ink if you’re reproducing this card – so that your image won’t smear when you use the Blends. The daffodil and the combination of Lemon Lime Twist Cardstock (grab it before it’s all gone…) and Daffodil Delight Cardstock help make this a truespringtime card!
I also wanted to say THANK YOU to everyone who stopped by my booth at the Kitchener Scrapfest! Huge thanks to Anne and Mary who helped me out at my booth….and to my mother who did a quick round trip to drop off some items I accidentally left at home – true story!! I hope all the croppers, shoppers and vendors had a relaxing day today recovering!
If you filled out one of the door prize draw entries, I’ll be making the draw for the winner of the shopping spree tomorrow – I’ll do a Facebook Live on the YamStamps Page if all goes according to plan (and there’s not some weird outage like there was early today!). Maybe I’ll get someone at Stampers Club to help me out… I’ll also post links to the official Stampin’ Up! retiring list as soon as I’m able – so stay tuned!
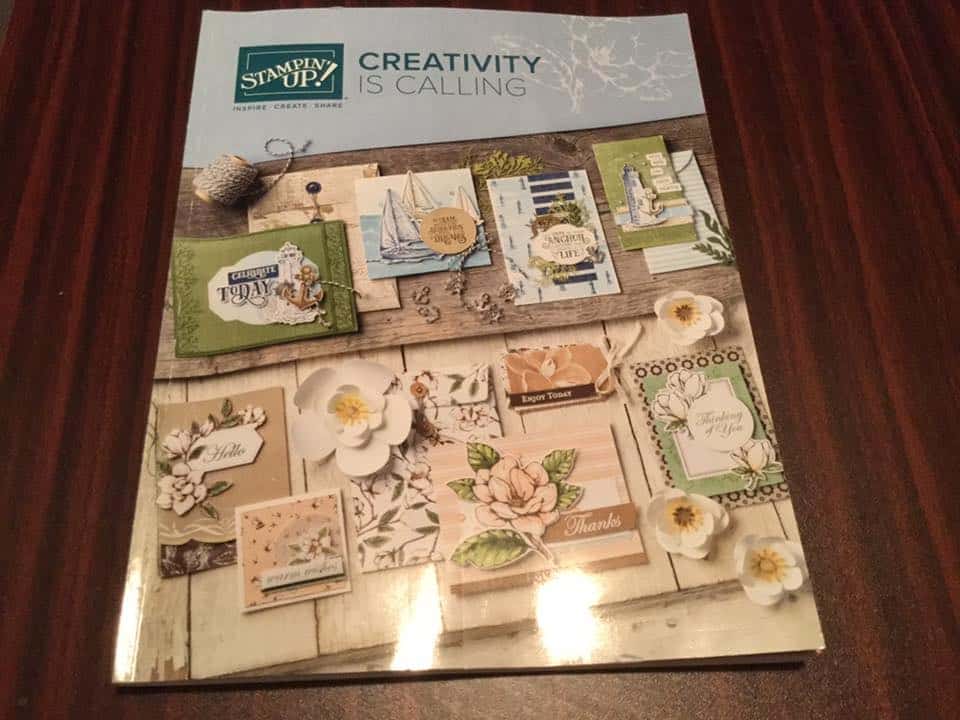
CREATIVITY IS CALLING! The new Stampin’ Up! Annual Catalogue is getting ready to make its way to us – do YOU want a free copy?
If you’re located in Canada, don’t already have a demonstrator that you deal with, complete this form at yamstamps.com/2019catalogue! I’ll contact you to confirm your information and get one to you as soon as I’m able. If you want to get in on the mailing, you’ll need to complete the form by MONDAY APRIL 29th!!
If you’re local to Burlington, Ontario, mark June 22 on your calendar – I’ll be holding my Open House – you can pick up a copy of the catalogue at that time and also shop my retired product selection! RSVP to get directions and have a catalogue reserved just for you.
Stampin’ Up! is holding its On Stage Events these next few days, so we’re starting to see images of the catalogue! The Catalogue will take effect June 4th, so there’s still a little time to go – but here’s a peek at the cover!
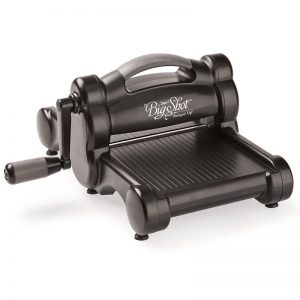
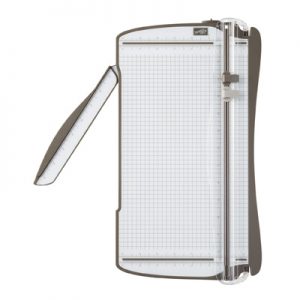
Stampin’ Up! Retiring Product News! While the full retiring list won’t be released for a few days yet, we do know of a few items that will be retiring – notably the Big Shot Die Cutting Machine and the Stampin’ Trimmer!
What to know:
Stampin’ Up! will still continue to offer dies and embossing folders, and moving forward these items will be made by a different supplier, so you will notice some difference in them. Exciting – the dies will have an inner edge or lip so that they will line up right against the stamped image – making them easier to align perfectly, rather than having to judge the amount of space you’re leaving around the stamped image. In the meantime, carry over dies and embossing folders may be the “old style” when ordered, until current stock is depleted.
Stampin’ Up!’s Trimmer and all associated tools will be retiring – which means the replacement blades and mats. There is currently a 3 item limit on replacement blades, but after April 15th, it will move up to a 6 item limit. This means that you can stock up on the blades and they should last you a long time still.
While neither of these items will be in the 2019-2020 Annual Catalogue, Stampin’ Up! is moving forward with coming up with new offerings in these categories (and will let us know when they’re ready to be released!).
I know that this Stampin’ Up! Retiring Product News may be a bit of a surprise – I personally LOVE my Big Shot – but I know that Stampin’ Up! is working toward offering their own product that will fill the paper crafter’s needs, and I’m looking forward to see what they will be offering.
In the meantime, as always – if you have any questions, you can either leave a comment below or message me. If you need to grab these items (or associated accessories) – please visit yamstamps.com/shop (or click on the images above to see them in the YamStamps Online Stampin’ Up! Canada Store).
In my Monthly Card Classes and Stampers Club, I always try to include a variety of cards in the class. Usually there will be one appropriate for the month – for example in February there was a “love” card that could be used as a Valentine, and this month there’s an Easter card. I also try to do one that is more “gender neutral”. Often when I do a hosted event the host will ask for a certain type of card, and I do my best to accomodate! It’s a way for me to stretch my creative muscle a bit, otherwise I tend to fall into a bit of a creative rut. These demonstrator card swaps are another great way to stretch my creativity – usually there are guidelines for materials, number of layers, accessories etc, and I actually find it can be easier for me to come up with something when I’m given these “rules”.
The Stampers Club meets on the third Monday of each month (in general, depending on stat holidays!) and each member signs up for six consecutive months. Once the six months are up, the member can either continue on for another six, or take a break. We have some members that join for certain seasons, based on work or travel, and some that enjoy a more consistent creative outlet. Check the YamStamps Events page for upcoming dates and information, or you can always contact me. Can’t make those dates? Get a group together and contact me to set up a private class date! No excuses – set aside some me time and get crafty!!