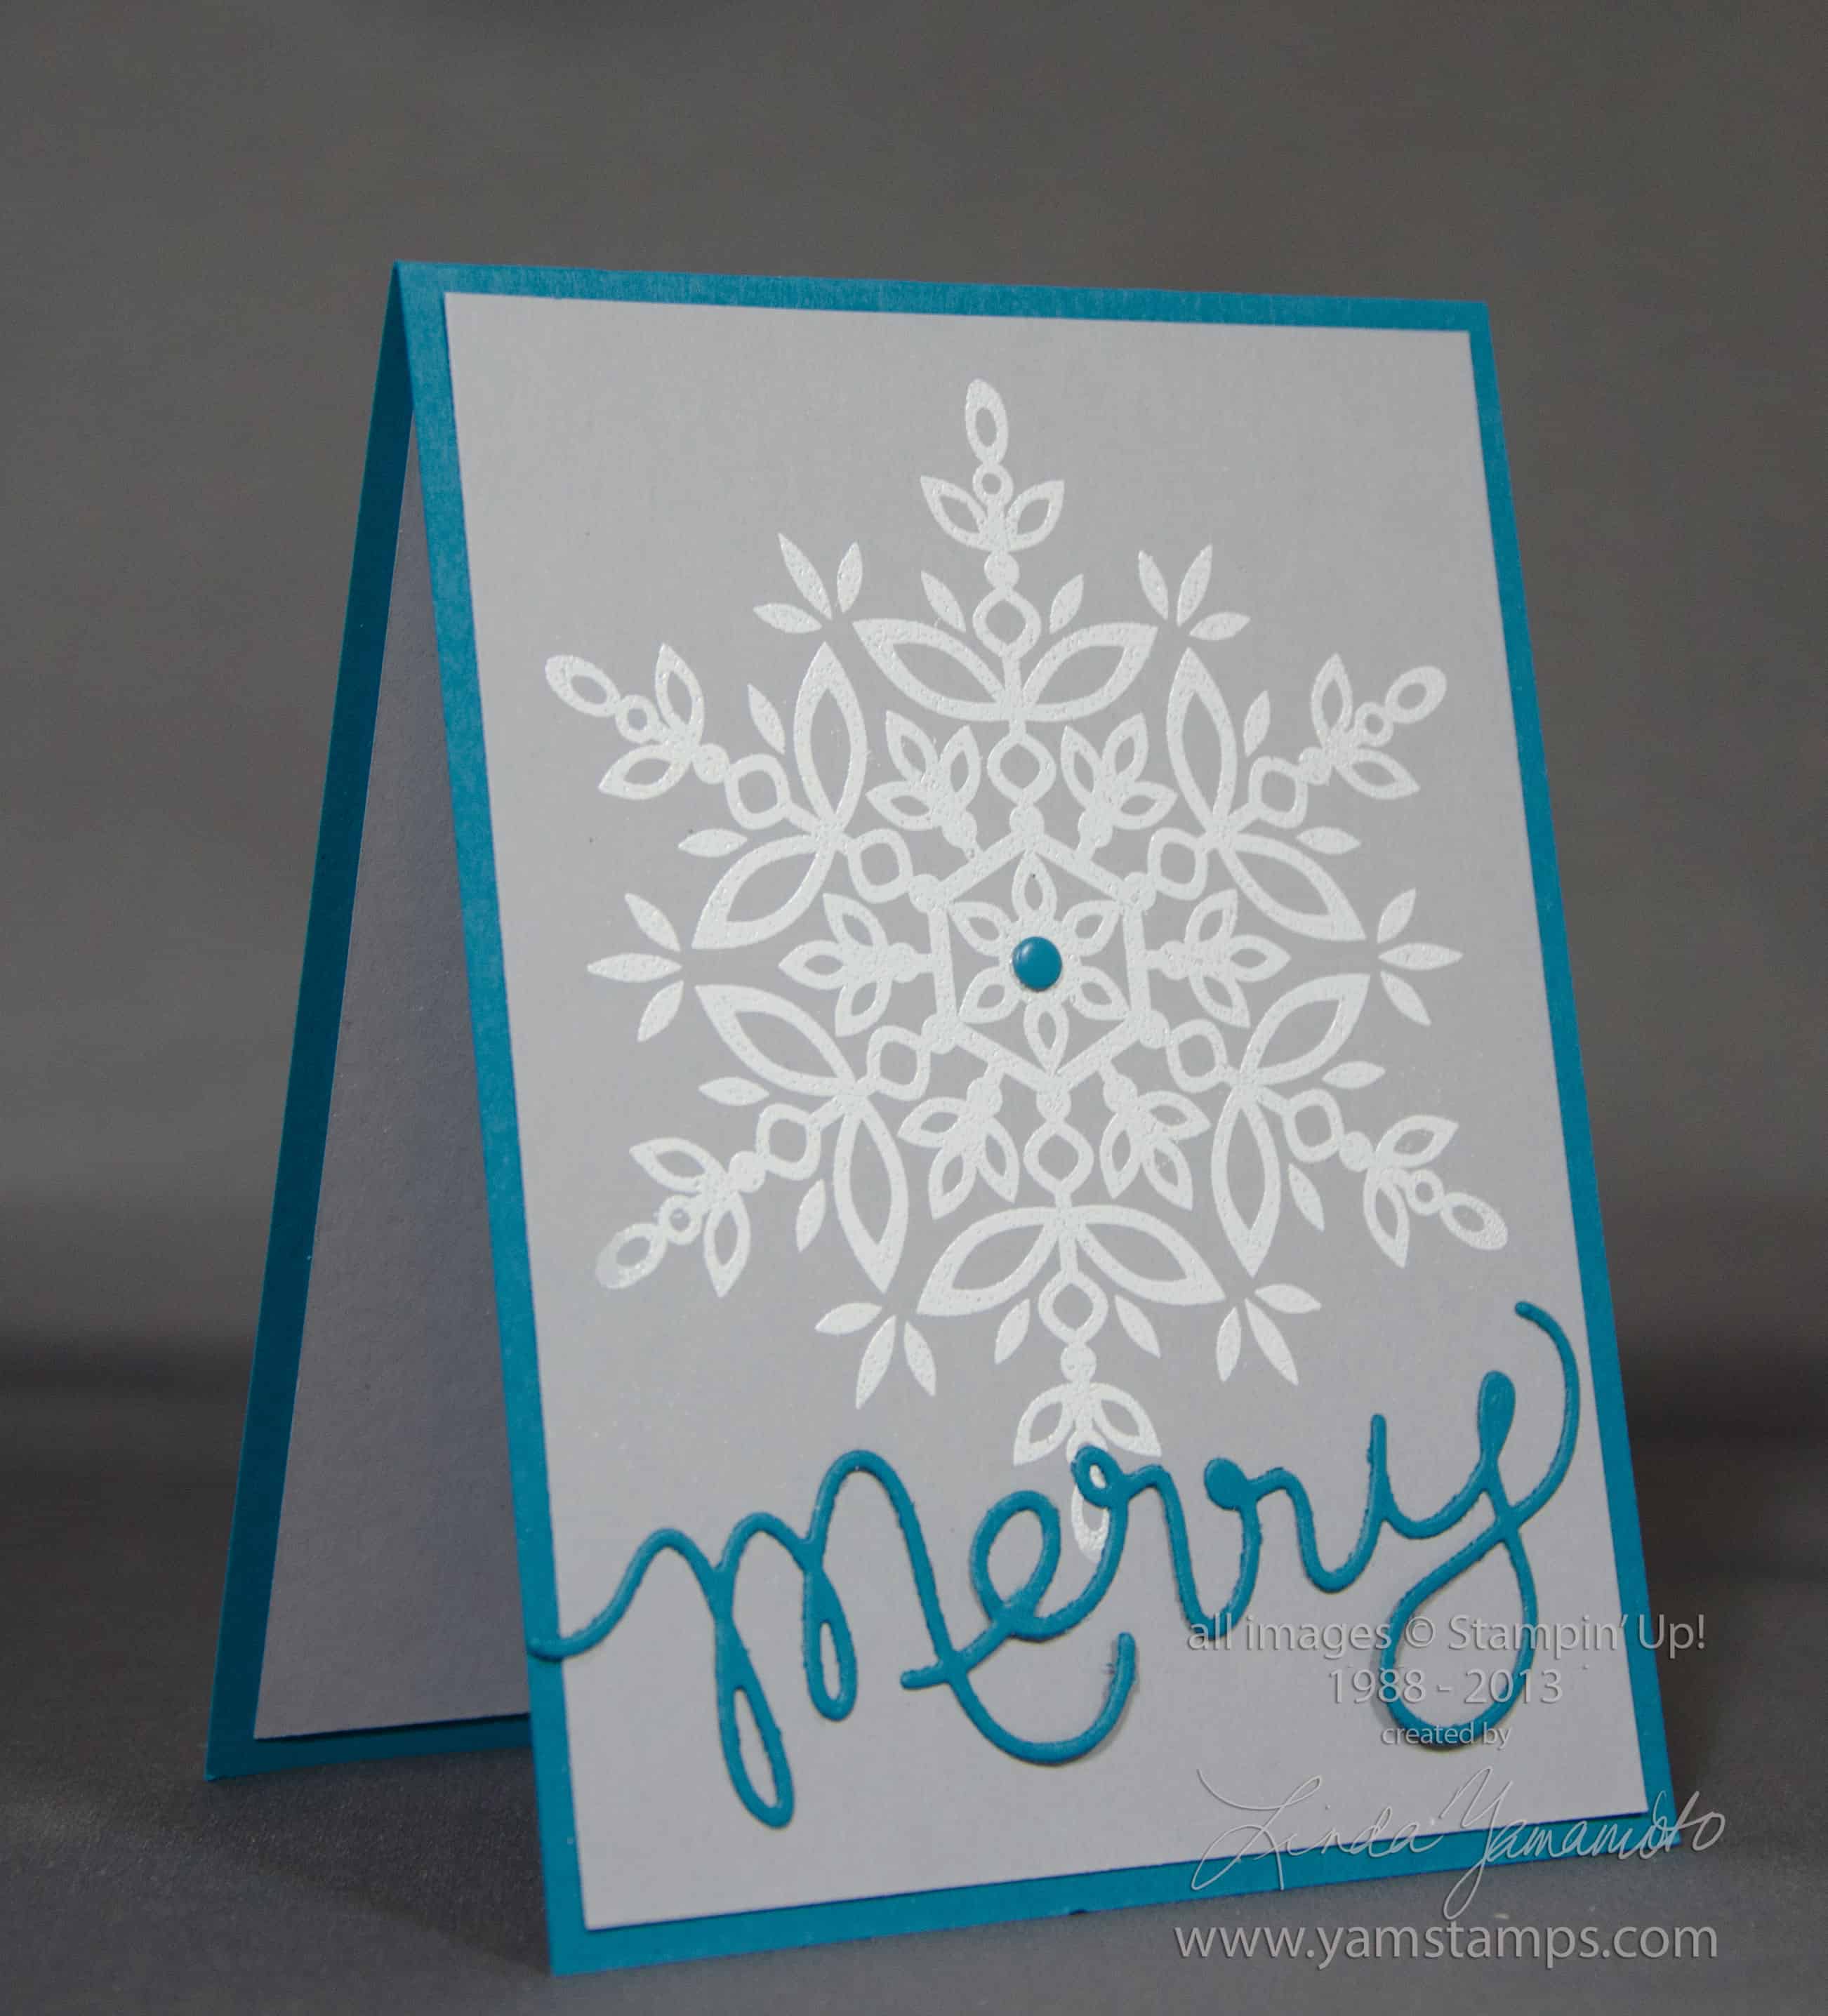
Never too early to start prepping those holiday cards. We created this card during Stampers Club this month. The large snowflake from Stampin’ Up!’s Festive Flurry set is heat embossed in white on Smoky Slate cardstock (love this new colour), and the Expressions Thinlit “Merry” adds the sentiment. An Island Indigo Candy Dot ties it together. I really like this card, but I have to admit that initially during Club it was driving me crazy…until I figured out a hint – and I’ll share it here.
Expressions Thinlits Hints
1) Use the Magnetic Platform. I looooooove this tool. You don’t need to have brand new, pristine cutting plates, but you do need to have ones that are fairly straight – not warped, in order for the magnet to be able to hold the metal framelit or thinlit in place.
2) Use a layer (or two) of waxed paper between your cardstock and thinlit if you’re having trouble getting the cardstock to “release”.
3) Use your paper piercer tool to poke gently through the little holes in the thinlit to push your diecut out if you’re having trouble getting the cardstock to “release”
4) Use an extra piece of cardstock on top of the cutting plate as a “shim” to add extra pressure along the thinlit
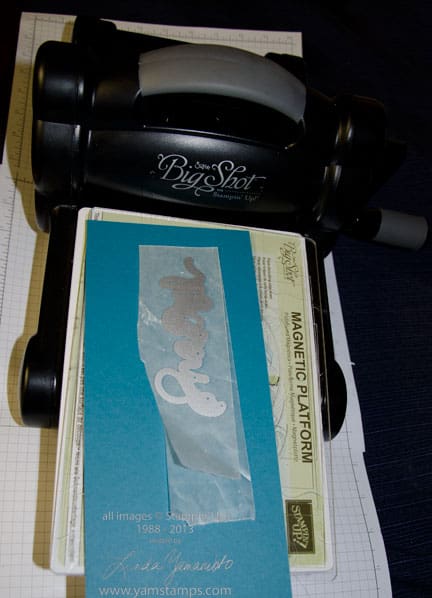
5) Run the thinlit through lengthwise rather than widthwise!!! This is the hint we discovered at Club night. If you run the word through horizontally, you may have uneven pressure across the thinlit. In my case, the centre of the thinlit wasn’t cutting as cleanly as the edges. It may be that my cutting plates were slightly warped or perhaps because my Big Shot has been used and abused since I got it…LOL. Anyway, check out the photo below for the visual as to the set up (the top cutting plate is missing in the photo just so you can see it better).Obviously with some of the longer words (i.e. “thankful”) it’s a given, but with the word “merry” or “love”…not so much!
If you have any tips or tricks you’d like to share about using the thinlits or Big Shot, please leave a comment below, or on my facebook page so we can all learn!
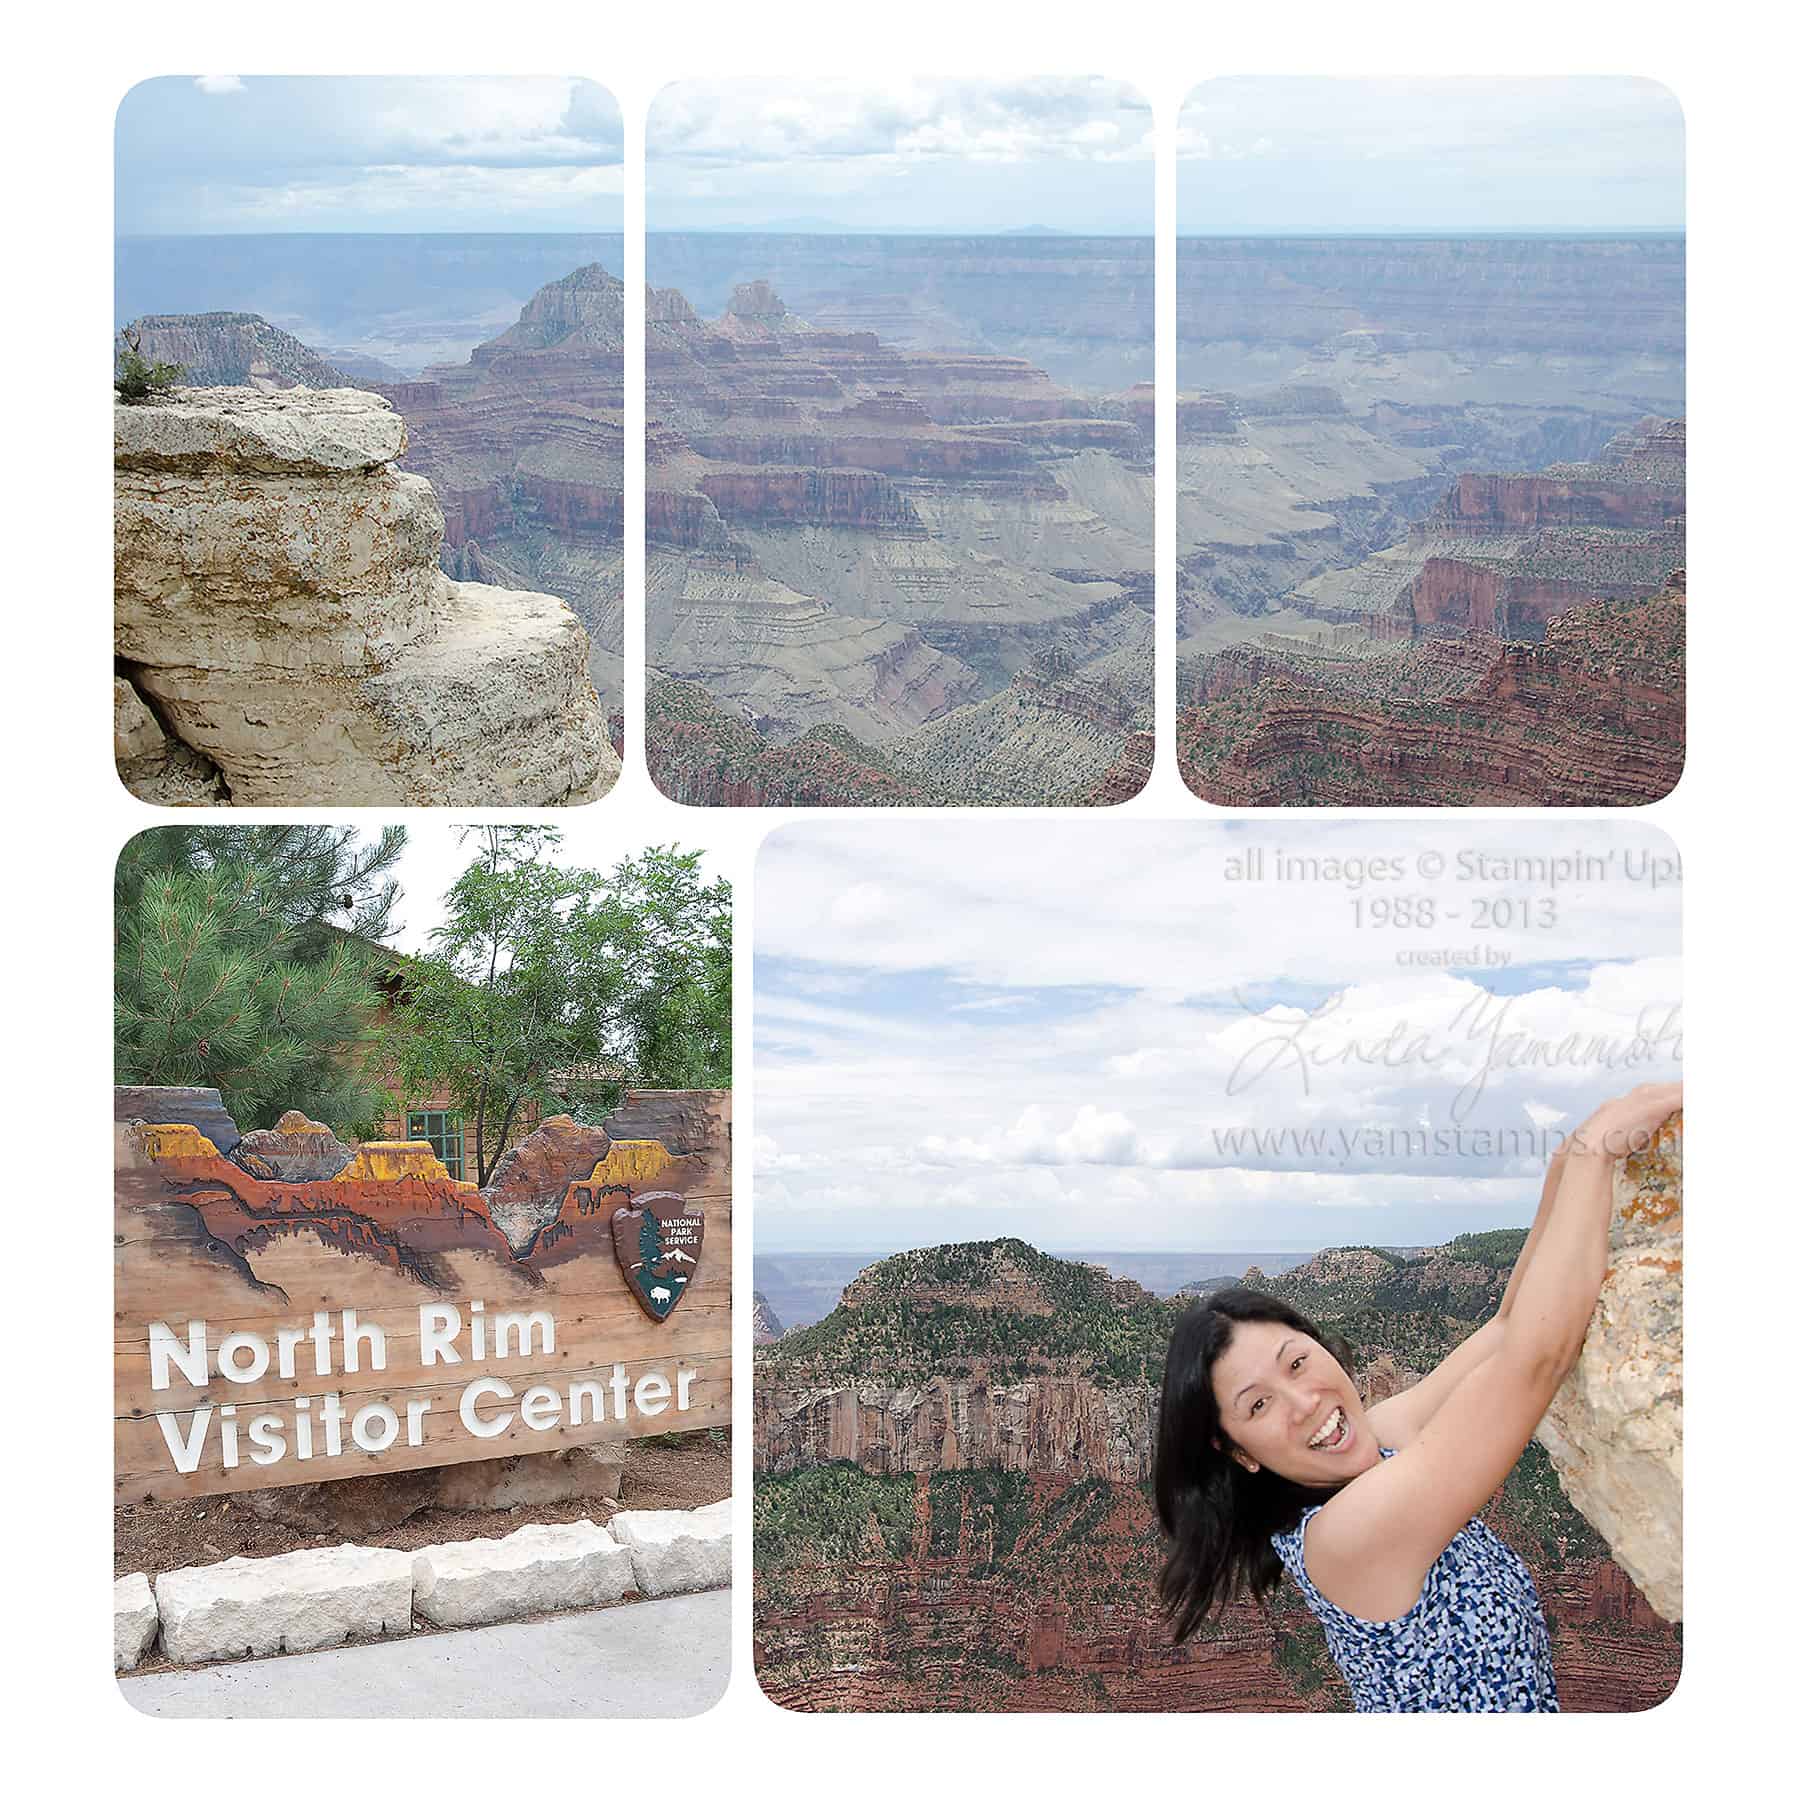
Remember this page? I had promised you a tutorial on how to do the photo technique at the top of this page – here it is – the video tutorial I’d promised you about how to spread one photo across a number of photo blocks in MDS. This is a fun and EASY technique to add a little twist to your photo pages. Time to get those digital photos onto a digital page and share online – or print it out and share with your friends and family!
Frugal Friday is a semi-regular occurrence here on www.yamstamps.com – showing you how to stretch your crafting dollars! I have a video today to share, showing how to create an Easter card even if you don't have any specific Easter stamps. This card could also work for Baptisms, Christenings, First Communions…you get the idea…
I didn't do a commentary for this video, it's pretty self-explanatory, though I did add some captions.
Happy World Cardmaking Day! Hope that you are able to spend a moment today to make a card and send it to someone special – "just because". That's the beauty of cardmaking, I think – it's a craft that is based on sharing with others.
Here's a video I created (look at the fancy title and end bits!) to show you how to make a card using a technique that some call "Triple Time". If you saw my clip on CH Morning Live yesterday, it was the card at the top of the card tree. If you didn't see that clip, I'll include a link of it below as well. I had a great time as always on the show, and Annette Hamm is a crafter for sure! Despite my "epic time fail" I think it went pretty well. My epic fail was that I hauled my Big Shot along to show some fancy embossing and die cutting…..and we totally ran out of time before I even got to use it on air!!! Ah well, that means I have something to show next time, and I will be SURE to do that FIRST!!!
Without further ado – here's the video – enjoy, and if you make something with this, I'd love to see the results! Email me or post it to my page on facebook – www.facebook.com/yamstamps
Thought I'd add a "Tuesday Tip" – a quick tip for your paper crafting! The plan is for this to be a semi-regular feature here at www.yamstamps.com Today's video tutorial is a variety of ways (okay, 4 to be exact) that you can create notched ends in your paper or ribbon to complete the look of your paper craft projects. If you are reading this in a reader or via email, the video may not appear, so in that case, please go to the video on the yamstamps youtube channel or the yamstamps blog to see it.
The stamp sets used in the project were Blue Ribbon and Confetti for the birthday card, and the swap card used Bootiful Occasions (on my wish list…LOL).
If you have anything you'd like to see featured on Tuesday Tips, please leave a comment below (please note, they will not appear right away as comments must be approved as legitimate!) or send me an email.
WOOHOO! Stampin’ Up! just announced to demonstrators that the 31% off Digital Sale is being extended to September 14th! Realizing that this is a bit of a crazy time of year for everyone, this gives you a bit more time to take advantage of the digital deals. These downloads work in My Digital Studio – Stampin’ Up!’s digital crafting program – aka MDS, MDS2 which was just released, and any program that can manage .png files (most of the photo editing software out there). I am just getting into MDS2 and working on some tutorial videos for you all.
Or…you can check out this video that I did a while back for MDS – using a template that’s now available in MDS2+. This is how easy it is to create something using the great digital templates available!! Drag and drop 🙂 (if you are reading this in a reader or email, the embedded video may not appear – come to www.yamstamps.com to check it out!)

 Never too early to start prepping those holiday cards. We created this card during Stampers Club this month. The large snowflake from Stampin’ Up!’s Festive Flurry set is heat embossed in white on Smoky Slate cardstock (love this new colour), and the Expressions Thinlit “Merry” adds the sentiment. An Island Indigo Candy Dot ties it together. I really like this card, but I have to admit that initially during Club it was driving me crazy…until I figured out a hint – and I’ll share it here.