Sep 29, 2013 | Announcements, cards, Events
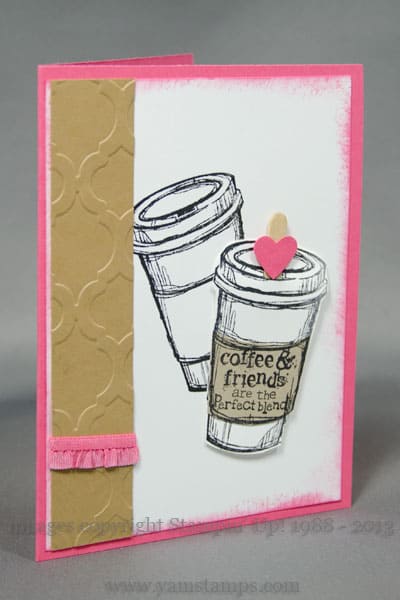 Did you know this is International Coffee Day? (Neither did I….) but thought I’d share this fun coffee themed card with you. I received it in a swap at the past Stampin’ Up! convention from Rose Marie Coleman. Check out the YamStamps facebook page for another coffee-themed card!
While you’re enjoying your cup of coffee, why not check your calendar? Be sure to check my events page to see all my upcoming classes and events. This Wednesday, October 2nd is my monthly card class – would love for you to join us to create 4 cards using a variety of techniques and tools. We’ll be using the Envelope Punch Board for a fun card – and if you’re keen on getting your hands on one of these, contact me ASAP or place your order online as we’ve been notified that supplies are running low and the next shipment isn’t until October…not to panic you or anything! Also coming up – the next installment in my monthly Christmas Card Classes – Friday October 4th.
As always, if you aren’t able to make my class dates, get a group of friends together and I will come to you! Private classes are a great way to have a “Girls Night” – catch up on the news AND try something fun and craft at the same time! Contact me to discuss potential party dates!
Sep 27, 2013 | Announcements, rubber stamping, Stampin' Up!
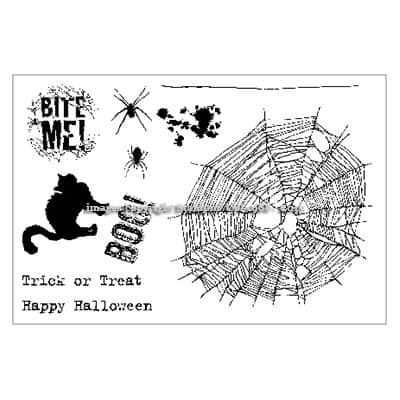 I’m not being rude…that’s the name of the latest photopolymer set from Stampin’ Up! Bite Me, a Hallowe’en themed set is out in time for your spooky crafting needs. Stampin’ Up! is offering a limited amount of photopolymer stamp sets as an option for your stamping collection. These stamps work with clear mount blocks (in this case, block sizes A, G, H and E), so make sure you have the right size blocks so you can get started right away!
I’m looking forward to some spooky crafting myself – the Hallowe’en Banner Class is happening one week today, so I’ll have some seasonal decor for my home. You’ll also want to check out my upcoming email newsletter because there’s a quick and fun home decor idea included inside it’s scheduled to arrive in your inbox on Tuesday, October 1st, just before the 12 Weeks of Christmas mailings start – so lots of fun and inspirational ideas coming to your email soon!
Sep 25, 2013 | Announcements, Christmas
 One week today, my annual “Twelve Weeks of Christmas” mailings will begin – yes, you read that correctly – 12 weeks til Christmas!! Each week, you’ll receive an email featuring a different holiday card, gift idea or packaging idea, complete with photo and instructions – BUT ONLY IF YOU’RE ON MY MAILING LIST! This is a gift for all my email subscribers. What are you waiting for? Sign up now! You have your choice of locations – the home page of YamStamps.com, the box at the top right of the blog page, the link HERE, or that mysterious box that may pop up every once in a while during your visits here. Lots of options! Lots of great ideas will be coming your way, and will not be repeated!
Sep 24, 2013 | Announcements, MDS
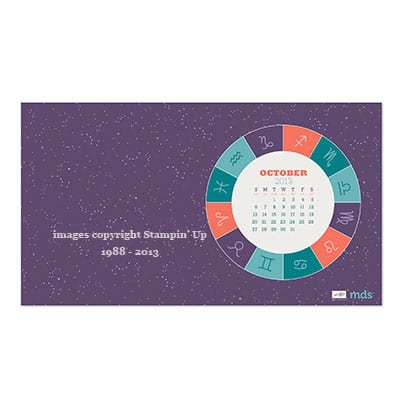 Did you know that every Tuesday, Stampin’ Up! releases new digital downloads for use in MDS or other photo editing software? Today is no exception – and because it’s also the last Tuesday of the month (eek!), the latest FREE download is here – the October desktop wallpaper! If you’re into astrology, you’ll want to grab the Starlight October kit used for this calendar, but it also contains sentiments pertaining to astrology and astronomy, including “Love you to the moon and back” (any other moms out there get a bit teary at that one??!!). Think I might have to get the kit just for that saying alone. Other downloads include the Christmas Banner Simply Created Kit – which has some realistic/3D images that I love. If you need to see these in real life, consider signing up for my Christmas Banner class – you’ll get one of these real kits to help you create your festive banner! Registration deadline is October 28th, so don’t miss out!
Happy Digital Download Day 🙂
Sep 22, 2013 | Big Shot, cards, Christmas, Stampin' Up!, Tutorial
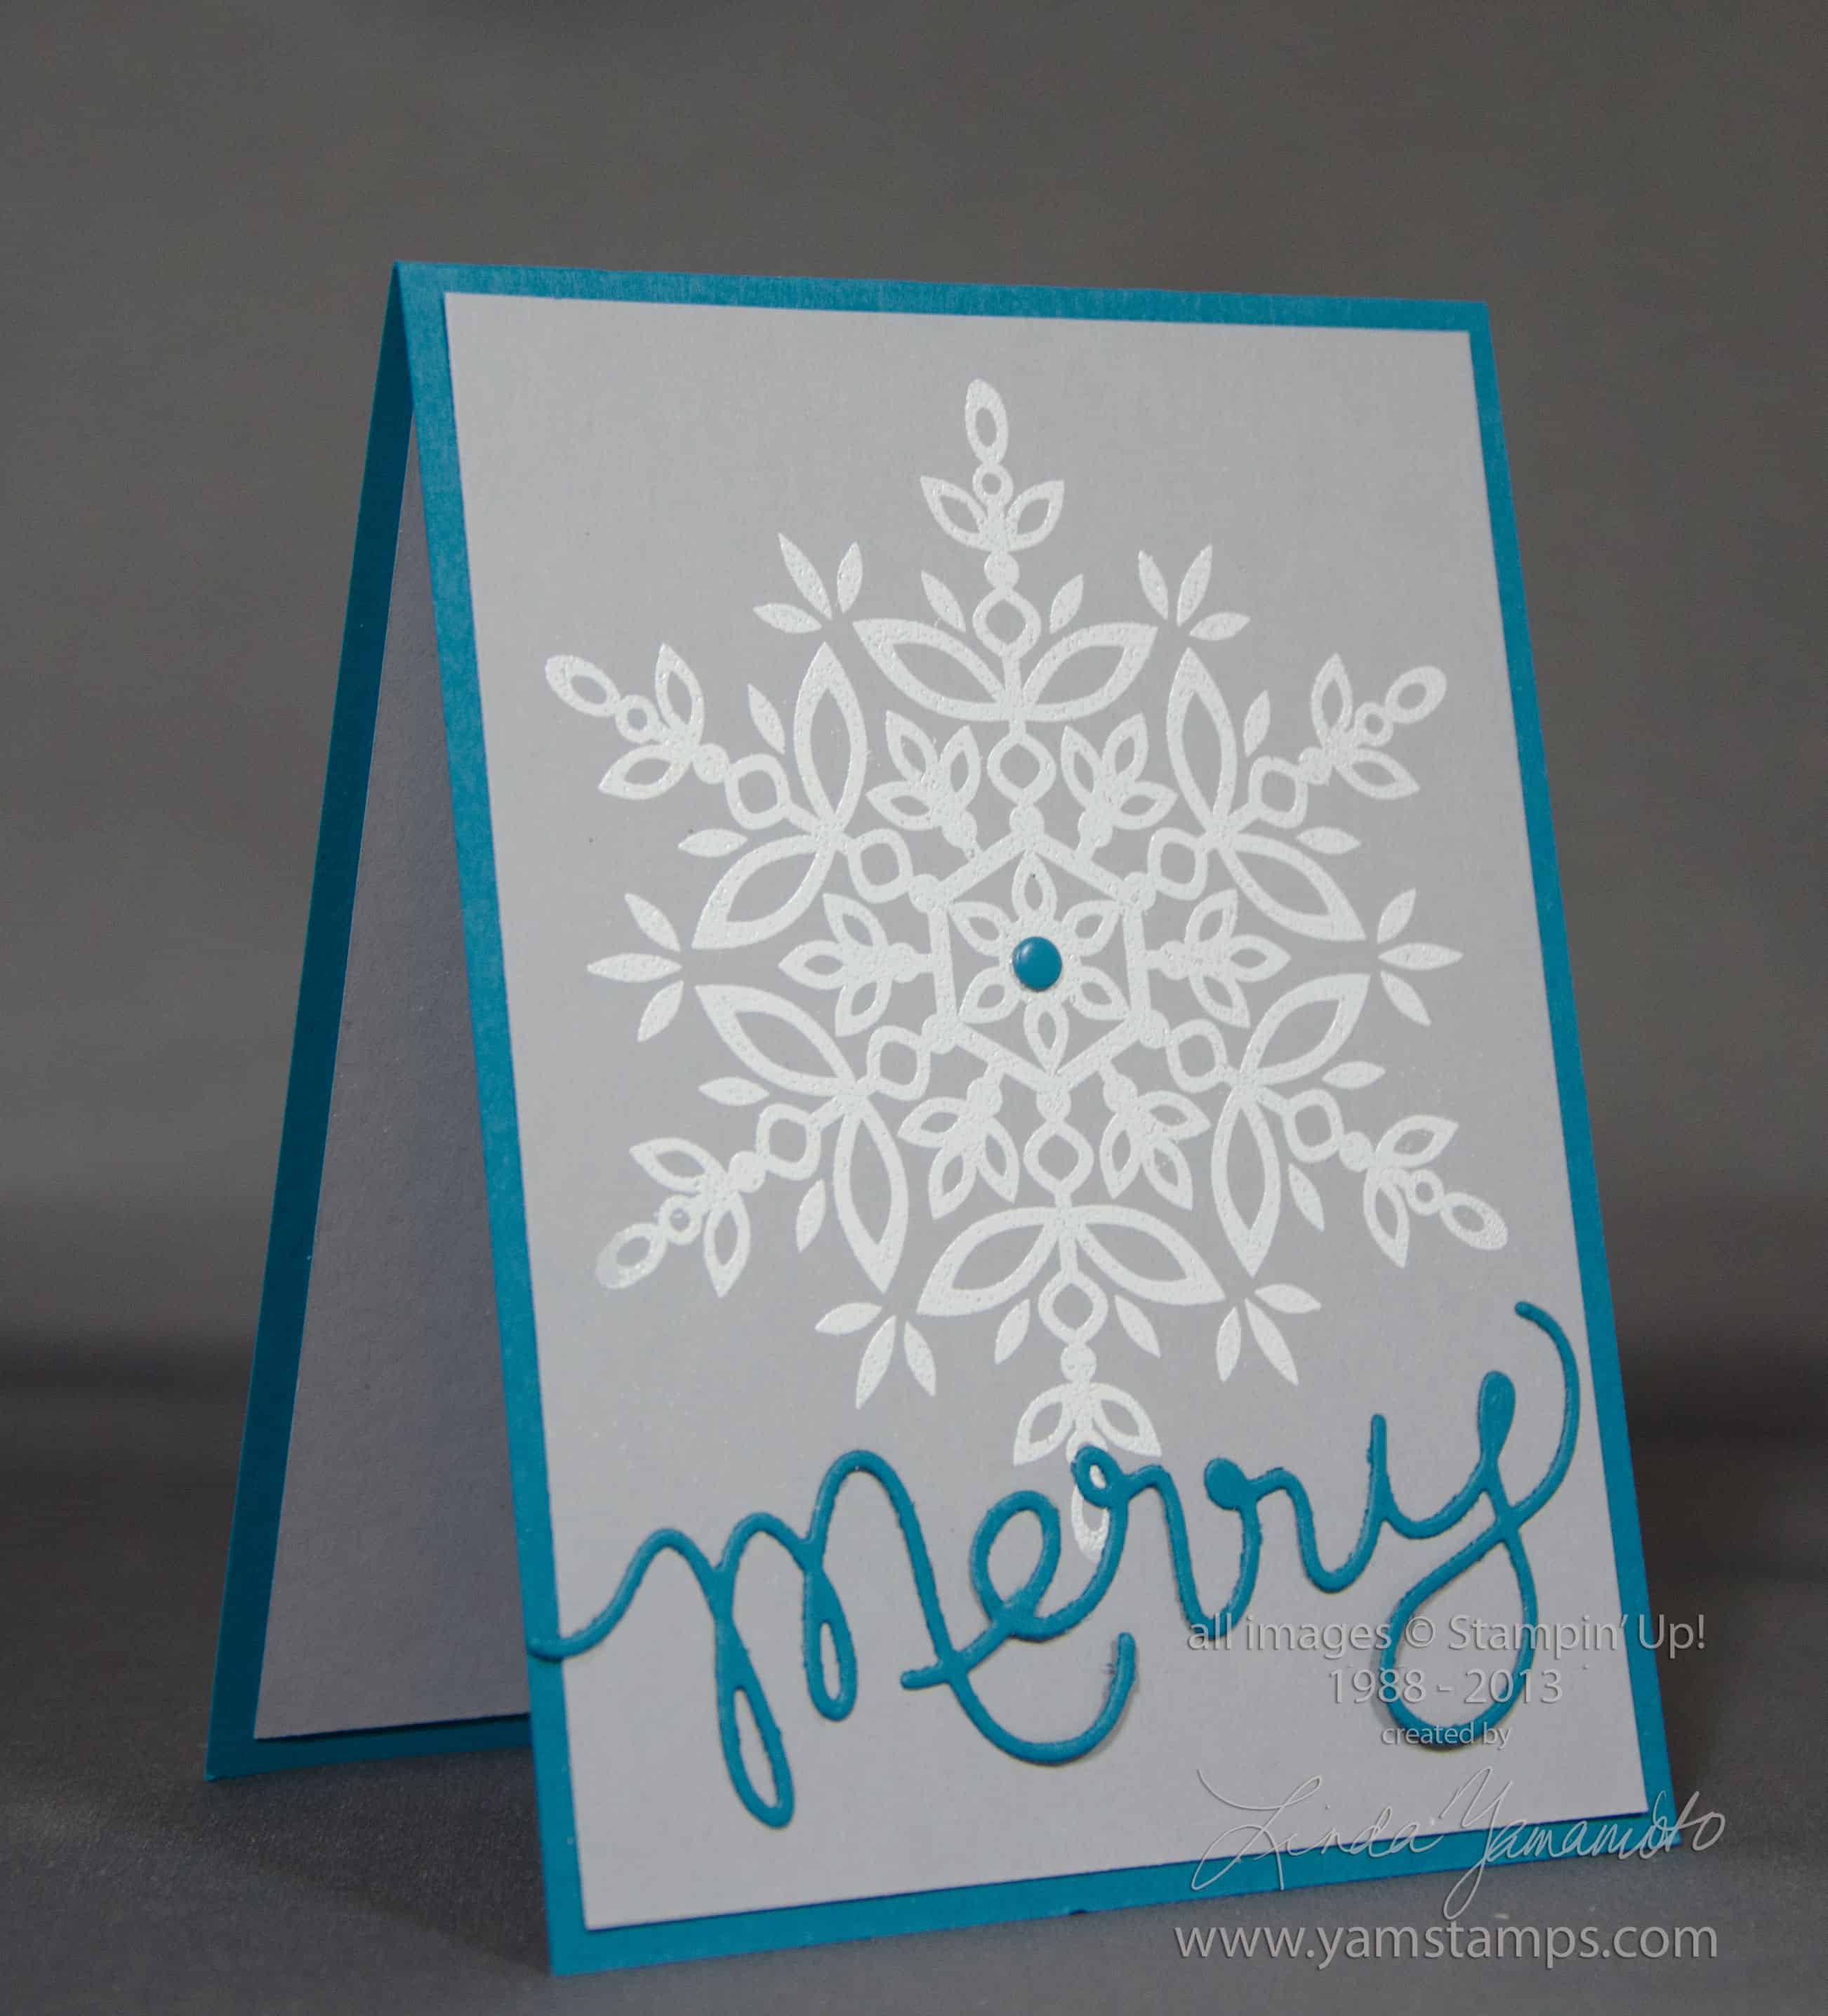
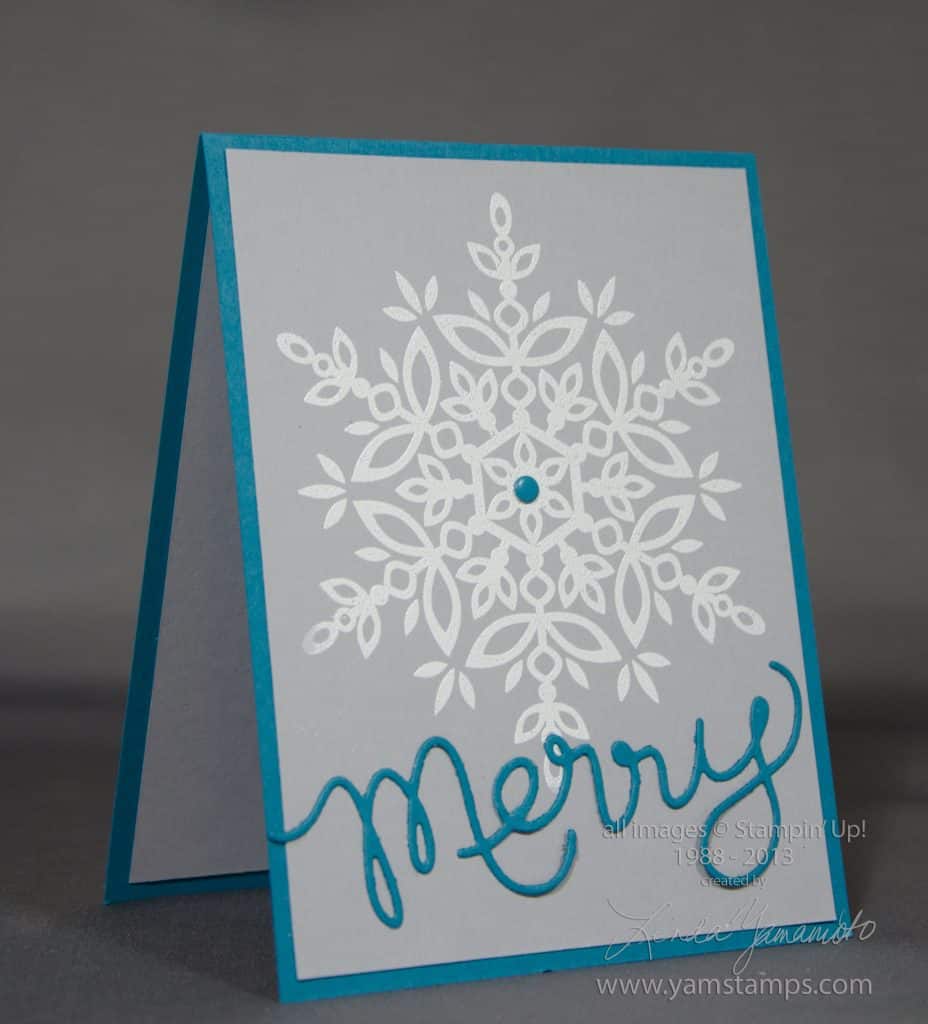 Never too early to start prepping those holiday cards. We created this card during Stampers Club this month. The large snowflake from Stampin’ Up!’s Festive Flurry set is heat embossed in white on Smoky Slate cardstock (love this new colour), and the Expressions Thinlit “Merry” adds the sentiment. An Island Indigo Candy Dot ties it together. I really like this card, but I have to admit that initially during Club it was driving me crazy…until I figured out a hint – and I’ll share it here.
Expressions Thinlits Hints
1) Use the Magnetic Platform. I looooooove this tool. You don’t need to have brand new, pristine cutting plates, but you do need to have ones that are fairly straight – not warped, in order for the magnet to be able to hold the metal framelit or thinlit in place.
2) Use a layer (or two) of waxed paper between your cardstock and thinlit if you’re having trouble getting the cardstock to “release”.
3) Use your paper piercer tool to poke gently through the little holes in the thinlit to push your diecut out if you’re having trouble getting the cardstock to “release”
4) Use an extra piece of cardstock on top of the cutting plate as a “shim” to add extra pressure along the thinlit
5) Run the thinlit through lengthwise rather than widthwise!!! This is the hint we discovered at Club night. If you run the word through horizontally, you may have uneven pressure across the thinlit. In my case, the centre of the thinlit wasn’t cutting as cleanly as the edges. It may be that my cutting plates were slightly warped or perhaps because my Big Shot has been used and abused since I got it…LOL. Anyway, check out the photo below for the visual as to the set up (the top cutting plate is missing in the photo just so you can see it better). Obviously with some of the longer words (i.e. “thankful”) it’s a given, but with the word “merry” or “love”…not so much!
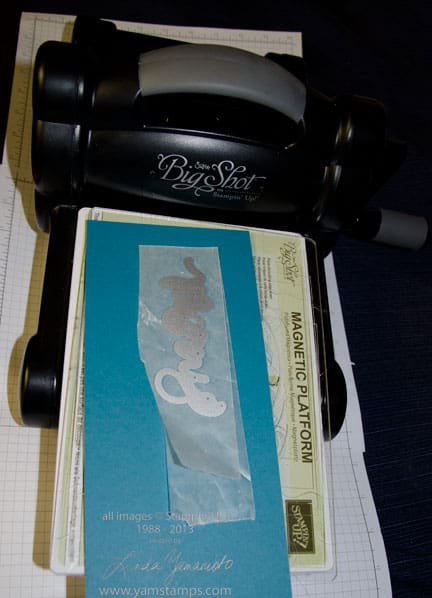
If you have any tips or tricks you’d like to share about using the thinlits or Big Shot, please leave a comment below, or on my facebook page so we can all learn!