Feb 12, 2014 | 3D samples, TV/Video/Web/Tech
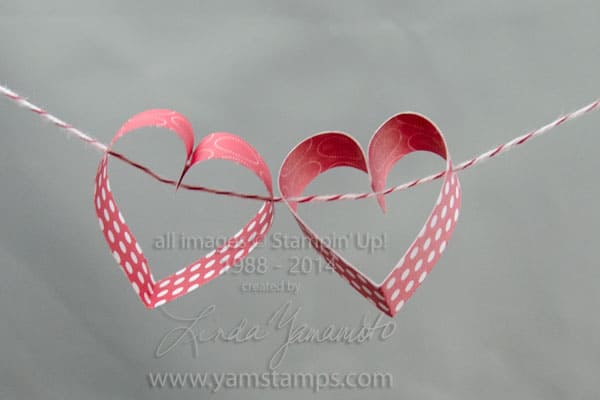
I must apologize for not getting these up a little sooner – there was much drama behind the scenes here with some technical issues on the website, however all is well now, thanks to the fantastic support team at HostGator . So anyway – on to the fun stuff! Here’s the other folded heart I showed on TV last week – simple to make and fun to share.

This version is wide enough to hide a chocolate treat inside.

If you punch a hole in the centre of the folded strip (about halfway from either end), you can string them into a garland.
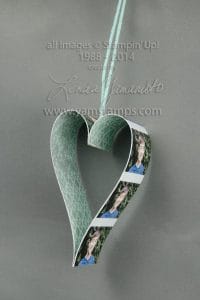
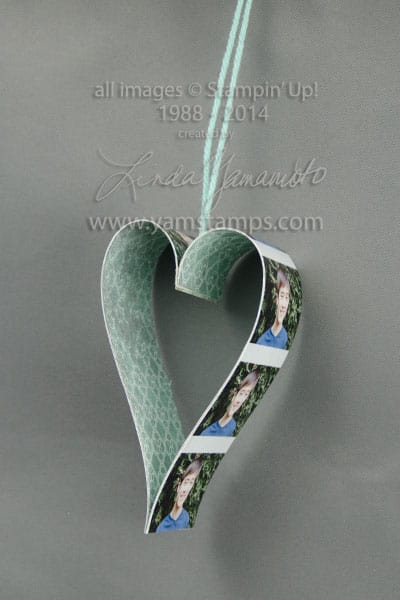
In this version (that I forgot to share on air after all that! LOL) I adhered a strip of photos to some Designer Series paper and then made a heart ornament. For this one, I adhered two strips at the bottom rather than pinching it in half so that all the photos would be right side up.
Whip some of these up for Valentine’s Day – there’s still time!
Dec 7, 2013 | 3D samples, cards, Christmas, Stampin' Up!
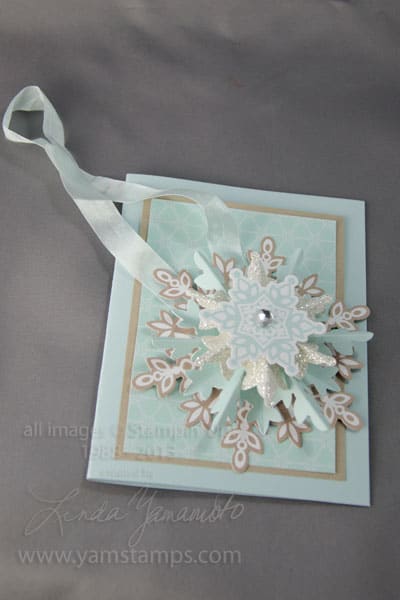
 Have I mentioned how much I like the Stampin’ Up! Festive Flurry Ornament kit?! This card is a great way to present an ornament to someone special. The Winter Frost Designer Series Paper layer is actually popped up a bit at the top using some Stampin’ Dimensionals. After creating the ornament, the ribbon is tucked in behind that layer to anchor it in place. It makes a beautiful looking presentation, and then afterwards, the recipient can pull out the ornament and use it on their tree! This could be a great family project – and the kids can sign their names to the back of the ornament with the date as a keepsake.
The next photo shows the ornament separate from the card. We created this in the last of the Christmas Card Class Series….talk about going out with a bang! Just a reminder that January’s Monthly Card Class will be held the SECOND Wednesday of the month, since the first Wednesday is January 1st so people might still be recovering from all the festivities. OK. I might still be recovering from being forced to stay up past midnight. Whatever.
Anyway – check out my Events schedule or try one of my online classes! The next online class will be released early in the new year so stay tuned for the announcement.
Nov 28, 2013 | 3D samples, Christmas, Events
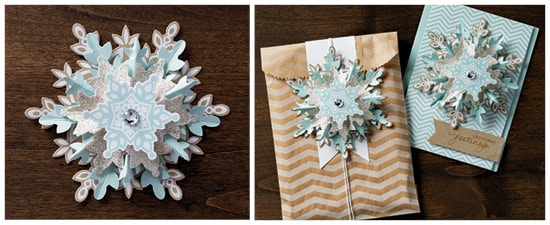 I’m adding an extra class onto my schedule – because I love this kit so much!! In honour of Black Friday….I’m offering up this deal starting today! For $20 you get the kit and you can attend a class here in Burlington where you will make the snowflakes! (the image on the left is the snowflake itself, the image on the right is showing ideas for its use other than ornaments, if you wish). THIS IS OFFER IS LIMITED TO 10 KITS. Once those 10 kits are gone, the deal is gone. The kits are priced at $17.95 not including shipping & tax, and my usual class fee is $20, so this is a deal!
It’s a night out to craft and have fun, plus you’ll get some holiday prep done as well!! You can use these embellishments as decorations (on the tree, on the mantel, on the door….) or as tags for those extra special presents for those extra special people… This class will be offered Wednesday, December 4th – 7pm (running simultaneously with the Monthly Card Class) and Friday, December 6th – 7pm (running simultaneously with the Christmas Card Class). You should have time to do both if you so desire. Registration and payment in advance, please and thank you. CLICK HERE or use the PayPal button below
Oct 26, 2013 | 3D samples, Tutorial, TV/Video/Web/Tech
You may have seen the little paper witch’s hat on the table during my recent appearance on CHCH TV’s Morning Live show. I thought I’d create a quick video tutorial on how I made this. It’s nothing elaborate, but it’s fun and fairly easy to create. If you can’t see the video embedded below, please click here to come directly to www.yamstamps.com or check it out on the yamstamps youtube channel.
Oct 19, 2013 | 3D samples, cards, Occasions, TV/Video/Web/Tech
 Here’s a sampling of the spooky projects (OK perhaps not spooky…) that I shared on Morning Live on Friday. I am always grateful to be invited back to the show to share some fun projects. Not so heavy on the rubber stamping, but lots of fun, still!
The mummy-wrapped box of candy – it’s a Smarties box – I used the smarties in some of the projects and used the empty box for this project. On air, it would have been way too noisy to use a full box! It’s wrapped in the natural 7/8″ cotton ribbon (I think I called it twill tape on air). A fun colourful card featuring the Bootiful Occasions stamp set.
The candy broomsticks, using the skinny cello bags and a fringed piece of cardstock, wrapped also with some Hallowe’en washi tape.
The paper piecing candy corn, the ghosts from the owl punch, and the little witch hat. I’ll try to get a video tutorial of how to make the hat up in plenty of time for you to create a few to share with special trick or treaters, or as a decoration for your Hallowe’en table.
I don’t have the bag toppers in this photo…because they got left behind! I will recreate them and take photos (or you can just check out the video below, on the YamStamps Youtube channel, or on the CHCH webpage LOL).
Happy Hallowe’en Crafting!
Sep 15, 2013 | 3D samples, cards, rubber stamping, Stampin' Up!
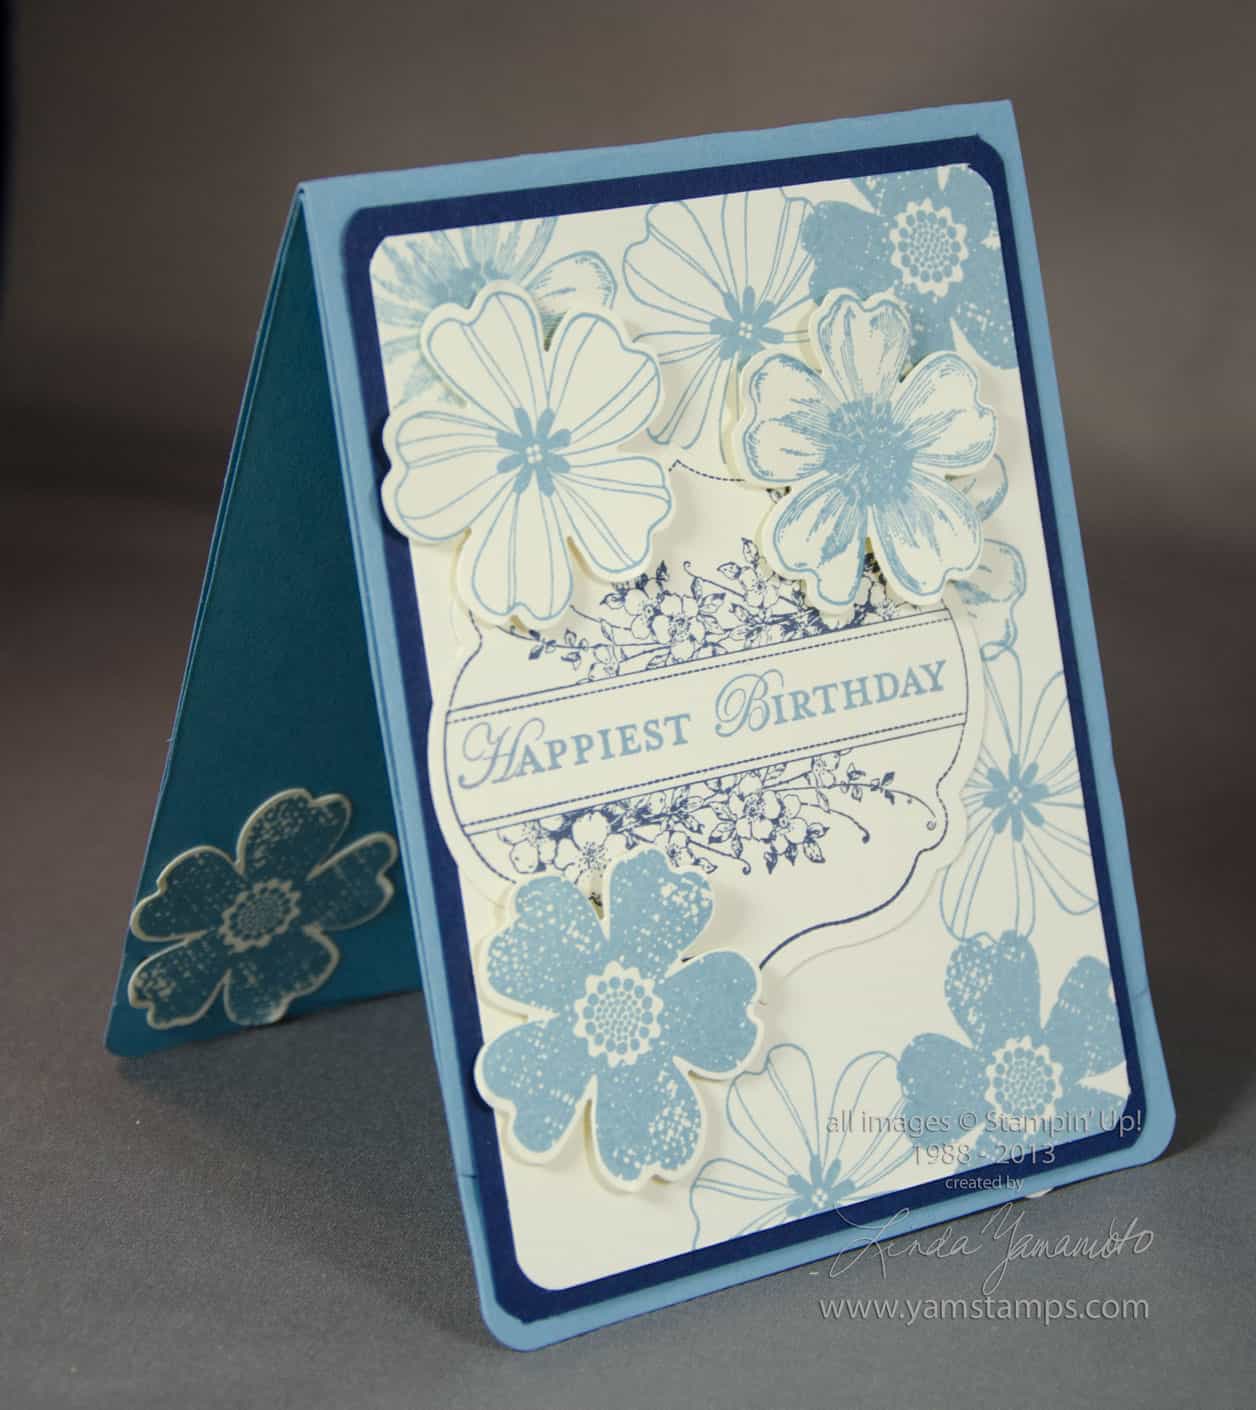
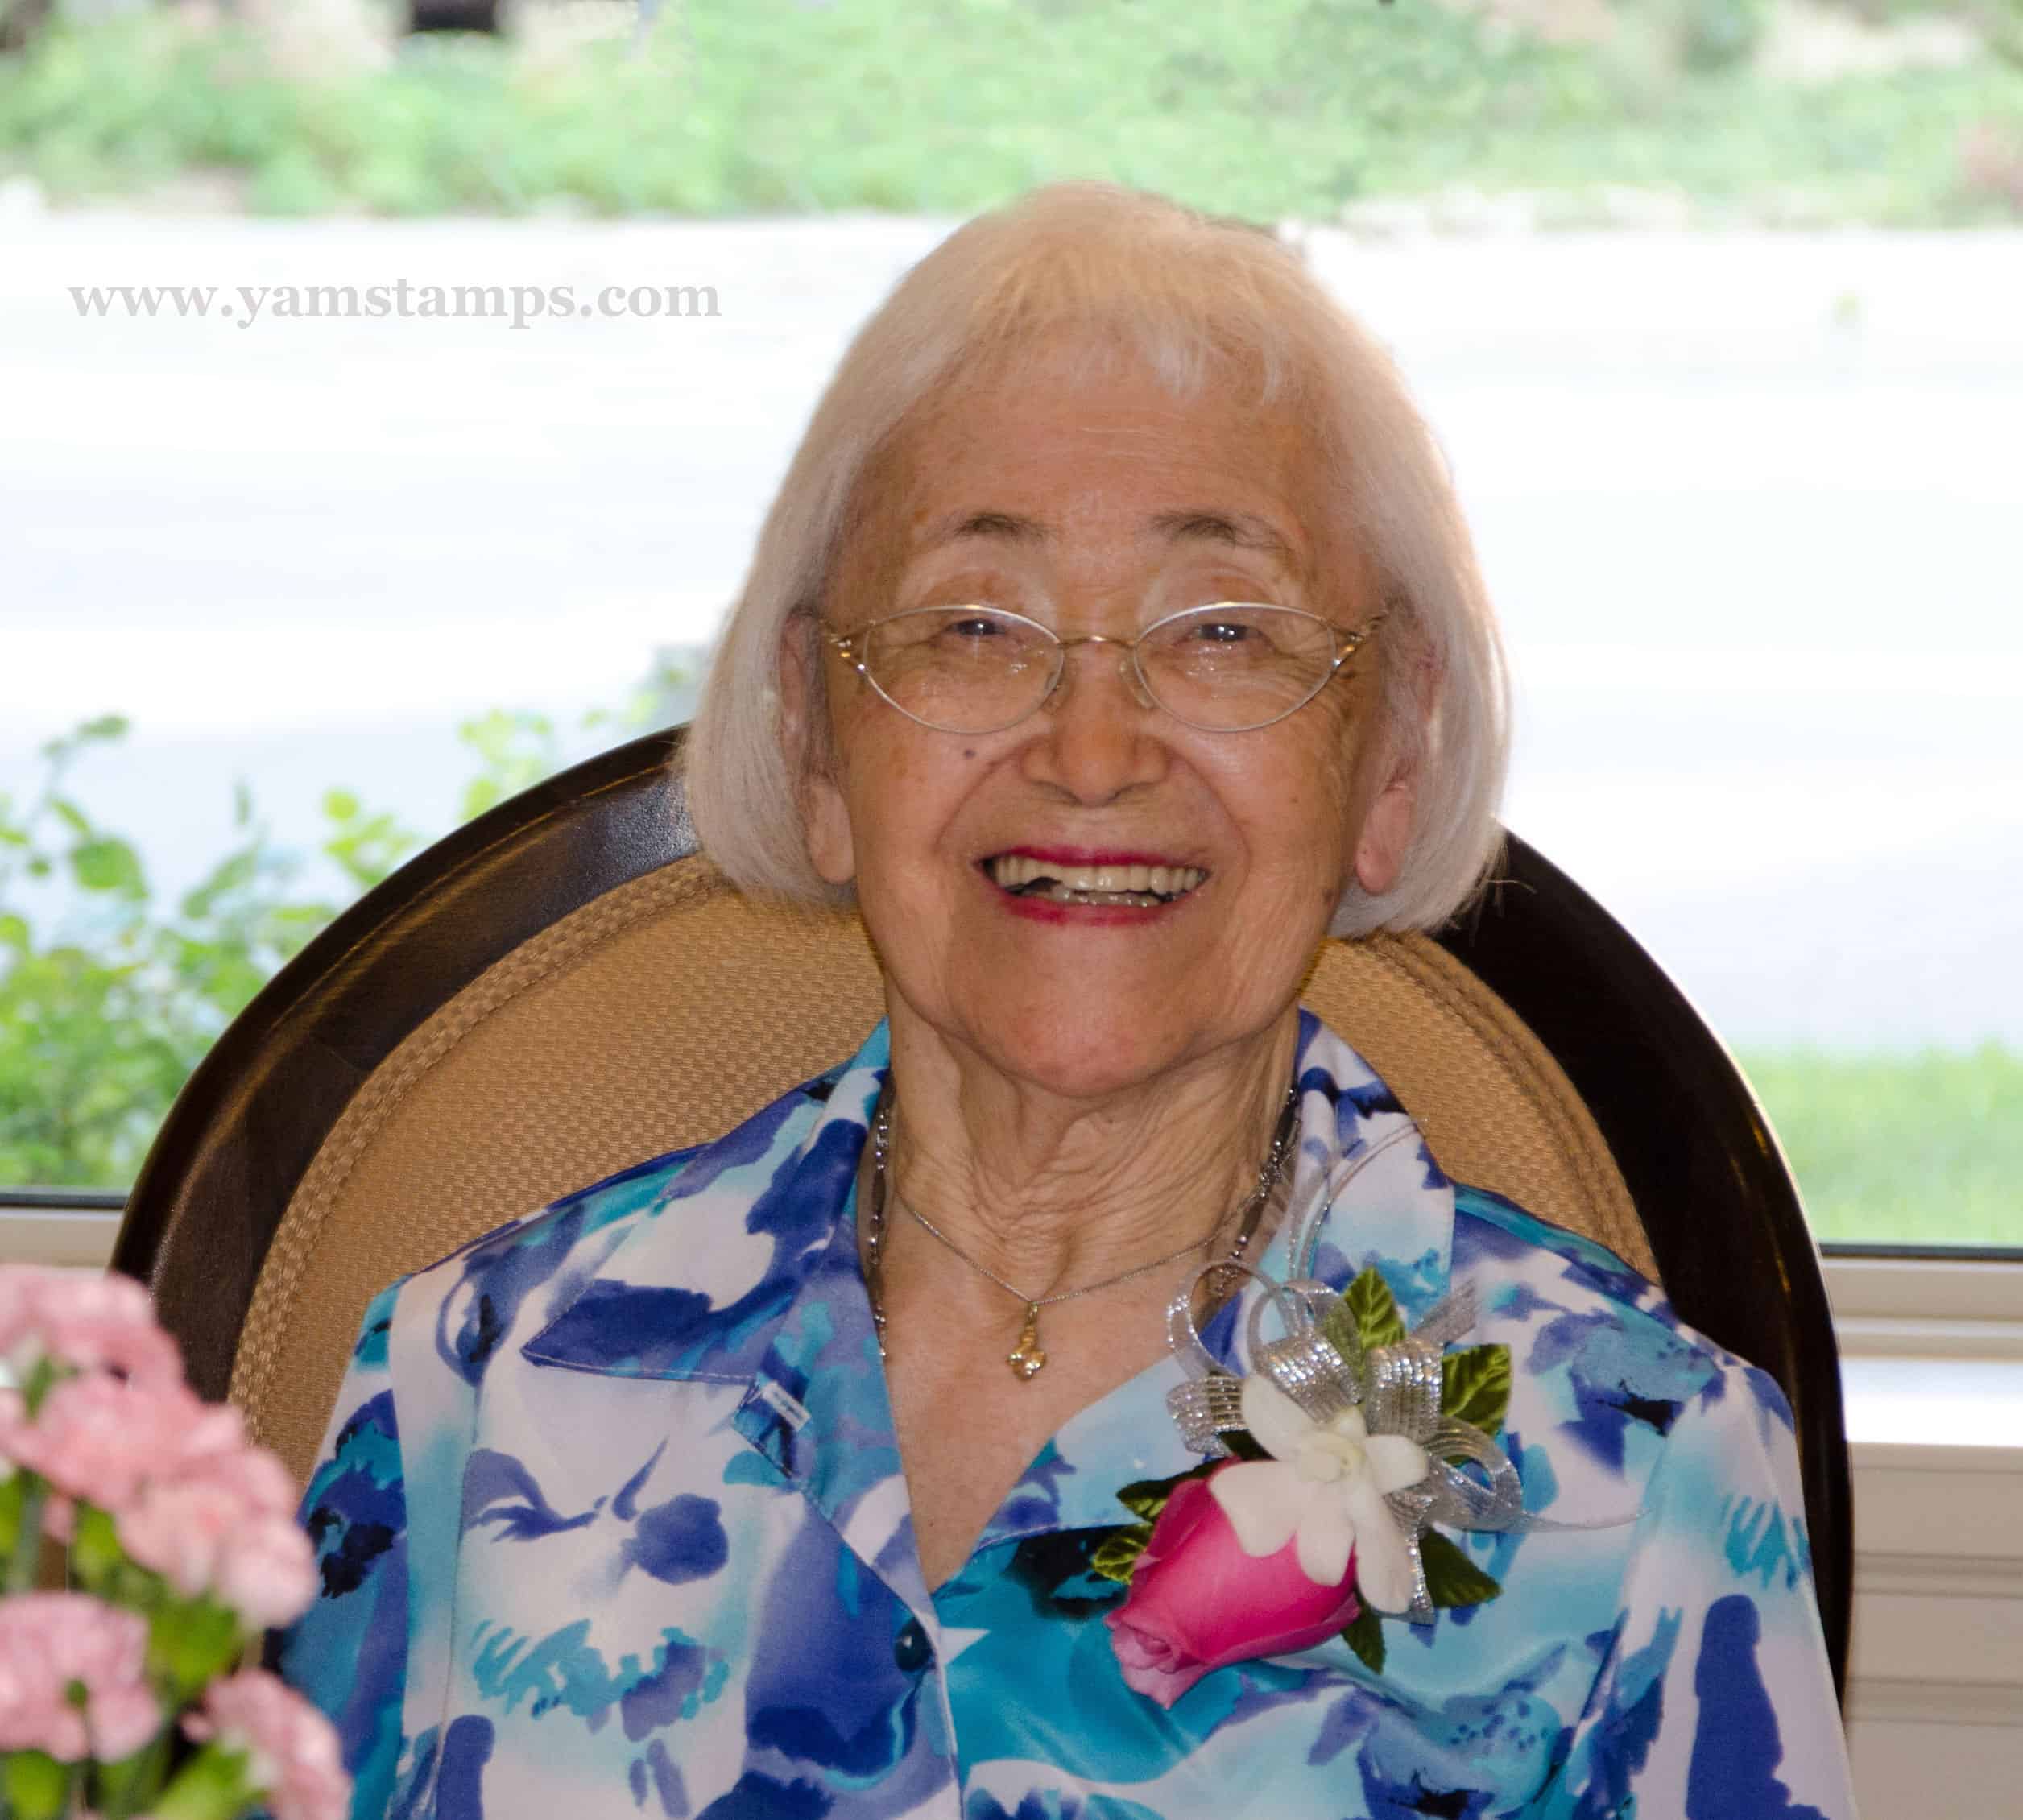
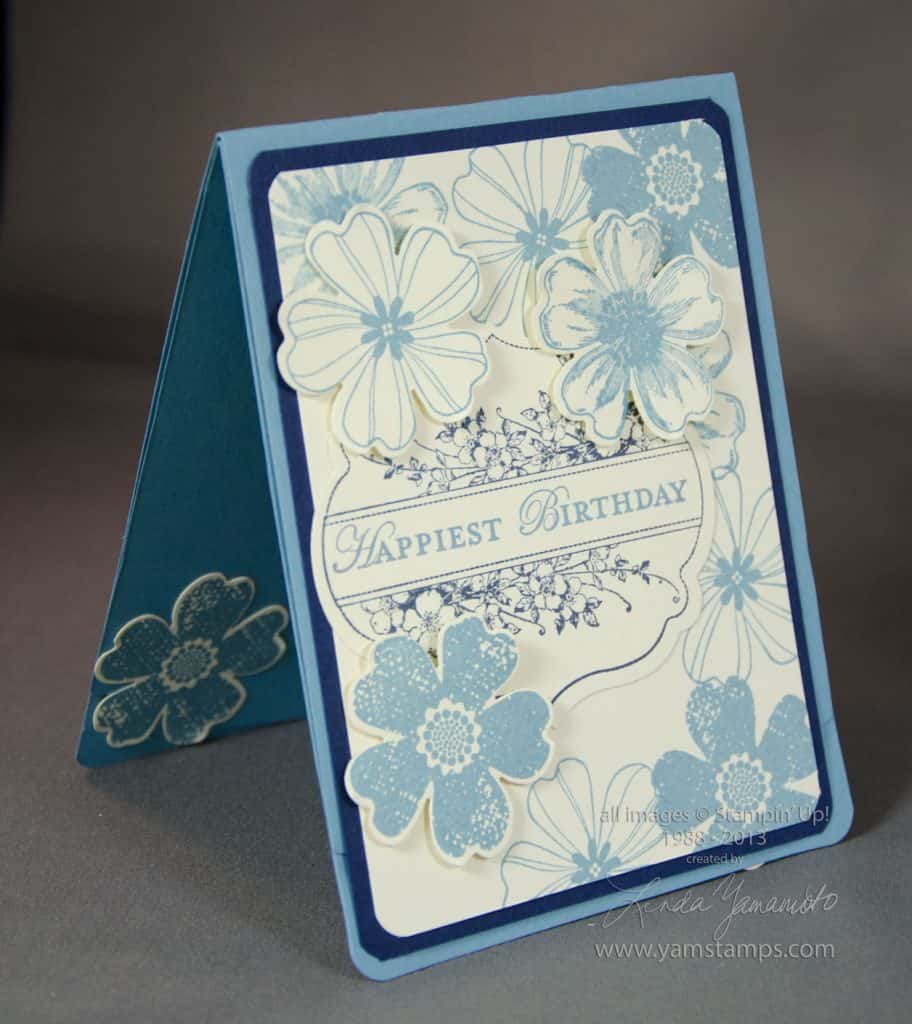 There are times when you need an extra special card. One of the great things about making cards is that you can customize it for the recipient – this comes in handy especially on special occasions! In this case, my grandmother turned 95…so instead of having to run around to 4-5 different stores to find a card that had “95” on it, I was able to make one myself and save myself some time!
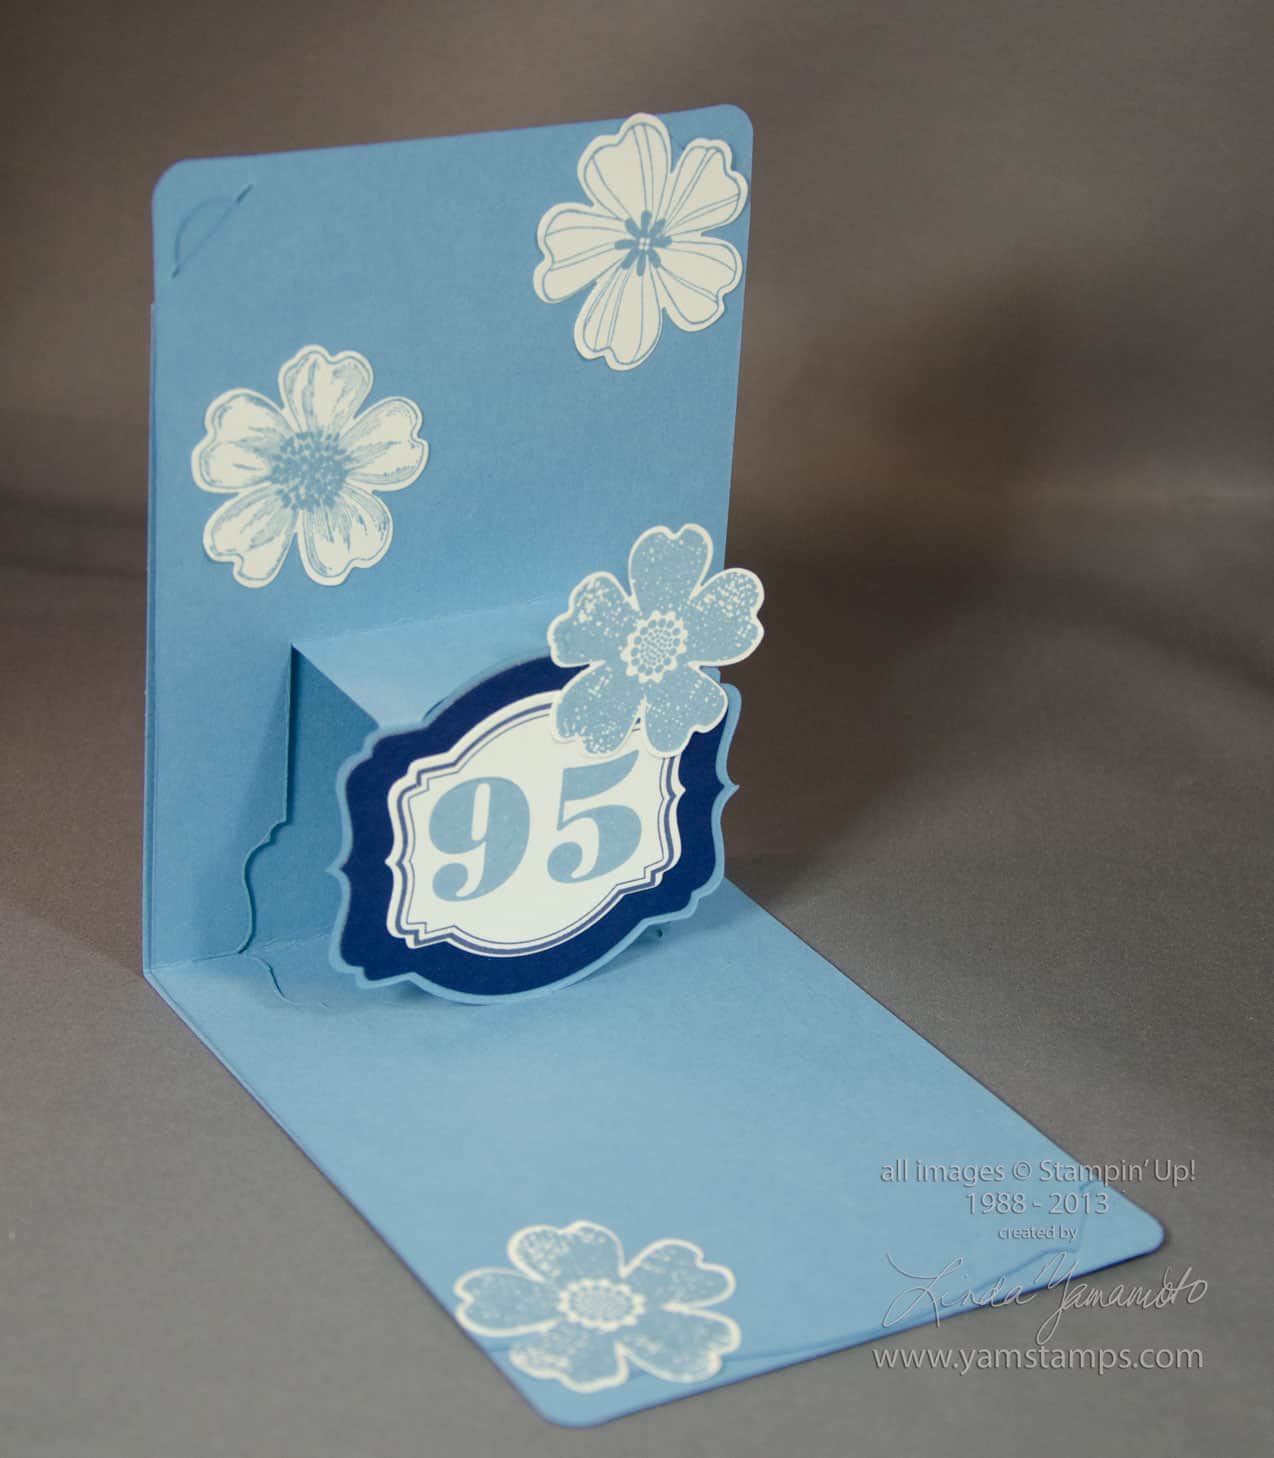
Guess what my grandmother’s favourite colour is….LOL. Anyway, I had fun creating this 3D card and it wasn’t too difficult at all. I used Stampin’ Up!’s Label Pop ‘n Cuts and Card Base Dies in my Big Shot to create the 3D card and just had to choose how to embellish it! I used the Flower Shop set with coordinating Pansy Punch and Apothecary Art to decorate the outside of the card.

I used the Morning Post Numbers set and the Deco Labels framelits to customize the inside of the card.
And it seems only appropriate to finish this post with a picture of my grandmother herself…

We were blessed to be able to celebrate with four generations on her special day and are looking forward to another gathering with extended family in the near future. Happy 95th Birthday, Nan!!