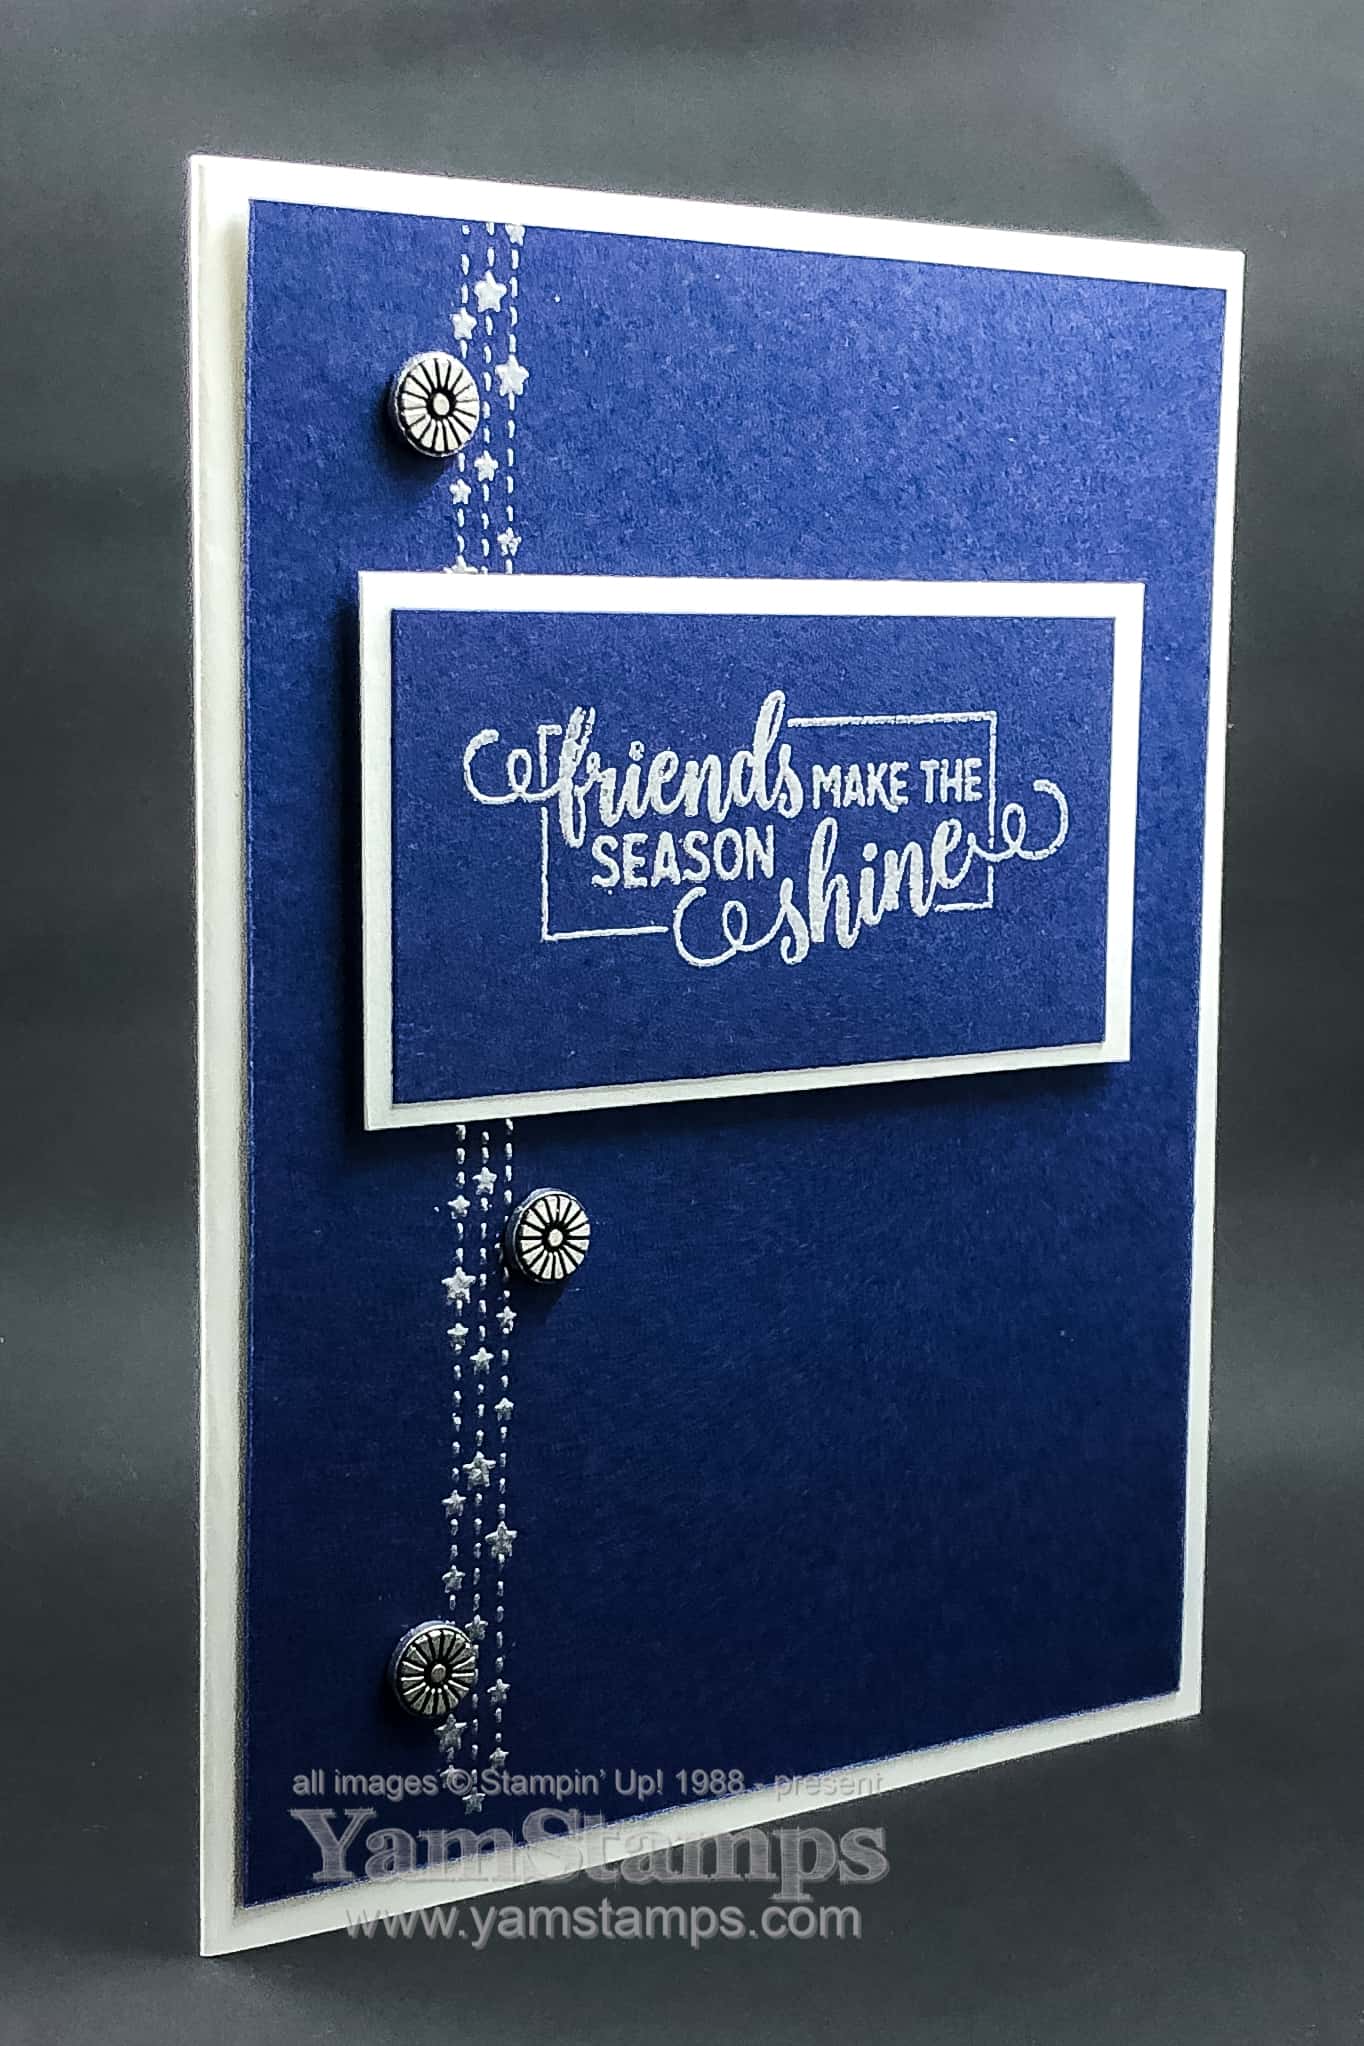
I used my favourite colour combination for this blue and silver holiday card! Plus it has some teeny stars on it – so an all around favourite for me I think. This is from the August Christmas Card Class – and I liked it so much, I included a variation of it for my regular September class too!
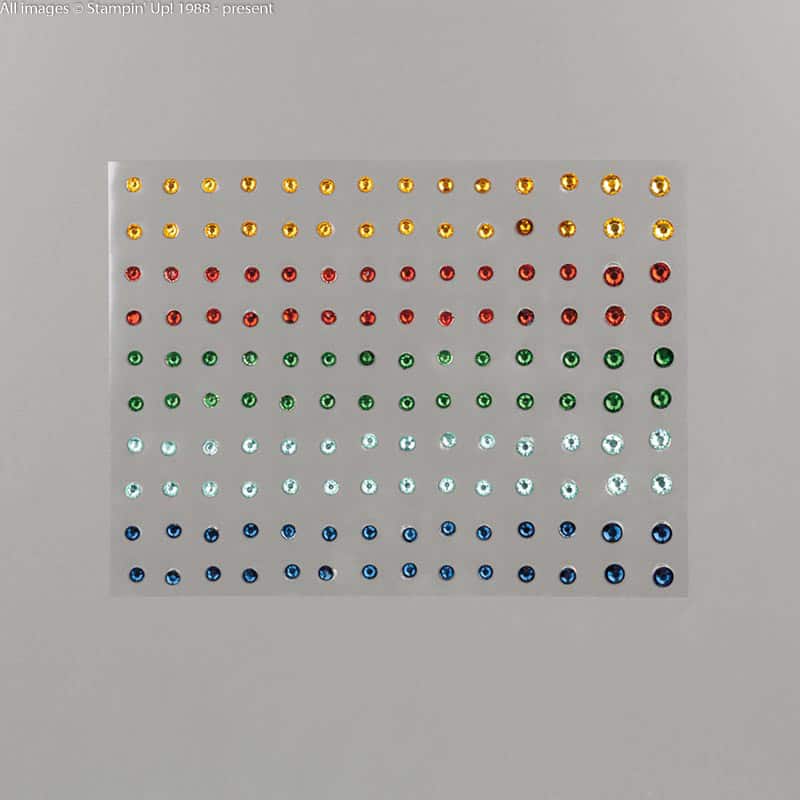
My Christmas Card Classes include product – and it’s typically a package of embellishments that we use on our cards and then class members take the remainder of their packages home to use for other projects. In August, I was only working out of the Annual Catalogue, since the Holiday Catalogue wasn’t available for customer orders yet! We used the Designer Elements in that class, and then used Clear Faceted Gems this month.
By the way – If you like bling, you’ll want to register for the October Christmas Card Class – we’ll be using the Holiday Rhinestone Basic Jewels!
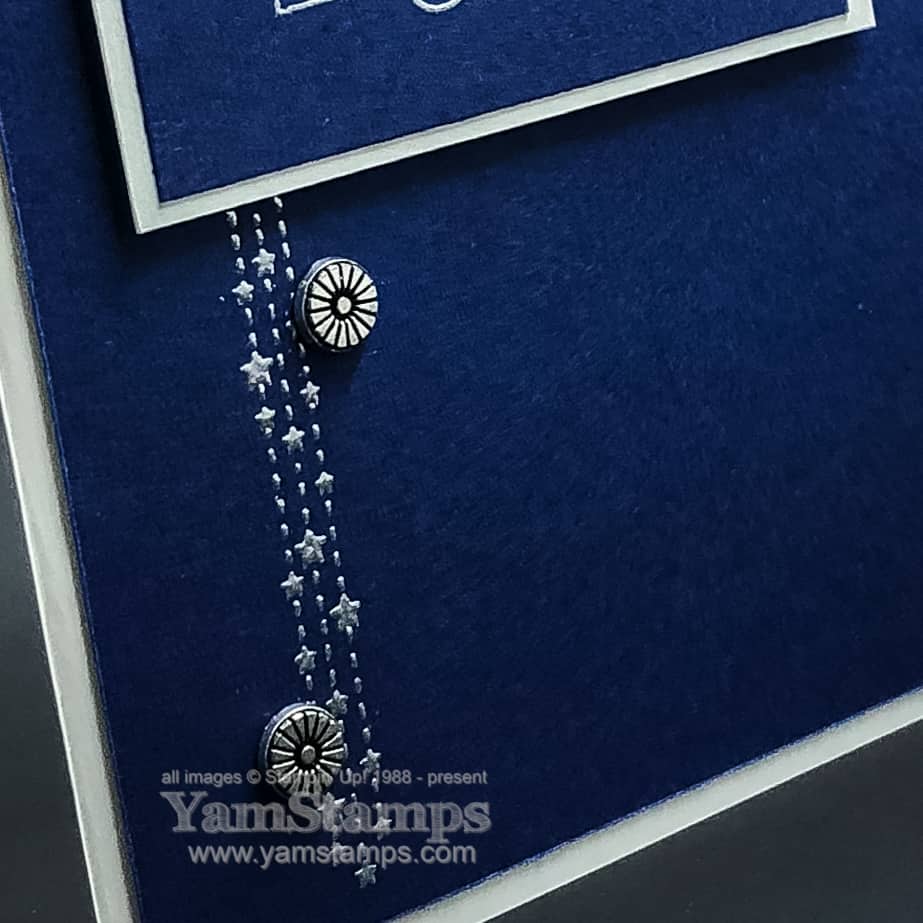
This blue and silver holiday card could be used for Christmas, Hanukkah or New Years, don’t you think? The sentiment and dangling stars are from the Making Christmas Bright stamp set (the one with the Christmas bulbs!). The variety of stamps in the set means you can come up with a variety of “looks” from one stamp set. To extend the dangling stars, we used the Stamparatus to make sure the images were perfectly in line, and then stamped them twice – the sentiment hides the gap. I didn’t mind the lines running off the top of the card, but I wanted the finished effect at the bottom. (which I now realize you can’t really see well for the watermaking on the photo. Sorry!).
he image and sentiment were stamped in Versamark and then heat embossed with the Silver Embossing Powder. Heat embossing is always a winner for holiday cards in my opinion! The card is Smoky Slate, which I find really compliments any silver accents, without drawing attention away from them.
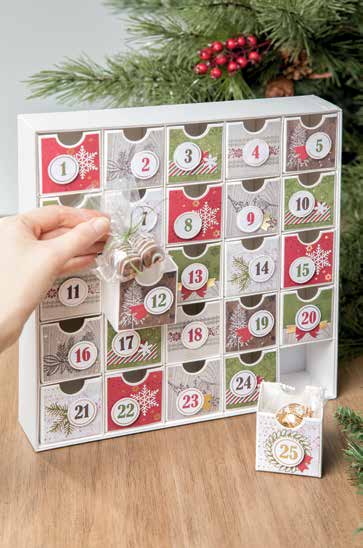
Hard to believe, but I’ve only got two more scheduled Christmas Card Classes this year! You have two more chances to make some beautiful handmade cards to give to the special people on your card list. Plus there’s an Advent Calendar Class too! Wednesday, November 13th – 1pm or 7pm – you can come to class, pick up your Christmas Countdown kit and use my stamps and ink to complete the project!
The class fee of $55 covers the kit (plus shipping/taxes) and the use of my adhesives/ink/stamps to complete the kit as per the instructions. You can contact me to register, or use the PayPal link on the YamStamps Events page. Registration & payment required by October 30th, or additional fees may apply in order to ensure that your kit will arrive in time for class.
Check out an alternative use for the kit that I shared here on the YamStamps Facebook Page! BONUS – you don’t have to use the kit for one or the other! The boxes have notches on two sides, so I’m thinking that after the Christmas season is over, I’ll flip the boxes around and use them for something else! What would you use them for?
Oh – and for my next Christmas Card share, I promise to try to show something OTHER than a blue and silver holiday card. No promises about the card AFTER that one though. hahaha!
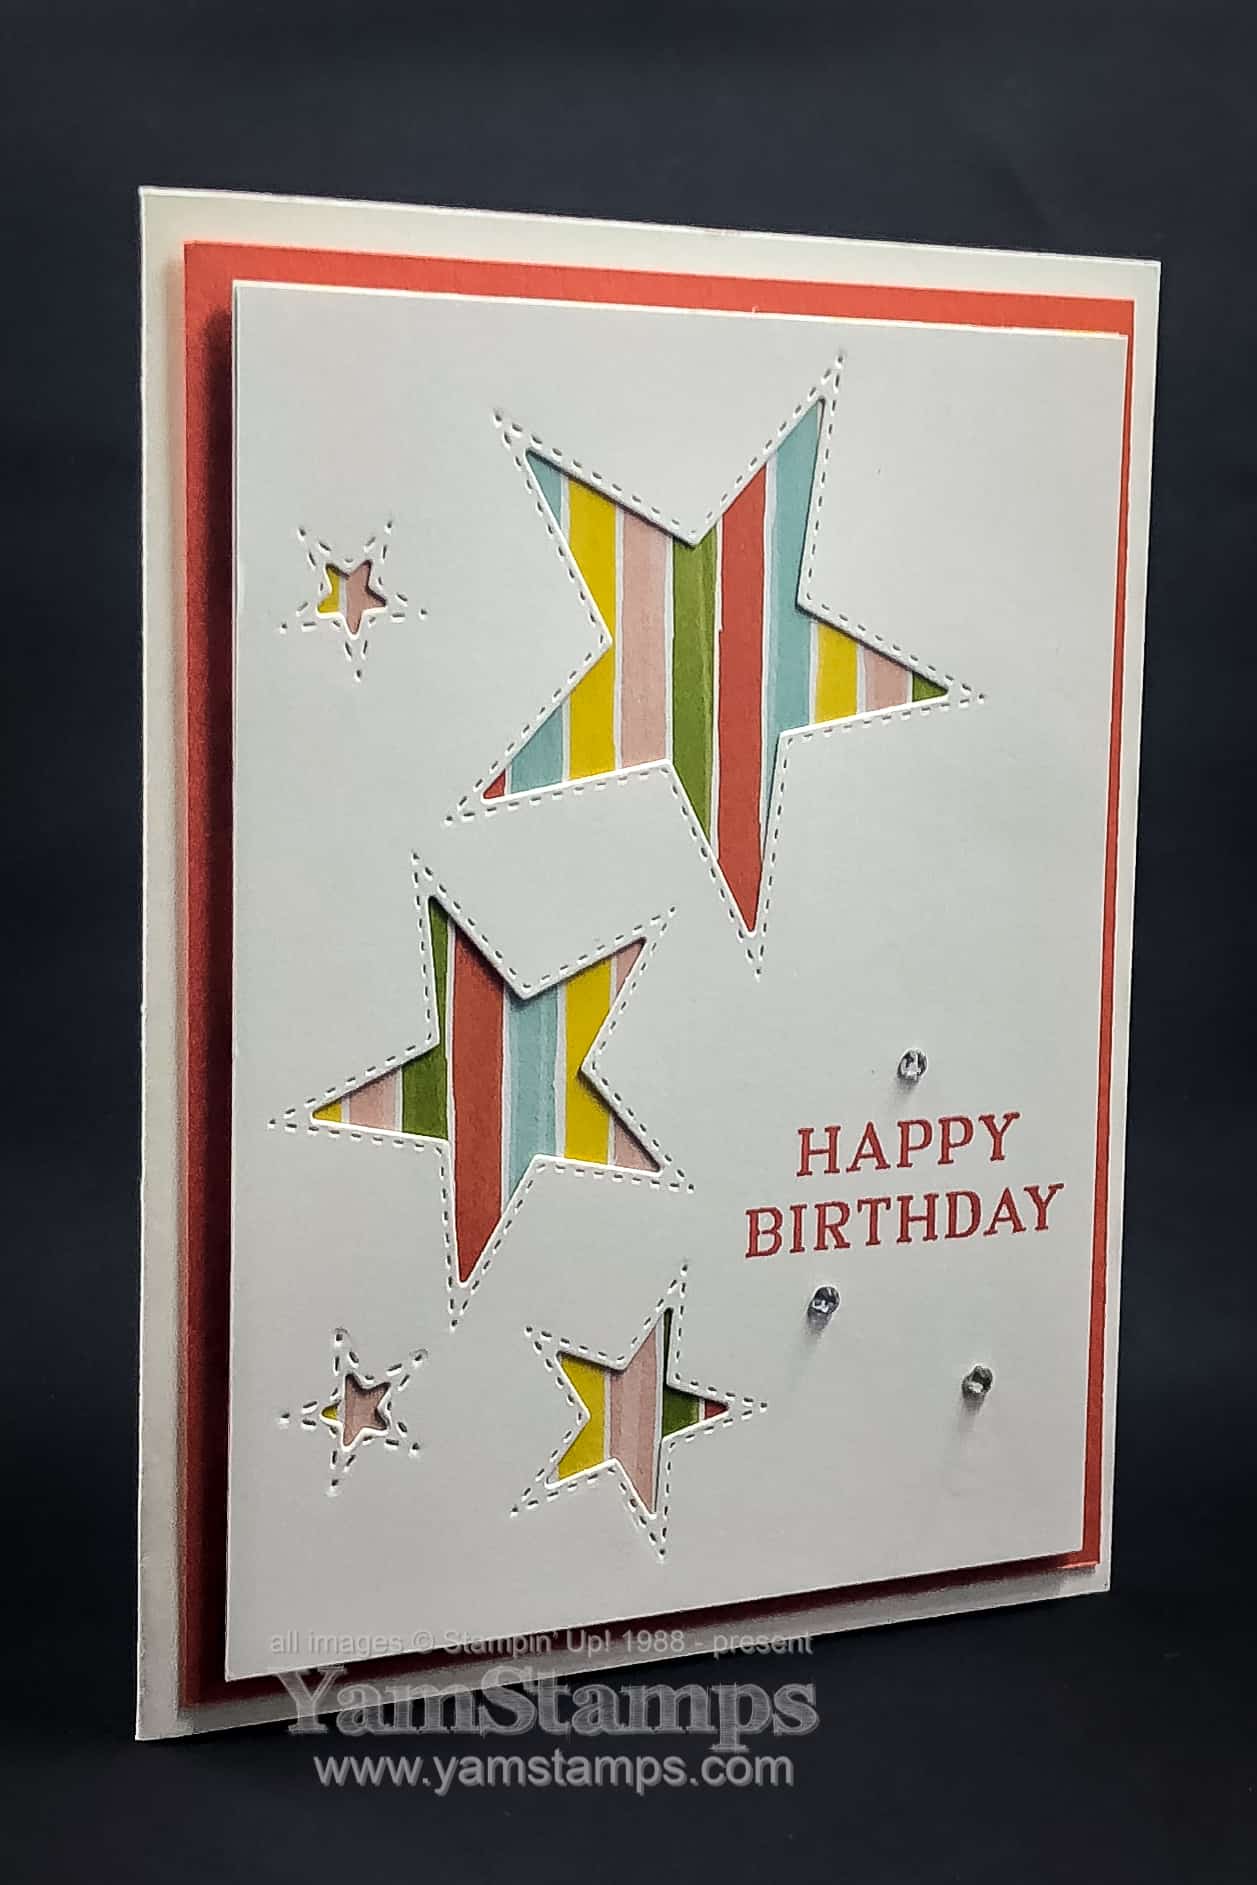
Stampin’ Up!’s Holiday Catalogue has a lot of great products for the holiday season – and I love being able to use them for something other than holidays! This starry birthday card is an example of using a holiday catalogue product for another occasion. (OK, maybe not too much of a stretch there, but still an alternative).
Like many of Stampin’ Up!’s “stitched” dies, there is a stitching mark on the outside and the inside of the cutting line for the Stitched Stars dies – so both the positive and negative die cuts have that detail. For this card, the stars were cut from the Whisper White cardstock and then set aside (to be used on another project at some point in time!). The cardstock was then adhered to some Designer Series Paper – in this case, Bird Ballad, and then onto the cardfront. We just used a single piece of paper, but if you wanted to be really tricky, you could either die cut the stars from the Designer Series Paper and then place them in the negative spaces of the cardstock, or cut squares/circles from the DSP and place them behind the negative spaces. In either case, you could vary up the pattern direction if you desired. However, you may know that I sometimes refer to myself as “The Lazy Crafter” (trademark pending LOL), so the single sheet of Designer Series Paper was the way to go for my starry birthday card design. This card design could be used for so many different occasions by changing out the sentiment and switching the backing papers. Easy peasy!
The sentiment is from the Perennial Birthday stamp set, and a little rhinestone bling goes a long way to make a card more special. The backing cardstock (and ink) are Calypso Coral, which is one of the colours in the paper’s design. (Lazy crafter – why think too much?).
This starry birthday card was one of the featured projects during September card classes. Tomorrow is the September Christmas Card Class – using some of the elegant Brightly Gleaming Foil Elements. At the time of writing this post, there were a couple of openings left – so if you are free at either 1pm or 7pm, contact me ASAP if you’d like to join us! Class fee of $30 covers all supplies, including a full package of the elements. Next month we’ll be using the Holiday Rhinestones for our projects – and class is filling quickly. Check the YamStamps Events page for all the upcoming events, and contact me if you have any questions or for registration! Thanks for stopping by the blog today.
So we had a complete cable/internet outage in our household the last couple of days and it was painful! I know, first world problems and all…but it did emphasize to me how much I rely on technology to make my life easier – both my work life and my home life. Breathing a bit easier now that we have internet and wifi back – and I’m not going to look at data usage over the past couple of days. Thankfully my son is away at school, because I can imagine the wailing and gnashing of teeth if this had happened when he was home!!
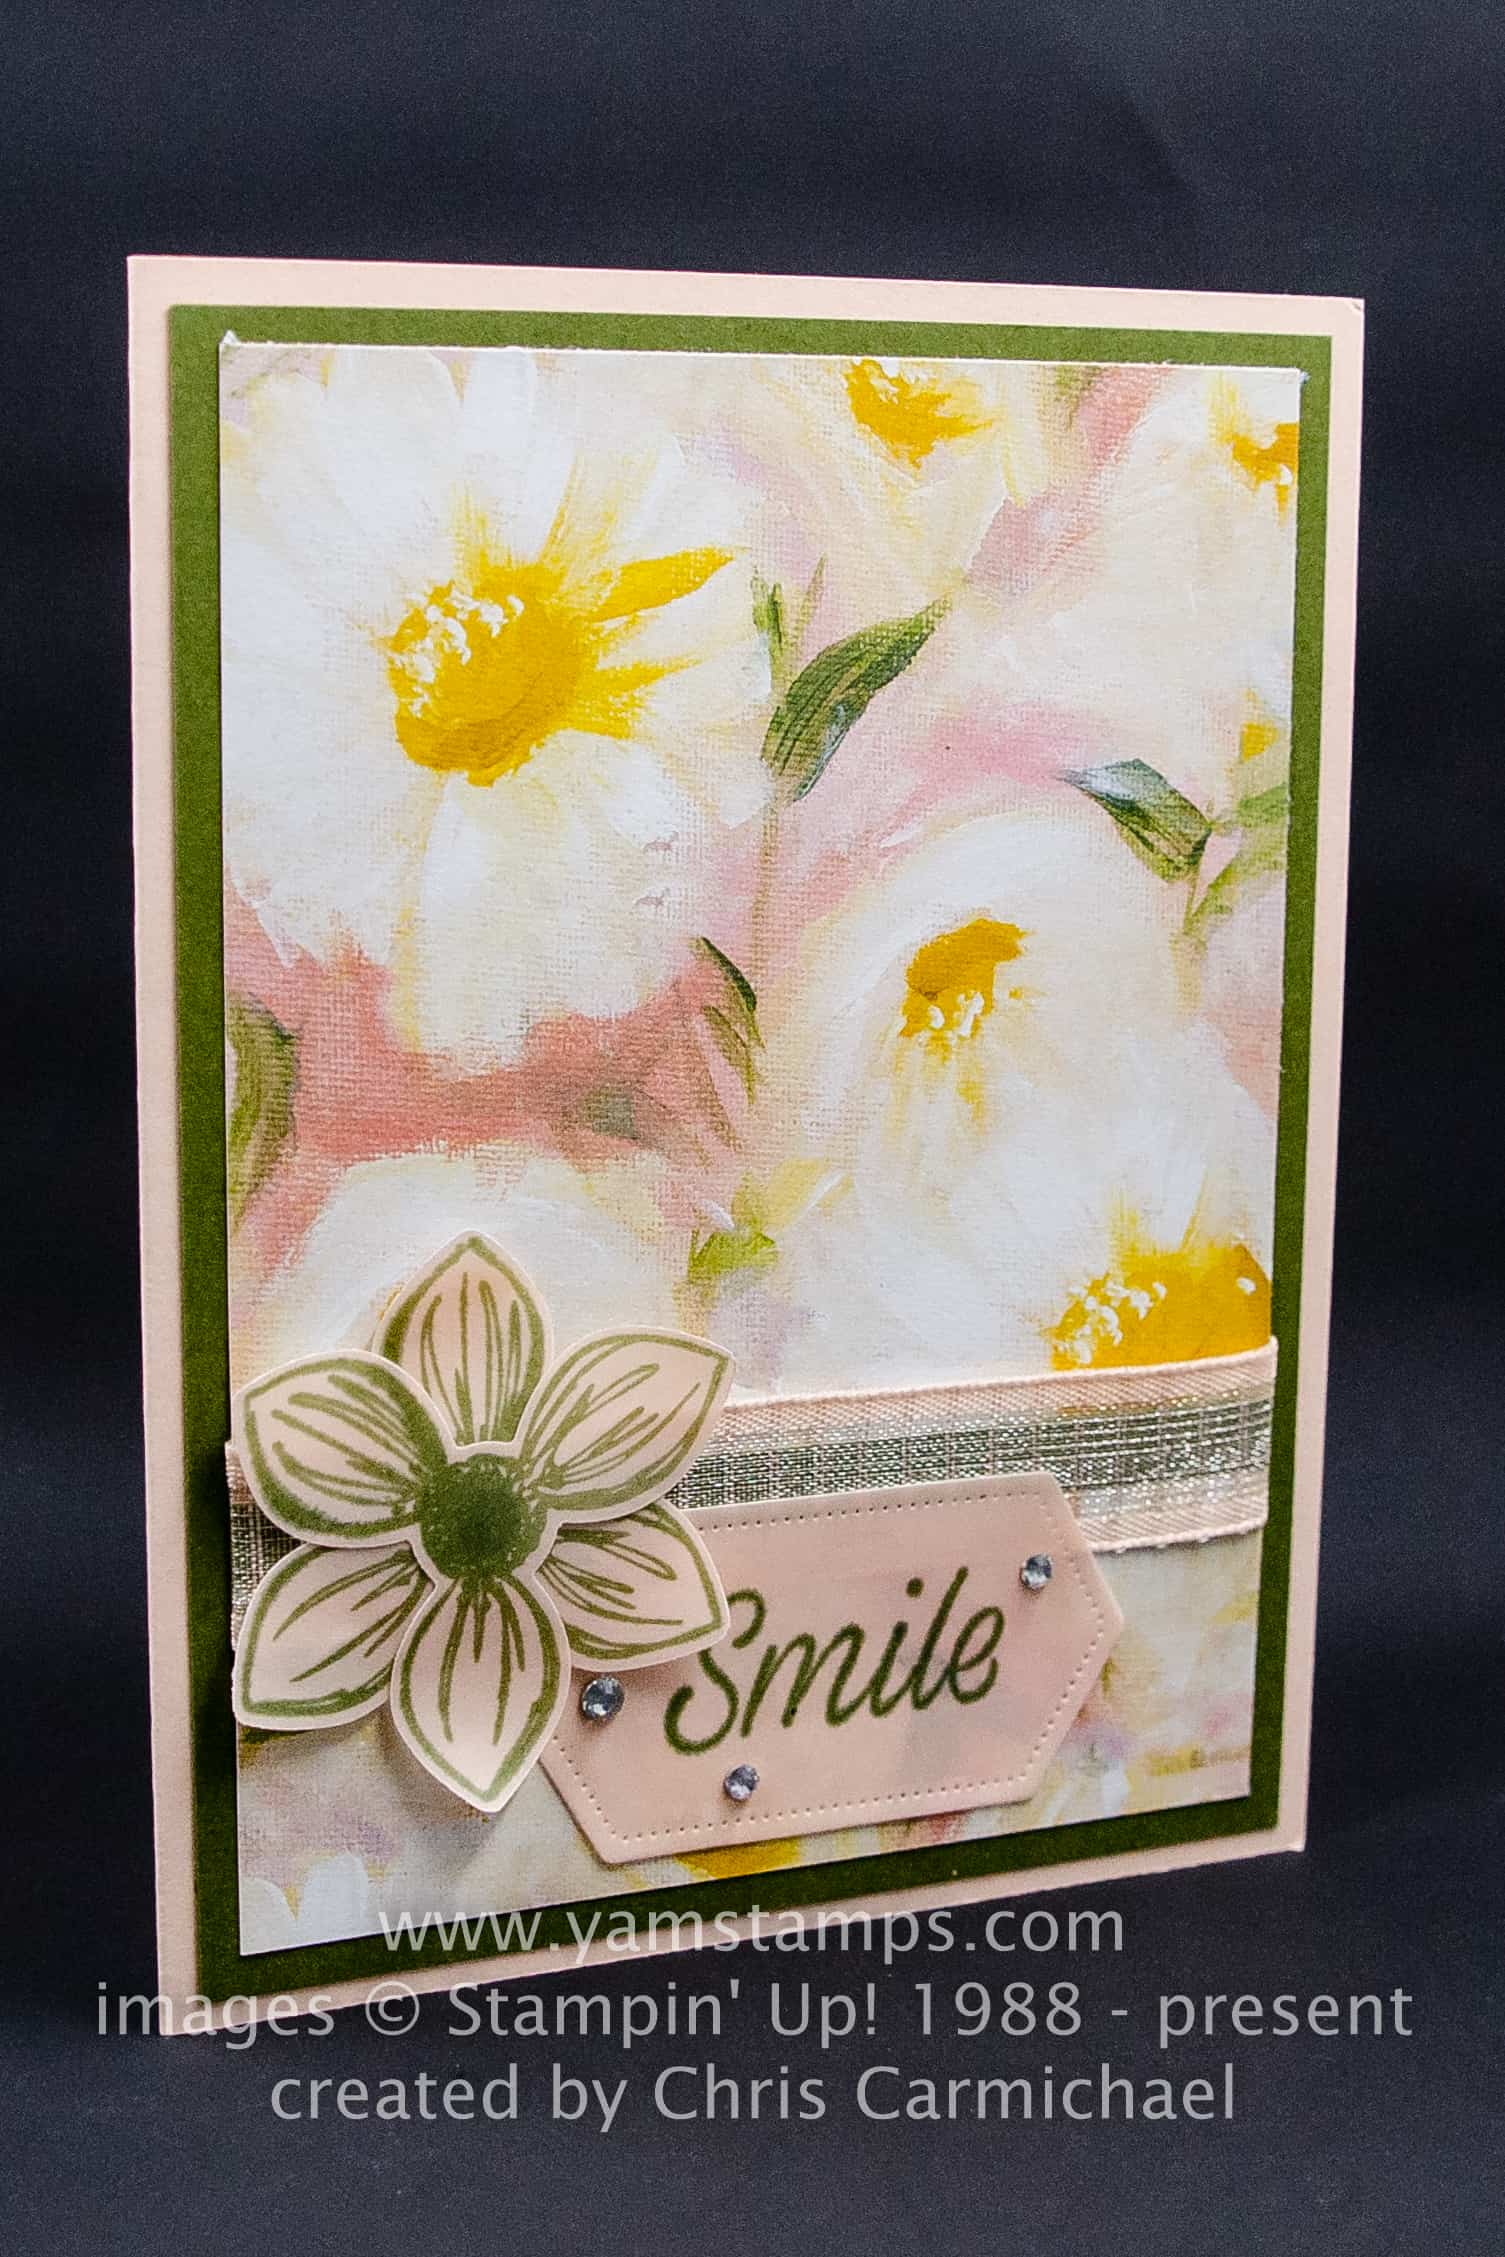
In the meantime, now that I’m not hovering by the door waiting for the service call, I’ll go back to prepping for this week’s Stampers Club and Christmas Card Classes! There are a couple of last minute openings in the Christmas Card Class on Wednesday if you’d like to join us – message me! Otherwise check the YamStamps Events Page to see upcoming dates (I’ve written them down until the end of the year!). Thanks for stopping by and thanks again to Chris for this lovely floral paper card.
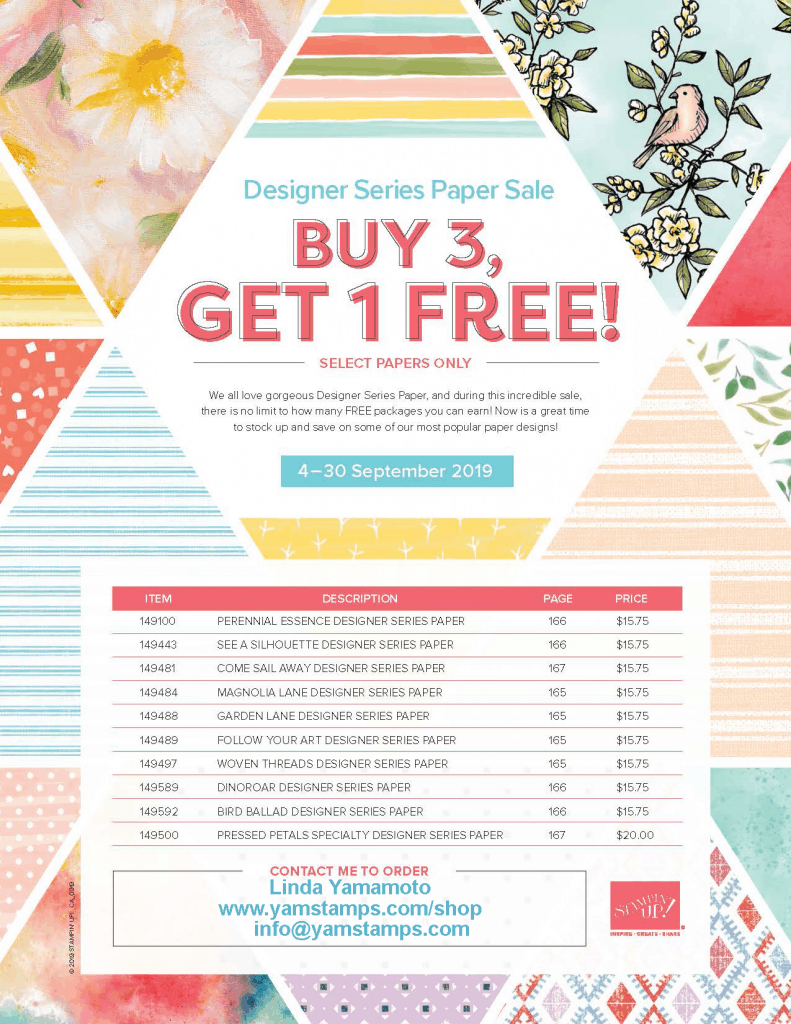
You’ll notice that the Pressed Petals Specialty Designer Series Paper is included in this sale – so if this slightly more pricey paper is on your wish list, you’ll want to be sure to get in on this special! When you are at the YamStamps Online Stampin’ Up! Store shopping this special, add the Pressed Petals paper to your shopping bag FOURTH and you will automatically get it for free. More bang for your buck! Remember that only the papers listed above are included in the special.
As always, if you have any questions or need assistance placing your order, please feel free to contact me! In the meantime, remember that the shortcut to the YamStamps Online Stampin’ Up! Canada store is “yamstamps.com/shop“. Happy shopping!
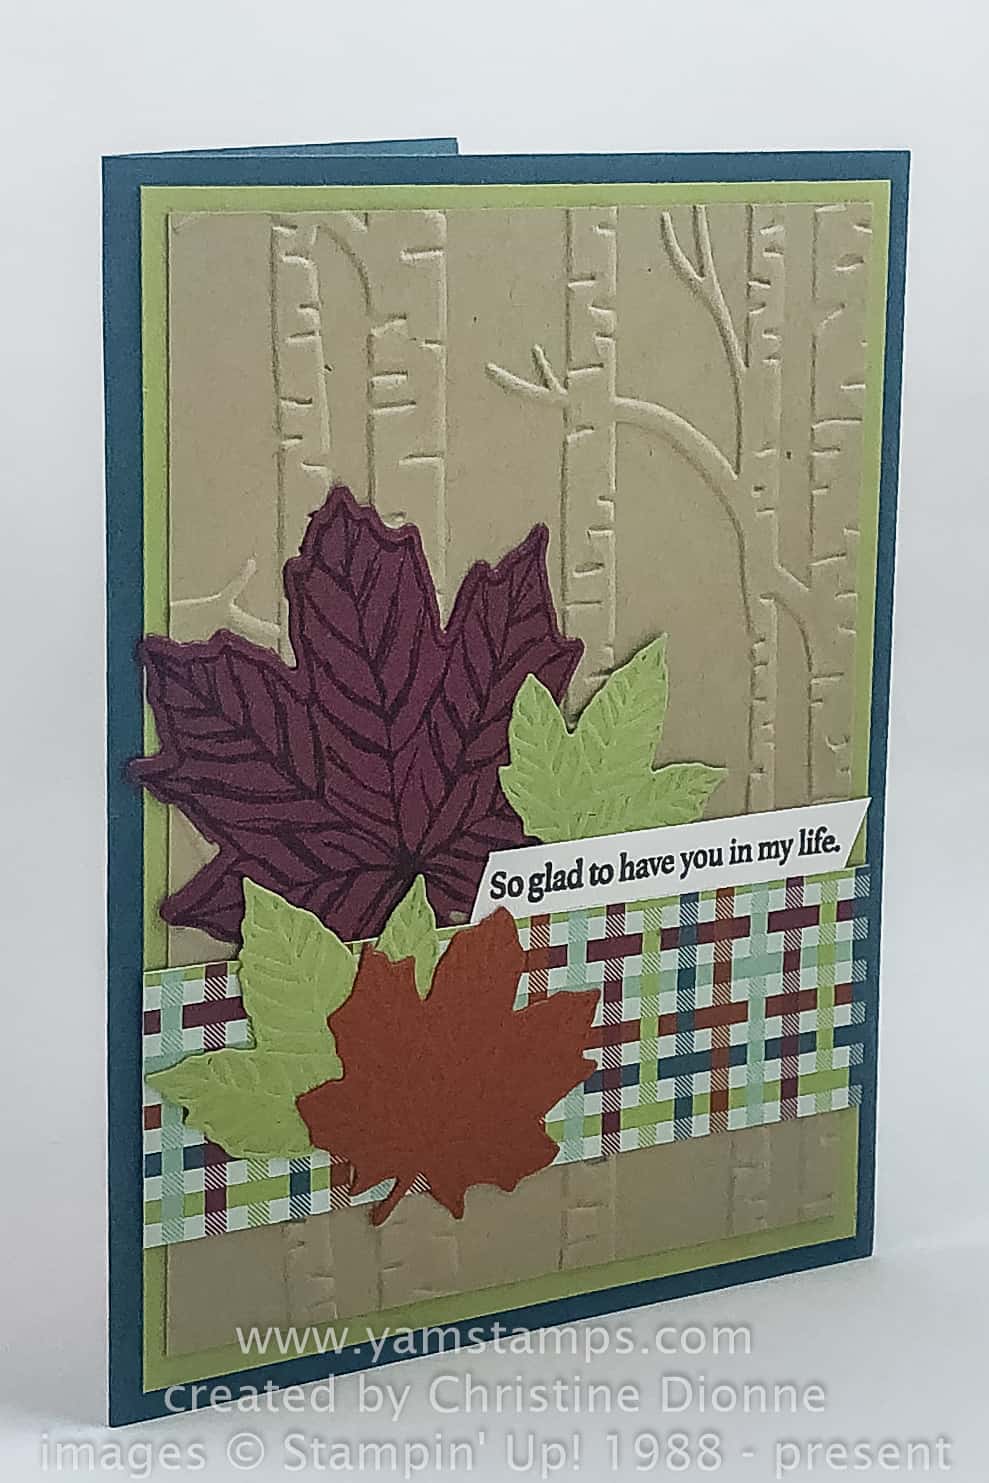
This week’s Sunday Swap Share is from the Holiday Catalogue – but it’s not a Christmas Card! This Autumn Leaves Card was created by Christine Dionne and highlights some of the “other” holiday products in Stampin’ Up!’s Holiday Catalogue.
I’m just starting to go through the fantastic cards I received as part of this demonstrator card swap. This was another organized swap – focusing on Holiday Catalogue product, with some guidelines in terms of card construction. At Stampin’ Up! demonstrator gatherings, there’s usually a fair bit of swapping occuring! Demonstrators will create multiples of a cardfront, or full card, and then trade them with other demonstrators. It’s a great way to get ideas and inspiration. I’m looking forward to On Stage in November – it’s the Stampin’ Up! organized event for demonstrators. The main event moves from location to location, since Stampin’ Up! is a global company, but there are smaller, pretty much identical events that happen on the other continents. This fall there’s a local event in Toronto! I love that it’s just down the road from my home. If you’re interested in joining me at that event, check out my FAQ page about becoming a demonstrator with my team. You’ll be able to purchase a starter kit and once you’ve got your demonstrator number, you can buy your ticket to On Stage! I’ve also got an Information Evening scheduled for Thursday, so you could RSVP for that and join me to find out more and ask any questions. I’d love to have you as part of my group of demonstrators – known as the “Eh” Team!